This post may contain affiliate links. Please see our disclosure policy.
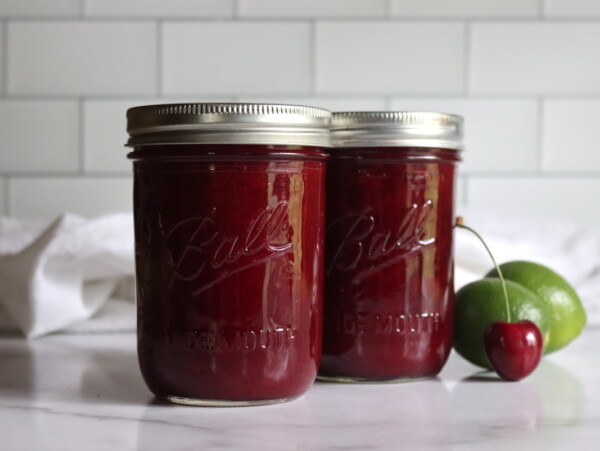
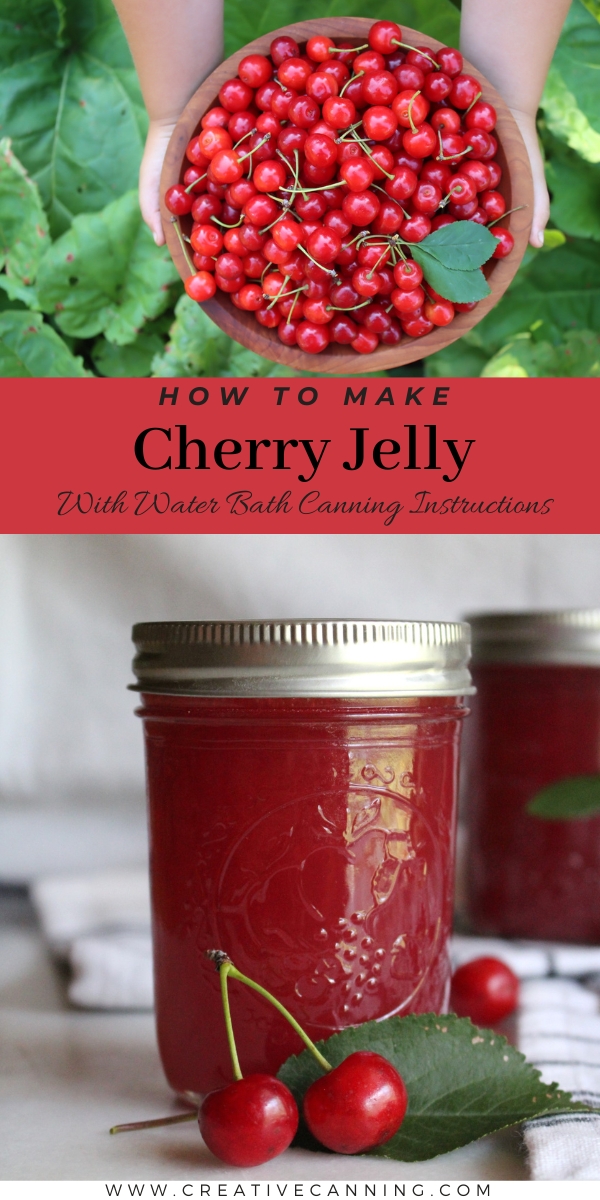
Cherry jelly captures all the rich, deep flavor of fresh cherries in a smooth, spreadable preserve, and the part I appreciate most is that there’s no pitting required. You can water bath can it for the pantry shelf, or skip the canner and keep it as a simple refrigerator or freezer preserve.
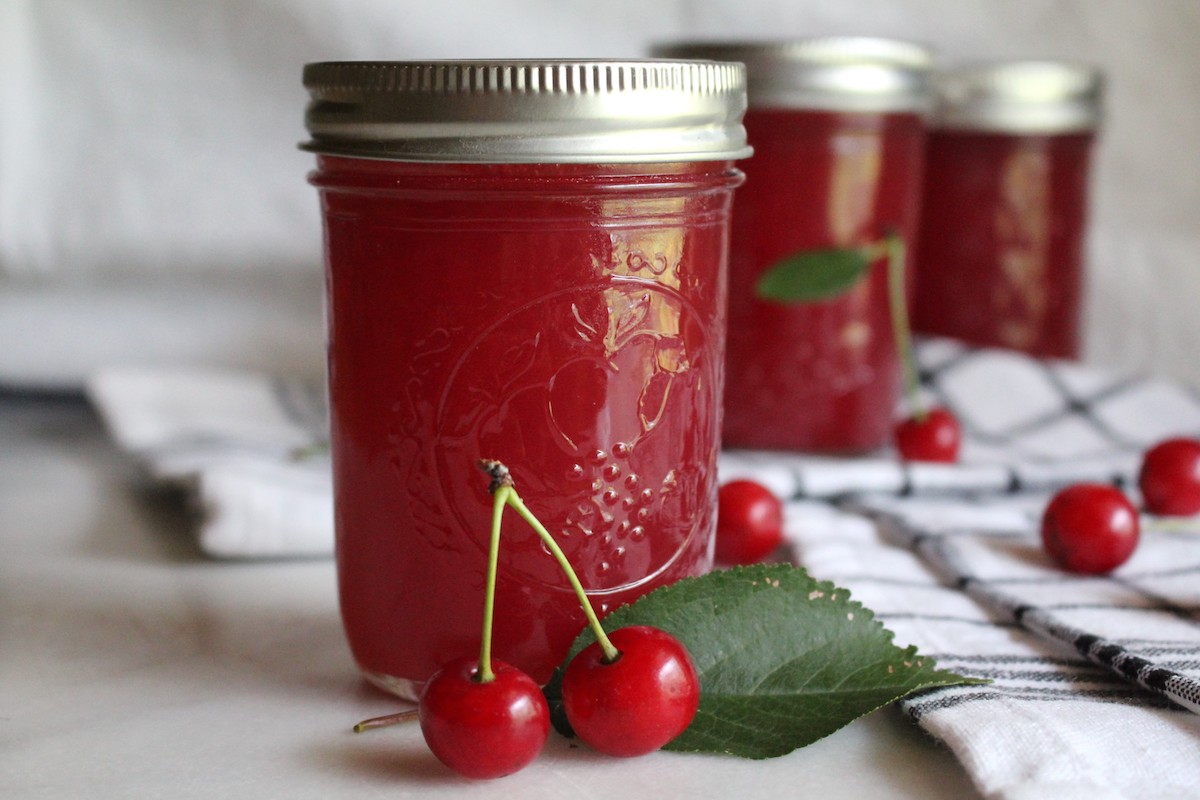
Table of Contents
- Notes from My Kitchen
- Quick Look at the Recipe
- Choosing Cherries for Jelly
- Ingredients for Cherry Jelly
- Low Sugar and Pectin Options
- Juicing Cherries for Jelly
- How to Make Cherry Jelly
- Don’t Overcook Pectin Jelly
- Canning Cherry Jelly
- Altitude Adjustments
- Yield Notes
- Ways to Use Cherry Jelly
- Cherry Jelly FAQs
- Cherry Canning Recipes
- Cherry Jelly Recipe
- Stone Fruit Canning Recipes
This recipe has been reviewed for safety and accuracy by a Master Food Preserver certified through the University of Cornell Cooperative Extension.
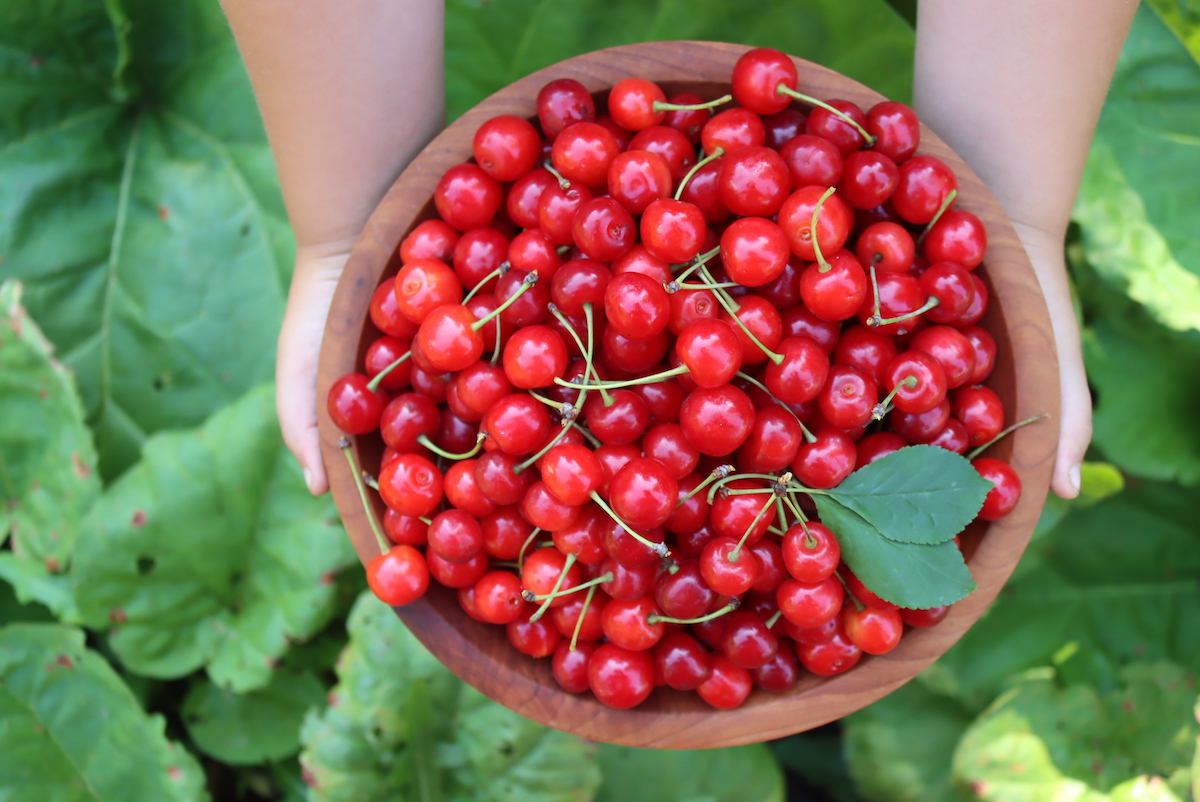
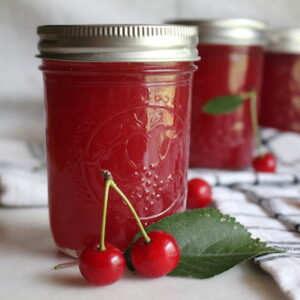
We have half a dozen sour cherry trees in our yard, and they give us wonderful fruit for pie, jam, and preserves. The fruit is tart, but it’s much more flavorful than standard sweet cherries, and since preserves add sugar anyway, I’m happy to bottle up all that extra flavor.
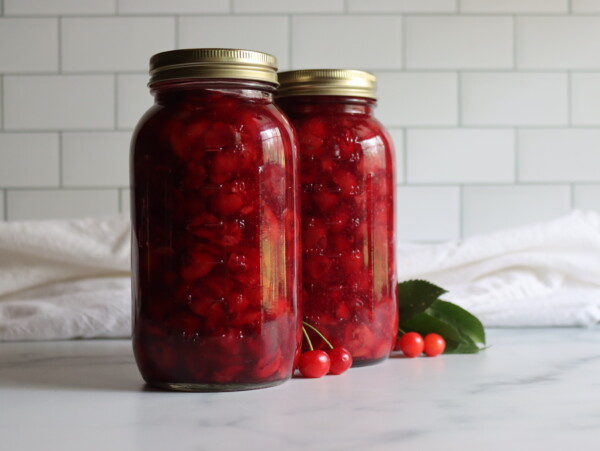
We make home-canned cherry pie filling each year, along with sour cherry jam, but sometimes the crop comes in all at once, and I don’t have time to spend the day pitting cherries. That’s when I reach for cherry jelly, since it’s one of the few cherry preserves that skips the pitting entirely.
You can also make this recipe with sweet cherries, black cherries, Rainier cherries, or any other cherry you can find. With sweet cherries, I’d add 1 to 2 Tablespoons of lemon juice to the batch to balance the flavors, since they aren’t as naturally tart. Sour cherries are acidic enough on their own that the lemon is optional.
Notes from My Kitchen

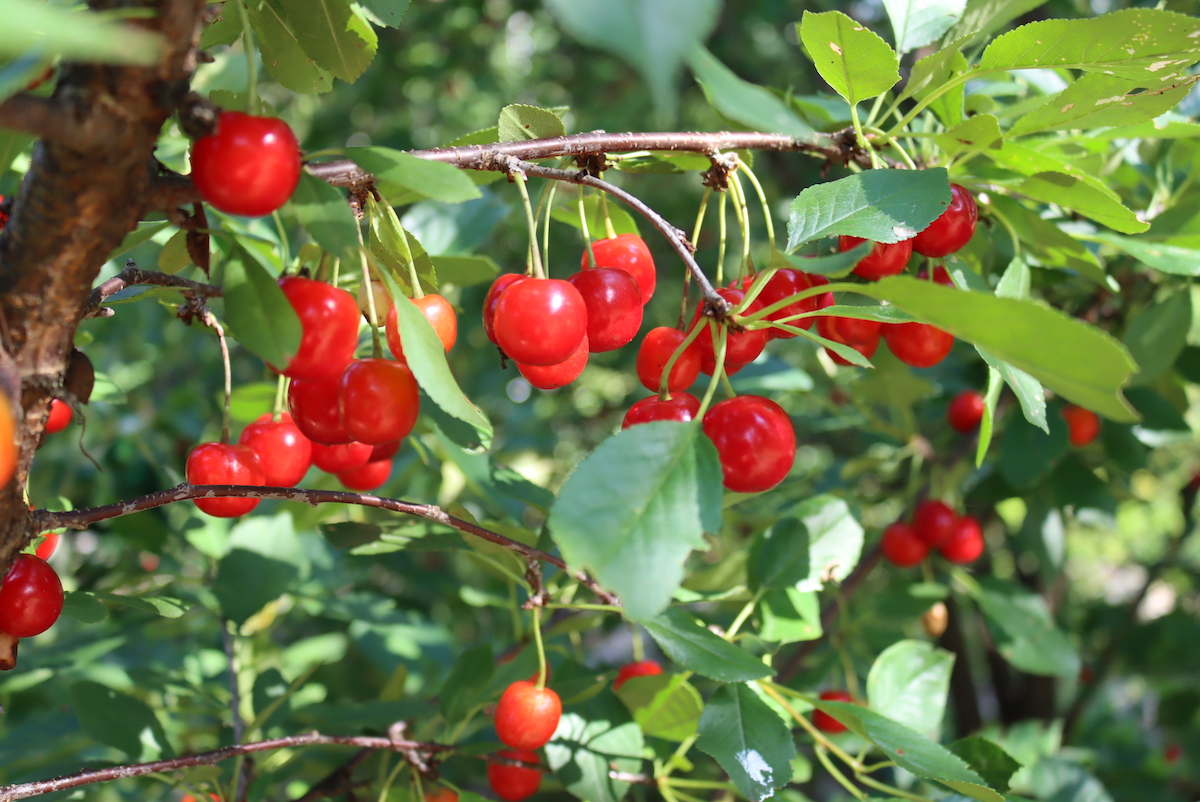
Cherry season lands in high summer here, and when our trees come ripe, it all happens at once. Some years I can keep up with pitting for pie filling and jam, and some years I just can’t, and that’s exactly when cherry jelly earns its keep. You cook the cherries down whole, strain off the juice, and the pits and skins never have to be dealt with.
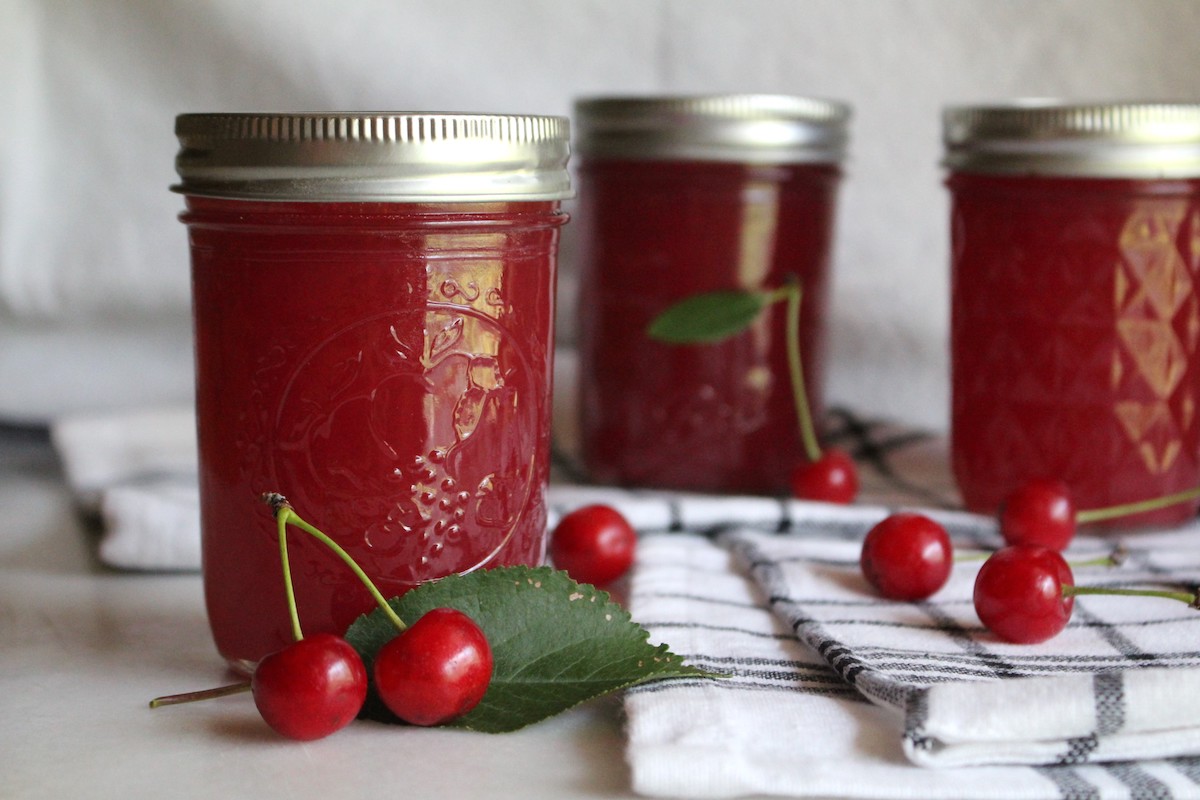
It started as the shortcut I reached for in a busy week, but it’s stayed in our cherry rotation because it’s so good in its own right. A jar of clear red cherry jelly on the shelf in the middle of winter is a small, bright reminder that summer comes back around.
Quick Look at the Recipe
- Recipe Name: Cherry Jelly
- Recipe Type: Fruit Jelly
- Canning Method: Water Bath Canning
- Prep/Cook Time: 60 to 90 Minutes (plus juicing time)
- Canning Time: 10 Minutes
- Yield: 5 to 6 half-pint jars
- Jar Sizes: Half Pint or Pint
- Headspace: 1/4 inch
- Ingredients Overview: Cherries, water, lemon juice (optional), sugar, and pectin
- Difficulty: Easy. Once you have the juice, you just add the rest of the ingredients in the right order, and you’re set.
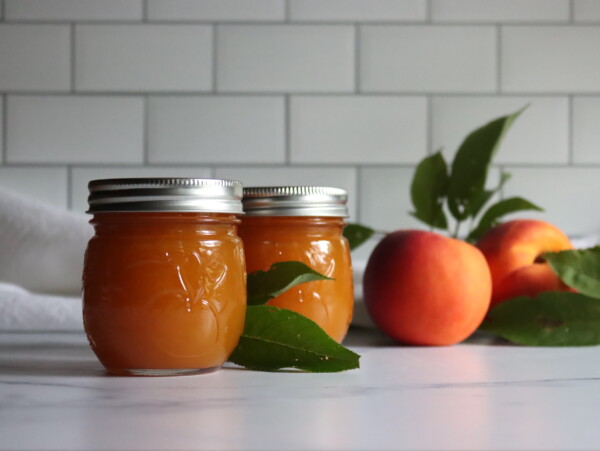
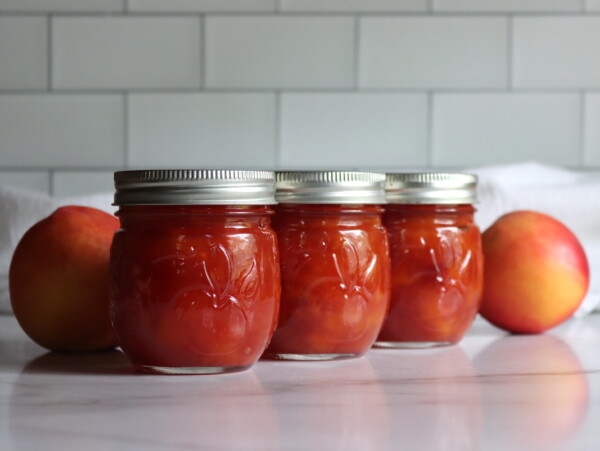
- Similar Recipes: The process is much like other fruit jellies made with added pectin, such as Strawberry Jelly, Peach Jelly, Nectarine Jelly, or Rhubarb Jelly. If you’ve made any fruit jelly before, this will feel familiar.
Choosing Cherries for Jelly
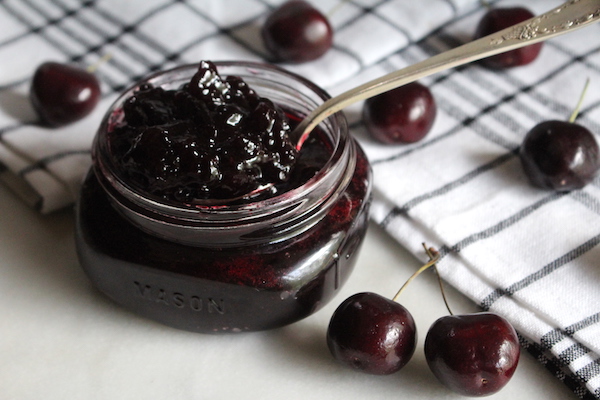
Tart cherries (also called sour cherries) are well suited to jelly. They carry the most cherry flavor, and their natural acidity balances the sugar nicely. That said, any cherry will make a lovely jelly. Black cherries give a deep, rich jelly that tastes a little like red wine, and Rainier cherries make a lighter jelly with an almost apricot note.
With sweet varieties, add a splash of lemon juice to balance the acidity, or reach for a low-sugar pectin and cut the sugar back (there are instructions for that below). And if you’re picking more cherries than you can handle in season, freeze them whole. Frozen cherries actually give up their juice more easily later, so they’re well suited to making jelly down the road.
You can also skip the fresh cherries entirely and use bottled cherry juice. Tart cherry juice is easy to find in most health food stores, where it’s sold for its antioxidants, and it comes either plain or concentrated. If you buy the concentrate, dilute it back to regular strength before using.
Ingredients for Cherry Jelly
Cherry jelly keeps the ingredient list short and lets the cherries do the talking. Here’s what each one does:
- Cherries: Tart (sour) cherries give the most flavor and acidity, but sweet, black, or Rainier cherries all work. Plan on about 3 to 4 pounds of sour cherries (roughly 2 quarts) or about 4 pounds of sweet cherries to reach 4 cups of juice. No pitting required, since you cook them whole and strain.
- Water: A little water in the pot helps the cherries start releasing their juice without scorching (used in the stovetop method).
- Lemon Juice: Optional. Sour cherries are acidic enough that the jelly sets and cans safely without it, so the lemon is really there to balance sweet cherries or add a little zing. Fresh or bottled both work. For a more neutral flavor, you can use citric acid powder instead, at about 1/2 teaspoon in place of 2 Tablespoons of lemon juice.
- Granulated Sugar: Sweetens the jelly and works with the pectin to create the proper gel. Regular powdered pectin needs plenty of sugar to set, so this recipe uses 5 cups of sugar to 4 cups of juice. Don’t cut it back with regular pectin, or the jelly won’t gel.
- Powdered Fruit Pectin (Such as Sure-Jell): The gelling agent that turns the juice into jelly. Sure-Jell is dependable, and Ball’s Fruit Pectin works well too. This recipe is written with enough sugar for regular, full-sugar pectin. See the note below for low sugar options.
If your cherries give you more than 4 cups of juice, add sugar to match (figure about 5 cups of sugar for every 4 cups of juice) and have a couple of extra jars ready, since you’ll make a little more jelly. If you come up slightly short of 4 cups, top it off with apple or cranberry juice to reach the full amount.
Low Sugar and Pectin Options
This recipe is written for regular powdered pectin (like Sure Jell original), which needs the full amount of sugar to set. If you’d prefer a less sweet jelly, use Sure Jell low sugar pectin (pink box) or Ball low sugar pectin and reduce the sugar following the package directions. With cherry jelly, that usually means about 2 cups of sugar for 4 to 5 cups of juice.
Pomona’s Universal Pectin sets with any amount of sugar (or none at all), though the gel is softer. It works a bit differently with a 2-part calcium-water system, so follow the box and read how to use Pomona’s pectin if it’s your first time.
Liquid pectin isn’t recommended here, since it needs more sugar to set and gives a less consistent result. If liquid pectin is what you have, use the tested Certo amounts instead: 3 1/2 cups cherry juice, 7 cups sugar, and 2 pouches (one 6-ounce box) of Certo liquid pectin. The order of operations is reversed with liquid pectin too: you stir the sugar into the juice and bring it to a full rolling boil first, then add the pectin at the very end and boil hard for exactly 1 minute. That’s the opposite of the powdered method, where the pectin goes into the juice before the sugar.
You’ve answered so many of my questions on canning jelly in this post, and I appreciate you detailing every step. I now want a grove of cherry trees for myself! I plan on trying jelly again this harvest season.
Juicing Cherries for Jelly
All cherries have a single pit (or stone) inside. When you make jam, you have to pit every one of them, which is the slow part. For jelly, you get to skip it: the cherries are cooked whole, then strained, so the pits and pulp are left behind and only the clear juice goes into the jar.
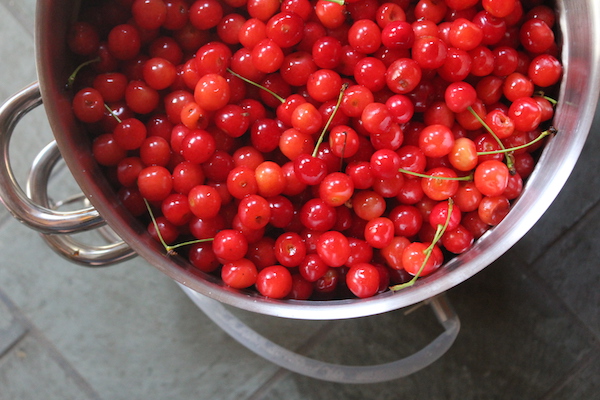
Start with good, sound cherries. Pass over any that are overripe, bruised, or showing soft or moldy spots near the stem, since a few rotten cherries can throw off a whole batch. There are two main ways to get the juice, a steam juicer or the stovetop, and I’ll walk through both. (You can also use store-bought bottled cherry juice and skip straight to making the jelly.)
Steam Juicer
A steam juicer is an efficient way to make juice for jelly or any other canning project. It pulls nearly every last bit of juice from the fruit, which means you get the most out of your cherries, especially if you’re buying them.
To use one, place the cherries in the top basket and add water to the bottom tray. Set the juicer on the stove and let the cherries steam for about 45 minutes to an hour, until the juice has collected in the middle chamber.
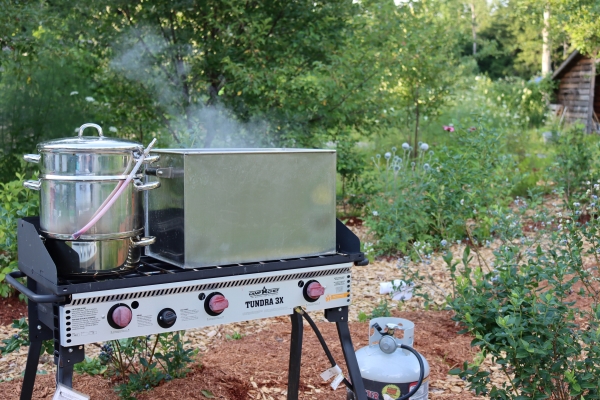
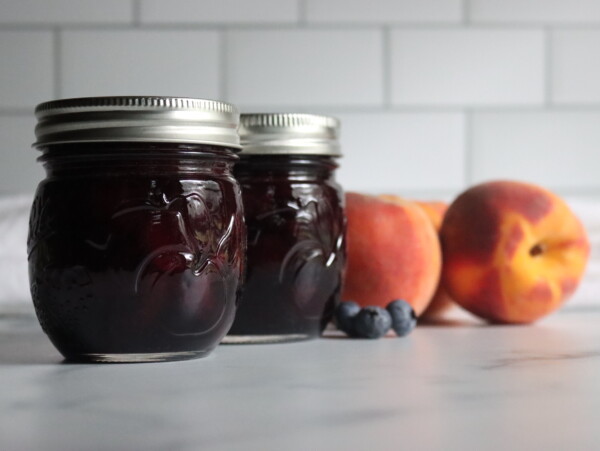
Since cherry season is in high summer, I like to set this up outdoors in my outdoor canning kitchen. It’s convenient, because my “kitchen” sits right in the middle of my blueberry patch and cherry orchard. It’s literally a few steps from the trees to the juicer, so everything goes in as fresh as can be.
I have a high-output three-burner outdoor stove, and it’s the right size to fit my steam juicer next to my extra-large Amish water bath canner, so I can juice and can side by side.
Stovetop Juicing Method
If you don’t have a steam juicer, the stovetop works just as well. Rinse the cherries, then place them in a medium saucepan or jelly pot and add 1/2 cup of water. Cook over medium-high heat, stirring often at first, until the juices start bursting from the cherries. Once there’s a good amount of liquid in the pot, you can stir less often.
Bring the cherries to a boil, then reduce the heat to medium-low, cover, and simmer for about 10 minutes, until all the cherries have popped and given up their juice. Keep the heat gentle so you don’t boil off too much liquid; you want plenty of juice, not a thick syrup.
Once the cherries have simmered, take the pan off the heat and pour the mixture into a jelly bag set over a deep bowl. Let it drip until the dripping slows right down, or until you have at least 4 cups of juice. If you don’t have a jelly bag, use several layers of cheesecloth inside a strainer instead.
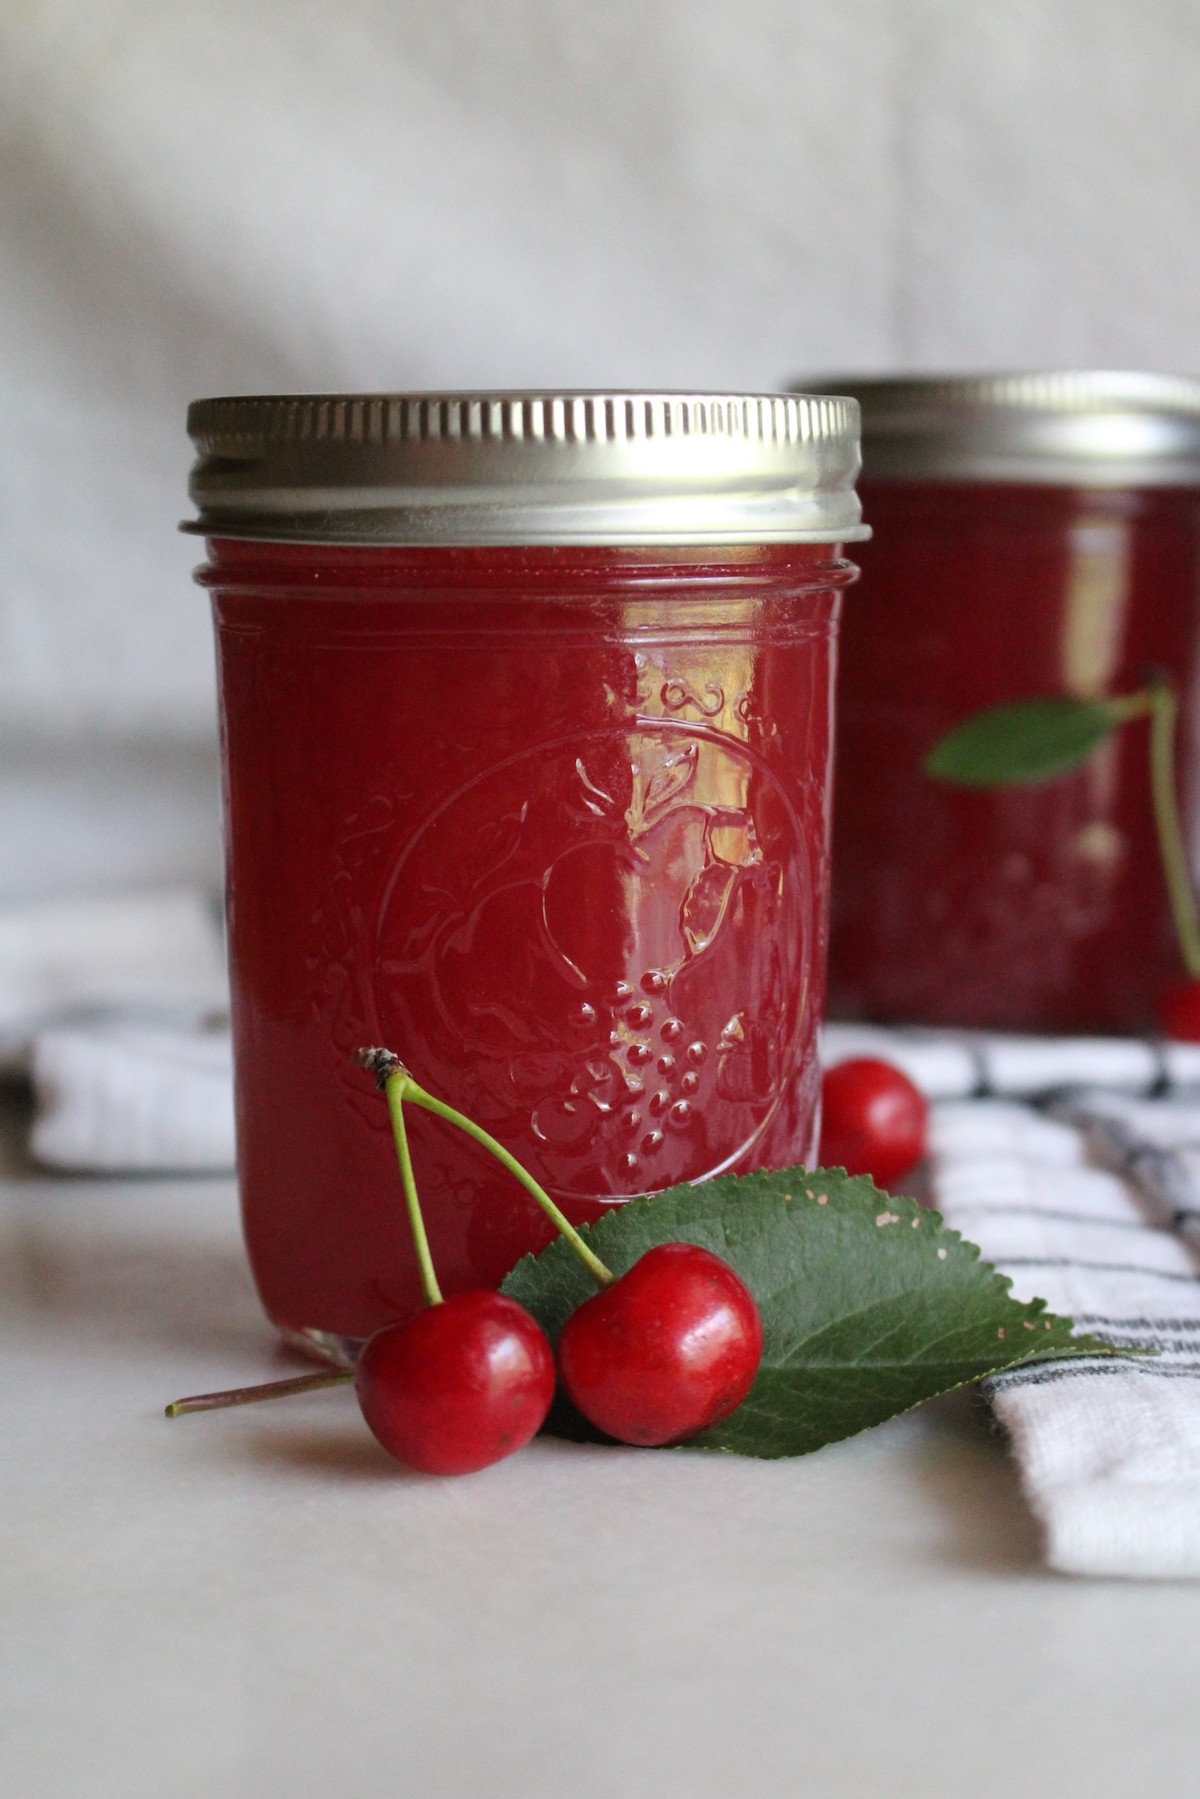
Try not to squeeze the bag. For a clear, bright red cherry jelly, you want the juice to run through on its own, leaving the pulp behind. If some pulp does get through (which can happen with too few layers of cheesecloth), it won’t hurt the flavor, but the finished jelly may turn out a little cloudy.
How to Make Cherry Jelly
Once you have your juice, the jelly itself comes together quickly. One thing to keep in mind before you start: the pectin goes into the juice before the sugar, and the mixture has to reach a full rolling boil at each stage. That order is what activates the pectin so the jelly sets.
While your juice is straining, prepare your canning setup. Fill your water bath canner halfway with water and bring it to a simmer, then wash your jars and lids in hot soapy water and keep them hot until you’re ready to fill them.
Measure exactly 4 cups of cherry juice into a large 6- or 8-quart saucepot. If you’re a little short, add apple or cranberry juice to reach 4 cups. If you’re using lemon juice, stir it in now.
Stir in the entire box of pectin until it’s fully dissolved. Place the pot over high heat and bring it to a full rolling boil, which is a boil that doesn’t stop bubbling even when you stir it, stirring constantly as it heats.
Once you’ve reached a full rolling boil, add all 5 cups of sugar at once. Stir vigorously to dissolve the sugar completely, then return the mixture to a full rolling boil and boil for exactly 1 minute, stirring constantly. Timing matters here: too short and the jelly won’t set, too long and it can turn out stiff.
Remove the pot from the heat and skim off any foam from the surface with a metal spoon. A little foam is normal and won’t hurt anything, but skimming it gives you clearer jelly.
Don’t Overcook Pectin Jelly
Pectin jelly sets on chemistry, not on cooking time, and that trips a lot of people up. The jelly looks thin in the pot when you take it off the heat, and that’s exactly right, because pectin firms up as the jelly cools, not while it’s boiling. A full rolling boil for one minute after the sugar dissolves is the whole job.
Skip the thermometer and the cold-plate test here, since those are for old-fashioned no-pectin jellies that you cook to a gel point. And give the jars a full 24 to 48 hours to set before you decide anything went wrong (some batches take a little longer). If it’s still loose after that, my guide to troubleshooting jelly that didn’t set walks through how to fix it.
Canning Cherry Jelly
Work quickly while the jelly is still very hot, since it begins to set as it cools. If you’re new to water bath canning, that guide walks you through all the basics step by step.
Ladle the hot jelly into prepared hot jars, filling to within 1/4 inch of the top. This headspace is smaller than most canning recipes because jelly is low in solids and doesn’t expand much during processing.
Wipe the jar rims thoroughly with a clean, damp cloth to remove any jelly residue, since even a small amount on the rim can keep a jar from sealing. Center the lids and screw the bands on fingertip-tight, without overtightening.
Place the filled jars on the rack in your prepared water bath canner and lower it into the simmering water. The water should cover the jar tops by 1 to 2 inches, so add boiling water if you need to. Cover the canner, bring the water to a gentle boil, and process half-pint jars for 10 minutes (adjust for altitude as needed).
When the time is up, turn off the heat, remove the canner lid, and let the jars rest in the canner for 5 minutes before lifting them out. This prevents temperature shock and reduces the chance of jars cracking or losing liquid.
Set the jars upright on a towel-covered surface and leave them undisturbed for 12 to 24 hours, listening for the “ping” of lids sealing as they cool. Once cool, check the seals by pressing the center of each lid. If it doesn’t flex, the jar is sealed. Refrigerate any unsealed jars and use them within 3 weeks.
Altitude Adjustments
The altitude adjustments for water bath canning cherry jelly are as follows:
- 0 to 6,000 feet: 10 minutes
- Above 6,000 feet: 15 minutes
Yield Notes
You’ll need about 3 to 4 pounds of sour cherries (roughly 2 quarts) to get the 4 cups of juice this recipe calls for. Sweet cherries are less juicy, so plan on closer to 4 pounds. Either way, you cook them whole and strain, so there’s no pitting to slow you down.
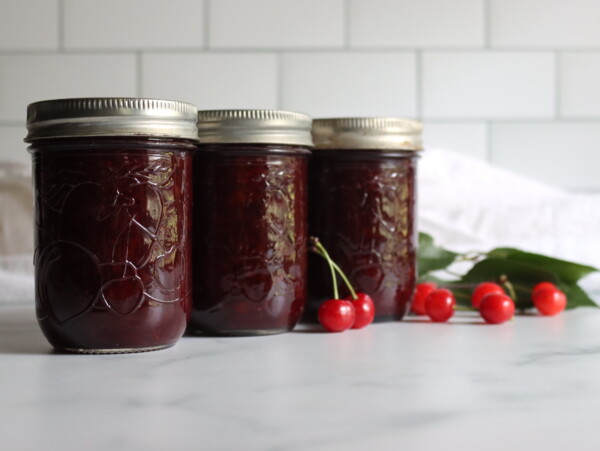
A full batch (4 cups of juice, one box of pectin, and 5 cups of sugar) makes 5 to 6 half-pint jars. Don’t double the batch, since larger amounts don’t heat evenly and often won’t set. If you want more, make two single batches back to back instead.
Ways to Use Cherry Jelly
Cherry jelly is right at home with peanut butter on a sandwich, or all on its own on toast, English muffins, or biscuits. It works on just about any bread you like.
- Tea Sweetener: Stir a teaspoon into a mug of hot tea for a sweet burst of cherry flavor.
- Scones and Biscuits: Bake a batch of cherry or cranberry scones and serve them with cherry jelly alongside.
- Thumbprint Cookies: Spoon a little into the centers of thumbprint cookies before or after baking.
- Cheese Board: Serve a small dish of it next to soft cheeses like brie, where the bright cherry flavor cuts through the richness.
- Meat Glaze: Warm a few spoonfuls and brush it over pork or poultry in the last few minutes of cooking for a quick, glossy glaze.
However you use it, a jar of clear red cherry jelly has a way of making an ordinary breakfast feel like a small treat.
Cherry Jelly FAQs
No, and that’s a big part of the appeal. You cook the cherries whole, then strain the juice through a jelly bag, so the pits and skins are left behind and never have to be removed by hand. Cooking the cherries with their pits in even lends the jelly a subtle, natural almond note.
Yes to both. Sweet, black, and Rainier cherries all make lovely jelly; just add 1 to 2 tablespoons of lemon juice to balance their lower acidity. You can also use bottled tart cherry juice from a health food store. If it’s concentrated, dilute it back to regular strength before measuring out your 4 cups.
Common causes include not reaching a full rolling boil, incorrect timing after adding the sugar, or inaccurate measurements. Pectin jelly also looks thin when hot and firms up as it cools, so give it 24 to 48 hours before judging the results. If using Sure-Jell pectin and your jelly still hasn’t set after a couple of weeks, you can remake it by reheating with additional pectin. For detailed steps, see our guide on troubleshooting jelly set.
Yes, but you’ll need a low-sugar pectin like Sure-Jell Low Sugar or Pomona’s Universal Pectin and follow the package directions, since regular pectin needs the full amount of sugar to gel. With cherry jelly, that’s usually about 2 cups of sugar for 4 to 5 cups of juice. The yield will be a little lower with reduced sugar.
Cherry Canning Recipes
If you tried this Cherry Jelly Recipe, or any other recipe on Creative Canning, leave a ⭐ star rating and let me know what you think in the 📝 comments below!
And make sure you stay in touch with me by following on social media!
Cherry Jelly
Equipment
- Canning Jars, Lids and Bands
Ingredients
For the Juice:
- 4 pounds cherries, sour or sweet
- 1/2 cup water, stovetop method
For the Jelly:
- 4 cups strained cherry juice
- 2 Tbsp lemon juice, optional, for sweet cherries
- 1 box powdered pectin, 1.75 oz regular powdered pectin, or 6 Tbsp Bulk Pectin
- 5 cups granulated sugar
Instructions
- Cook the cherries whole with the water until they pop and release their juice, then strain through a jelly bag without squeezing. Measure the strained juice.
- Combine the cherry juice and optional lemon juice in a deep pot and whisk in the pectin until dissolved. Bring to a full rolling boil over high heat, stirring constantly.
- Add all the sugar at once, stir to dissolve, return to a full rolling boil, and boil hard for exactly 1 minute. Remove from heat and skim off any foam.
- Ladle into prepared jars, leaving 1/4 inch headspace. Wipe the rims, center the lids, and apply bands fingertip-tight.
- Process in a boiling water bath for 10 minutes, adjusting for altitude. Rest the jars 5 minutes, then cool 12 to 24 hours and check the seals.
Notes
Nutrition
Nutrition information is automatically calculated, so should only be used as an approximation.
Stone Fruit Canning Recipes
Find the perfect recipe
Searching for something else? Enter keywords to find the perfect recipe!


I was so excited to try this jelly and looking forward to the morning to smear some on some buttered bread. Unfortunately it did not set up properly and I have a lot of syrup. I thought I followed your recipe to a tee but not sure what happened. Do you have any suggestions?
Hi Jen, I have a troubleshooting guide for jellies that didn’t set. In general, jellies with added pectin are very dependable provided you follow the directions (the right order, boil for 1 minute, etc). Other than that, the most common cause for a jelly not setting is a bad batch of pectin. I wrote a jelly troubleshooting guide here and hopefully that helps: https://creativecanning.com/troubleshooting-jelly-set/
Would you use the regular sugar recipe or low sugar recipe for Rainier cherries since they are sweeter than most?
First time jelly maker and I don’t want to mess it up.
My home grown Kansas cherries are much smaller than the ones I bought when in Door county Wisconsin. Since the meat to pit ratio must be less. Do you recommend I use a greater quantity of weight?
That’s probably a good idea. The main thing here is measure your juice before you start making the jelly. Some cherries have a lot more juice than others, and if yours are dryer or have more pit, you might need more cherries to get the appropriate amount of juice.
I’ve been canning for about years. I made this recipe with a couple of modifications along the lines of how I make pomegranate jelly. I reduced the juice to 3 1/2 cups because I like the way it sets up now that they no longer sell 2 ounce pectin packets. Then, after you add the sugar and bring it up to a rolling oil, if you add 1/4 teaspoon of butter you will find that it substantially reduces the amount of foam you’d need to skim off. Delicious!
I had some leftover tart cherry juice that I did not want to drink. I used your cherry jelly recipe and it turned our awesome. We are very picky when it comes to our food but this one is a keeper to go into our recipe box to make every year. Thank you.
Wonderful, so glad you enjoyed it!
I have bought organic unsweetened juice for this as I don’t have access to my Michigan cherries anymore. I also have some concord grape juice left from a batch of grape jelly I made recently. I would love to make a cherry grape jelly. Do you have a recipe for that? I’m curious if the juice to sugar ratio would be the same since I’m using two different juices, both the same brand, organic and unsweetened. Thanks in advance!
You can use a mix of cherry and grape in this recipe. The grape will maybe make it a bit sweeter, but it’s going to depend on the grape juice. Sometimes unsweetened grape juice is also quite tart. Either way, this recipe works well with almost any type of juice or juice mix, so feel free to substitute as you like. Enjoy!
I made 2 batches that were half of the recipe and made them low sugar with low no sugar pectin. They say up passing the spoon and cold saucer test and was almost thick as jam! Great recipe. Used lemon juice 1 half T, 2 and 1/2 cups juice, 1 1/4 c sugar, 1 T pectin low no sugar. Also 1/4 spoonful butter. Thanks you!!!
Wonderful, so glad you enjoyed it!
Made two half batches low sugar turned out perfect both times! Sat up and also tastes good too. Ll
Wonderful, so glad you enjoyed it!
You’ve answered many of my questions on canning jelly in this post. I appreciate your detailing every step. I now want a grove of cherries trees for myself. LOL
I’ve only successfully made one batch of jelly and it was Jalapeno jelly at the very end of last growing season. It was quite tasty with brown beans and cornbread. I even use it in Mexican cornbread. We had an abundance of watermelon last year and I tried to make watermelon jelly…with no recipe, as I could not find one…it did not turn out well.
Thanks for this post as I plan on trying making jelly again this harvest season.