This post may contain affiliate links. Please see our disclosure policy.
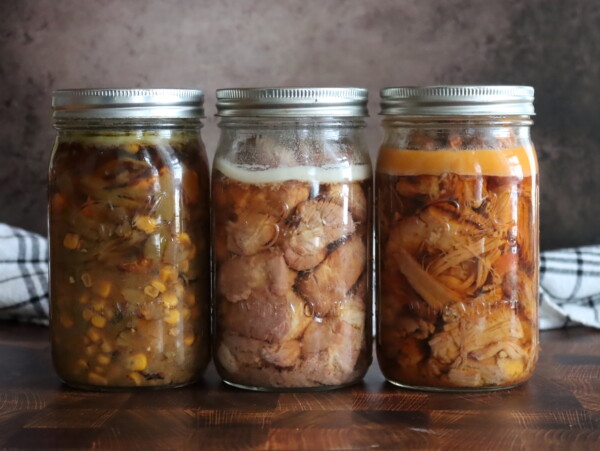
Thai red curry duck is a staple in our house, and one of our very favorite meals. It’s easy to convert this flavorful Thai recipe to a canning safe recipe for your home pressure canner, where you can store it heat and serve jars right on your pantry shelf.
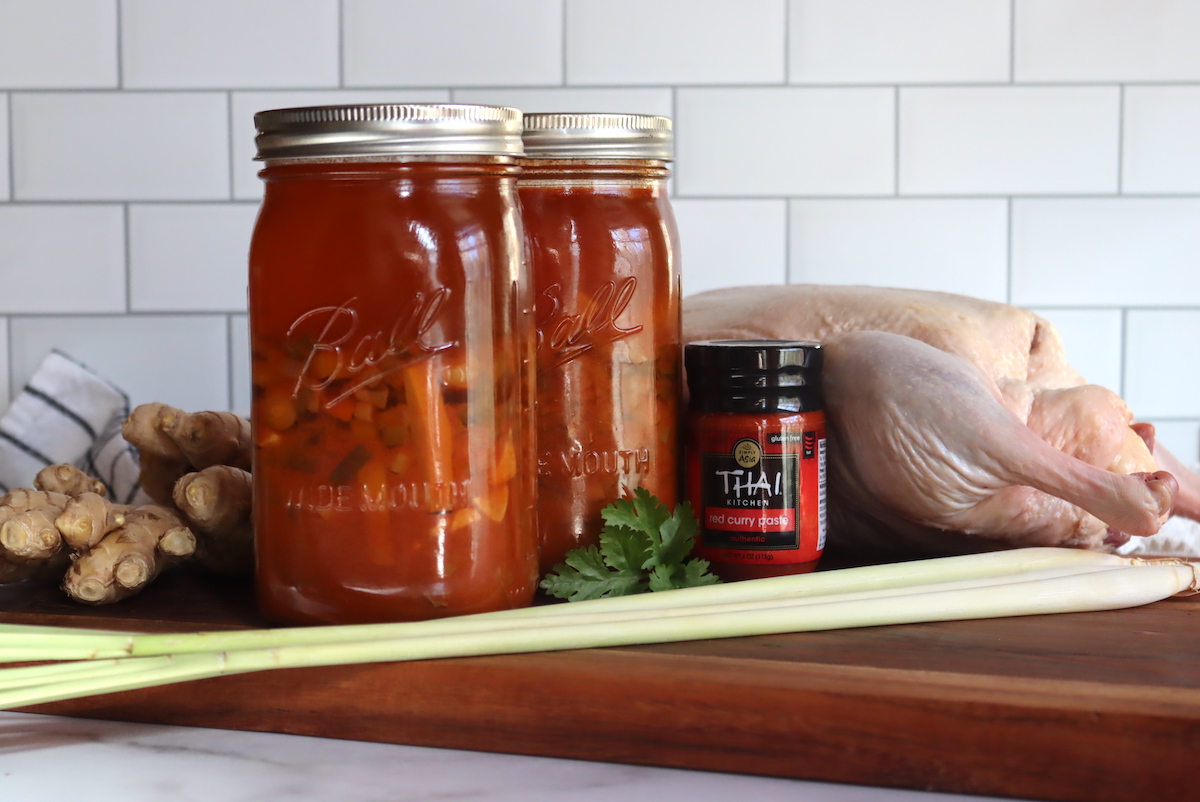
We eat a lot of Thai curries in my house, and I absolutely love how easy they are to prepare from mostly shelf stable ingredients. Things like curry paste, coconut milk, water cashews and many other crunchy vegetables come right out of cans on my pantry shelf, and all I need to do is add in meat and fresh garden vegetables.
Some type of Thai curry finds its way into our meal plan rotation about every other week, and red duck curry is one of our favorites. We used to raise ducks for meat and eggs, and our flock was more than 50 birds at one point…so we eat a lot of duck!
(This curry can be made just as easily with chicken too, or even beef or pork.)
When I saw a recipe for canning Thai red curry duck in Angi Schneider’s cookbook, Pressure Canning for Beginners and Beyond, I just knew I had to try it at home. (Her book really is truly amazing, and has some of the most creative pressure canning recipes I’ve ever seen. If you have a pressure canner at home, you need this book!)
We put up a case after case of meal in a jar canning recipes each year, but I’d never considered canning curries before. It was completely eye opening!
It’s an obvious fit though, as it’s little more than meat and vegetables in a well seasoned broth. You add in the coconut milk when you heat the meal, since that’s the one ingredient that’s not approved for canning.
Adding coconut milk to serve is really simple though, and since it’s already in a can it can just live on your pantry shelf right next to the home canned jars of curry.
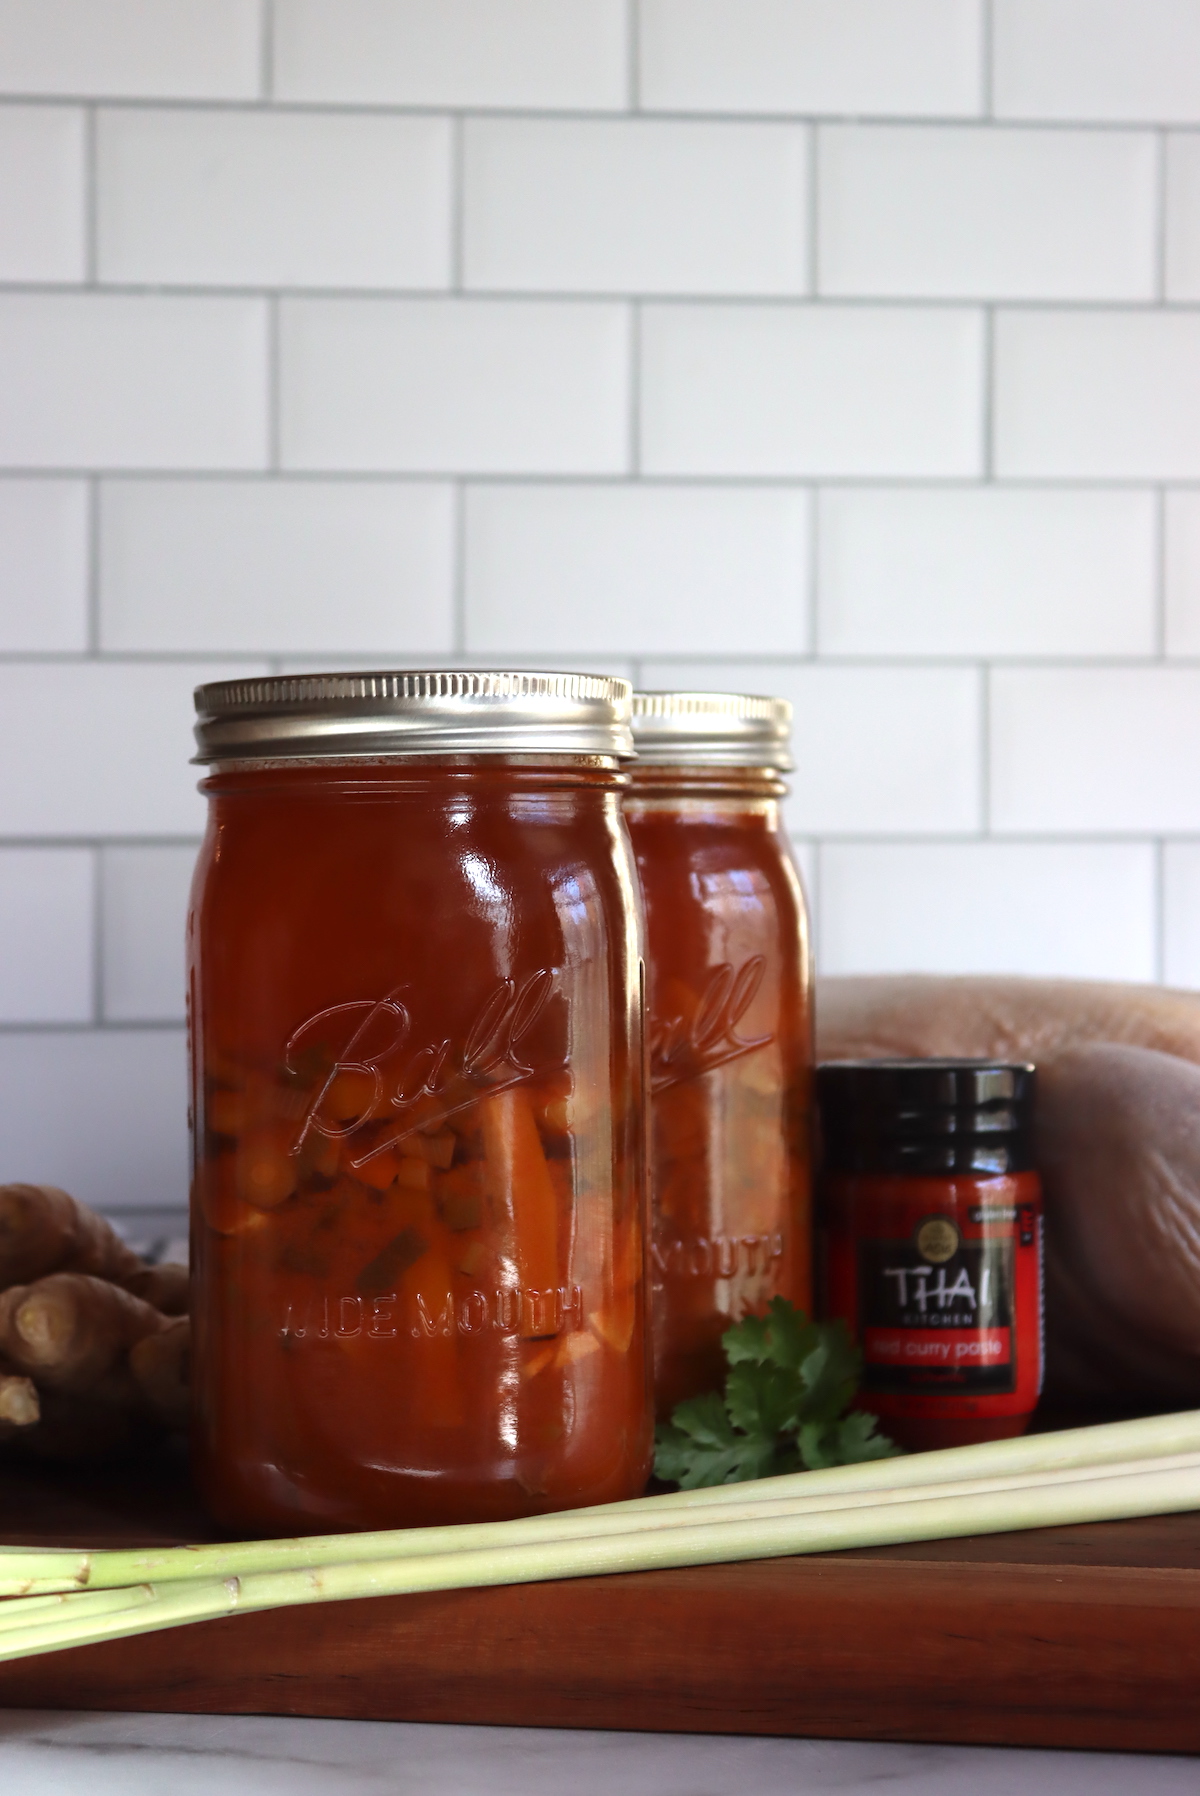
Is Thai Curry Safe for Canning?
There are two main ways to safely can a Thai curry.
The National Center for Food Preservation provides guidance for developing your own recipes, both for seasoning just meat in a jar and for creating mixes of meat and vegetables (soups and curries).
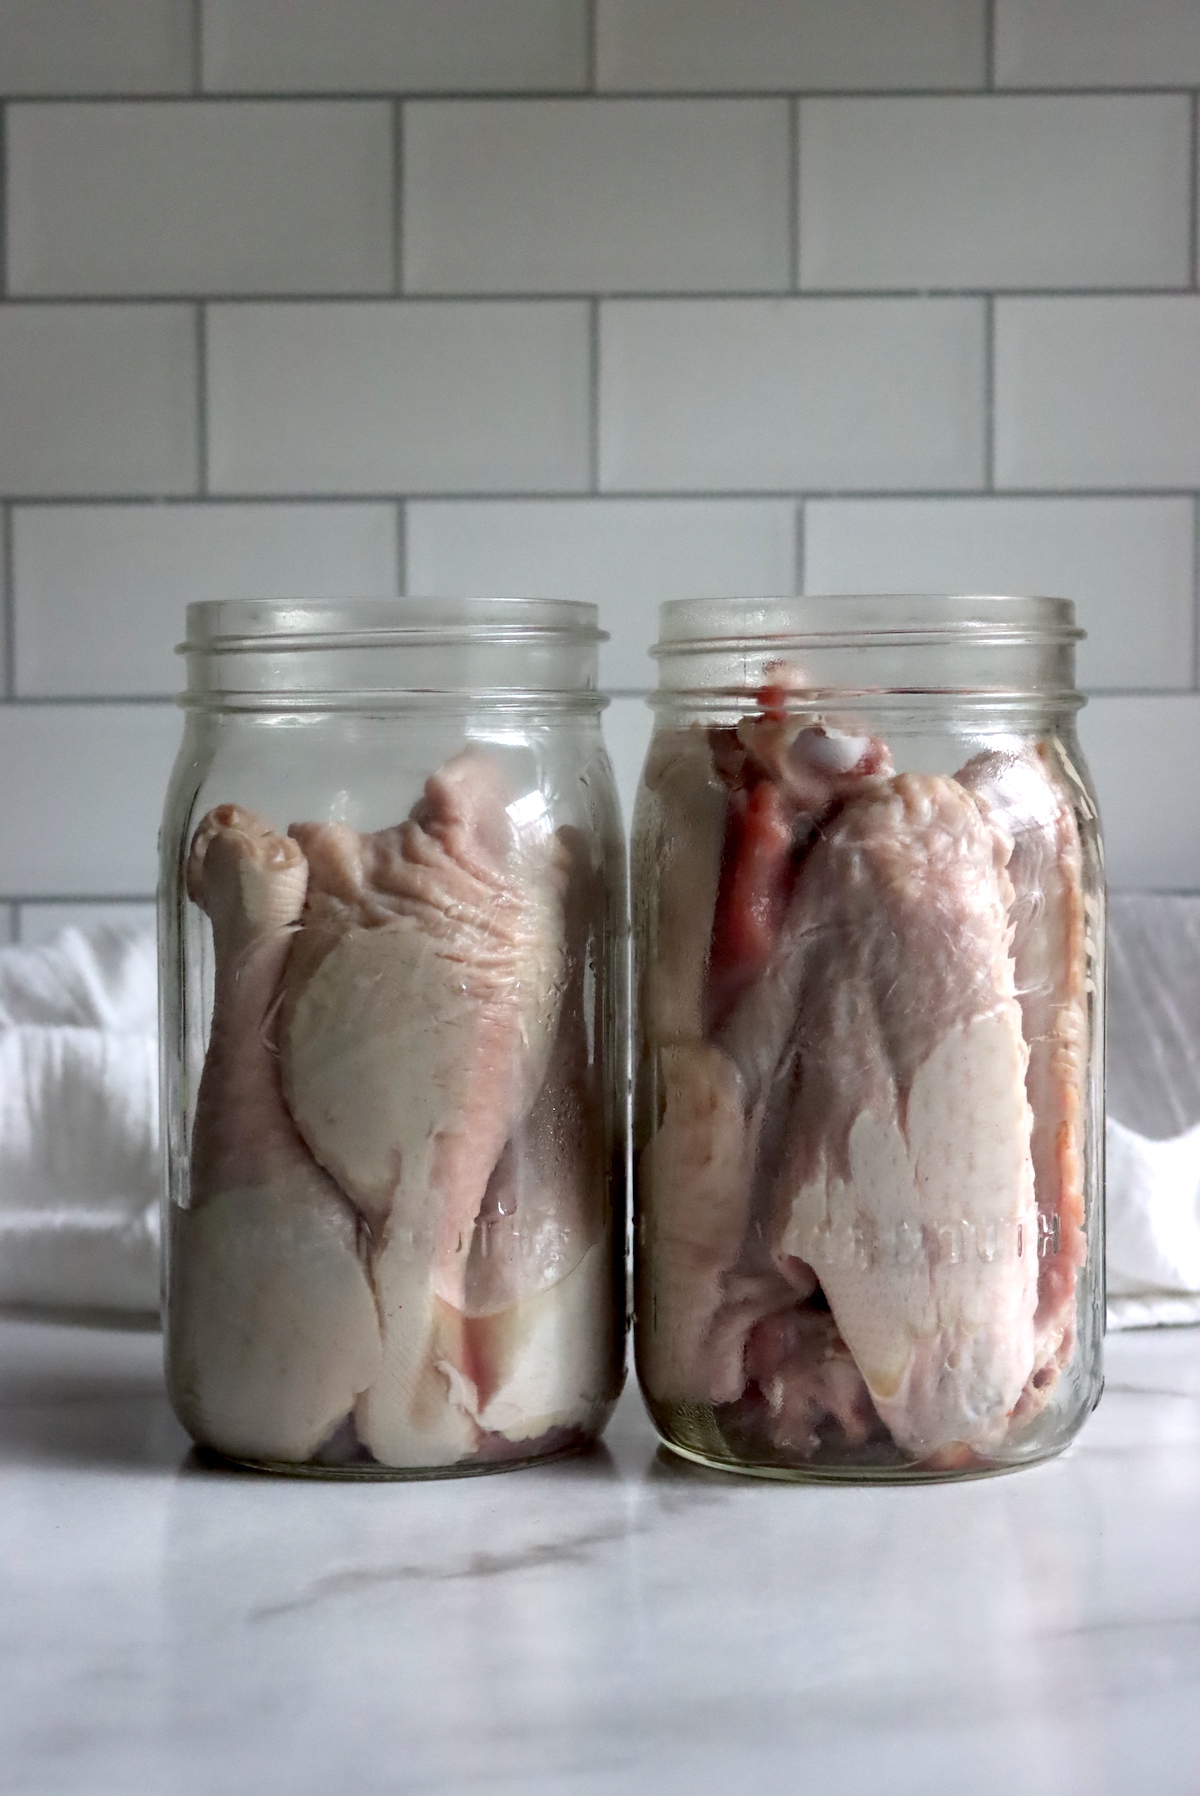
Angi’s recipe in her canning book takes the principles of canning meat in a jar, and she raw packs bone in duck in a flavorful curry broth. To serve, she has you pour the broth into a pot and re-heat it with a can of coconut milk. Each piece of duck (or chicken) is then removed from the jars with tongs and heated in the broth.
That gives you duck with Thai seasoning, and a rich broth, and the results are excellent.
My family tends to make Thai curries that are more like a rich soup served over rice, and that’s what you’ll get if you order a curry at a Thai restaurant. That’s also approved for canning, following the USDA’s “your choice” soup canning recipe.
The idea is that you can put up jars with a mix of meat and vegetables with seasoning, provided all the ingredients in the mixture are individually approved for canning. The other condition is that you only fill the jars half way with solids, and the rest is broth…which actually works perfectly for Thai curries.
You can’t add any thickeners (flour, corn starch, etc), and both dairy and coconut milk aren’t allowed in home canned soups either. That’s not a problem because the only thing there you’d want to add is coconut milk, and that’s easy enough to add in from the pantry shelf at serving.
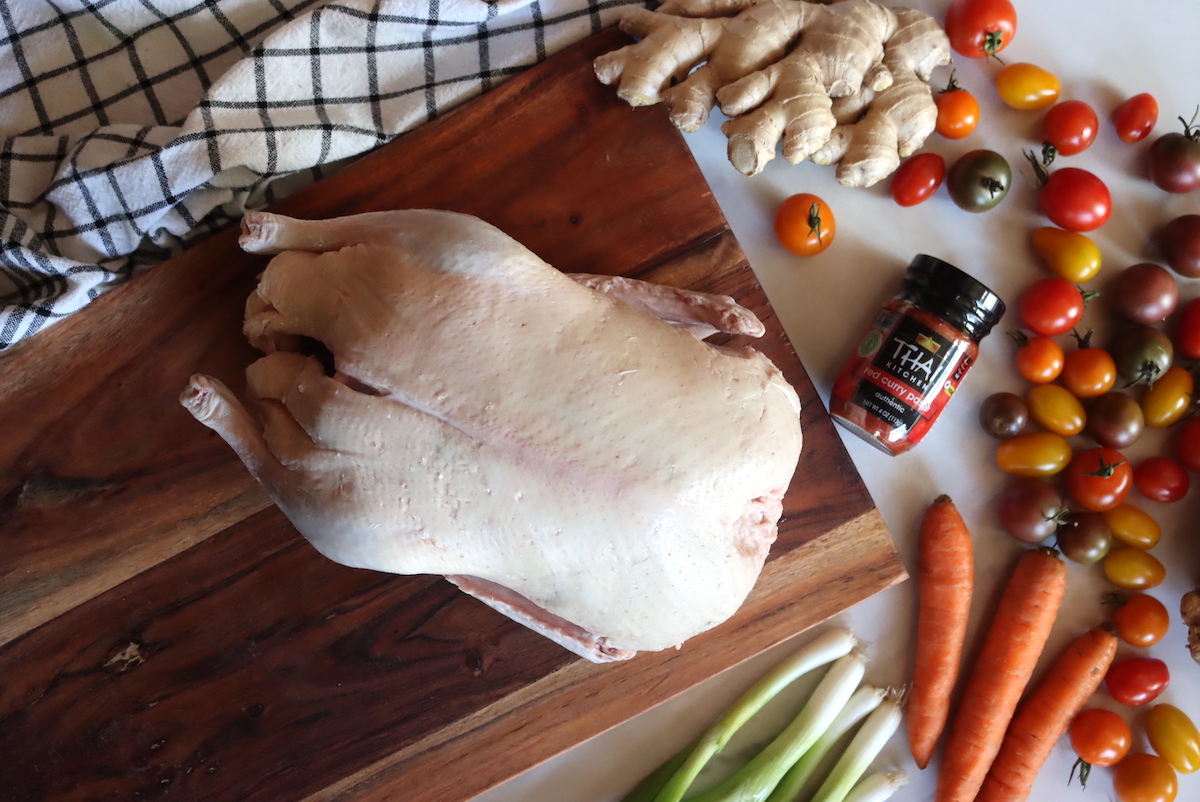
Ingredients for Canning Thai Curry (2 Ways)
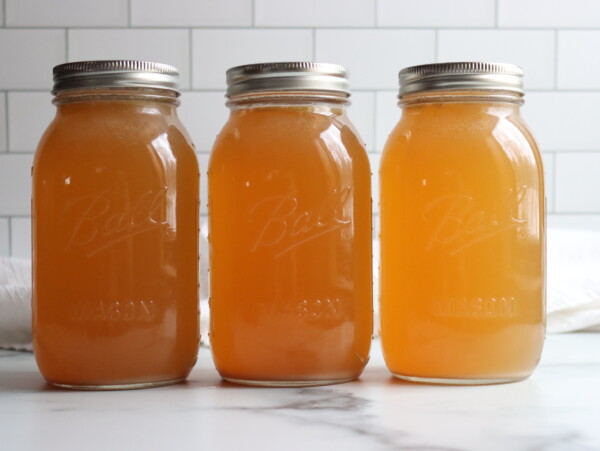
This basic seasoned broth recipe for canning Thai curry comes from Angi’s cook book, and it has a good balance of flavor that infuses beautifully into the curry ingredients. (She just uses it to pack duck meat into jars, parted into pieces but bone in, without vegetables.)
My recipe is for a curry that’s both meat and vegetables mixed with a spicy broth, and the meat is pre-cooked and de-boned before canning. It follows the “soup” canning protocol from the USDA.
I’ve included both recipes, so you can choose for yourself.
Thai Curry Broth for Bone in Duck (Version 1)
This recipe will make enough broth to pack 3 quart jars very tightly with parted, bone-in meat.
- 1 quart (960 ml) chicken or duck broth, homemade or store bought
- 2 stalks lemongrass, optional
- 2 tbsp (30 g) red curry paste
- 2 tsp (10 ml) fish sauce
- 4 tsp (11 g) garlic powder
- 2 tsp (5 g) onion powder
- 1/2 tsp crushed red pepper flakes, optional for spice, increase it for more heat
- 2 tsp (3 g) dried ground ginger
- 2 tsp (12 g) salt
- 1 tsp ground black pepper
- 2 tsp (10 g) sugar
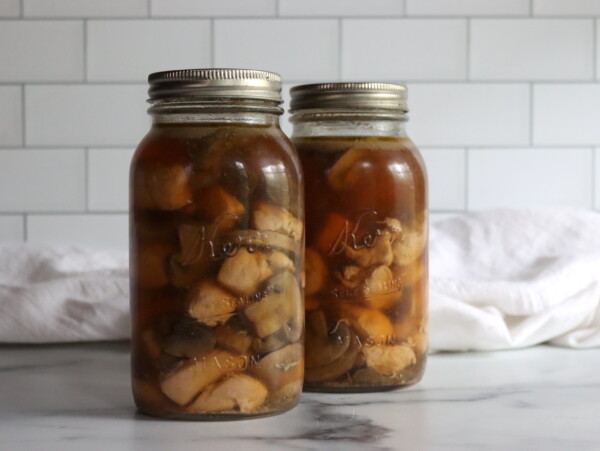
In Angi’s recipe, she then uses that to pack a whole 6 pound duck into three quart jars. It’s parted into bone in sections of breast, thigh, legs and wings before packing into jars. The boiling broth is then poured over the raw packed, bone in meat in jars and processed at 10 pounds pressure for 90 minutes in quart jars (adjust for altitude).
I’ve made her recipe with the legs and wings of a few ducks, simply because they’re a pain to de-bone and easier to can as whole pieces. It comes out absolutely fabulous, though it’s more salt than I tend to use in cooking. I would suggest reducing the salt (or eliminating the salt, since both fish sauce and curry paste have plenty of salt), but that’s up to your personal tastes.
Try the broth before you pour it over the duck, but realize that the meat will soak up much of the salt and it improves flavor/texture over time…so it’s a delicate balance, and up to your personal tastes.
Since wings and legs are particularly hard to de-bone, this is a good option for those cuts.
Thai Red Curry Duck with Vegetables (Version 2)
My recipe is a bit different, because I’m following the generic “soup” canning instructions and modifying it with Thai spices (rather than canning seasoned meat as she did). You’ll notice that Angie only uses dry spices, even for garlic and onion. That’s because the “meat” canning instructions allow you to add plenty of dry spices but no fresh ingredients.
Since I’m using the “soup” canning protocol, I’m going to use fresh garlic, ginger and onion in my recipe. I’m also adding in scallions, cherry tomatoes and carrots. At serving, I may add in cans of water chestnuts, bamboo shoots and baby corn alongside my can of coconut milk, but I cannot add those in at this point since they’ve not been tested for canning safety.
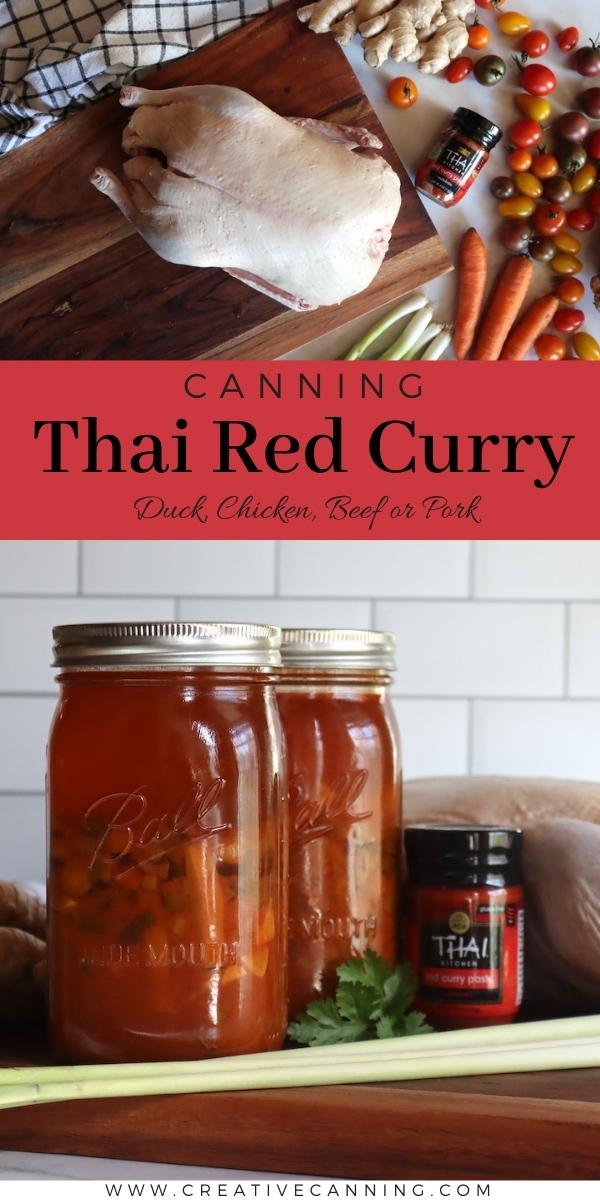
My recipe for a 7 Quart Canner Batch of Thai Red Curry is as follows:
- 7 to 8 cups duck meat, de-boned from 2 whole roast ducks (5-6 lbs each)
- 5 quarts Duck Stock, made from duck carcasses
- 4 cups carrots, chopped into 2” long matchsticks (about 1 pound)
- 2 1/2 to 3 cups chopped pineapple (or a 20 ounce can)
- 3 cups chopped scallions, 3 bunches, or about 8 oz in weight
- 1 bulb garlic, peeled, and diced (or pressed)
- 12 ounces red curry paste (three jars, 4 oz each)
- 2 to 4 inches fresh ginger, peeled and grated
- 1/4 cup lime juice
- 2 Tbsp fish sauce
- 2 tsp salt
These quantities should yield right about 7 quarts of Thai red curry. Each jar will should be half filled with solids, and then topped off with the curry broth.
You can add in any vegetables you like, provided they have tested approved canning recipes when canned individually. That means you cannot add in coconut or cabbage, because they don’t have tested canning recipes…but you can add in cherry tomatoes, peppers and a whole host of other veggies that suit your tastes.
Just be sure you don’t pack the jars more than half way with solids so that the mixture doesn’t become too dense.
(This is not the case with the “meat” only canning recipe in version one. That must be just dry spices and meat, no added vegetables, as the jars are packed much tighter.)
This recipe is processed in a pressure canner using the “USDA Your Choice Soup” canning instructions.
The process times are always the same, and it’s 60 minutes for pints and 75 minutes for quarts (or 100 minutes for either if your soup contains seafood). The canning pressure varies by canner type and altitude.
In a dial gauge pressure canner, the pressures are as follows:

In a weighted gauge pressure canner, the pressures are as follows:

Serving Canned Thai Curries
To serve these home canned thai curries, simply pour the contents of a jar into a saucepan and reheat over the stove. They’re best when you add in a standard can (15 oz) of full fat coconut milk when reheating (per quart), and that’d be how they’d be served in a thai restaurant.
At serving, you can also add in drained cans of veggies that are not approved for canning, such as water chestnuts, bamboo shoots or baby corn. That’s optional, but it’ll also help bulk out the meal.
My husband and I are hearty eaters because we’re often working outdoors all day, and a single quart jar with coconut milk is what we eat over rice for dinner. If you’re a more moderate eater, it’ll make more like 3-4 reasonable servings.
(The rice and coconut milk really do extend the dish out quite a bit into a full family meal.)
Canning Thai Red Curry Duck (or Chicken)
Ingredients
- 7 to 8 cups cooked duck meat, de-boned from 2 whole roast ducks (5-6 lbs each)
- 5 Quart of Duck Stock, made from duck carcasses
- 4 cups carrots, chopped into 2” long matchsticks (about 1 pound)
- 2 1/2 to 3 cups chopped pineapple, or a 20 ounce can
- 3 cups chopped scallions, 3 bunches, or about 8 oz in weight
- 1 bulb garlic, peeled, and diced (or pressed)
- 12 ounces red curry paste, three jars, 4 oz each
- 2 to 4 inch fresh ginger, peeled and grated
- 1/4 cup lime juice
- 2 Tbsp fish sauce
- 2 tsp salt
Instructions
- Starting with two whole roasted ducks, remove the meat from the bones and break into small pieces.
- If you're making your own stock, simmer the carcasses with a few carrots and onions for about 4 to 12 hours, until the broth looks nice and rich. Then strain. Or, use commercially prepared broth or stock.
- Prepare a pressure canner for hot pack, preheating with a few inches of water in the bottom. Also prepare jars, lids and rings.
- Place all the listed in a stock pot or dutch oven. Stir to incorporate all the ingredients, and bring up to a gentle simmer. Simmer for about 5 minutes until the ingredients are heated through.
- Use a slotted spoon to evenly divide all the ingredients across 7 quart size canning jars (or 14 pint canning jars). The jars should only be about half full of solids. Top off each jar with the curry broth, until they're nearly full, but with 1'' headspace.
- Cap with 2 part canning lids and place the jars into your pressure canner.
- Put the lid on the canner and bring it up to temperature to allow it to vent steam for 10 minutes. Add the canning weight and bring it up to pressure.
- Process the jars for 75 minutes (for quarts) or 60 minutes (for pints). See notes for altitude adjustments if you're above 1000 feet in elevation. After the processing time, turn off the heat and allow the canner to come to room temperature naturally.
- When cool, remove the jars from the canner and check seals. Store any unsealed jars in the refrigerator for immediate use. Properly canned and sealed jars can be kept on the pantry shelf.
- If properly canned, this thai curry will maintain peak quality on the pantry shelf for 12-18 months and be safe to eat as long as the jars are sealed. Refrigerate after opening.
- To serve, pour the contents of a quart jar into a saucepan and bring to a boil. Add 1 can of coconut milk. Stir to incorporate and heat through, and then serve over rice.
Notes
Altitude Adjustments
The pressure canning time stays the same regardless of altitude, but the canning pressure changes as you rise above sea level.For dial gauge pressure canners:
- 0 to 2,000 feet in elevation – 11 lbs pressure
- 2,001 to 4,000 feet in elevation – 12 lbs pressure
- 4,001 to 6,000 feet in elevation – 13 lbs pressure
- 6,001 to 8,000 feet in elevation – 14 lbs pressure
For weighted gauge pressure canners:
- 0 to 1,000 feet in elevation – 10 lbs pressure
- Above 1,000 feet – 15 lbs pressure
Meal in a Jar Canning Recipes
Looking for more recipes to put heat and eat meals right on your pantry shelf? These meal-in-a-jar canning recipes will keep you stocked!
Pressure Canning Recipes
Keep your pressure canning running with these simple pressure canning recipes!
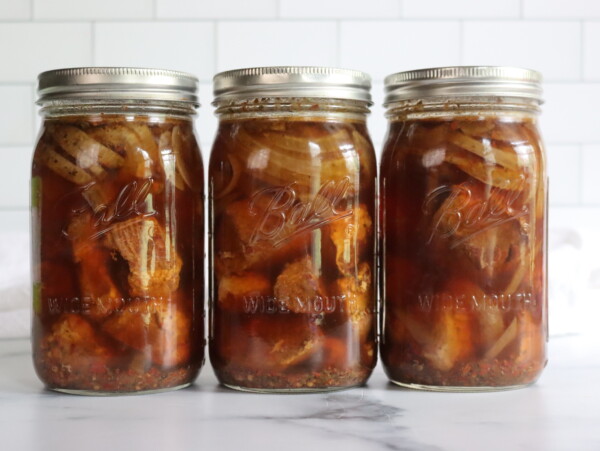
I made this with chicken – YUM!
Wonderful!
Hi Ashley…can I omit the pineapple from this canning recipe?
I’m allergic to it.
Yup, the pineapple is optional. Go ahead and leave it out. Enjoy!
Hello bone in chicken uses less time for canning as opposed to boneless. Why is the time for Angie’s recipe 90 min for quart of bone in duck?
The reason is she’s using the “hearty soup” protocols from the University of Alaska, which allow you to create your own meal in a jar canning recipe. Since she has other ingredients in there, I imagine she chose to go with the more conservative “soup” times. More on the meal in a jar recipe development here: https://creativecanning.com/choice-meal-in-a-jar-canning-recipe/
Likely, the shorter times for canning bone in poultry would be sufficient, given that what’s added here basically amounts to seasoning, but Angie is being conservative here and sticking with the more conservative numbers.
I love curries and am excited to see your recipe.
However, duck is not a meat that is readily available to me. Could I substitute chicken?
And… could I substitute in chicken thighs?
Thanks for any suggestions.
Yes, you can use any poultry here. Chicken breast tends to hold together better in chunks, where as chicken thighs tend to break apart (like pulled chicken).
Will 15 lbs. be enough pressure at 4,500 ft. with a weighted gauge or can I just not make it here? This sounds so delicious.
Thank you for your help.
Yes, 15 pounds works perfect for a weighted gauge (if you had a dial gauge, you could do 13 lbs for that altitude). You can definitely make it at 4500 ft. Enjoy!
Have you ever used your mock pineapple in this recipe? Thanks for sharing. I think we may have to try this.
Hmmm! That’s an interesting question. In theory, pineapple isn’t “approved” for adding to most pressure canning recipes because it can fall apart and mat down in the canner, causing density issues. That’s mainly if you’re using a boat load of zucchini though, like a whole jar. In this recipe, it’d just be a small amount, and there are many tested recipes that include small amounts of diced zucchini in the mix. (Including things like canned mixed veggies, where the whole jar is filled, rather than this more soup like recipe that’s only half full of solids.)
Since the mock pineapple is made with sugar, it actually candies a bit, and firms up the texture of the zucchini. I’d guess that would hold up to pressure canning really well.
Anyhow, I’d try it personally, and I bet it’d be delicious, but it’s one of those canning “grey areas” since no one’s going to test that very specific thing in a lab, so you’ll have to use your best judgement there. It stands to reason that it’d work out just fine though, and be delicious.