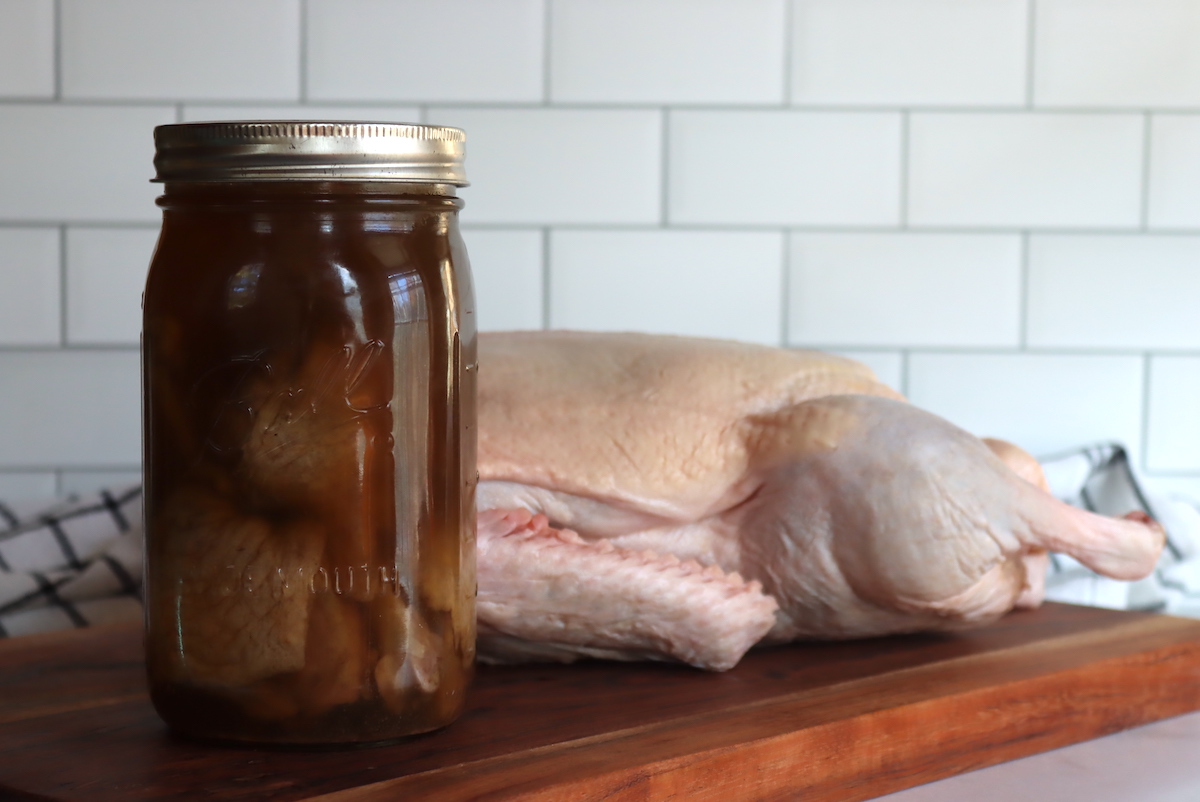
Canning duck or goose is an easy way to put up this flavorful meat, whether it be a domestic bird or wild hunted animal.
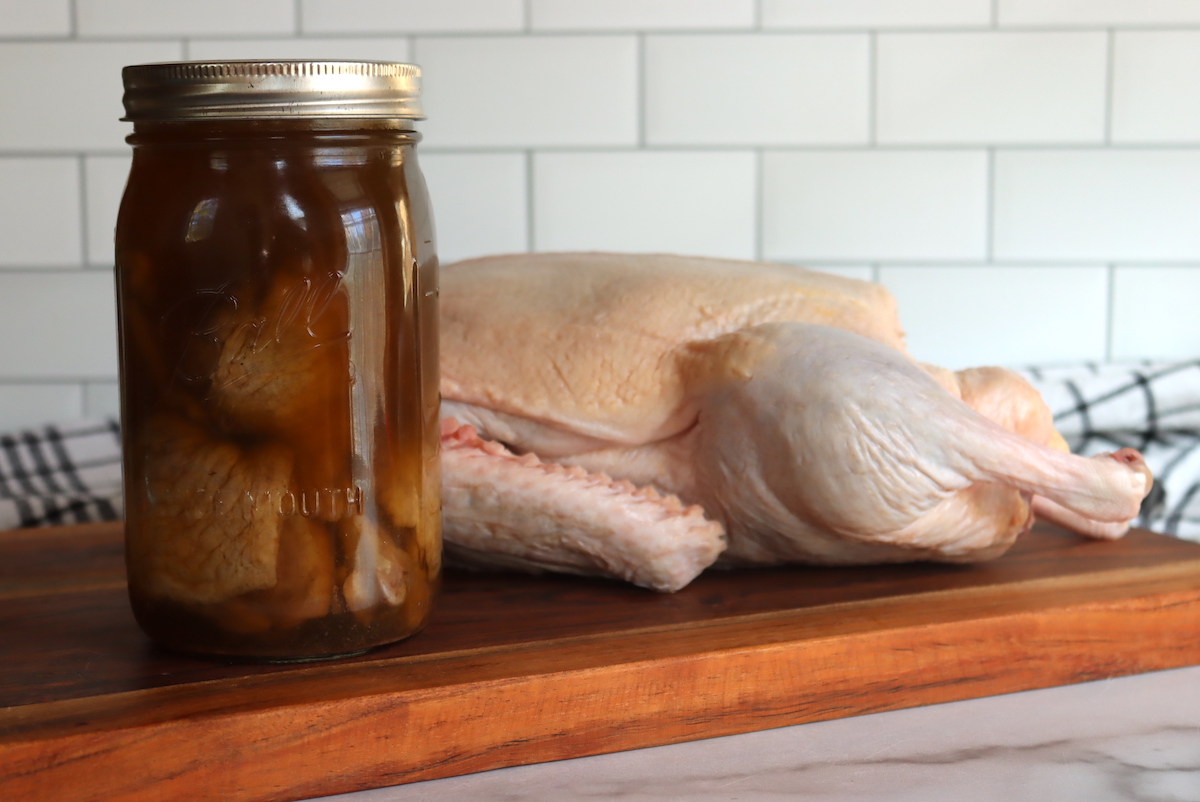
Duck and goose are two of the most popular game birds in North America. They are prized for their tender, succulent meat – meat that is known for being rich in flavor and nutrients.
Sure, you can freeze your excess harvest – but one of the best ways to preserve this delicious meat and enjoy it throughout the year is by canning. Canning is a simple and easy process that allows you to store your duck and goose meat for long periods without refrigeration.
I’ll will guide you on how to can your duck and goose meat so you can enjoy it at any time of the year, be it store-bought, wild, or home grown meat.
Ingredients for Duck and Goose
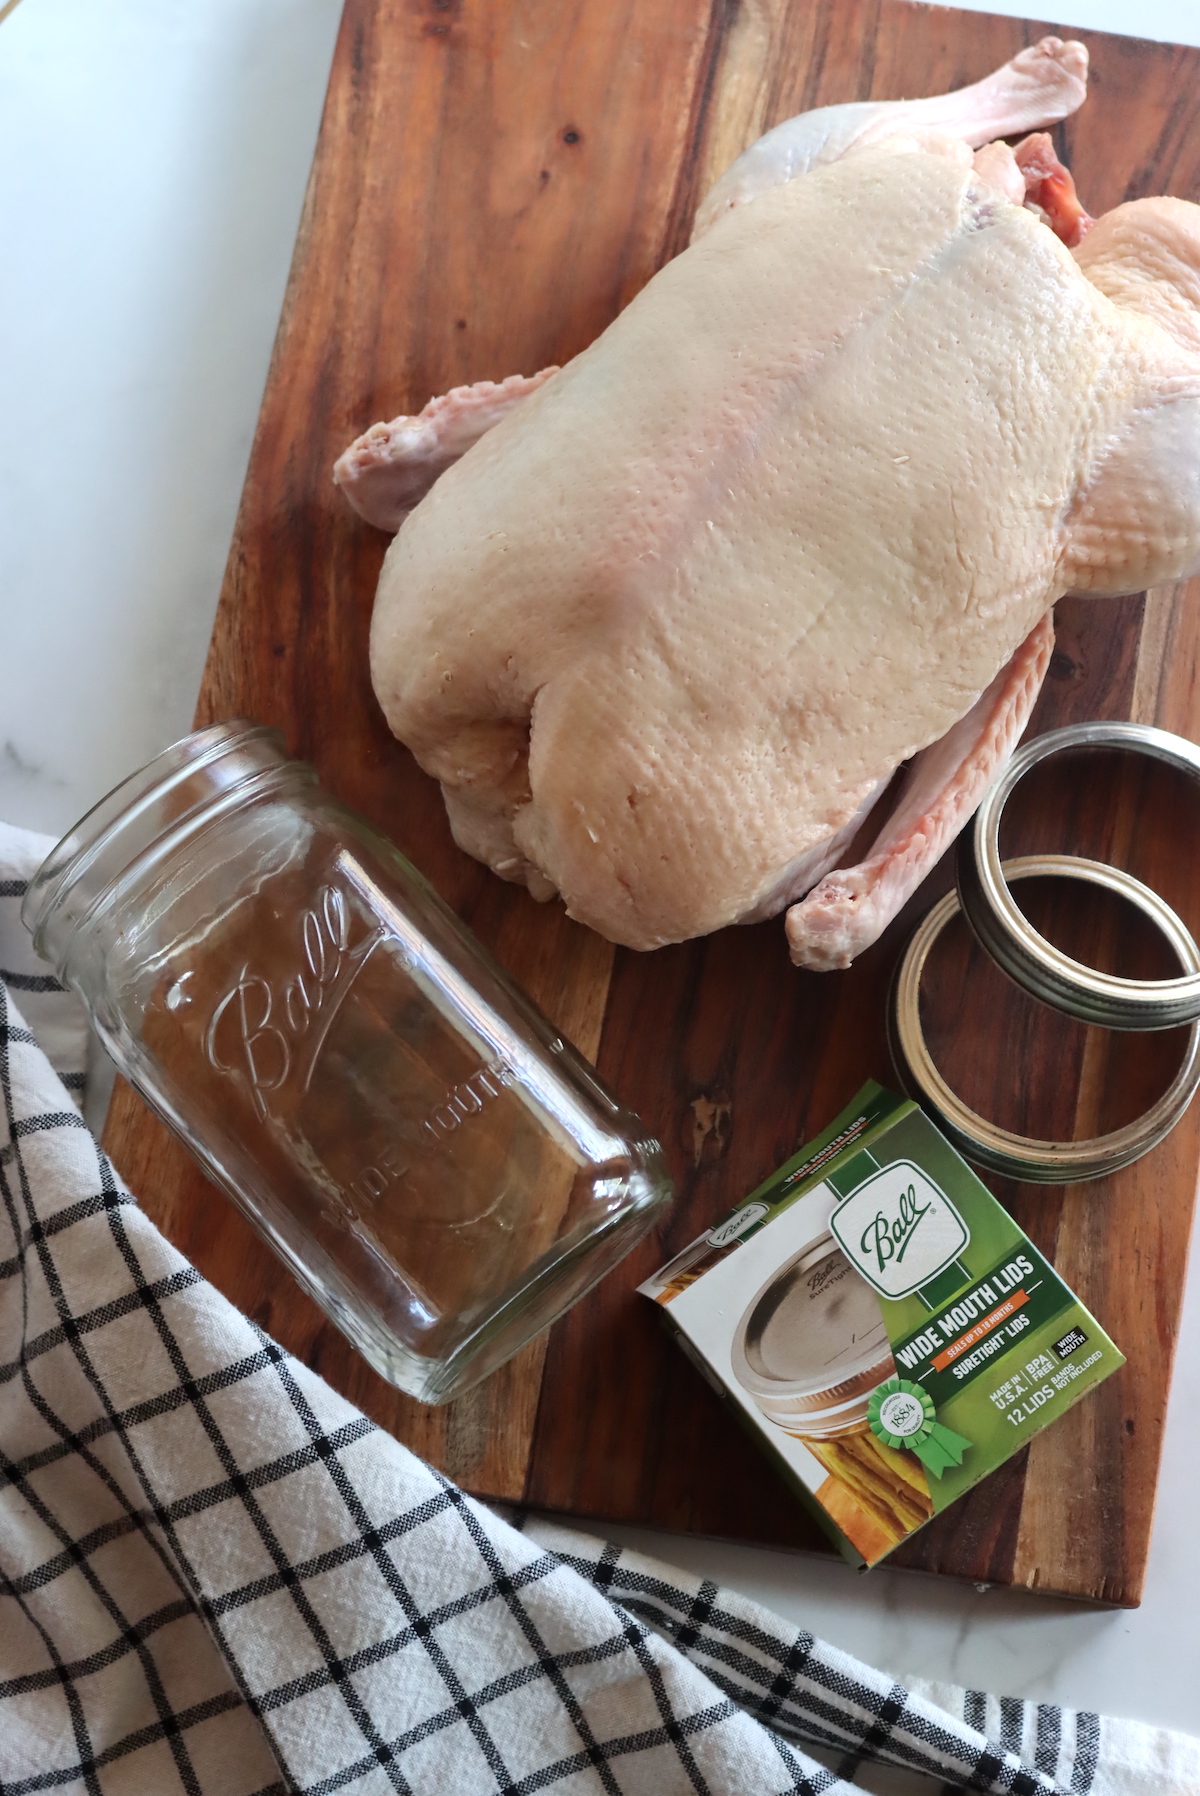
The ingredients for canning duck and goose are quite simple, all you need is the meat, salt and a bit of broth (or hot water).
- Dressed duck or goose, wild or domestic
- Salt (optional)
- Hot water or broth (optional)
The exact amount of meat you’ll need varies widely depending on whether you use meat that is bone-in or has the bones removed, as well as the type of animal. However, you’ll need approximately 24 pounds of duck or goose for 10 pints or five quarts.
Adjust accordingly if you need to make a smaller batch. Because there are no other ingredients besides the meat, salt, and water, it will not affect canning safety if you scale the recipe down.
Canning Duck and Goose
Begin by choosing freshly killed, dressed animals or thawing frozen birds from a commercial source.
Ideally, birds that are on the larger side will work better for canning (and yield the most flavor) as compared to smaller ones. Chill the freshly dressed bird for six to twelve hours before canning; this will allow the muscles to relax and lends itself to a more flavorful, tender finished product.
If you’re working with store bought, thaw in the refrigerator before canning.
Remove any excess fat, then cut the meat into pieces. The size of these pieces can vary depending on how you plan to use them after canning. Just make sure you leave at least 1 ” headspace when you pack the meat into the jars.
You can process the meat either with or without bones, provided all pieces are small enough to fit in the jars leaving 1” heaspace.
Similarly, this recipe can be carried out either as a hot pack or a raw pack.
Hot pack is ideal in most cases, as it will provide the most liquid cover and best quality for storage. In general, natural fat and juices aren’t enough to cover all the meat in a raw pack recipe, but you can do either method, depending on your preferences (both are safe, but again, hot pack will maintain peak quality in the jar longer).
To hot pack, boil, bake, or steam the meat until it’s cooked about two-thirds of the way through. Add a teaspoon of salt per quart (or half a teaspoon per pint) to each jar if desired. Fill the jars with pieces of meat and hot broth, leaving 1″ headspace.
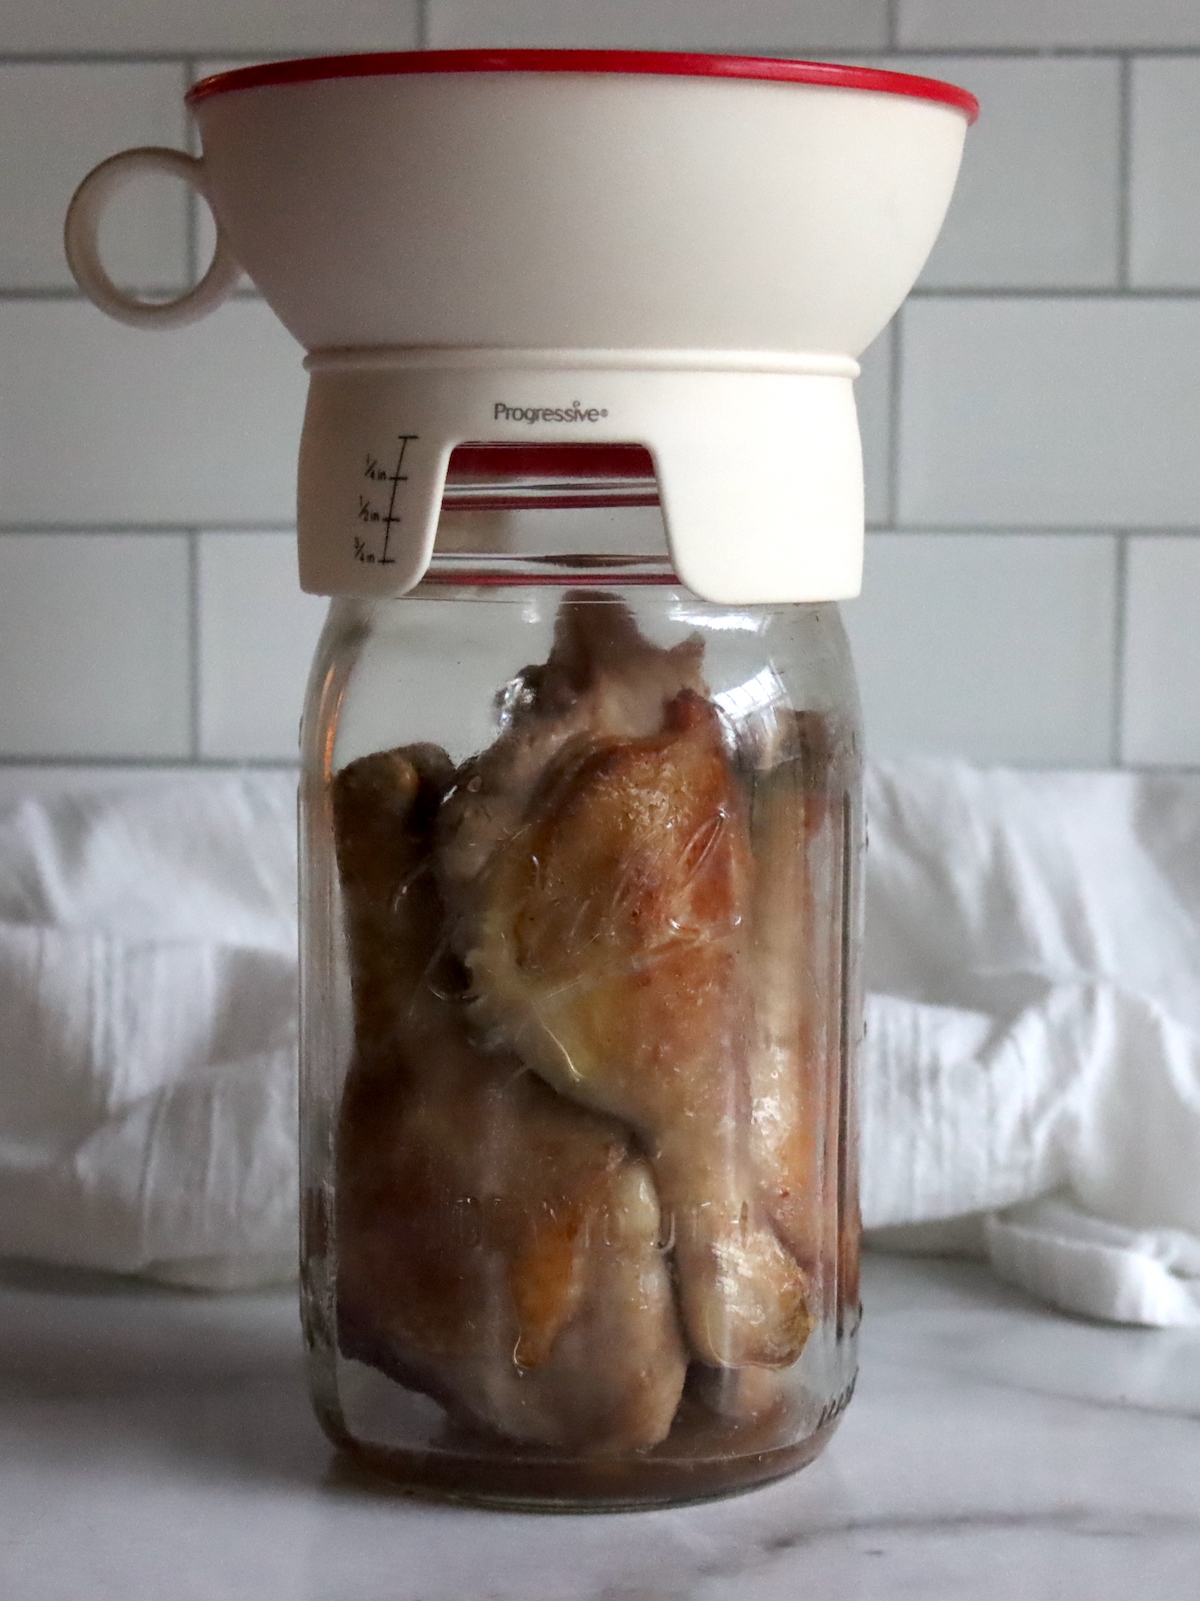
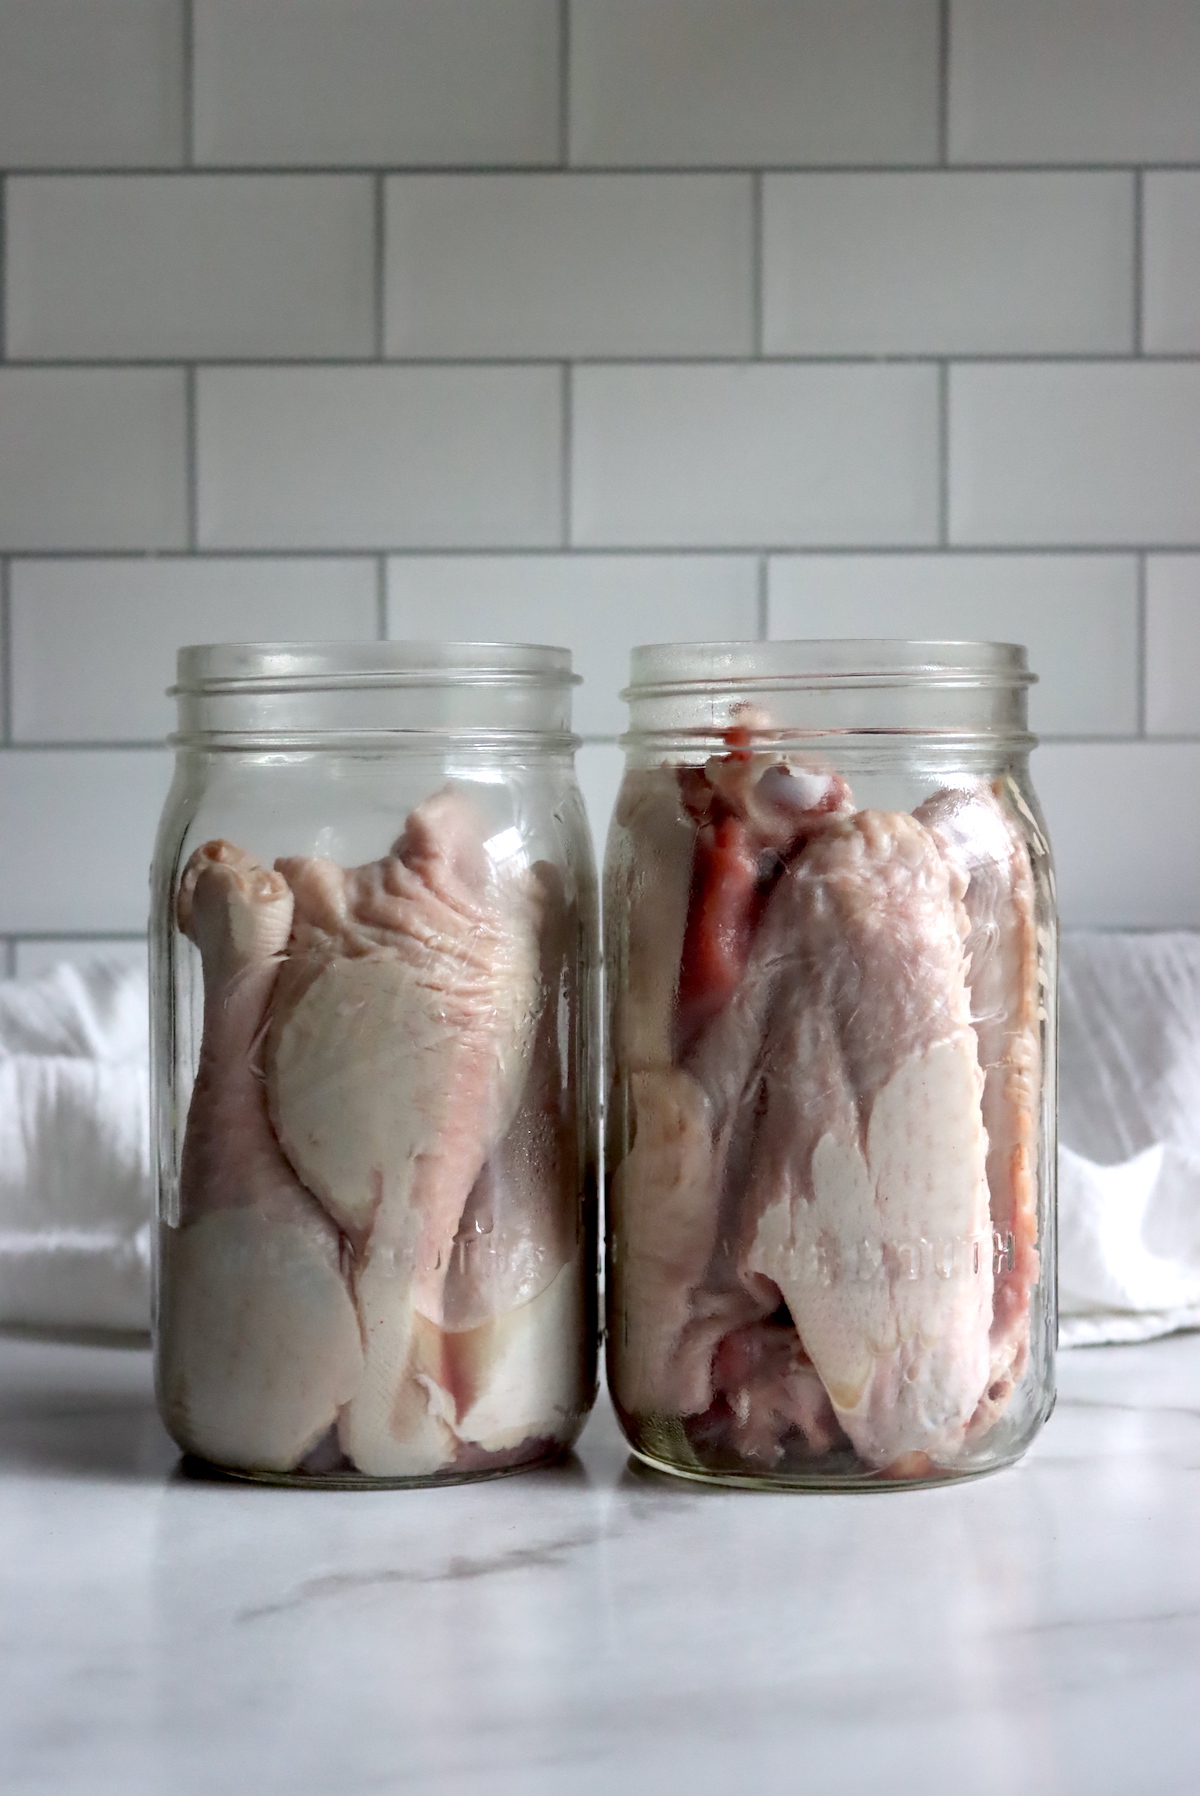
To follow the raw pack method, add a teaspoon of salt per quart (or half a teaspoon per pint) if desired. Salt is optional, and used for flavor in both hot and raw packs, not for preservation.
Fill the jars with raw meat pieces, leaving 1″ headspace. Ladle boiling liquid (water or broth) over the raw meat in the jars.
You can also raw pack without added liquid, as that is still an accepted canning method for poultry. If raw packing without liquid, I would suggest using boneless pieces and choosing the juiciest cuts, as you’re depending on the liquid rendered as the meat cooks to cover the pieces in the jars.
For best quality, most sources recommend a hot pack with broth, or failing that, a raw pack with broth. A raw pack with no added liquid is an approved method, but the quality of the finished product is usually lower, and often the meat doesn’t release enough liquid to fully cover the cooked meat in the jars. Any meat above the liquid line will discolor and dry out over time.
That’s fine in terms of canning safety, but not ideal for putting up high-quality canned goods.
Place the lids on the jars. Tighten the rings until they are fingertip-tight. Load the jars into the canner. Lock the lid. Vent steam for 10 minutes, then put the weight on the canner and bring up to pressure.
With bones, process pints for 65 minutes (hot and raw pack alike) and quarts for 75 minutes at 11 lbs of pressure in a dial gauge canner. Without bones, process for 75 minutes for pints and 90 minutes for quarts at 11 lbs pressure in a dial gauge canner.
If you’re using a weighted gauge canner, process pints with bones for 65 minutes at 10 lbs pressure and quarts for 75 minutes at 10 lbs pressure. Without bones, process pints for 75 minutes at 10 lbs pressure and quarts for 90 minutes at 10 lbs pressure. These times and pressures are for both hot and raw pack methods alike.
The bones in poultry actually conduct heat better than the meat, which is why canning bone in duck or goose takes less processing time.
After the canning time has finished, turn off the heat but do not move the canner. Let the canner depressurize on its own, then wait five minutes. Remove the lid, then wait another 10 minutes. Remove the jars from the canner. Allow them to cool at room temperature for 24 hours. Check the seals, label the jars, and store for one year.
Be sure to adjust for altitude, altitude adjustments are below.
Altitude Adjustments
With pressure canning, the processing times stay the same at higher altitudes, but the pressures change. Here are the altitude adjustments for pressure canning:
For dial gauge pressure canners:
- 0 to 2,000 feet in elevation – 11 lbs pressure
- 2,001 to 4,000 feet in elevation – 12 lbs pressure
- 4,001 to 6,000 feet in elevation – 13 lbs pressure
- 6,001 to 8,000 feet in elevation – 14 lbs pressure
For weighted gauge pressure canners:
- 0 to 1,000 feet in elevation – 10 lbs pressure
- Above 1,000 feet – 15 lbs pressure
Serving Duck and Goose
Canned duck and goose can be served in a variety of ways. You can add it to salads, sandwiches, tacos, and pasta. You can also use it as a pizza topping or a filling for savory pastries.
One classic way of serving them is with mashed potatoes and green beans, or even with rice and steamed vegetables. The possibilities are endless, so don’t be afraid to experiment!
Canned duck and goose can be eaten straight from the jar, but if you want to add more flavor, you can do so by heating it up with some aromatics like garlic, onions, and bay leaves. You can also simmer it in broth or wine to infuse more depth into its flavor.
If you’re serving it with pasta or rice, you can also add some sauce or stir-fry it with some veggies for a complete meal.
Canning Duck or Goose
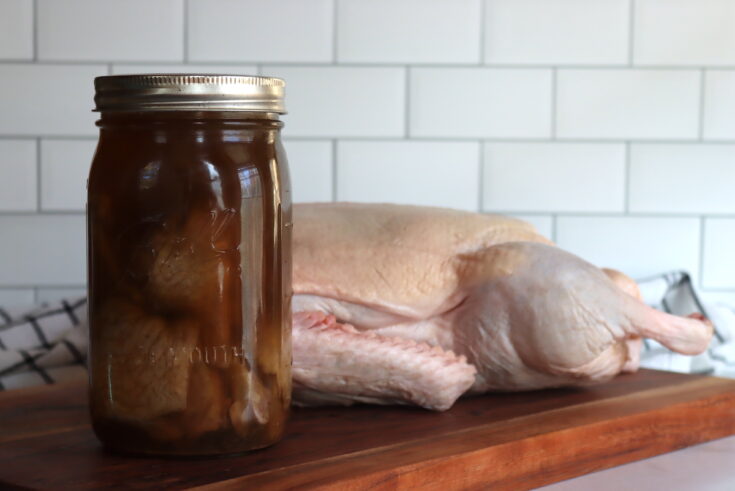
Canning duck or goose is a versatile way to preserve these meats right on your pantry shelf, ready for heat and eat meals in no time!
Ingredients
- Freshly killed and dressed duck or goose
- Salt (optional)
- Hot water or broth (optional)
Instructions
- Begin by choosing freshly killed, dressed animals. Alternatively, store-bought birds will also work if thawed.
- Chill the dressed bird for six to twelve hours before canning; this will allow the muscles to relax and lends itself to a more flavorful, tender finished product.
- Remove any excess fat, then cut the meat into pieces.
- To hot pack, boil, bake, or steam the meat until it's cooked about two-thirds of the way through.
- Add a teaspoon of salt per quart (or half a teaspoon per pint) to each jar if desired. Fill the jars with pieces of meat and hot broth, leaving 1" headspace.
- To follow the raw pack method, add a teaspoon of salt per quart (or half a teaspoon per pint) if desired. Fill the jars with raw meat pieces, leaving 1" headspace. Cover with boiling water or broth
- Place the lids on the jars. Tighten the rings until they are fingertip tight. Load the jars into the canner.
- Lock the pressure canner lid.
- Vent steam for 10 minutes, then put the weight on the canner and bring up to pressure.
- Dial Gauge Canner - With bones, process pints for 65 minutes (hot and raw pack alike) and quarts for 75 minutes at 11 lbs of pressure in a dial gauge canner. Without bones, process for 75 minutes for pints and 90 minutes for quarts at 11 lbs pressure in a dial gauge canner.
- Weighted Gauge Canner - If you're using a weighted gauge canner, process pints with bones for 65 minutes at 10 lbs pressure and quarts for 75 minutes at 10 lbs pressure. Without bones, process pints for 75 minutes at 10 lbs pressure and quarts for 90 minutes at 10 lbs pressure. These times and pressures are for both hot and raw pack methods alike.
- Adjust canning pressure for altitude, see table below.
- After the canning time has finished, turn off the heat but do not move the canner. Let the canner depressurize on its own, then wait five minutes.
- Remove the lid, then wait another 10 minutes. Remove the jars from the canner.
- Allow them to cool at room temperature for 24 hours. Check the seals, label the jars, and store for one year.
Notes
Altitude Adjustments
With pressure canning, the processing times stay the same at higher altitudes, but the pressures change. Here are the altitude adjustments for pressure canning:
For dial gauge pressure canners:
- 0 to 2,000 feet in elevation – 11 lbs pressure
- 2,001 to 4,000 feet in elevation – 12 lbs pressure
- 4,001 to 6,000 feet in elevation – 13 lbs pressure
- 6,001 to 8,000 feet in elevation – 14 lbs pressure
For weighted gauge pressure canners:
- 0 to 1,000 feet in elevation – 10 lbs pressure
- Above 1,000 feet – 15 lbs pressure
Meat Canning Recipes
Chicken isn’t the only meat you can preserve in a jar! Keep your pantry stocked with these meat canning recipes:
Leave a Reply