This post may contain affiliate links. Please see our disclosure policy.
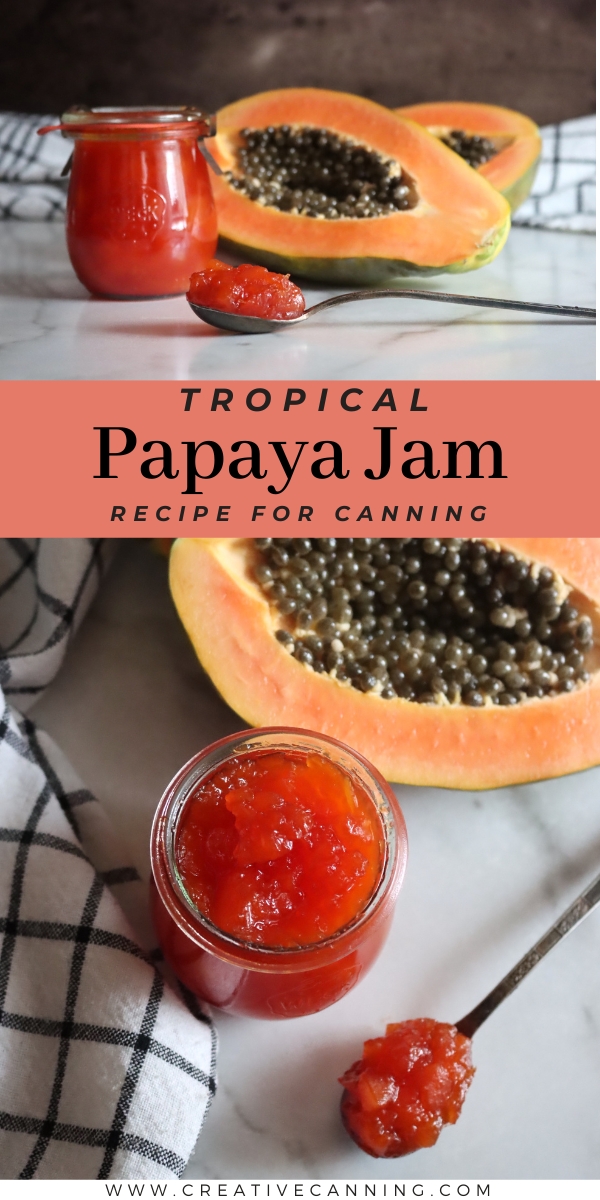
Papaya Jam is a delicious way to preserve the taste of the tropics in a jar.
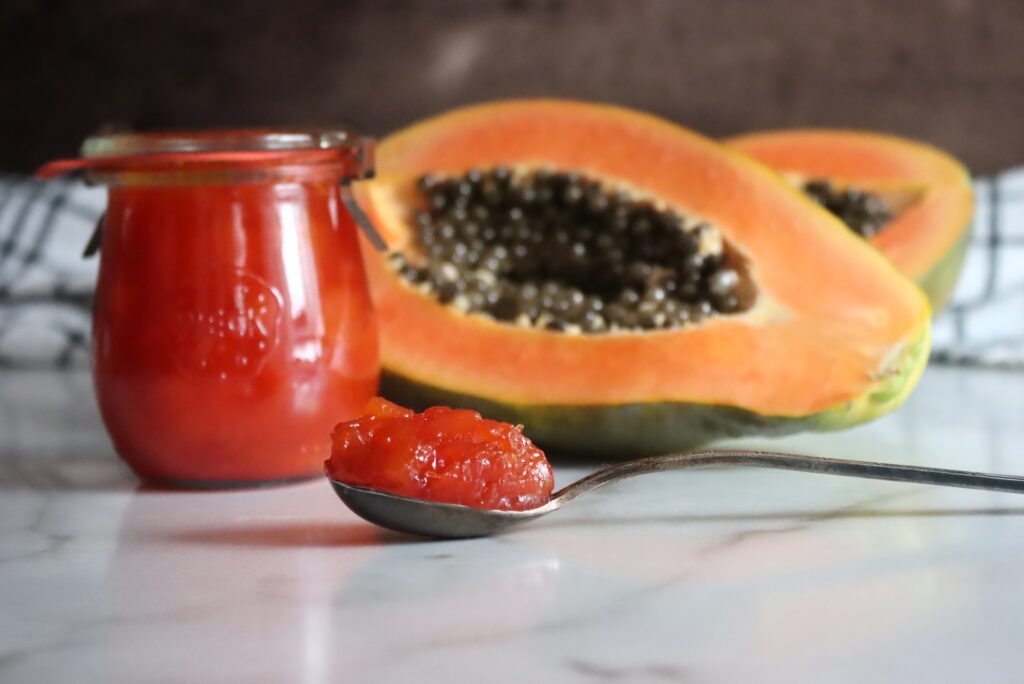
I fell in love with papaya jam during spring break in Puerto Rico in college. Everybody else was hitting the clubs, and I was looking for fun preserves and sampling all the fresh fruit…because I’ve always been a jam nerd.
But none the less, papaya jam is truly amazing, and the sweet tropical flavor goes well on toast, but it also compliments savory things.
Traditionally, papaya jam is served on toast or crackers with a bit of tangy soft goat cheese, and the cheese balances the tropical sweetness perfectly.
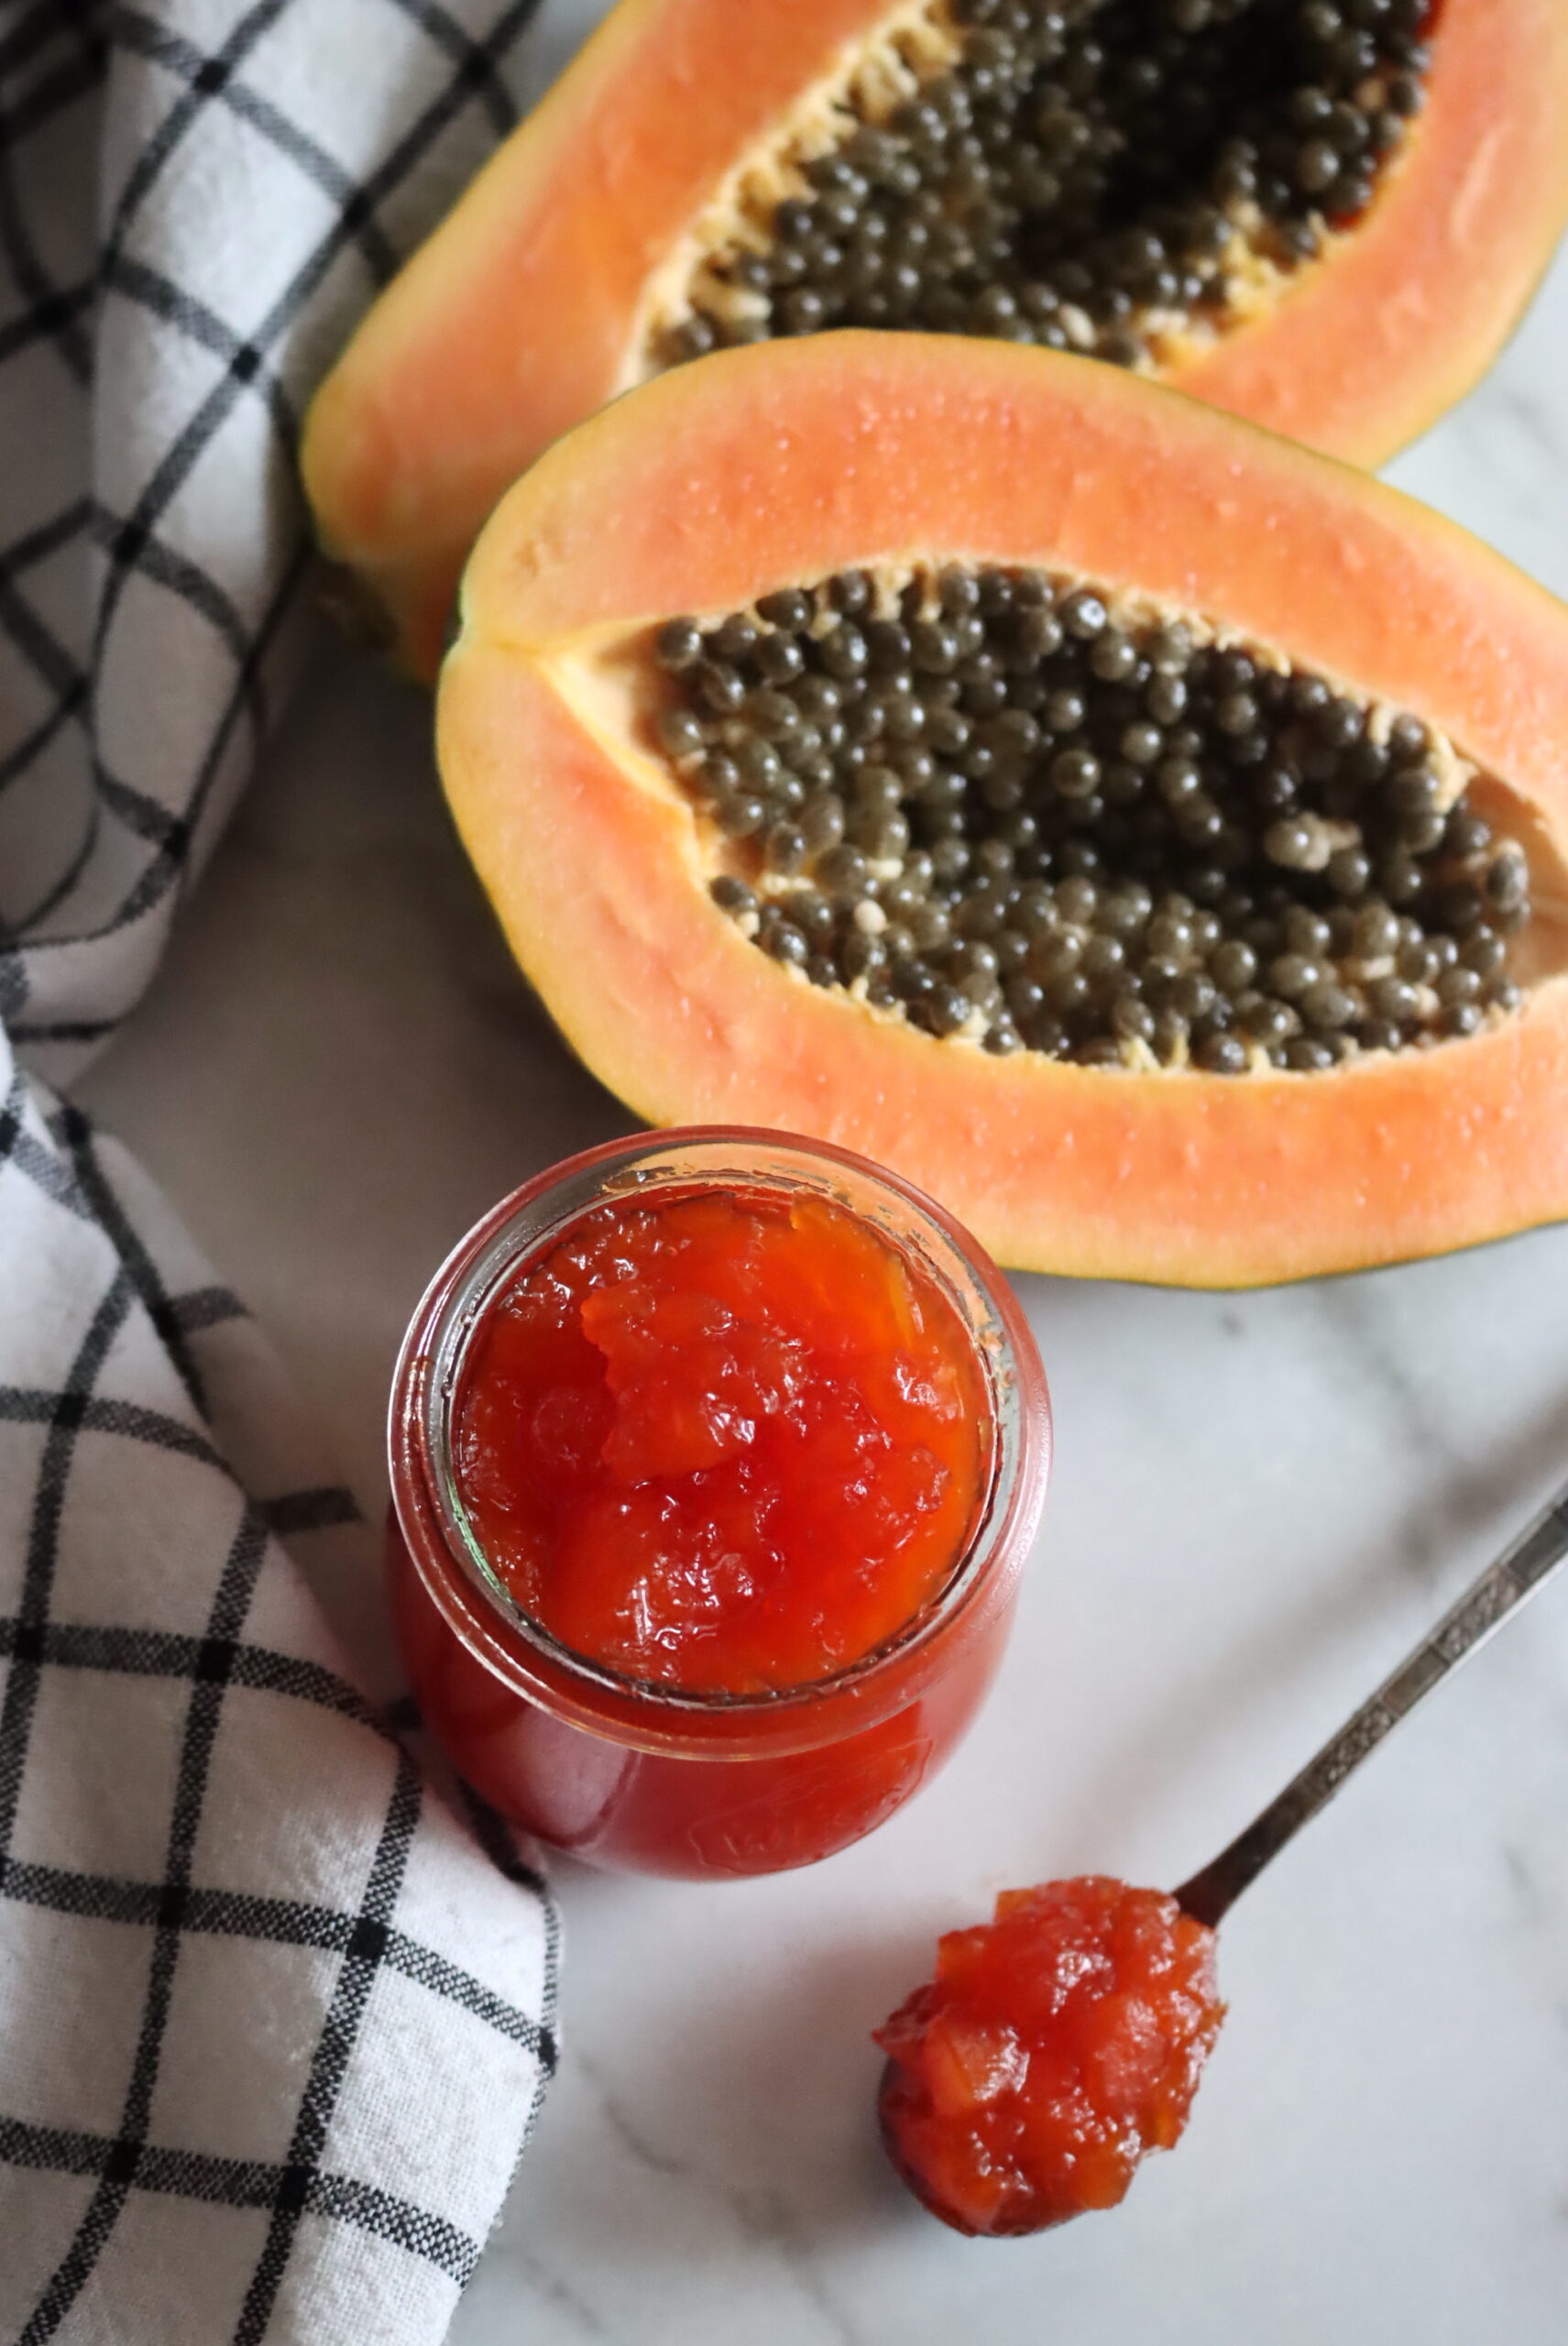
Ingredients for Papaya Jam
Having homemade papaya jam on hand is a great way to enjoy fresh tropical flavor anytime. This recipe is adapted from The Joy of Jams, Jellies and Other Sweet Preserves By Linda Ziedrich, and it comes together with just a few simple ingredients.
To make a batch of 5 half-pint jelly jars (8 oz each), you’ll need the following:
- 2 pounds of papayas
- 3 cups granulated sugar
- ½ cup lemon juice
Use fresh papayas at their peak of ripeness to make this jam. Ripe papaya should be bright yellow or orange and feel slightly soft if you try to squeeze it. Try to find papaya with few or no blemishes.
Unripe papaya will be green or a mixture of yellow and green. If you purchase unripe papaya, it will typically ripen in a couple of days when stored on the counter. Refrigeration slows the ripening process.
Do not use any fruit that is overripe or has brown spots. Fresh, recently ripened papayas will produce the best jam.
The lemon juice is necessary for added pectin and brightens the papaya’s tropical flavor. Use bottled lemon juice to ensure you have the correct acidity for canning.
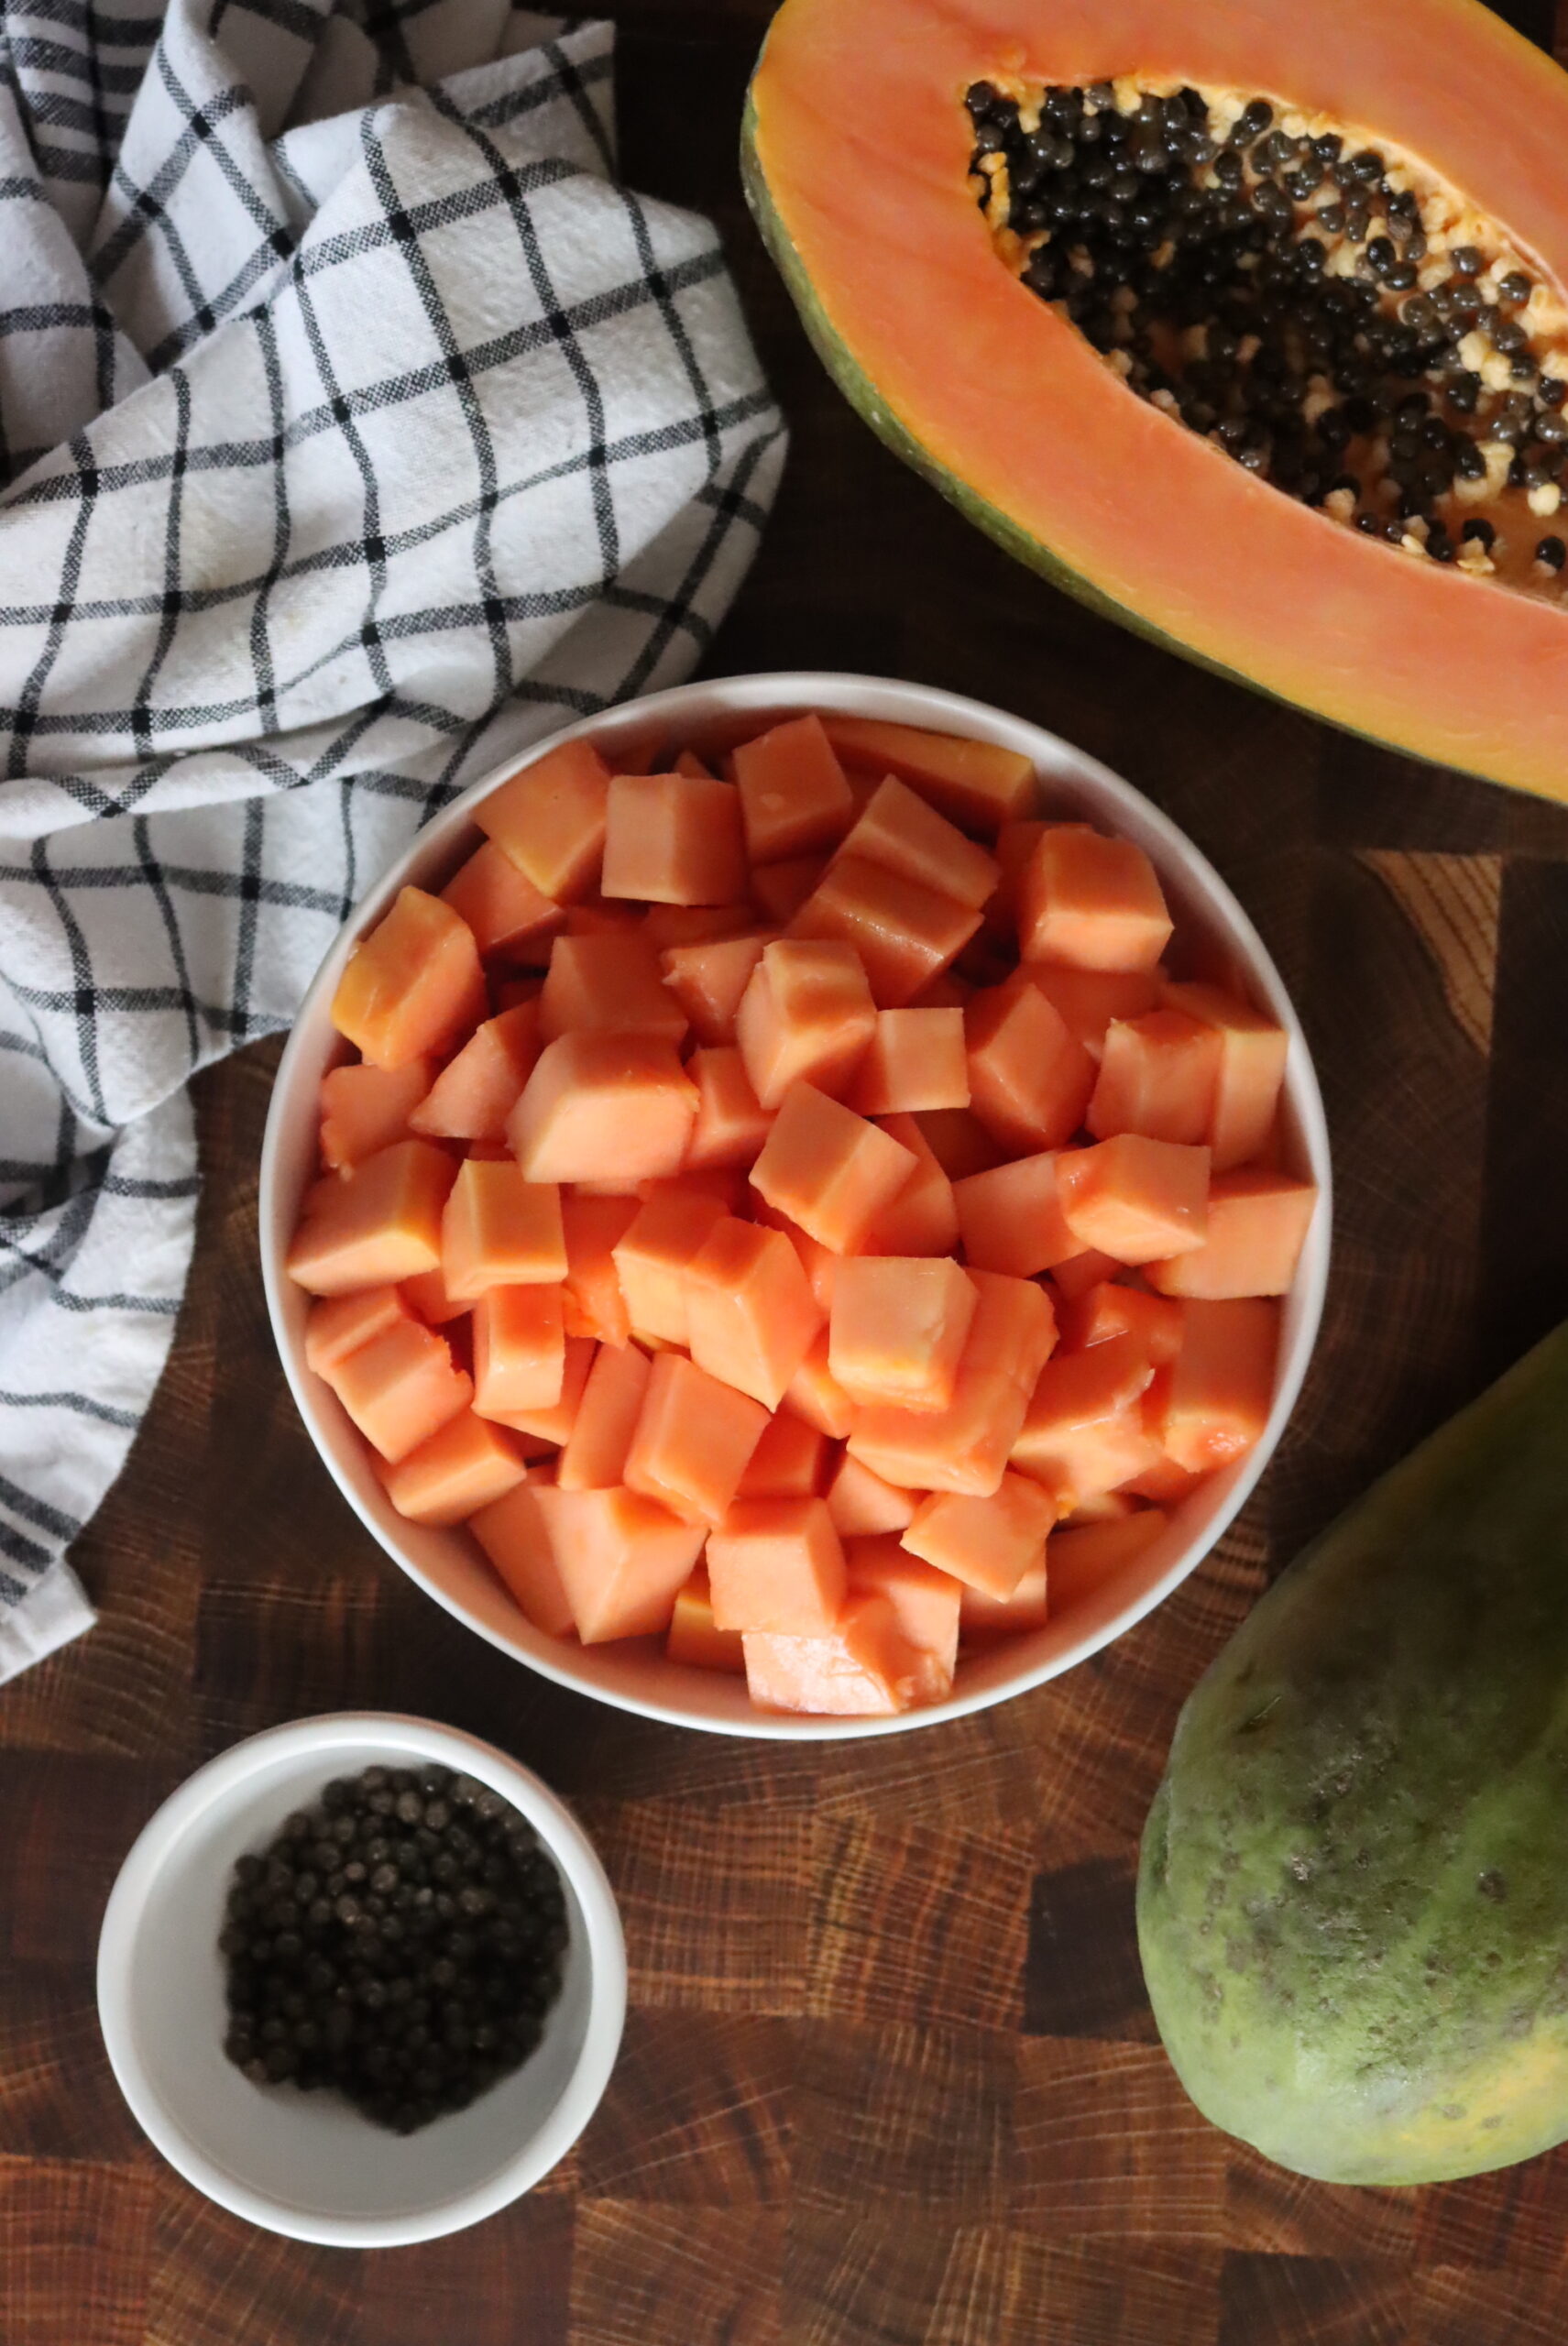
How to Make Papaya Jam
Wash the papaya with your hands in cool, clean water.
Peel the papaya and discard the peelings.
Slice the papaya in half lengthwise. Use a paring knife or a sturdy spoon to remove the seeds.
The seeds are edible and can be used in other ways, but we will not use them in this recipe. Either clean and set aside the seeds or discard them.
Cut the papaya into small chunks and place the papaya chunks in a medium saucepan or jam pot.
Place the pan with the papaya on the stove and cook over medium-high heat until the juices have been released, stirring frequently to prevent scorching.
Reduce the heat to simmer and cover the pan, stirring occasionally. Simmer for 15 minutes or until the papaya is tender.
Remove the pan from heat and mash the papaya into pulp using a potato masher.
Add 3 cups sugar and ½ cup lemon juice to the papaya pulp in the pan. Stir to combine.
Place 3 or 4 small plates in the freezer to be used later to test the jam gel stage.
Over medium heat, stirring frequently, cook the papaya mixture for approximately 15 minutes at a slow boil.
Take a plate out of the freezer, drop about a tablespoon of jam onto the plate, and return the plate to the freezer for one minute.
Remove the plate with jam from the freezer, and with your fingertip, gently push or “nudge” the dollop of jam to see if it has started to set. It will appear to have a skin on the top that “wrinkles” when you nudge it if it is ready. It should also appear mounded on the plate and not spread out or runny.
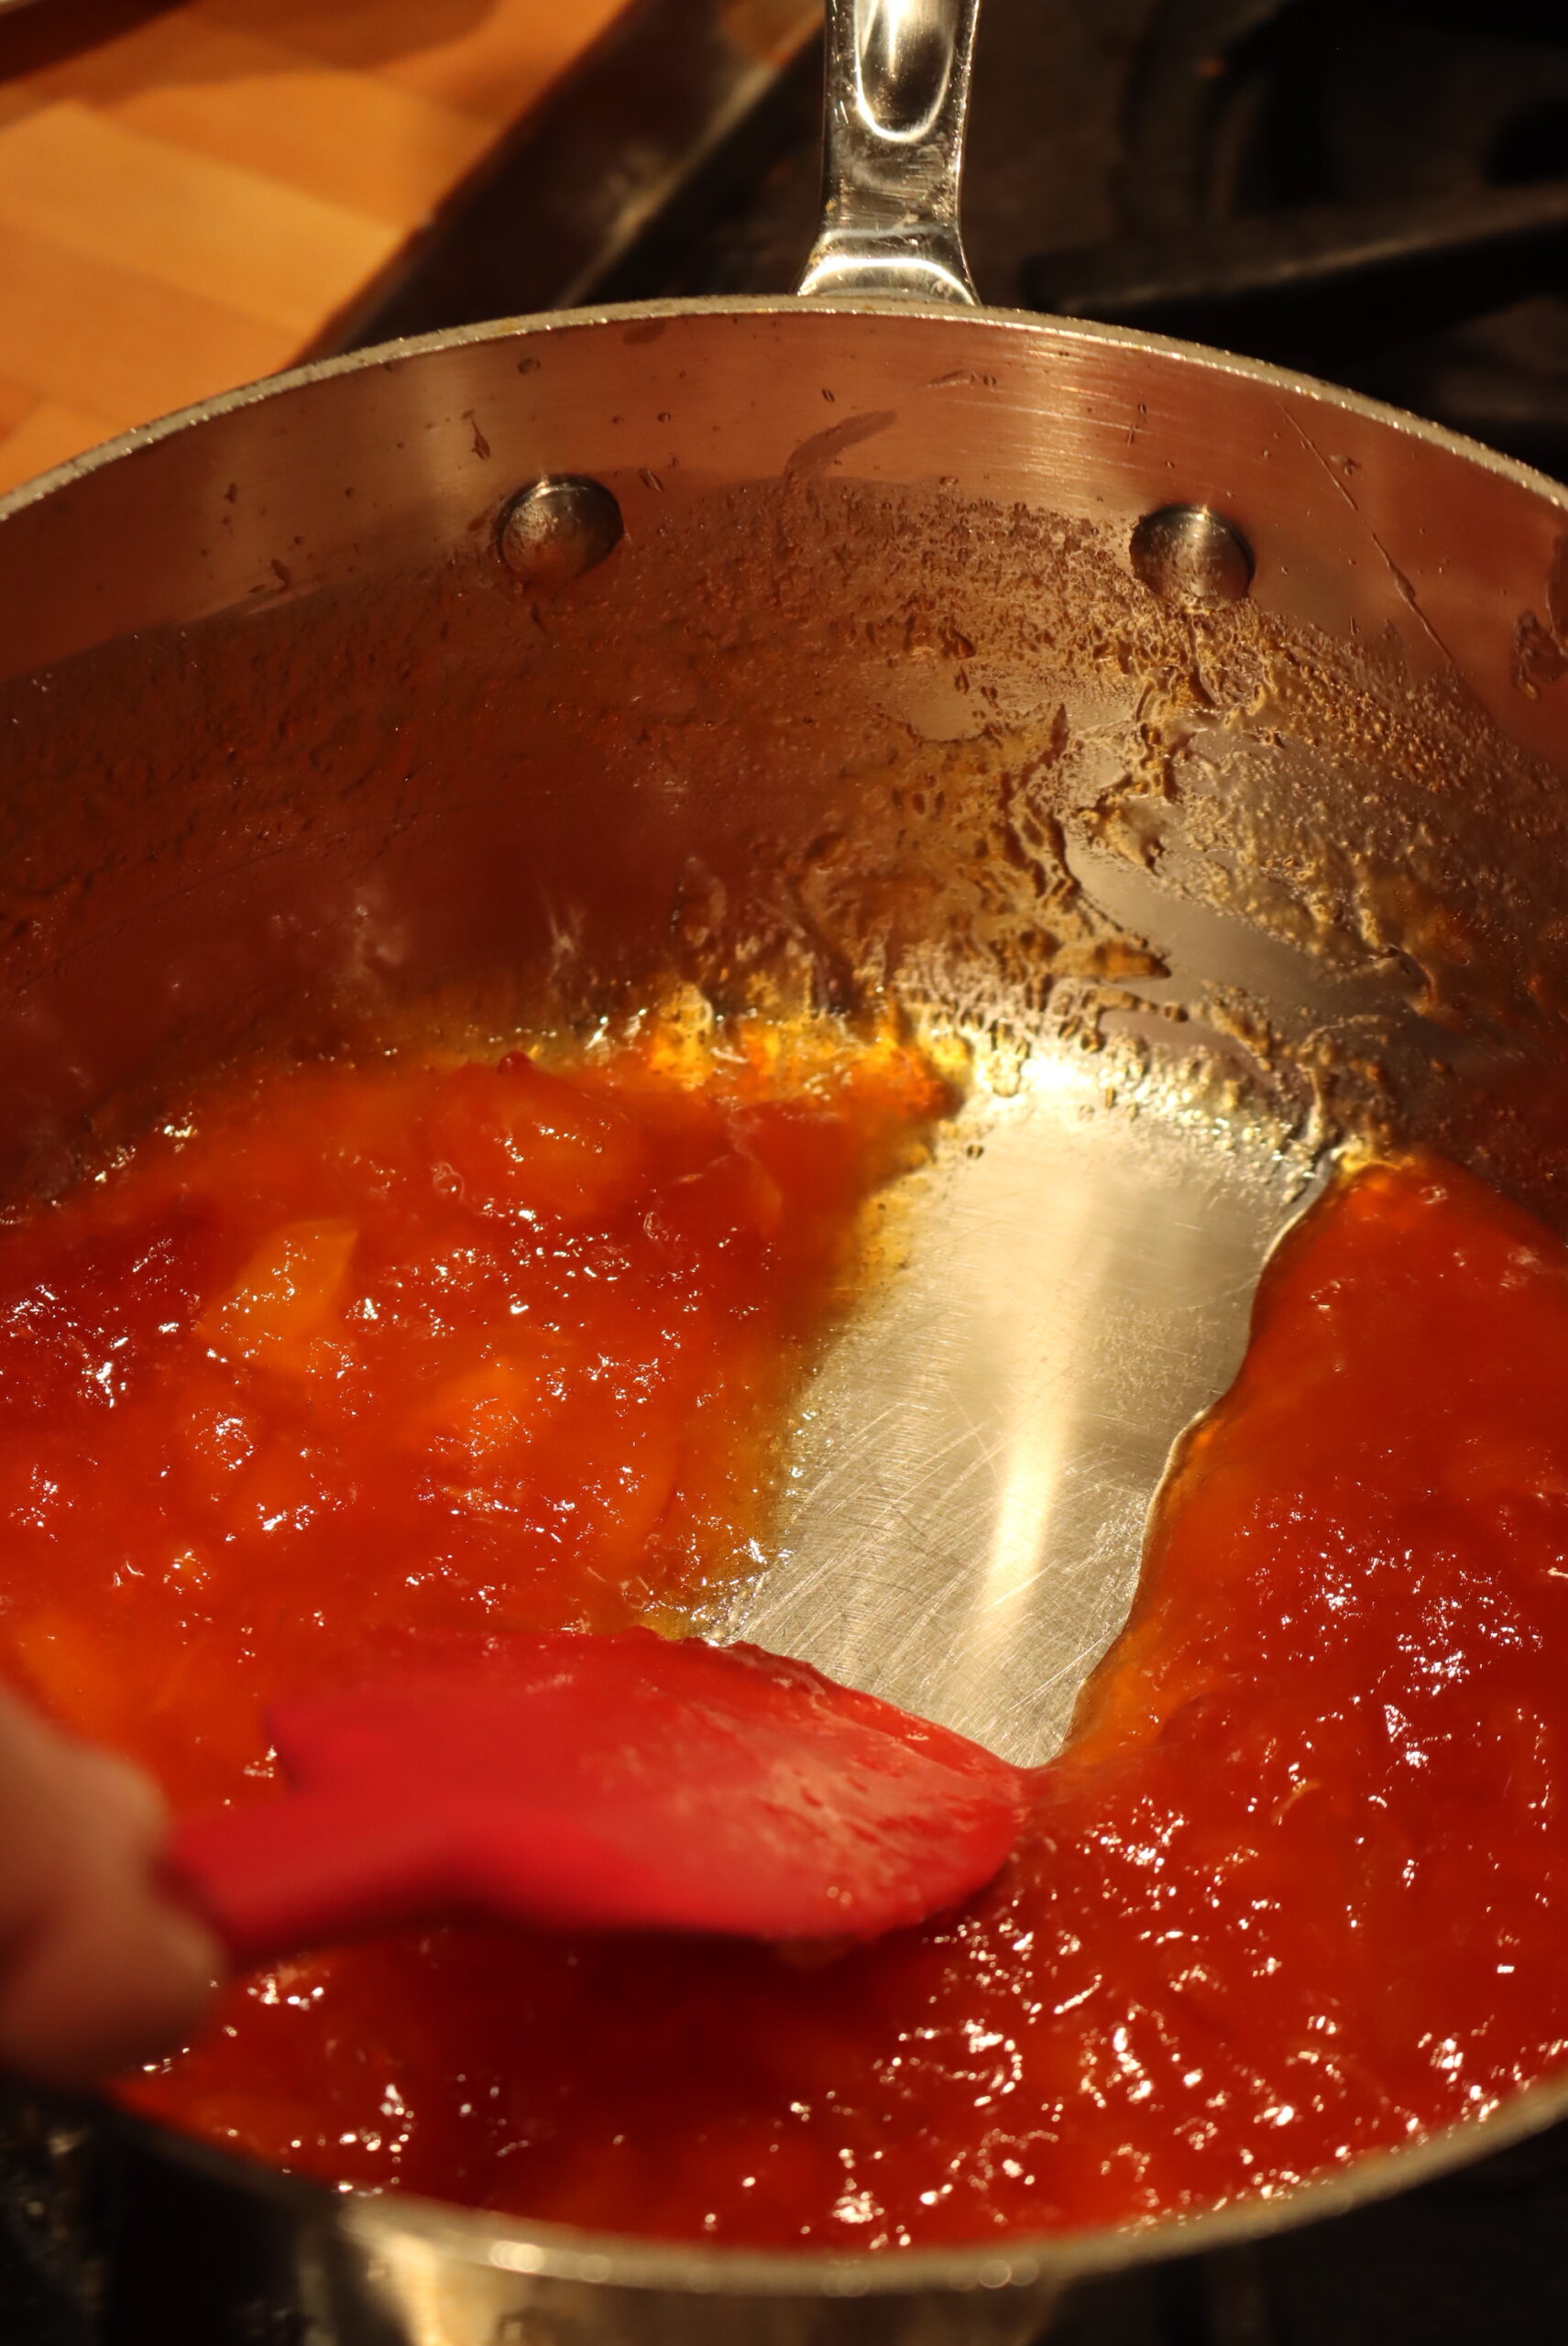
If your finger slides right through the jam or if it is runny, continue to cook the mixture and do another test after several more minutes. Continue to cook and test until you end up with a sample that stays mounded and starts to firm on the plate.
Remove the jam from the heat and skim off any foam if necessary.
Pour or ladle the hot jam into your prepared containers and affix lids. Continue to the “Canning Papaya Jam” section for hot water bath canning.
If you prefer not to can the papaya jam, let it cool on the counter until it reaches room temperature.
Label and refrigerate the jam, which will stay fresh for approximately 3 weeks.
If you plan to freeze your jam, use freezer-safe containers and lids, label, and use the jam within 6 months.
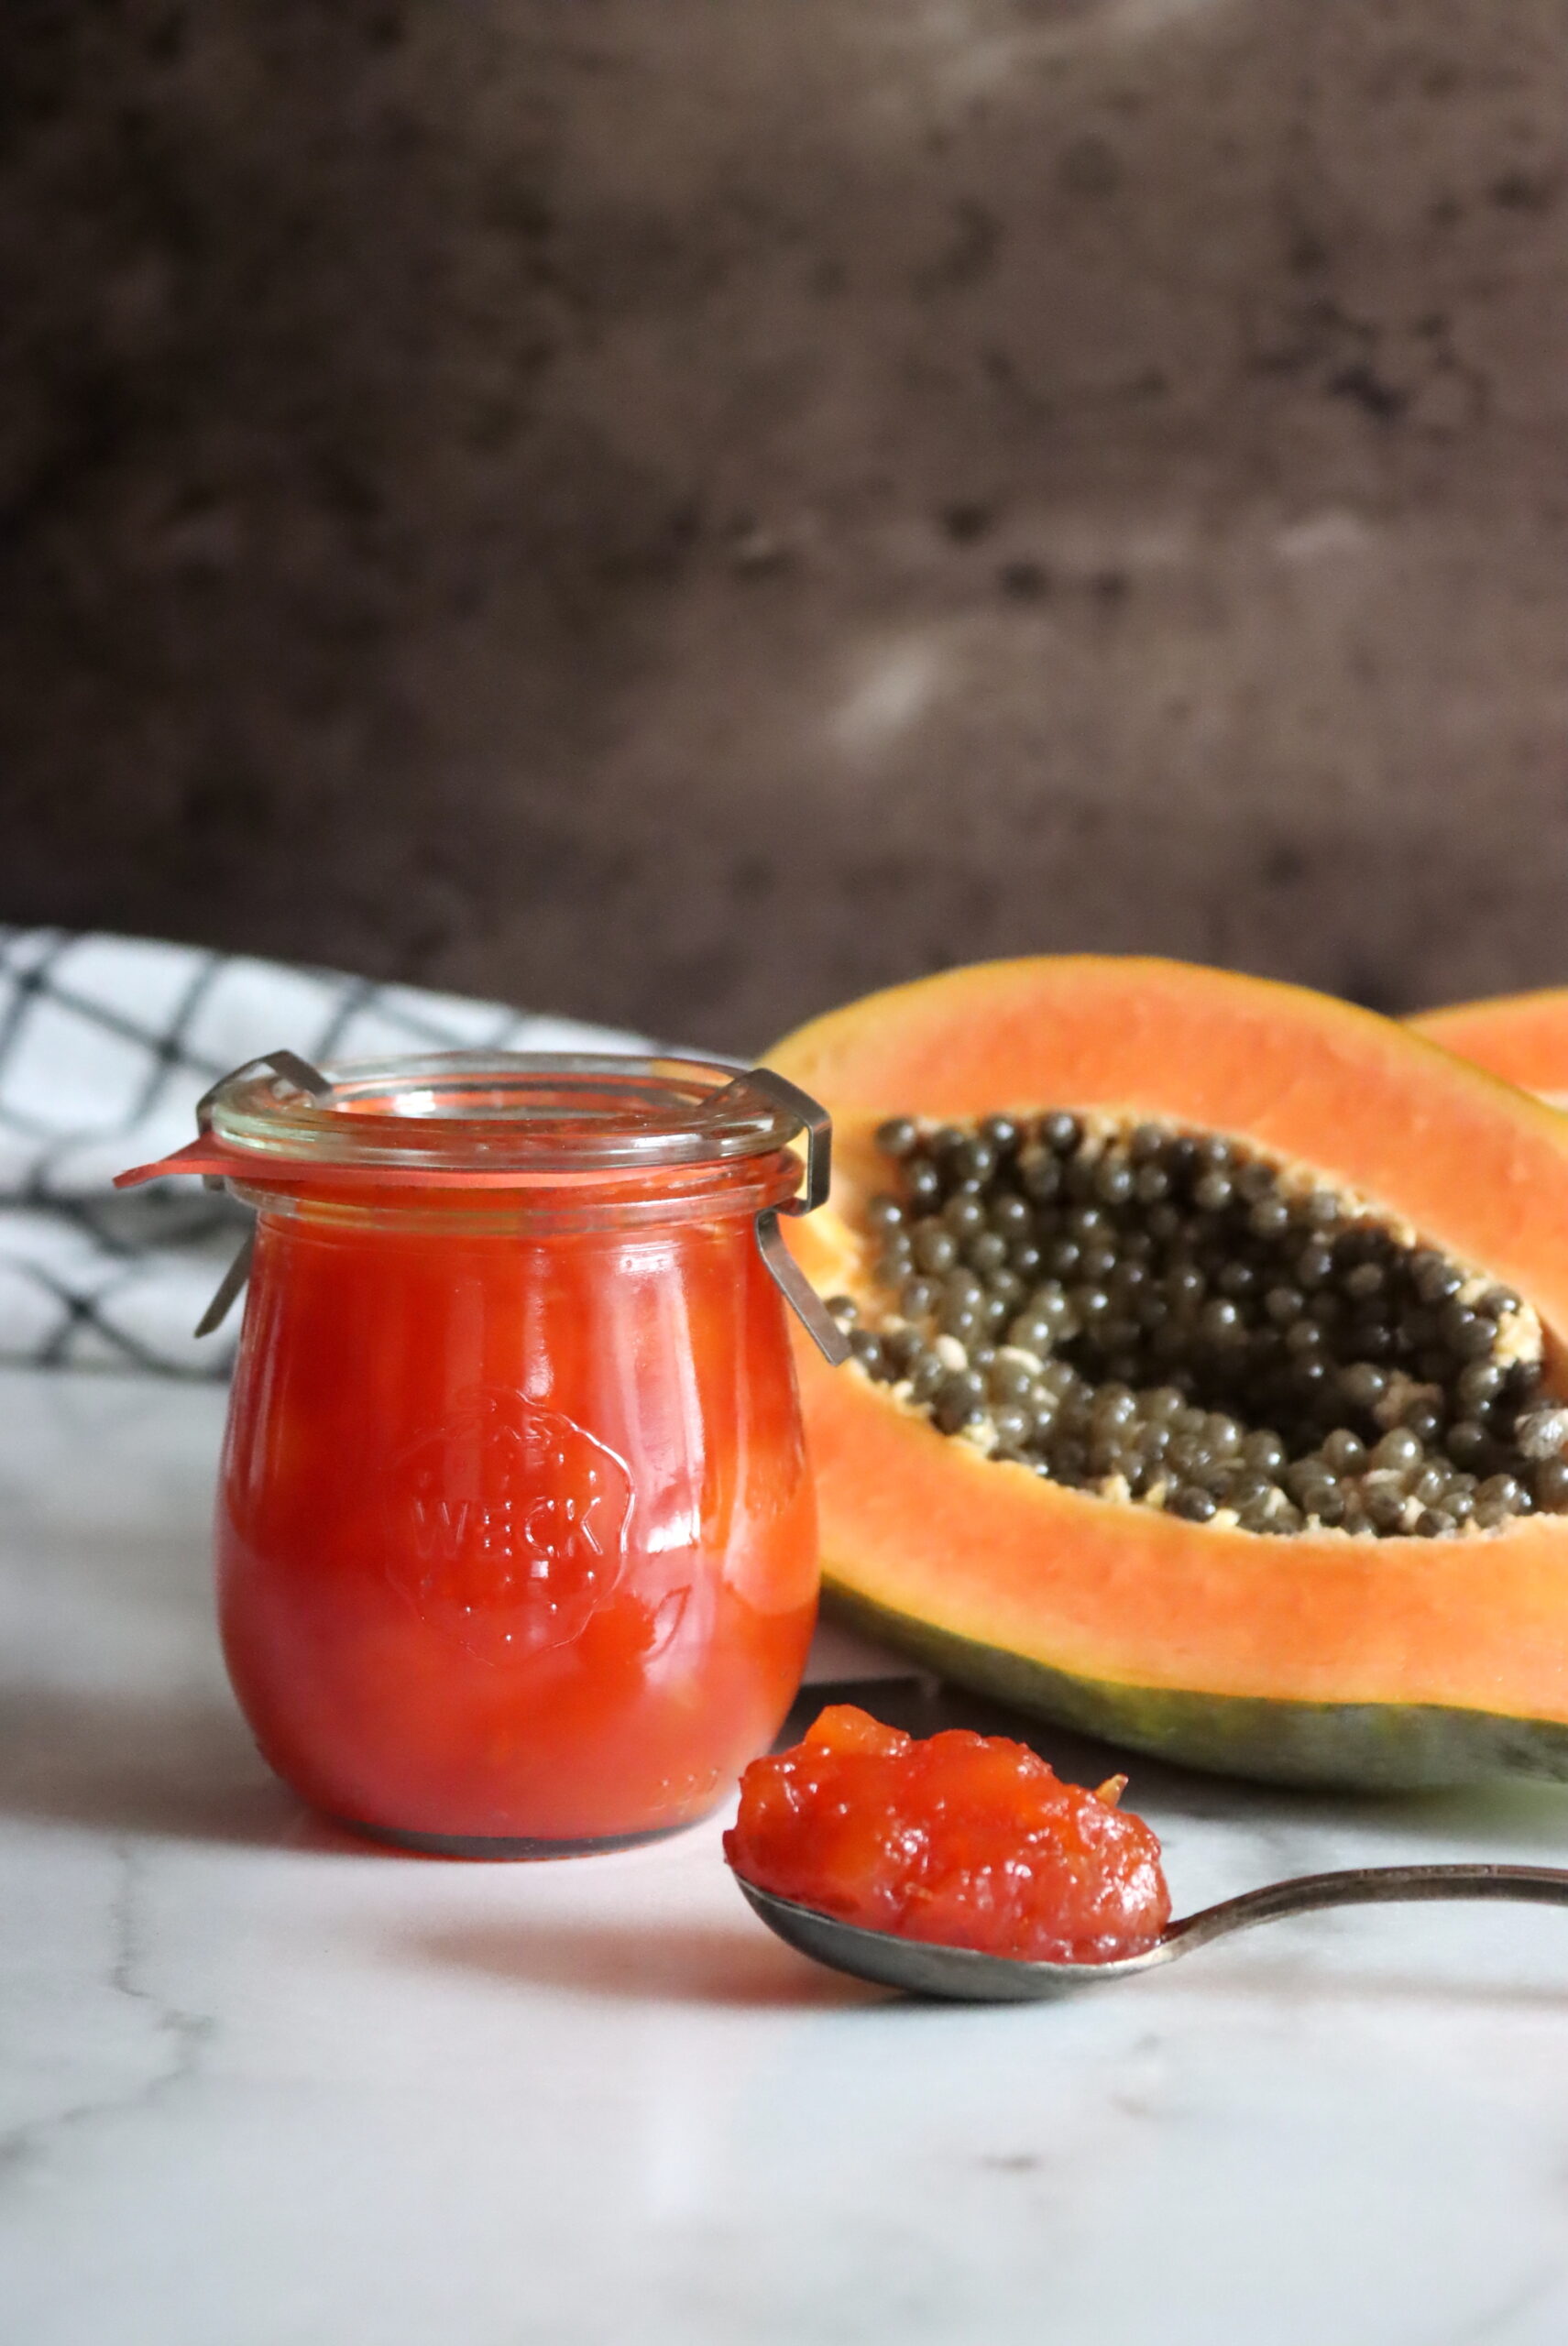
Papaya Jam Variations
Lime juice is a popular alternative to lemon juice for papaya and will work just as well for canning purposes. Substitute lime juice for lemon juice in the same quantity.
Cooking the papaya with a cinnamon stick, ginger, or half a vanilla bean will also produce subtle flavor variations. Other warm spices such as nutmeg, cloves, or allspice will lessen the sweetness of the jam but provide excellent flavor.
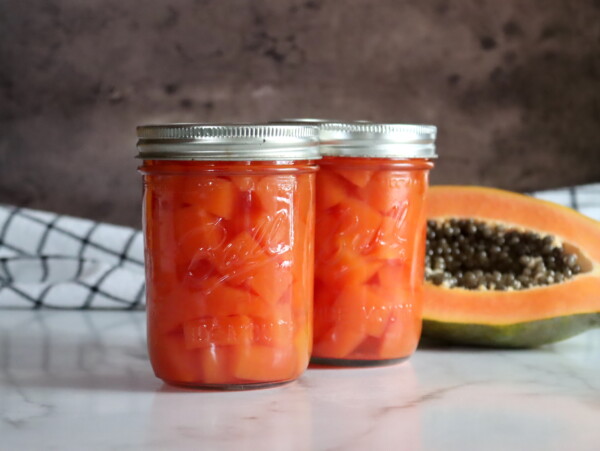
(You can also can plain papaya in syrup and eat it like papaya preserves if you like a chunkier treat.)
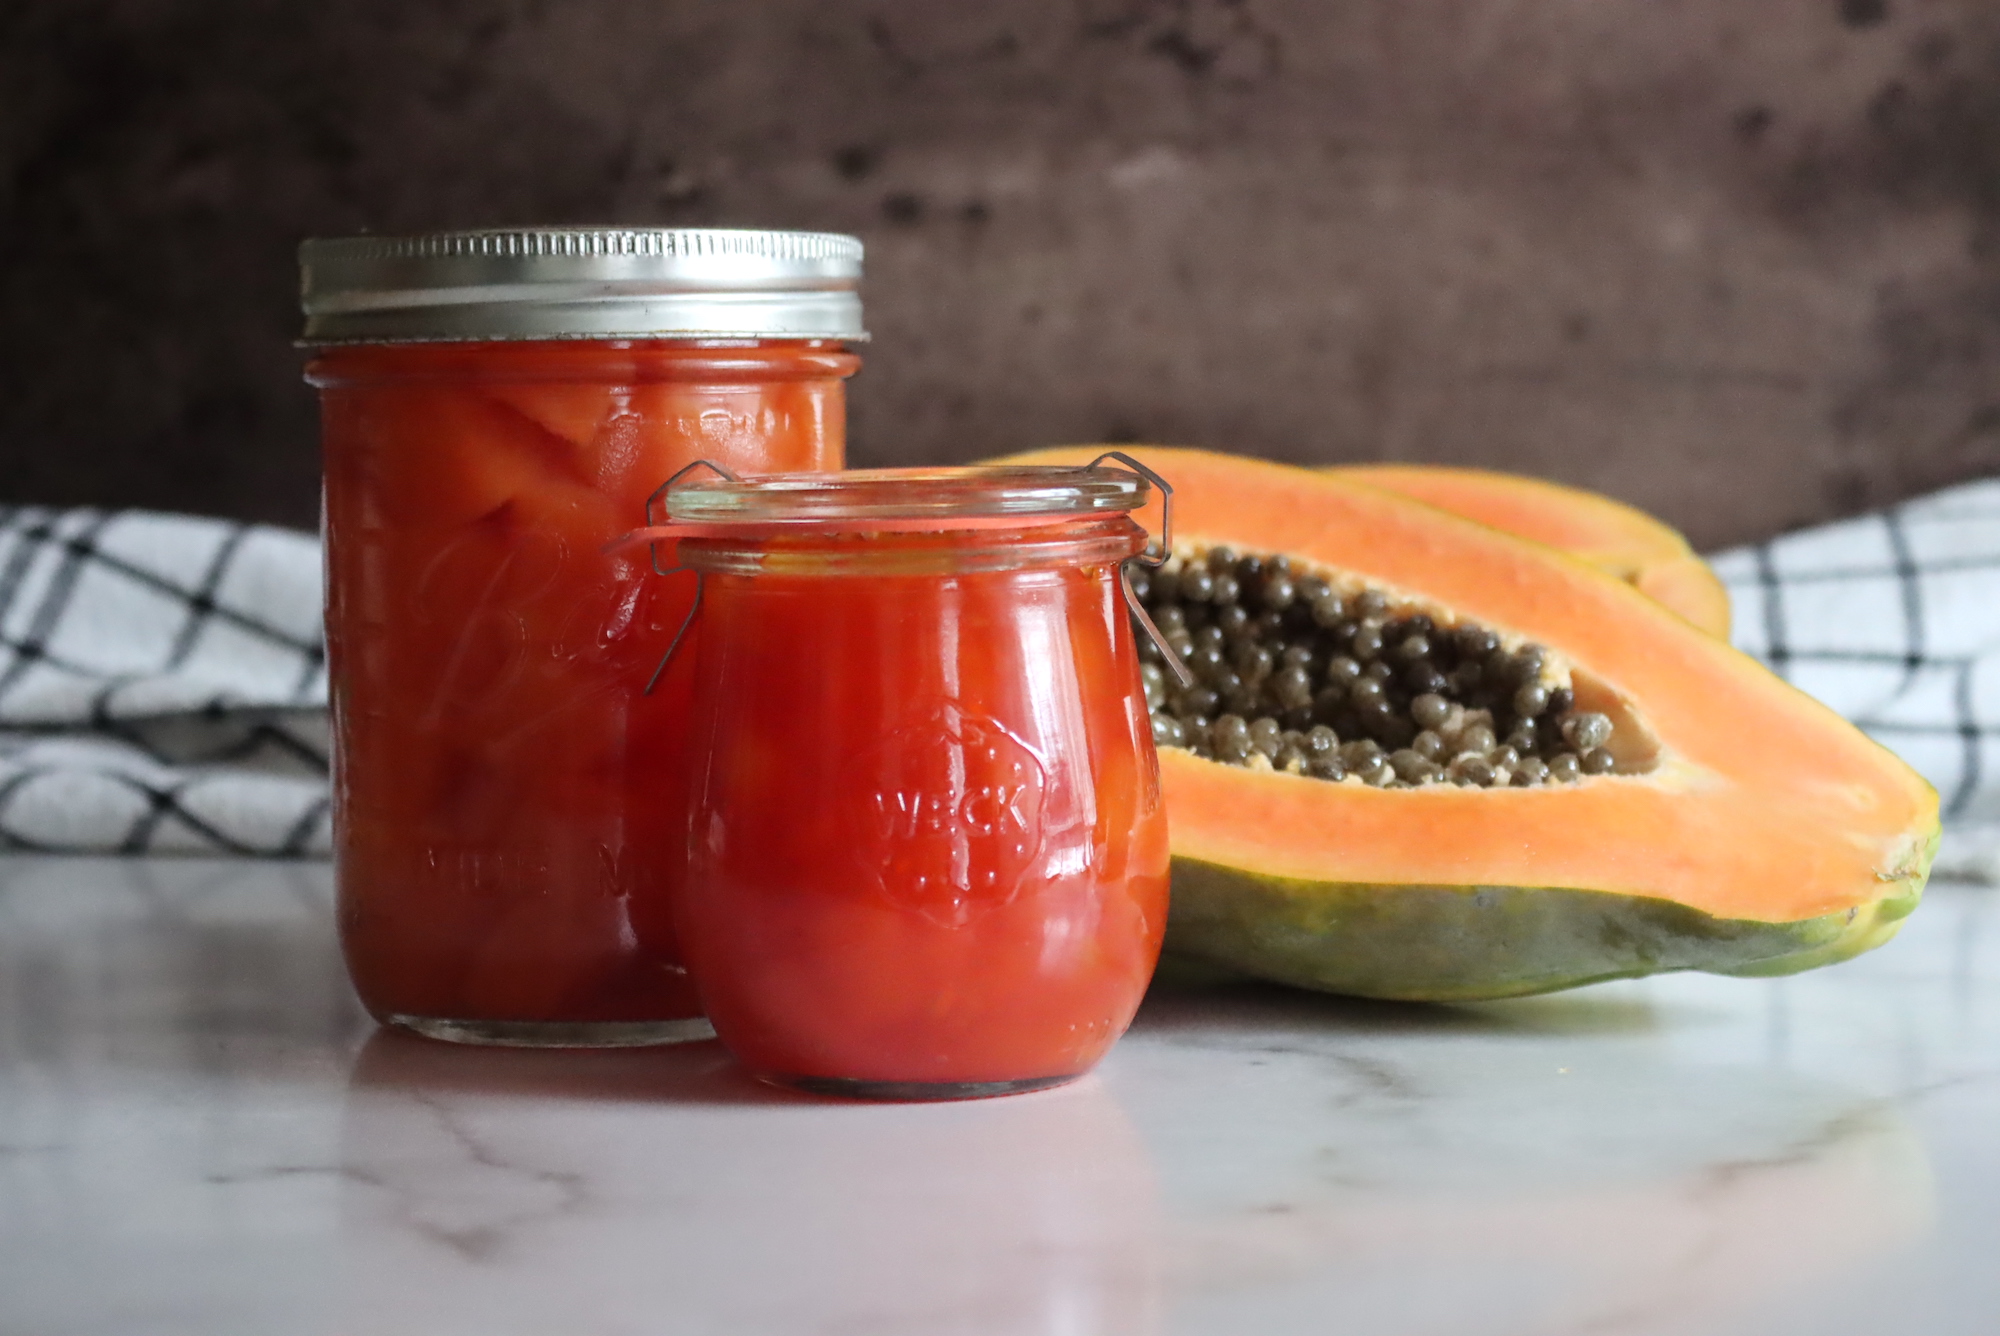
Canning Papaya Jam
Prepare a water bath canner and jars before you start cooking the jam. If you’re unfamiliar with water bath canning, please read my beginner’s guide to water bath canning before you get started.
After heating the jam thoroughly, carefully ladle the jam into the hot jars, leaving ¼” headspace at the top of the jar. A canning funnel with a headspace measurement makes this step more manageable and less messy.
Once your jars are filled, wipe the rims of the filled jars with a damp, clean cloth and apply 2-part canning lids. Tighten the canning bands only until finger-tight, and do not over-tighten.
If you have a jar that is only partially filled, do not attempt to process that jar in your hot water canner. Let the jam firm up on its own as it cools, then use it immediately or store it in the refrigerator for up to 3 weeks.
Load the filled jars into your preheated canner and bring the water to a full rolling boil. Once boiling, start the timer and process the jars for 10 minutes (or 15 minutes if above 6,000 feet in elevation).
After the processing time is complete, remove the cover from the canner, turn off the heat, and allow the jars to set in the canner for 5 minutes.
Use a jar lifter to remove the jars from the canner and set them to cool on a towel on the counter, leaving room between the jars for airflow. Do not disturb the jars as they cool. Check the seals after 12-24 hours and store unsealed jars in the refrigerator for immediate use.
Store your canned jam in your pantry or other cool, dry place. It will maintain peak quality on the shelf for about 18 months or longer as long as the jar remains sealed. Refrigerate after opening.
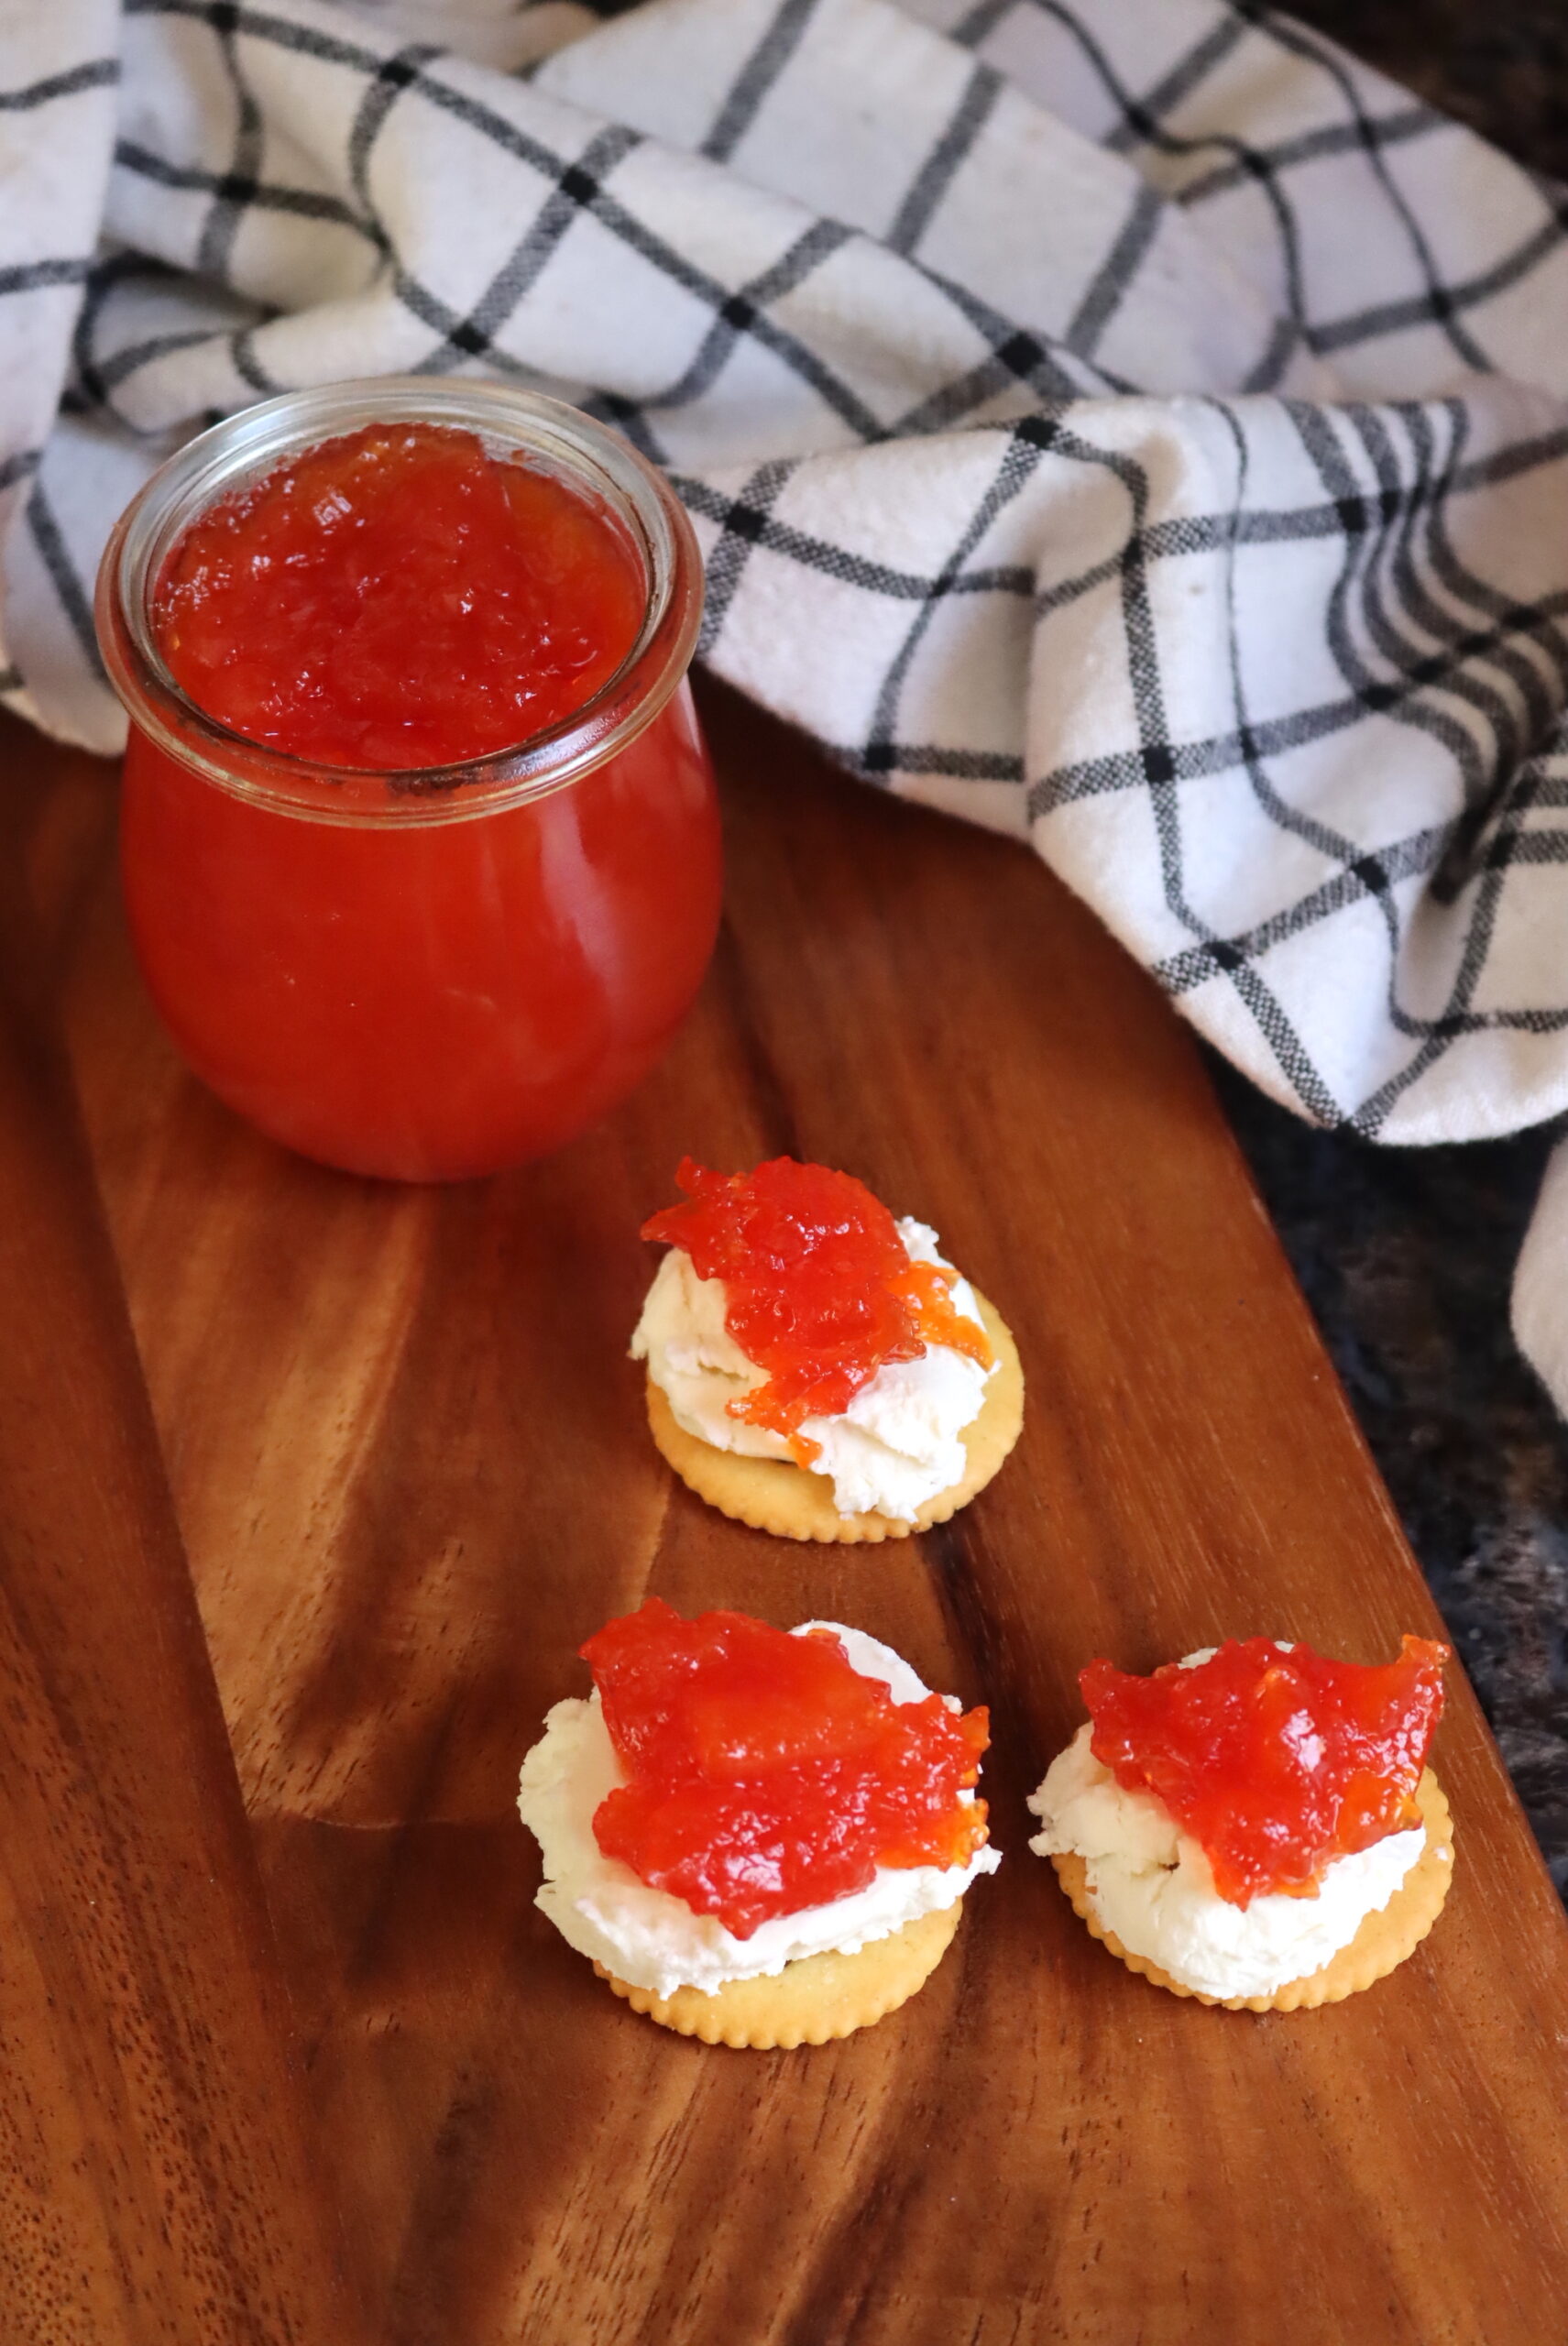
Ways to Use Papaya Jam
Papaya jam has a bright, tropical flavor that is great on biscuits, English muffins, or any of your favorite breads.
Papaya jam can also be used as a cookie filling or between cake layers for a delicious dessert everyone will love.
In Latin American countries, papaya jam is often served on crackers or toast with goat cheese, and the soft tangy cheese is a perfect pairing for the bright sweet papaya jam.
Papaya Jam
Equipment
Ingredients
- 2 lbs papaya
- 3 cups sugar
- ½ cup lemon juice, bottled
Instructions
- Wash the papaya under cool water. Peel the papaya and discard the peelings.
- Cut the papaya in half lengthwise, and use a knife or spoon to remove the seeds. Cut the papaya into small pieces.
- Place the papaya pieces in a medium saucepan or jam pot.
- Heat the papaya pieces over medium heat, stirring frequently.
- Reduce the heat to simmer and cover, stirring occasionally. Simmer the papaya for 15 minutes until the pieces are soft.
- Remove the pot from heat, and use a potato masher to mash the papaya.
- Add 3 cups of sugar and ½ cup lemon juice to the papaya pulp and stir to combine.
- Return the saucepan to the stove and cook over medium heat at a slow boil, stirring frequently.
- Use the cold plate method to test for the gel stage. Once the dollop of jam on a cold plate forms a mound and is not runny, remove the papaya preserves from heat and skim off any foam if necessary.
- Ladle or pour the jam into prepared jars or containers, leaving ¼” headspace at the top of the container. Wipe the rims of the jars or containers with a clean, damp cloth. Affix the lids.
- If you do not plan on canning your jam, leave the containers on the counter to cool until they have reached room temperature. Label and store the jam in the refrigerator for up to 3 weeks or in the freezer for up to 6 months.
- To preserve the jam using a hot water bath canning method, affix 2-part canning lids to the jars after cleaning the rims with a cloth.
- Process the jam in a prepared hot water bath canner for 10 minutes once the water has returned to boiling or for 15 minutes if you are above 6,000 feet in elevation.
- After processing, remove the cover from the canner, turn off the heat, and allow the jars to sit in the hot water for 5 minutes.
- Using a jar-lifter, remove the jars from the canner and allow them to cool on a towel on the counter, leaving them undisturbed for at least 12 hours. Check the seals and refrigerate any unsealed jars to use within 3 weeks. Store sealed jars in a cool, dark place or pantry for up to 18 months for peak quality.
Nutrition
Nutrition information is automatically calculated, so should only be used as an approximation.
Tropical Jam Recipes
Looking for more ways to preserve the taste of the tropics in your kitchen?
Would this be safe if I substituted better stevia to replace the sugar?
This recipe is a sugar preserve, and you need the sugar in there to get it to set and for preservation.