This post may contain affiliate links. Please see our disclosure policy.
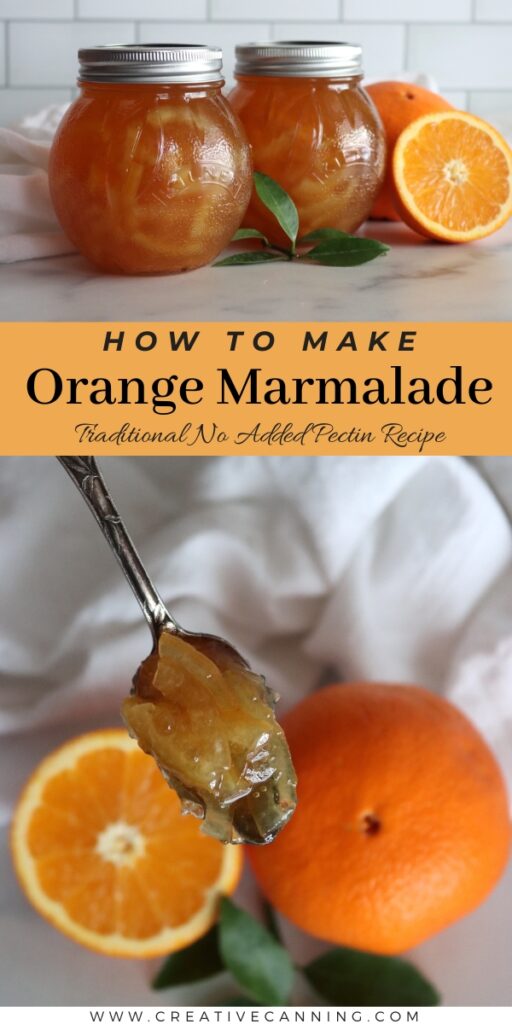
Orange marmalade is traditionally made with just oranges and sugar, plus a little lemon juice to balance the flavor. It’s a labor of love, made over three days, but it’s well worth the effort.
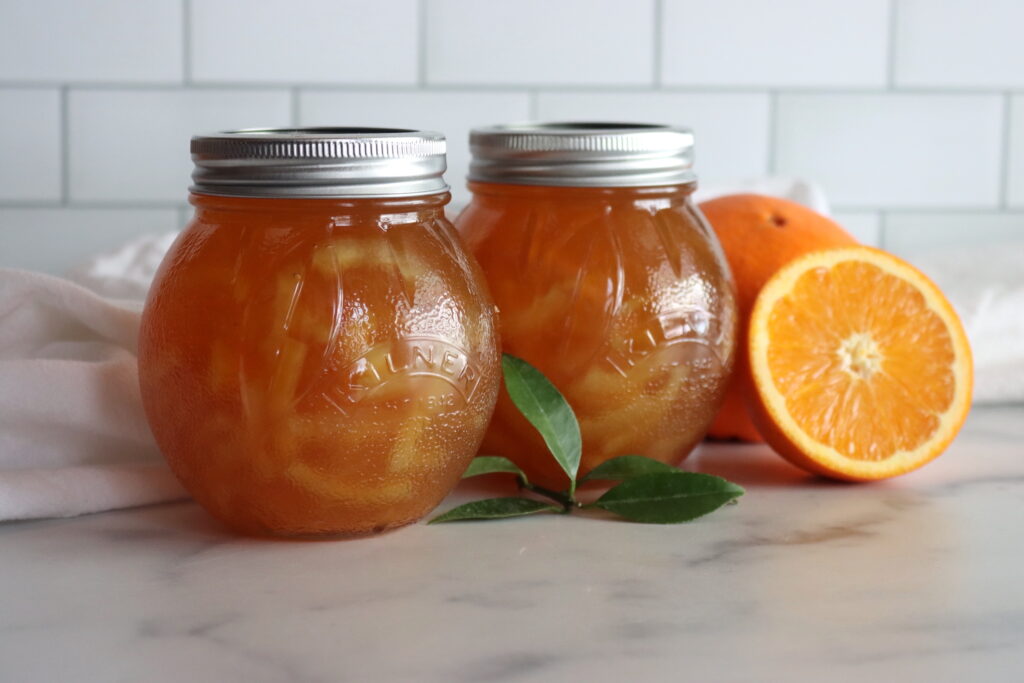
Table of Contents
Traditional marmalade was made with Seville oranges, known for their intense bitterness and high pectin content, which makes for an ideal, well-set marmalade and balanced flavor. While Seville oranges are the classic choice, marmalade can also be made with sweet oranges, blood oranges, or even a combination of citrus fruits for a unique twist.
Here in Vermont, we don’t have access to that much specialty citrus, so we make this with Navel oranges (or blood oranges), and add enough tart lemon to balance out the flavor.
I’ve written the recipe with both as options, and if you have access to Seville oranges, that’ll give you the most traditional flavor.
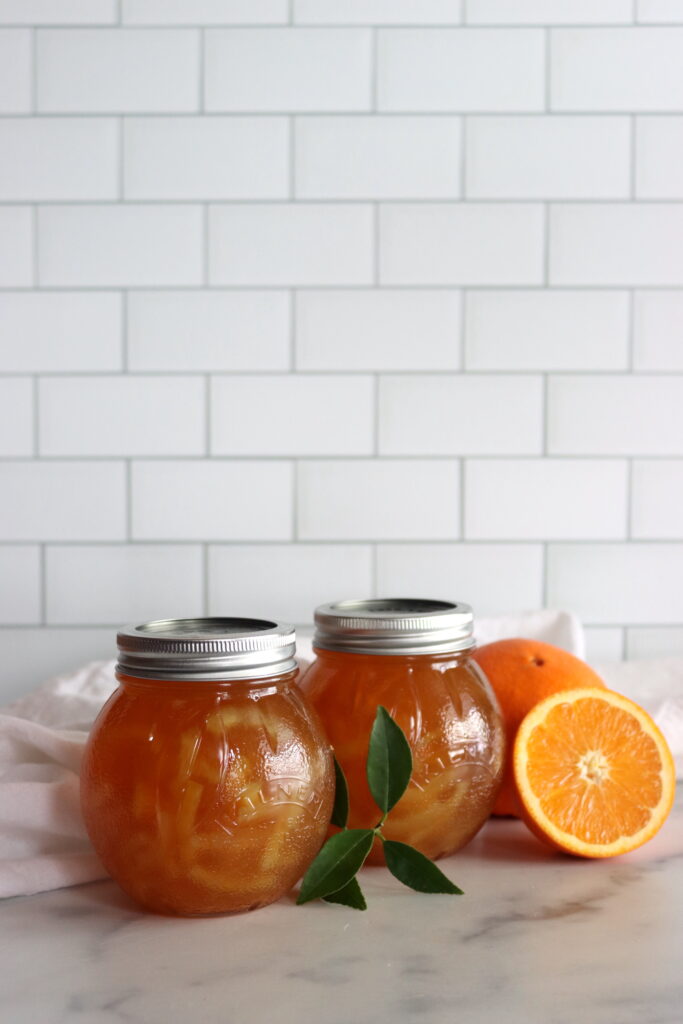
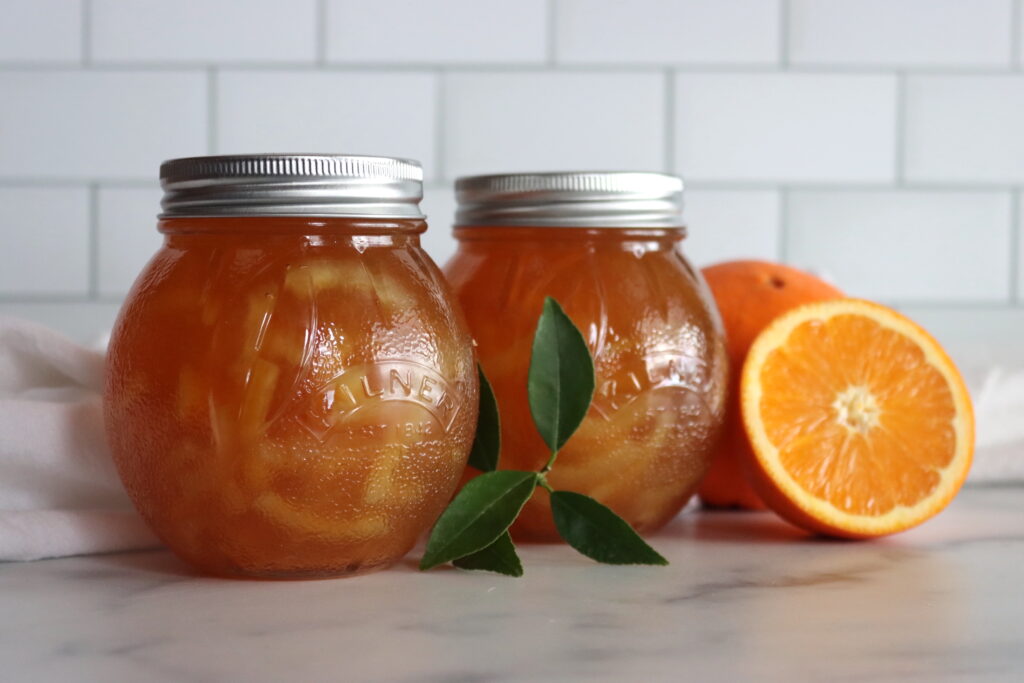
Though making orange marmalade requires patience, the rewards are well worth the effort. The slow simmering process fills the kitchen with an intoxicating citrus aroma, and the finished preserve is beautiful in the jar, making it a perfect homemade gift.
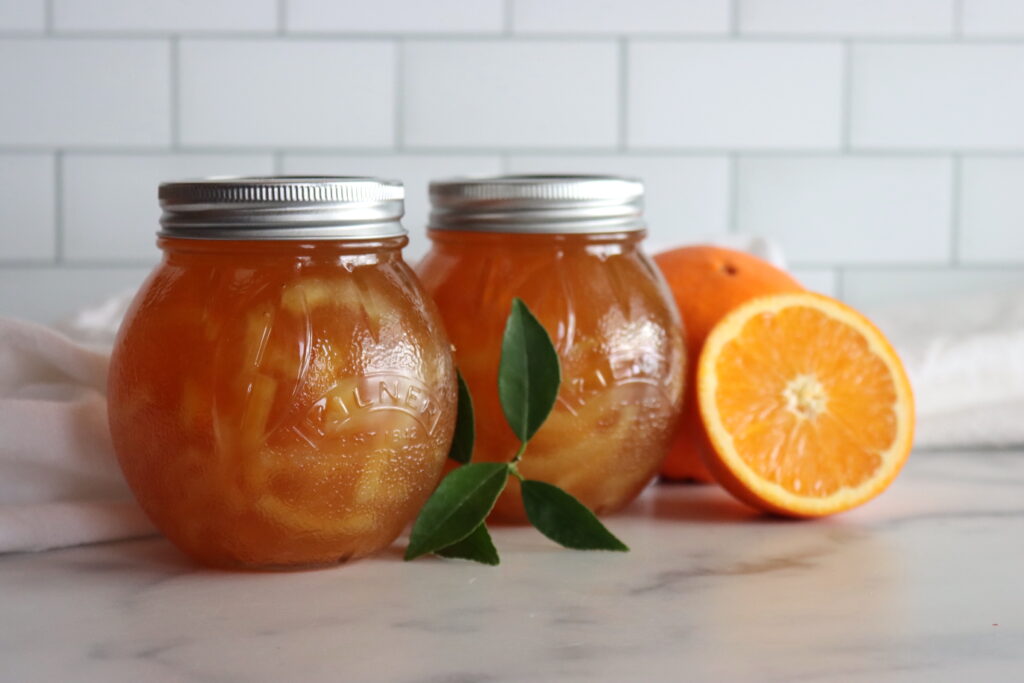
With just a few simple ingredients and a bit of time, you can create a preserve that rivals even the finest store-bought varieties. Enjoy the satisfaction of crafting your own marmalade and savor the taste of citrus sunshine all year round!
Choosing the Right Oranges
Seville oranges are the gold standard for marmalade due to their complex bitterness and natural pectin, which helps the marmalade achieve a perfect gel-like consistency.
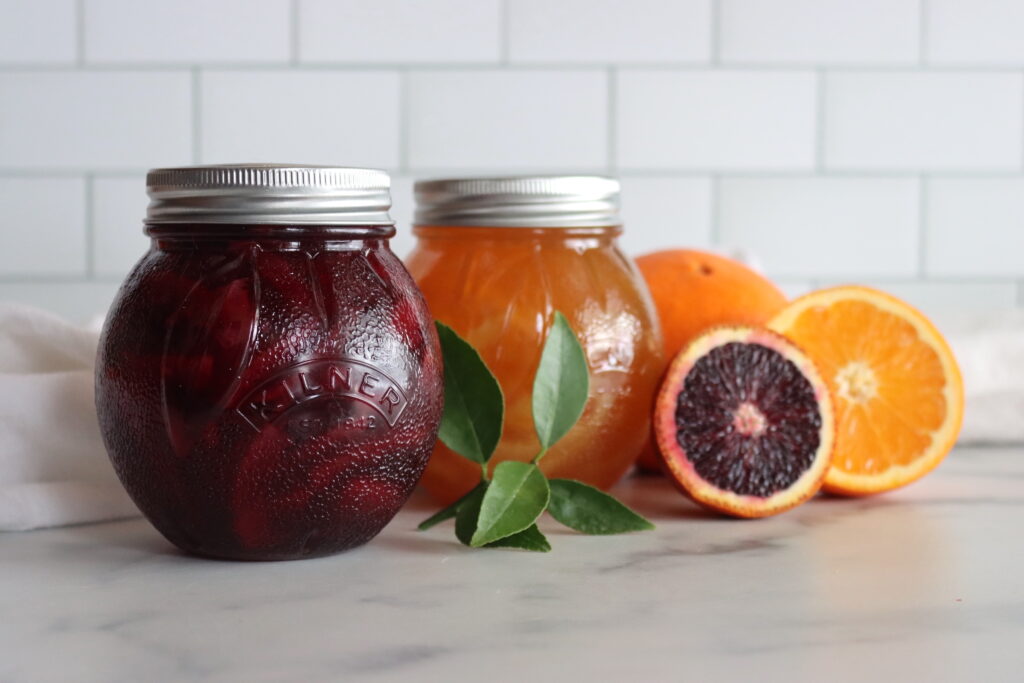
However, if you prefer a milder and sweeter marmalade, Valencia or Navel Oranges work well. Blood oranges add a stunning ruby-red hue and a slightly floral flavor to the mix. Mandarins are especially aromatic, and they add amazing flavor, but their sweetness will need to be tempered with a bit more lemon.
If you’re using very sweet oranges, I’d suggest substituting some lemons into the recipe for balance, as noted below.
Regardless of your choice, selecting fresh, organic fruit is essential, as the peel plays a starring role in the final product.
Traditional vs. Modern Methods
There are several approaches to making orange marmalade, ranging from the classic multi-day process to quicker stovetop methods.
The traditional approach involves soaking the fruit overnight to soften the rinds and extract maximum pectin, while the modern method often includes added pectin to speed up the process. Both yield excellent results, though purists often swear by the slow-cooked method for its depth of flavor and superior texture.
This is the traditional three-day marmalade method.
I have a separate recipe that uses modern methods and added pectin, and that recipe for orange marmalade comes together quickly. Since you’re using boxed low-sugar pectin, you can adjust the sweetness to suit your tastes.
If you’re looking for a faster alternative, I’d suggest my recipe for Low Sugar Orange Marmalade. It’ll work well with sweet navel oranges and mandarins, but it’s not ideal for the sour oranges traditionally used in marmalade.
With a shorter cook time, the pectin version tends to have a brighter orange color, but the flavor isn’t quite as developed as when you take your time and make a multi day preserve.
If you’re hoping for a full-flavored preserve using the old-fashioned method that slowly coaxes the flavor from the peels while softening them to create a balanced spread, this traditional method is the one for you.
Ingredients for Orange Marmalade
- 1 ½ lbs oranges, cut into eighths. With very sweet oranges, use 1 lb oranges and ½ lb lemons.
- 1 lb oranges, halved crosswise, each half cut lengthwise into quarters and sliced as thinly as possible, seeds removed
- 5 cups (2 ½ lbs) white cane sugar
- ¼ cup freshly pressed lemon juice (from 2 lemons)
Here I’ve divided the oranges into two groups, and the first group is cooked coarsely chopped into eighths. You’re extracting flavor and pectin from these oranges, but they won’t be in the final preserve. Leave the seeds in for those.
If you have very sweet oranges, like with navels or mandarins, I’d suggest using 2 parts orange and 1 part lemon to balance the flavor. In that case, it’d be 1 lb oranges and ½ lb lemons.
The second group of oranges are cut into eights, but then sliced thinly. These will be in the final preserve, and you do need to pick out the seeds as you slice them.
The sugar in this recipe is equal weight to the citrus in the recipe. This is required for setting, and if you reduce the sugar here the marmalade may not set. If you want to reduce the sugar, you’ll need to add boxed pectin.
Lastly, there’s a bit of fresh lemon juice to help balance the orange flavor. I’d encourage you to use fresh lemon juice here, as the flavor is so much better than bottled, and in this particular recipe, bottled isn’t required for canning safety.
Making Traditional Orange Marmalade
Patience is key in marmalade making, and this method allows the citrus flavors to fully develop while ensuring the right texture.
Day 1: Preparing the Oranges
Place the orange eighths in a nonreactive pot where they fit snugly in a single layer. Add enough cold water to allow the fruit to float freely. Cover the pot tightly and let it sit overnight at room temperature. This step helps soften the fruit and begin the extraction of natural pectin.
Day 2: Cooking the Fruit
Bring the pot with the orange eighths to a boil over medium-high heat, then reduce the heat to a gentle simmer. Cook, covered, for about three hours, stirring occasionally to ensure even cooking. Add additional water as needed to keep the fruit submerged. The oranges should become very soft, and the liquid should develop a slightly syrupy consistency.
Once cooked, strain the juice by pouring the hot mixture through a fine strainer into a heatproof container. Cover and let it drip overnight to extract all the flavorful liquid.
Meanwhile, prepare the thinly sliced oranges by placing them in a wide stainless-steel pot and covering them with cold water. Bring to a boil over high heat, then reduce to a simmer and cook for five minutes. Drain and discard the water. Return the slices to the pot, add fresh water to cover them by an inch, and cook covered at a simmer for two hours, stirring occasionally. Once the slices are tender, remove them from heat, cover them, and let them rest overnight at room temperature.
Day 3: Combining and Cooking the Marmalade
Place a few metal teaspoons in the freezer for later testing. Remove and discard the cooked orange eighths, straining their juice through a fine mesh sieve to remove any solids.
In a large jam pot, combine the sugar, strained orange juice, fresh lemon juice, and cooked orange slices with their liquid. Stir well and ensure the sugar dissolves.
Bring the mixture to a boil over high heat.
Continue cooking at a rapid boil, stirring only occasionally at first. As the mixture thickens and starts to foam, stir gently every few minutes to prevent scorching.
Orange marmalade typically takes at least 20 minutes to reach the setting point, but may vary based on stove and pan size. I’ve had batches take as long as 45 minutes. As the marmalade thickens, the color will deepen, and the bubbles will become smaller.
Testing for Set
There are several methods to determine if your marmalade has reached the perfect consistency:
Instant Read Thermometer
If you have an instant-read thermometer, you can check for doneness by temperature. Marmalade typically sets at around 220°F at sea level or about 8°F above the boiling point of water. Since the boiling point of water decreases with altitude, the set point drops by 1°F for every 500 feet above sea level. For instance, at 1,000 feet elevation, the set point would be 218°F.
Cold Plate Test
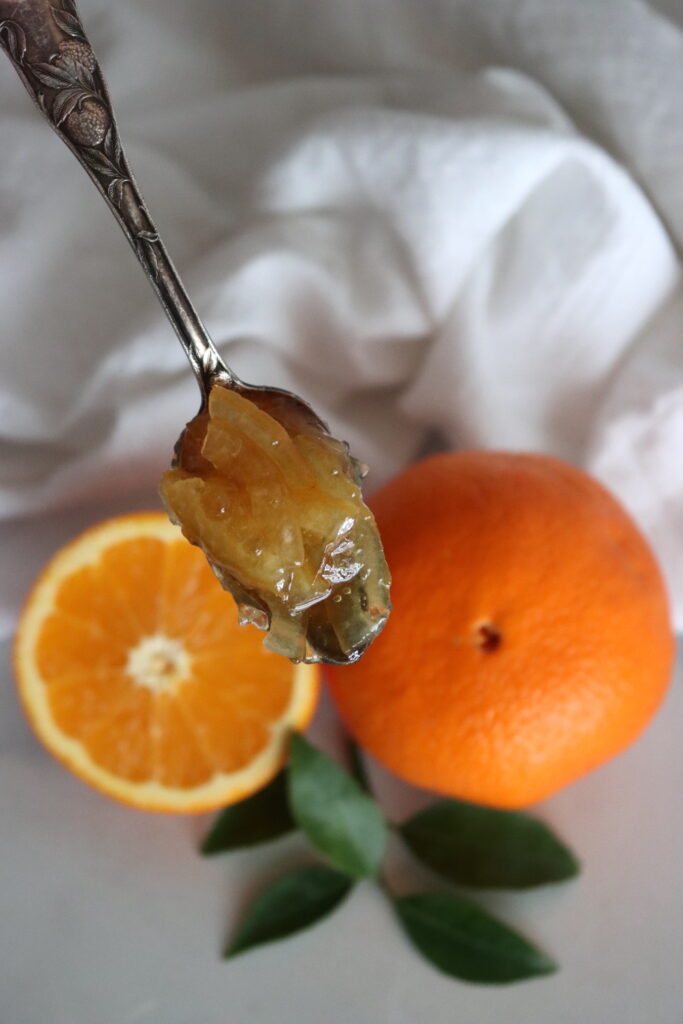
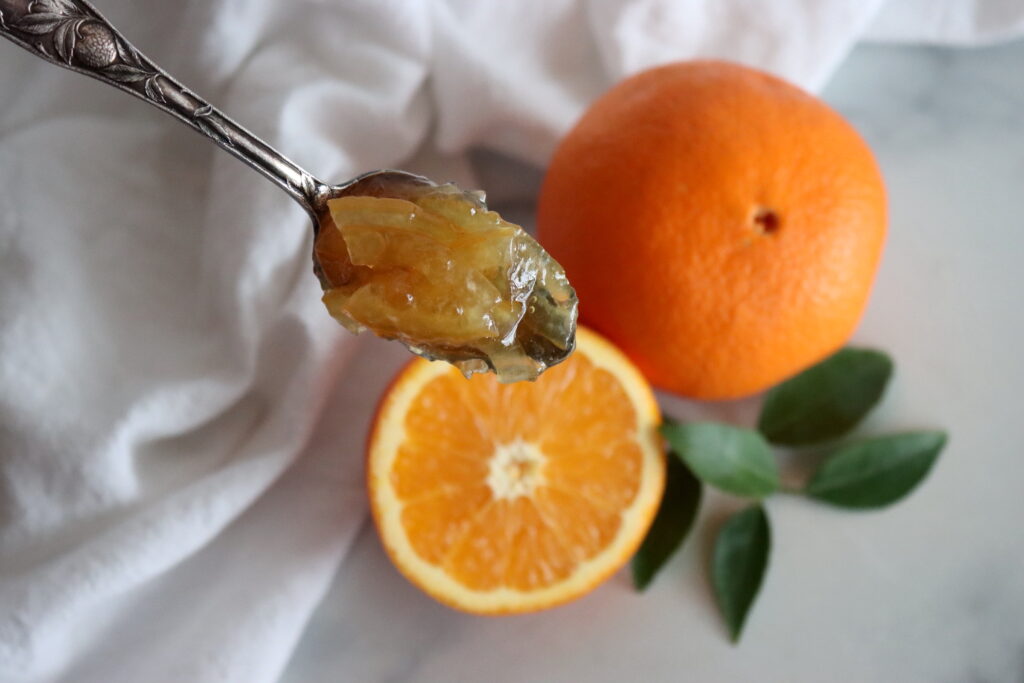
To use the cold plate method, place a few small plates or saucers in the freezer ahead of time. When you’re ready to test, drop a small spoonful of marmalade onto a chilled plate and let it sit for a few seconds. Run your finger through the marmalade; if it wrinkles and holds its shape without running back together, it is set. If not, continue cooking and test again every few minutes.
Cold Spoon Test
For this test, place several metal teaspoons in the freezer. When ready, remove a small spoonful of marmalade and place it on one of the frozen spoons. Allow it to sit for 1–2 minutes. Check the underside of the spoon—it should be neither warm nor cold. Tilt the spoon; if the marmalade holds its shape and has thickened to a jelly-like consistency, it is done. If it still runs, continue boiling for a few more minutes and retest as needed.
Finishing the Marmalade
Once done, turn off the heat but do not stir. Skim off any foam using a stainless-steel spoon. Ladle the marmalade into prepared jars, leaving ¼ inch of headspace.
Be aware that marmalades can take up to a week to set in the jar! They usually set in 24 to 48 hours, but the pectin is still slowly working to set the jam for up to a week.
Don’t be surprised if your marmalade is not set initially, just give it time.
Canning Orange Marmalade
Canning is optional, but if canning, prepare a waterbath canner and jars before you begin cooking the marmalade on the final day.
Fill the jars, leaving ¼ inch headspace and cap with canning lids. Process the jars in a waterbath canner for 10 minutes, or 15 minutes if above 6,000 feet in elevation.
Remove the jars from the canner and allow them to cool to room temperature before checking seals. Store any unsealed jars in the refrigerator for immediate use.
Properly canned and sealed jars of orange marmalade will maintain peak quality on the pantry shelf for 12-18 months.
Orange Marmalade Variations
Marmalade’s signature appeal comes from its balance of flavors. Too much sugar and it becomes cloying; too little, and the bitterness may overwhelm. The key is to find harmony, adjusting sugar levels to complement the natural tartness of the fruit. Adding a touch of lemon juice enhances brightness, while spices such as cinnamon or cloves can add warmth.
For those who enjoy experimenting, there are countless ways to customize orange marmalade:
- Whisky Cinnamon Marmalade: A classic combination that highlights the warmth of cinnamon against the bitter citrus backdrop, and the whisky brings it all together.
- Vanilla Rum: A rich and aromatic take, where dark rum and vanilla add luxurious depth.
- Orange & Lemon Marmalade: A bright and tangy variation that blends the zing of lemons with the sweetness of oranges. To make this variation, replace ¼ to ½ of the oranges with lemons.
Or you can leave it pure orange for the most traditional taste.

Orange Marmalade
Equipment
- Half Pint Jars
- Regular Mouth Canning Lids
- Jar Lifter
Ingredients
- 1 ½ lb oranges, cut into eighths
- 1 lb oranges, halved crosswise, each half cut lengthwise into quarters and sliced as thinly as possible, seeds removed
- 5 cups cane sugar, 2 1/2 lbs
- ¼ cup lemon juice, freshly pressed from 2 lemons
Instructions
Day 1: Preparing the Oranges
- Place the orange eighths in a nonreactive pot where they fit snugly in a single layer.
- Add enough cold water to allow the fruit to float freely.
- Cover the pot tightly and let it sit overnight at room temperature to help soften the fruit and begin extracting pectin.
Day 2: Cooking the Fruit
- Bring the pot with the orange eighths to a boil over medium-high heat, then reduce to a gentle simmer.
- Cook, covered, for about 3 hours, stirring occasionally. Add water as needed to keep the fruit submerged.
- Once the oranges are very soft and the liquid slightly syrupy, strain the juice by pouring the mixture through a fine strainer into a heatproof container.
- Cover the container and let it drip overnight to extract all the flavorful liquid.
- Meanwhile, prepare the thinly sliced oranges by placing them in a wide stainless-steel pot and covering them with cold water.
- Bring to a boil over high heat, then reduce to a simmer and cook for 5 minutes.
- Drain and discard the water, then add fresh water to cover the slices by 1 inch.
- Cook, covered, at a lively simmer for 2 hours, stirring occasionally. Remove from heat, cover, and let rest overnight at room temperature.
Day 3: Combining and Cooking the Marmalade
- Place a small plate in the freezer for testing later, and if canning, prepare a waterbath canner and jars.
- Remove and discard the cooked orange eighths, straining their juice through a fine mesh sieve to remove solids.
- In a large jam pot, combine the sugar, strained orange juice, fresh lemon juice, and cooked orange slices with their liquid. Stir well.
- Bring the mixture to a boil over high heat.
- Cook at a rapid boil, stirring occasionally. As the mixture thickens and foams, stir gently every few minutes to prevent scorching.
- Continue cooking until the setting point is reached (at least 20 minutes, and as much as an hour).
- Testing for Doneness: Remove the marmalade from heat and place a bit on a plate that’s been chilled in the freezer. Let it cool for a few seconds, then run your finger through the marmalade; if it wrinkles and holds its shape without running back together, it is set. If not, continue cooking and test again every few minutes.Alternately, test for set with an instant read thermometer. Marmalade usually sets at around 220 F at sea level, or at 8 degrees above the boiling point of water. The boiling point of water decreases at higher altitudes, and it drops by 1 degree for every 500 feet of elevation. For example, at 1,000 feet the set point is 218 F.
- Once done, turn off the heat but do not stir.
- Skim off any foam using a stainless-steel spoon.
- Ladle the marmalade into prepared jars, leaving ¼ inch of headspace.
- If canning, process the jars in a water bath canner for 10 minutes (or 15 minutes if above 6,000 feet in elevation.)
Notes
Troubleshooting Your Marmalade
Even with careful preparation, sometimes things don’t go as planned. Here are some common issues and how to fix them:- Marmalade Didn’t Set: If your marmalade remains runny after cooling, it may not have reached the correct temperature (220°F) during boiling. Try reheating it and boiling for a few more minutes, testing with the frozen spoon method.
- Marmalade is Too Thick: If your marmalade is overly thick or stiff, it may have been cooked too long. Adding a small amount of boiling water and stirring can help loosen the consistency.
- Sugar Crystallization: If sugar crystals form in the marmalade, it may not have been stirred well enough when the sugar was added. Ensure the sugar is fully dissolved before boiling.
- Cloudy or Foamy Appearance: This can be caused by stirring too much after the marmalade has started to set or by not skimming off foam during the boiling process. Always skim foam before jarring for a clear, glossy finish.
Nutrition
Nutrition information is automatically calculated, so should only be used as an approximation.
Marmalade Recipes
Once you’ve perfected this traditional spread, why not explore other citrus varieties?
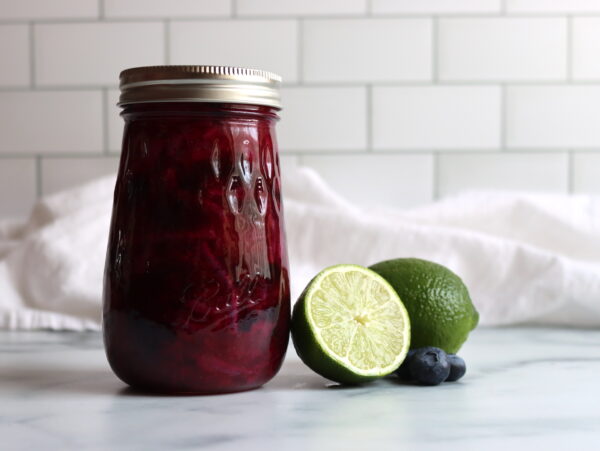
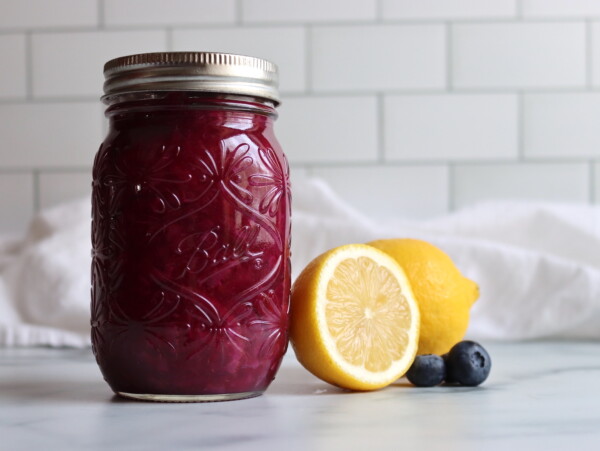
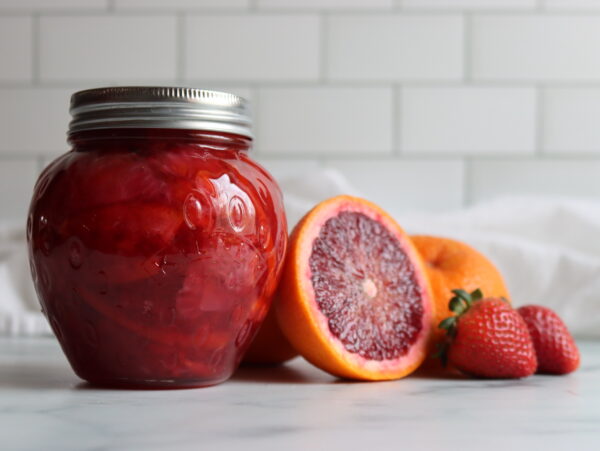
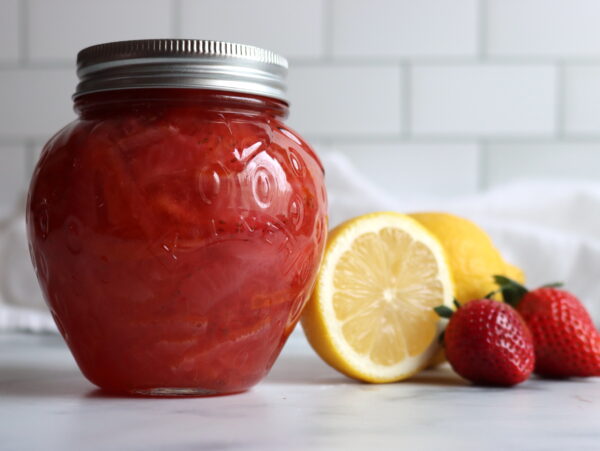
For a unique twist, try Blood Orange Marmalade with its stunning color and rich berry like flavor. If you prefer a tangier option, Lemon Marmalade or Lime Marmalade are excellent choices.
For those watching their sugar intake, our Low Sugar Orange Marmalade (with pectin) offers a healthier alternative. Don’t forget about the versatility of our Marmalade with Any Citrus recipe, which allows you to mix and match your favorite citrus fruits for endless flavor combinations!