This post may contain affiliate links. Please see our disclosure policy.
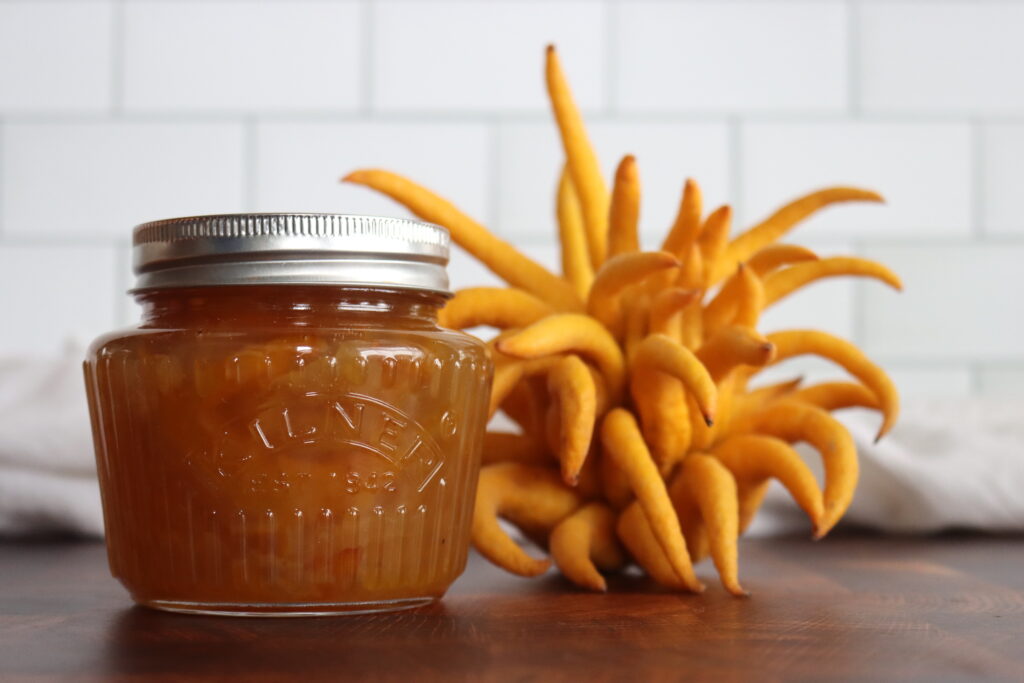
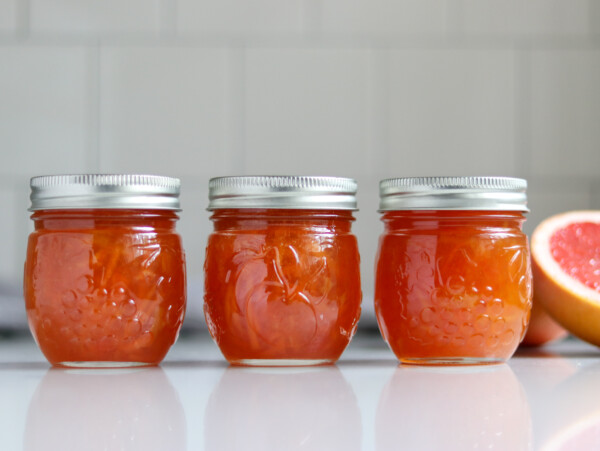
Homemade marmalade turns a few pounds of winter citrus into jars of bright, peel-flecked preserves that liven up toast, biscuits, and cheese boards long after citrus season has passed. Once you understand the basic method, you can make it with whatever citrus you can get your hands on, from grocery store navel oranges to a lucky bag of Seville oranges or a single oddball Buddha’s hand.
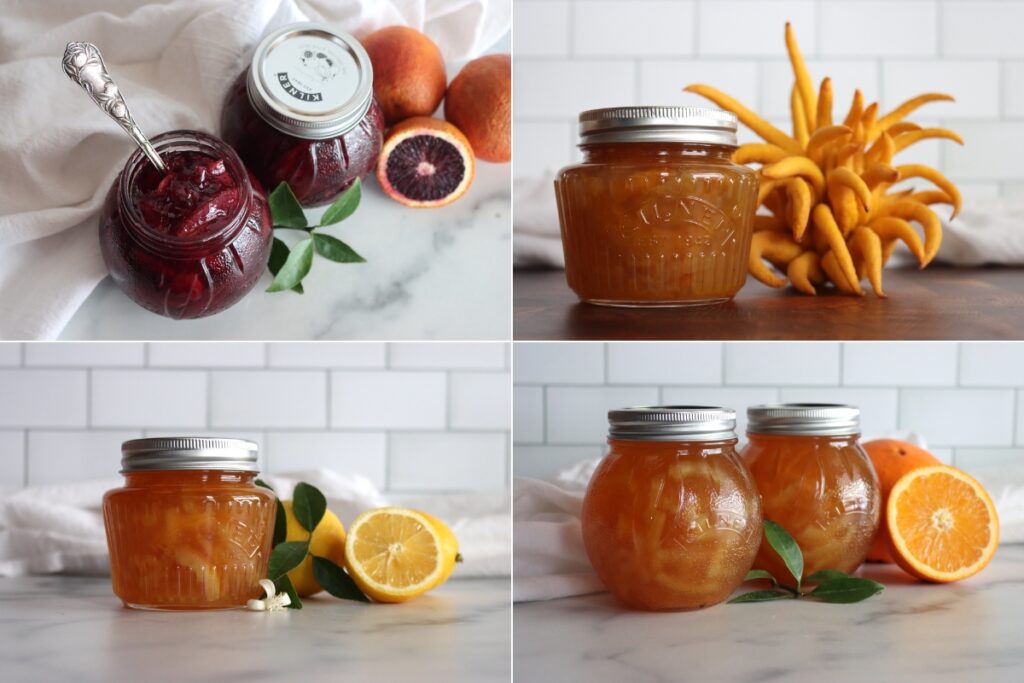
Table of Contents
- Notes from My Kitchen
- Quick Look at the Recipe
- What Is Marmalade?
- Choosing Citrus for Marmalade
- Ways to Make Marmalade
- Ingredients for Marmalade
- How to Make Marmalade
- Setting Notes
- Canning Marmalade
- Altitude Adjustments
- Troubleshooting Marmalade
- Ways to Use Marmalade
- Marmalade Recipe Variations
- Marmalade FAQs
- Marmalade Recipes
- Marmalade (with any Citrus) Recipe
- Citrus Canning Recipes
This recipe has been reviewed for safety and accuracy by a Master Food Preserver certified through the University of Cornell Cooperative Extension.
Marmalade is a citrus preserve made from the whole fruit, peel and all, suspended in a soft jelly. That bit of bitter peel is what sets it apart from a smooth jelly recipe or a chunky fruit jam recipe, and it’s what gives marmalade its devoted following. The technique here works as a master method, so you can apply it to any citrus and then branch out into our full collection of marmalade recipes once you have the rhythm down.
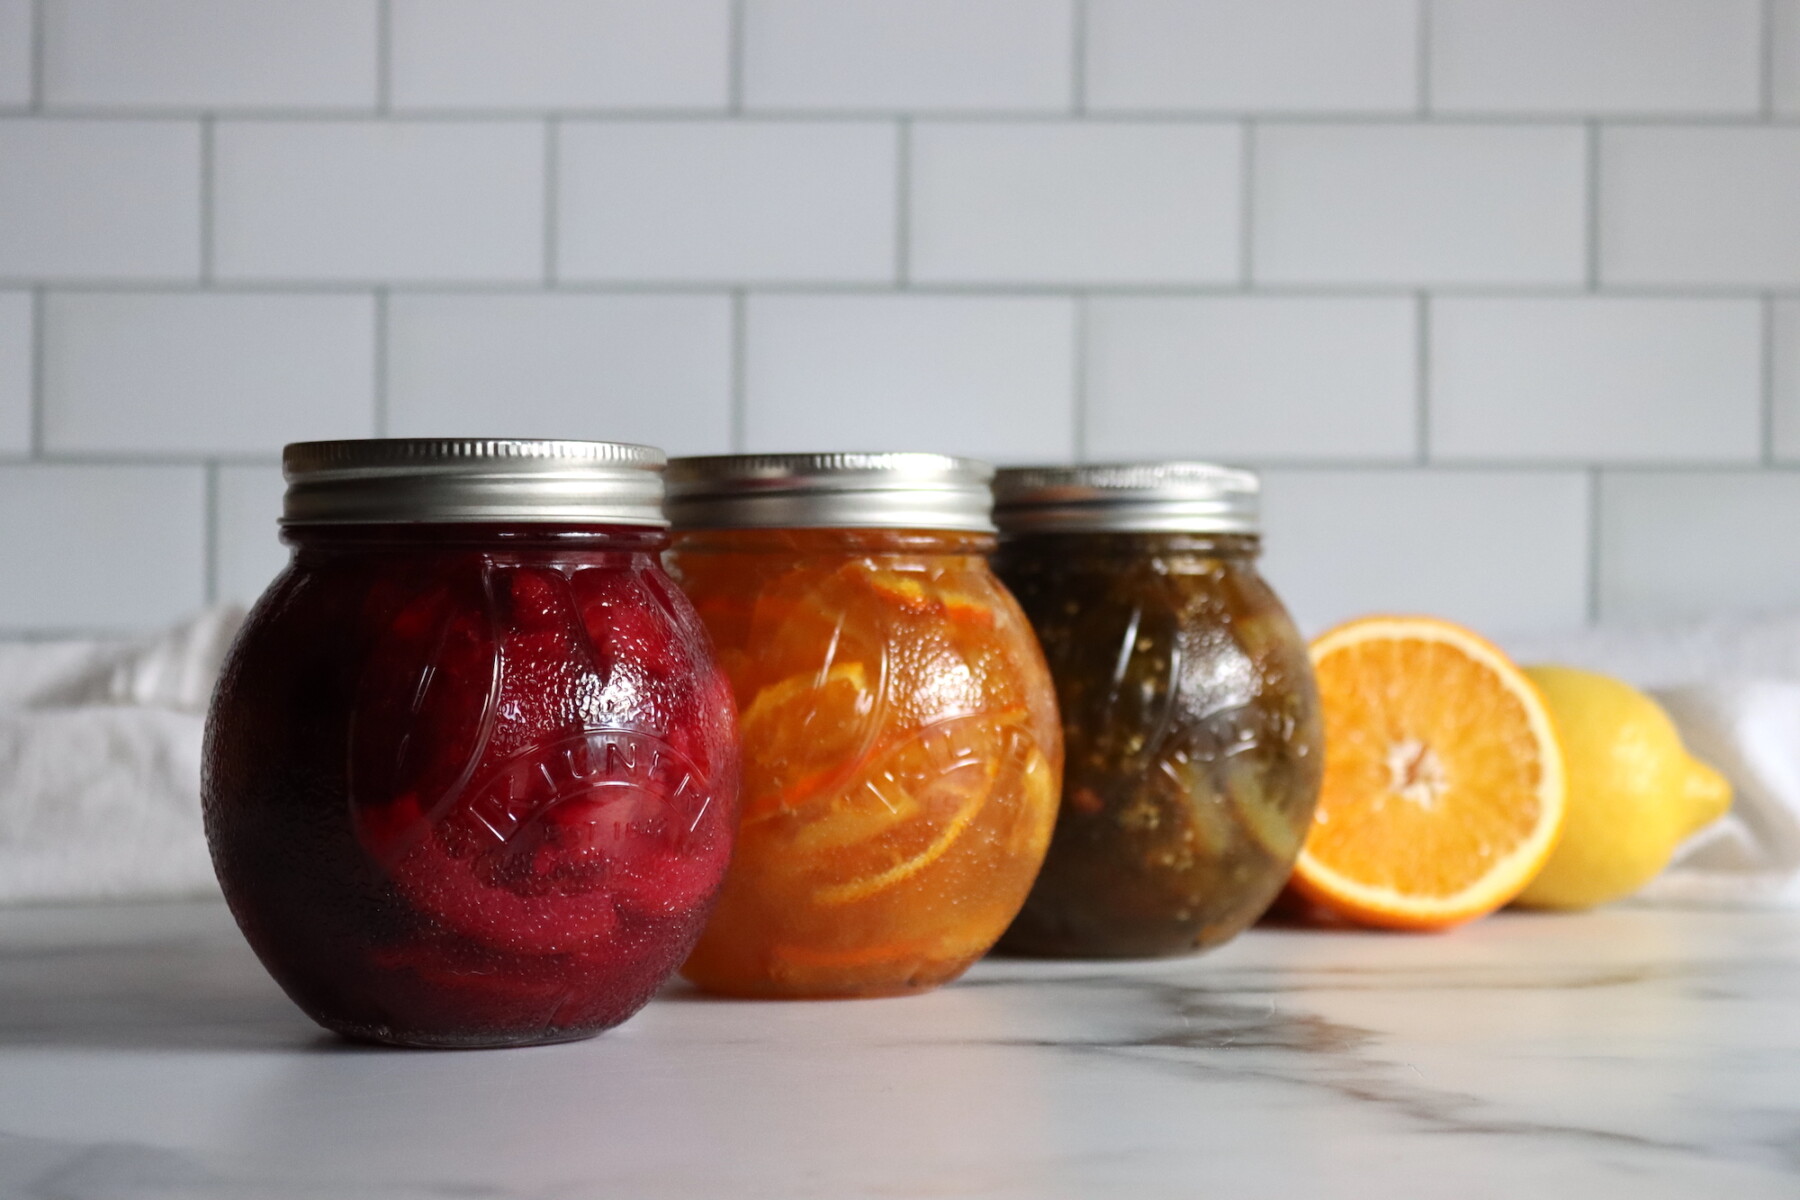
Traditional marmalade was made with Seville oranges, which are bitter and high in pectin, but they’re only around for a few weeks in late winter and hard to find in much of the country. Here in Vermont, I make marmalade with whatever citrus the store has, usually navel oranges or blood oranges, plus some tart lemon to balance the sweetness and help it set. You can lean into a single fruit, like a sharp lemon marmalade, or mix several together for something more layered.
This is the traditional long method that relies on the natural pectin in citrus peel and seeds, so there’s no boxed pectin involved. It takes three days, though most of that is hands-off soaking time. If you’d rather make a quick version with added pectin, our low sugar orange marmalade comes together in a single afternoon.
Notes from My Kitchen

I tend to make marmalade in the dead of winter, when the citrus at the store is at its peak, and there isn’t much else coming out of the garden to preserve. The three-day process sounds like a lot, but it’s mostly waiting. You spend maybe twenty minutes a day with your hands on it, and the long soaks do the real work of softening the peel and pulling out the pectin that makes it set.
A batch this size fills four to six half-pint jars, which keeps us in marmalade through spring with a few left to give away. My kids aren’t sold on the bitter peel yet, so I cut their share with extra sweet citrus and a lighter hand on the pith. If you’ve never made marmalade before, start small with a mix of sweet oranges and lemons. It’s hard to go wrong once you understand what each step is doing.
Quick Look at the Recipe
- Recipe Name: Marmalade (with Any Citrus)
- Recipe Type: Marmalade Recipe
- Canning Method: Water Bath Canning
- Active Time: About 1 hour, spread across 3 days
- Canning Time: 10 Minutes
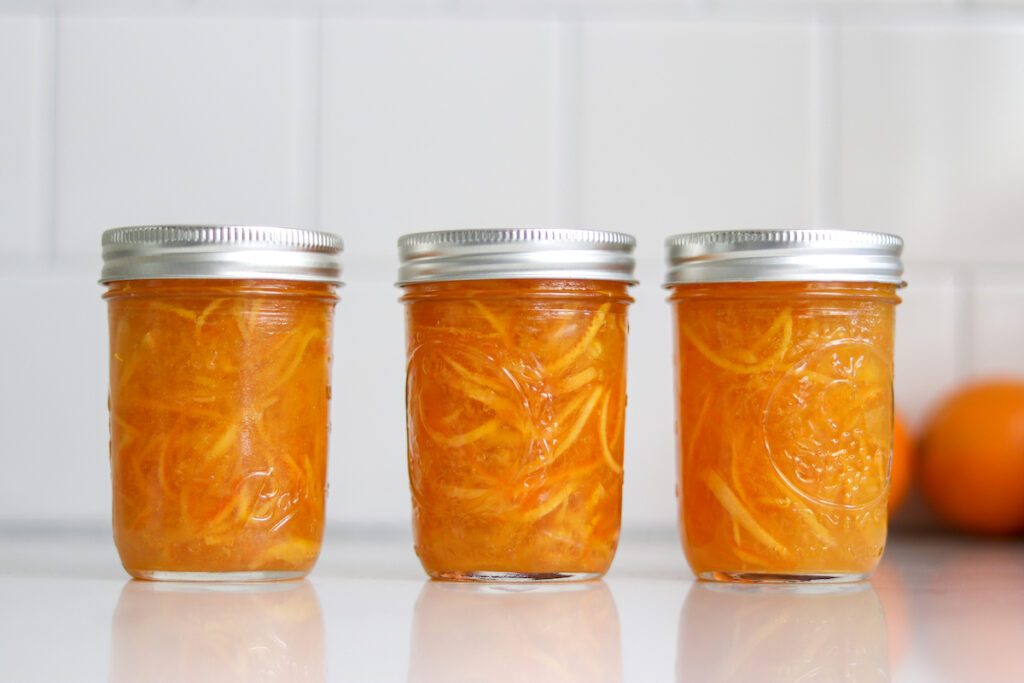
- Yield: 4 to 6 half-pint jars
- Jar Sizes: Quarter Pint or Half Pint
- Headspace: 1/4 inch
- Ingredients Overview: Citrus fruit, sugar, water, and lemon juice (no added pectin)
- Difficulty: Intermediate. The individual steps are simple, but the timing spans three days.
- Similar Recipes: This master method is the base for specific batches like Orange Marmalade, Lemon Marmalade, and Grapefruit Marmalade. For a quicker version with added pectin, try Low Sugar Orange Marmalade.
What Is Marmalade?
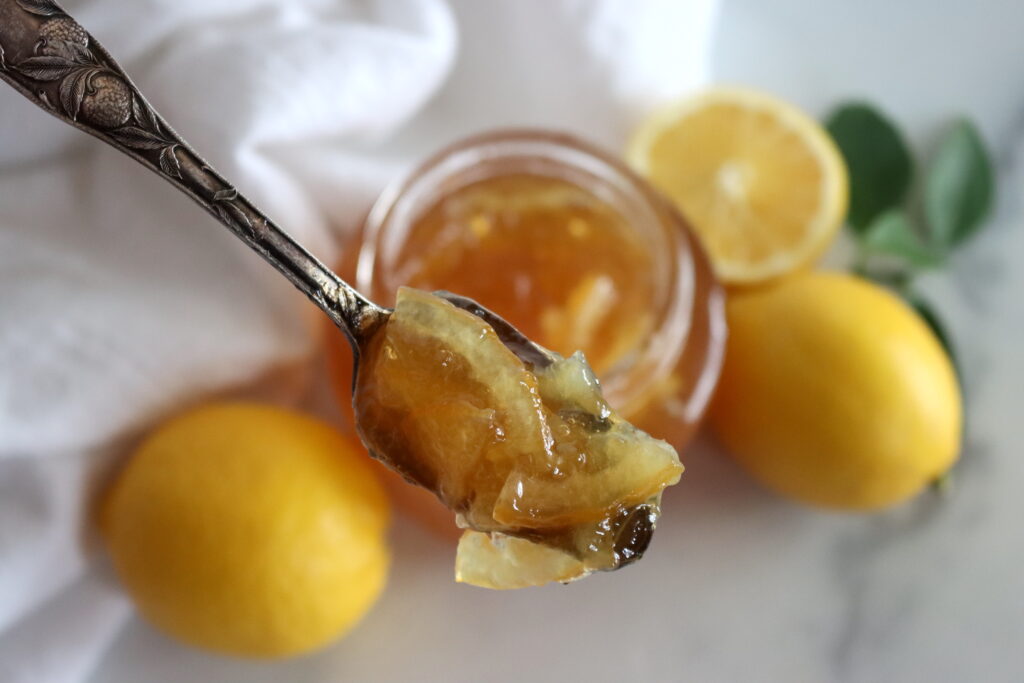
Marmalade is a fruit preserve made from citrus, known for its balance of sweetness and tang. Unlike a jam or jelly, marmalade includes the peel, which gives it a distinct texture and a pleasant edge of bitterness. The tartness of the citrus plays against the sugar, which makes it as good melted over a cheese board as it is spread on morning toast.
Traditional British marmalades are known for a chunky texture and bold, bitter flavor, while more modern versions tend to be brighter and more finely cut. Historically, marmalade wasn’t even made with citrus, and some of the earliest versions came from ancient Greece and Rome, made with fragrant quince and honey. These days, when people say marmalade, they mean shreds of citrus rind suspended in a soft jelly, and it’s that combination of jelly and peel that sets it apart from smooth jellies and chunky jams.
You can also make a mixed fruit marmalade with other fruits besides citrus, like cranberry orange marmalade or apple marmalade, and those are often a bit easier to get right because the other fruits mellow the flavor while the citrus provides pectin for set. You can even make some really unconventional marmalades, like green tomato marmalade.
This guide, however, is focused on traditional citrus marmalade.
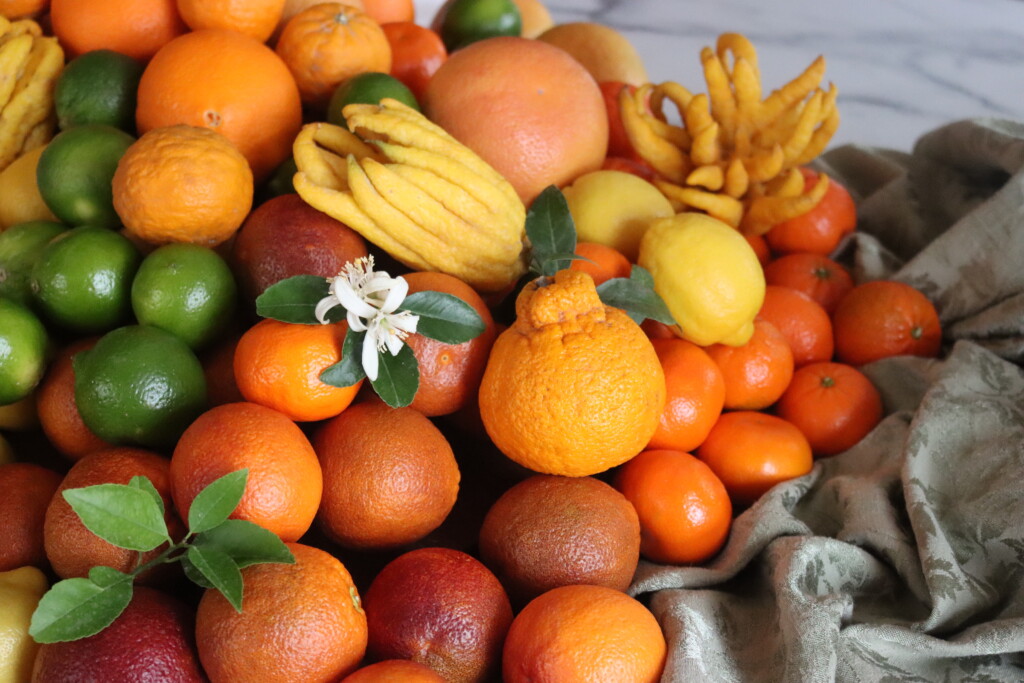
Choosing Citrus for Marmalade
Traditional marmalade is made with Seville oranges, but you can make a good batch with almost any citrus, or a mix of several. The thing to keep in mind is the balance of sweet and tart, because sweet citrus on its own tends to make a flat, overly sweet marmalade that struggles to set.
If you’re working with sweet fruit like navel oranges, plan to replace about a quarter to half of it with tart lemons. The lemons bring acidity and pectin, both of which the marmalade needs to gel and to taste like more than just sweet orange. Here’s a quick guide to the citrus you’re likely to come across:
- Seville Oranges: The classic choice for marmalade. They’re tangy, bitter, and high in pectin, which gives marmalade its bold flavor and reliable set. They’re in season in winter, typically from December to February.
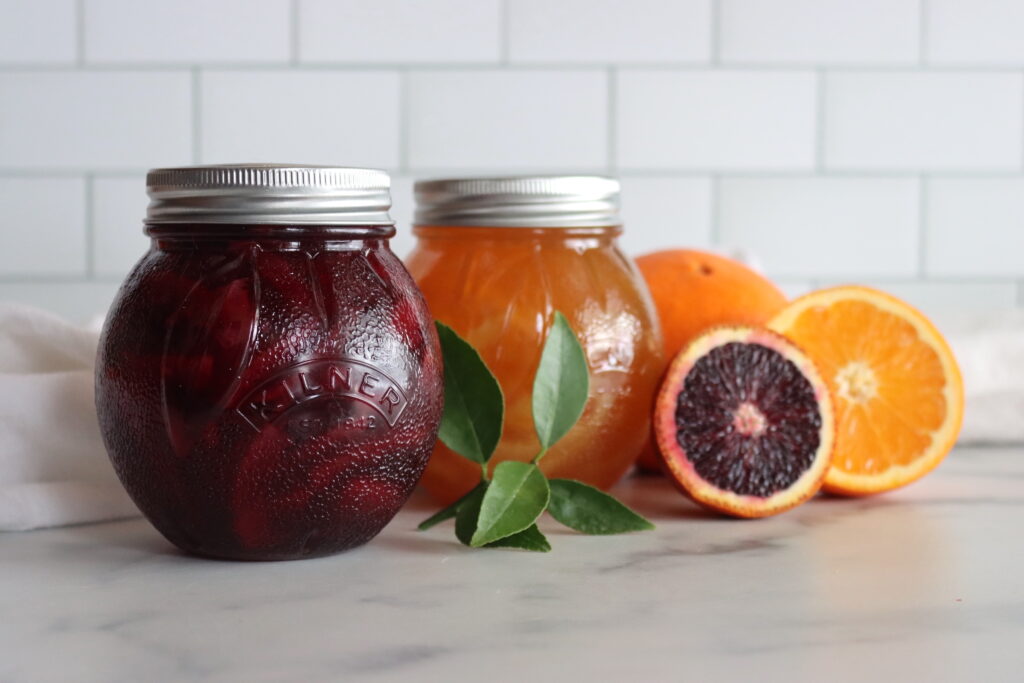
- Navel Oranges: Sweeter than Seville oranges and milder, with less bitterness. They make a gentler marmalade and are available year-round, which makes them a practical choice for most of us.
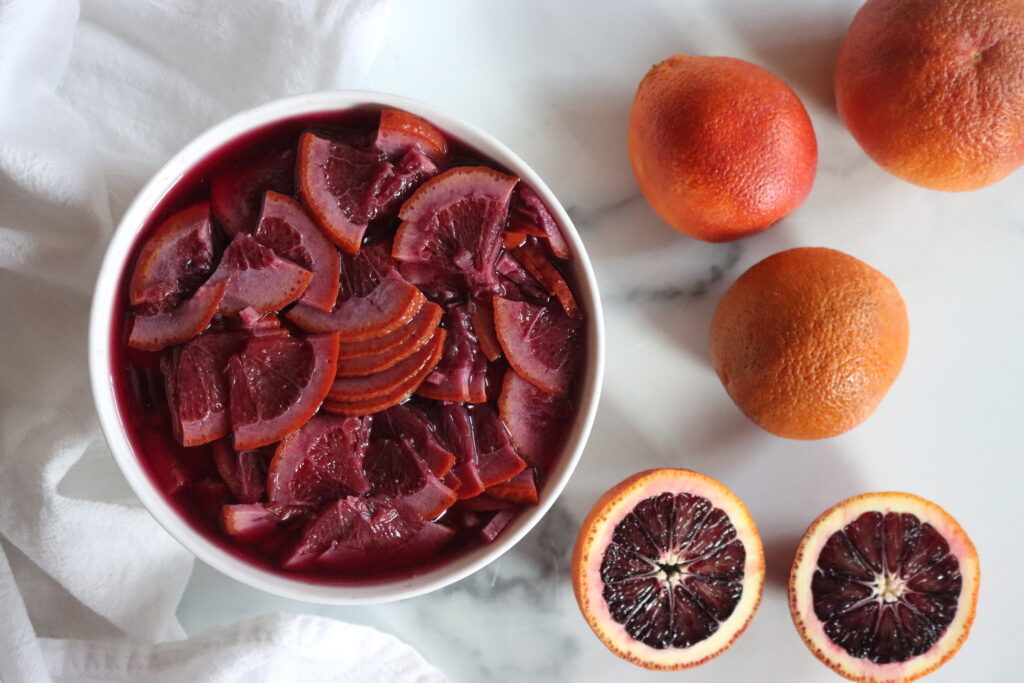
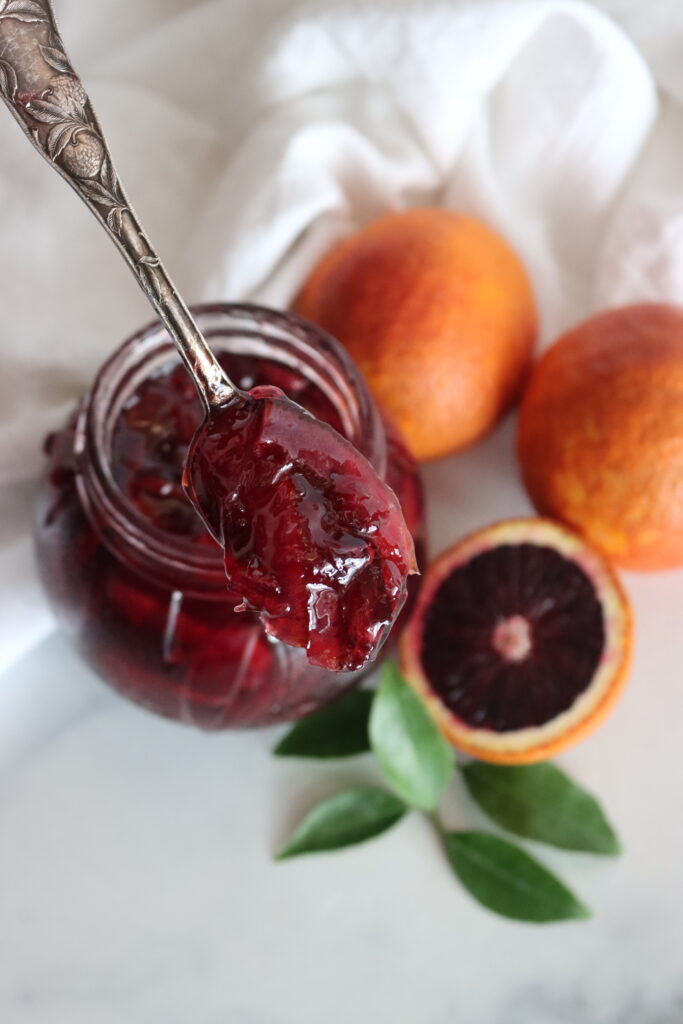
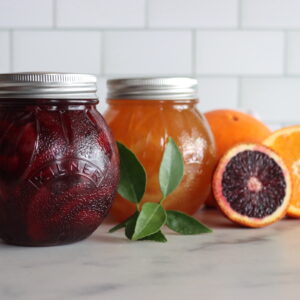
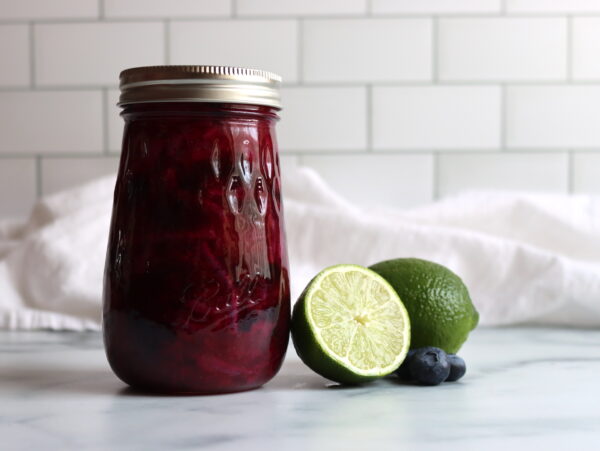
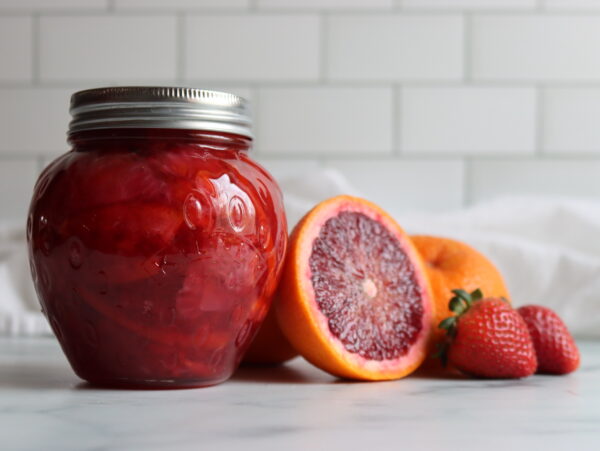
- Blood Oranges: With an almost berry-like flavor and deep color, blood oranges make a beautiful marmalade. There’s a dedicated recipe over on our blood orange marmalade page if you want to lean into them.
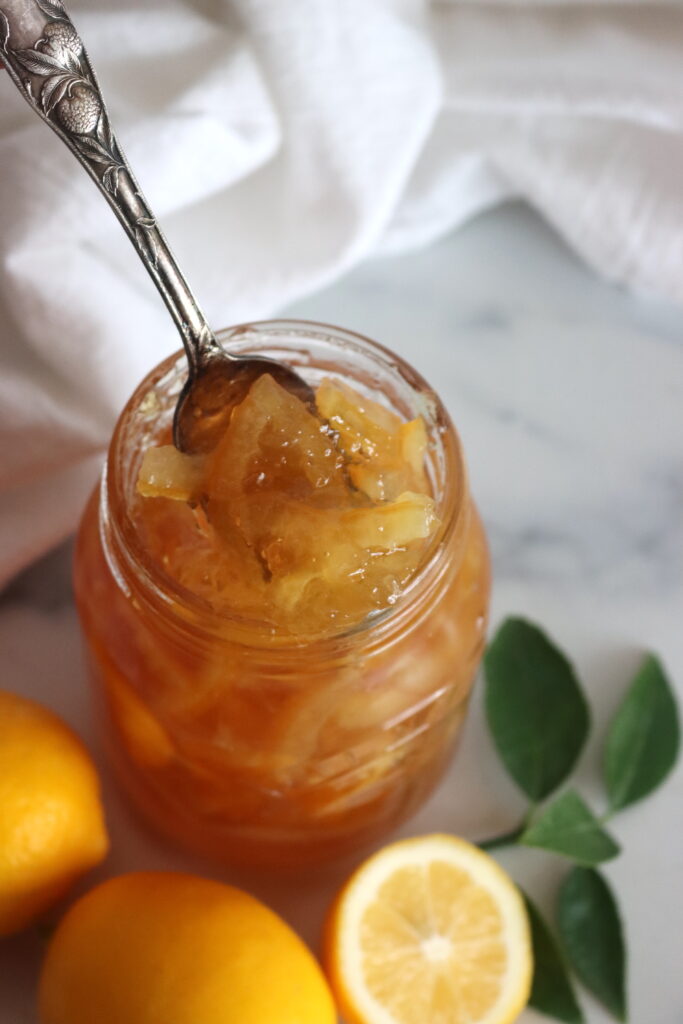
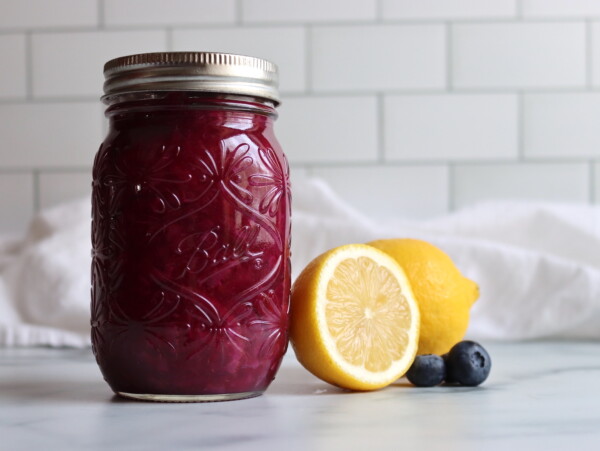
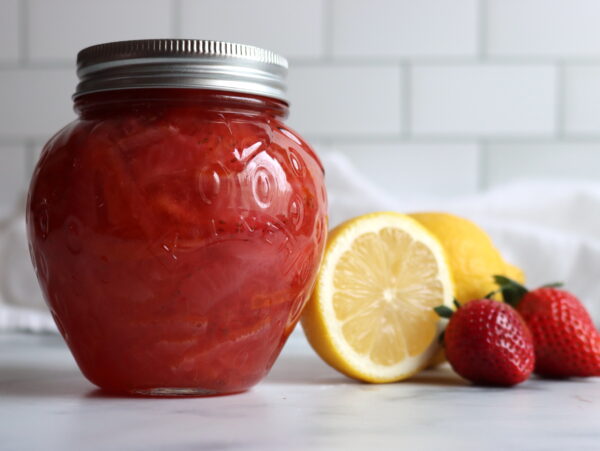
- Grapefruit, Lemons, and Limes: All worth experimenting with. Grapefruit adds a bitter edge, while lemons and limes bring extra zing and a good dose of pectin to help the set.
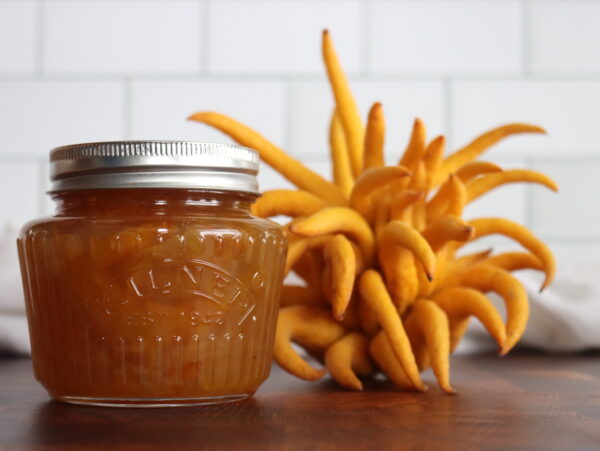
- Citrons: Specialty citrons like bergamot or Buddha’s Hand citron make an unusual marmalade. They don’t have much juice, so you’ll need to add juice from lemons or other citrus to bring the batch together.
Ways to Make Marmalade
Marmalade can be made with a quick one-day method or a more traditional three-day method. The one-day method really only works well for mild, soft fruits, like thin-skinned Meyer lemons (but not regular lemons) and sweet, thin-skinned oranges like clementines.
The three-day method takes patience, but it works with any citrus, including thick-skinned and bitter fruits, and it gives you a smoother, more balanced preserve. The rest of this guide walks through that traditional method, since it’s the one that applies no matter what citrus you’re working with.
One-Day Method
This is the faster, more modern approach. The citrus is simmered until softened, then sliced and combined with sugar (and usually a box of pectin) all in one session. The fruit pieces hold more of their original shape, but the shorter cook doesn’t pull out as much flavor, so the result tends to be a little more bitter and the texture less even.
It’s quicker, but it doesn’t develop the same depth as the longer method, and it struggles with thick-skinned or bitter citrus. If you’d like to try the quick process, our low-sugar orange marmalade is a good example, and you can use that same recipe and process with any sweet, thin-skinned citrus.
Three-Day Method (Traditional)
The traditional approach takes longer but results in a smoother, more balanced preserve. Over three days, the fruit is cut, soaked, and cooked in stages to soften the peel and draw out the natural pectin that sets the marmalade without any boxed pectin added.
On the second day, the fruit is cooked to soften it and release pectin and flavor, then left overnight to develop further before any sugar goes in. On the final day, the sugar and lemon juice are added, and the marmalade is cooked to its setting point. Spreading it out this way concentrates the flavor and refines the texture, and it’s the only method that handles bitter, thick-skinned citrus well.
Ingredients for Marmalade
One of the nice things about this method is how short the ingredient list is. There’s no pectin to buy and no special equipment beyond a canner, since the peel and seeds provide all the pectin you need. To make a 4 to 6 jar batch using the traditional three-day method, here’s what each ingredient is doing:
- Citrus: Around 2 pounds of citrus, such as oranges, lemons, grapefruit, or any variety you like. If you’re using very sweet fruit like navel oranges, replace about a quarter to half of it with lemon to balance the flavor and add pectin. A mix of sweet and tart fruit almost always makes a better marmalade than sweet citrus alone.
- Sugar: About 2 pounds of white cane sugar, which is roughly equal in weight to the fruit. That much sugar is what makes the marmalade set and balances the tart, bitter citrus, so if you want to cut it back significantly you’ll need to switch to a low-sugar pectin to get a set (more on that below).
- Water: Plain water is used to soak and cook the fruit on the first two days, drawing out the pectin. If your tap water has a strong chlorine taste, filtered water is a safer bet for a clean citrus flavor.
- Lemon Juice: Usually about 1/4 to 3/4 cup, added on the final day to brighten the flavor and help the marmalade set. Because marmalade is already made almost entirely of high-acid citrus, the lemon juice here is for flavor and set rather than for canning safety, so fresh lemon juice works well and tastes better than bottled. If you’d rather use bottled lemon juice for its consistent acidity, that’s fine too.
If you want a lower-sugar marmalade, you can’t simply cut the sugar from this recipe, since the set depends on it. Instead, use the one-day method with a low-sugar pectin like Sure-Jell Low Sugar or Pomona’s Universal Pectin, which let you control the sweetness. Our low sugar orange marmalade walks through that approach, and you can swap in other citrus in place of the oranges.
How to Make Marmalade
The part that trips people up about traditional marmalade is that the citrus gets split into two batches that are cut differently and cooked separately, and the two batches do two different jobs. Once you understand that split up front, the rest of the process makes a lot more sense.
The first batch is cut coarsely, seeds and all, and cooked just to extract pectin. You’ll strain it, keep the pectin-rich liquid, and discard the cooked-out chunks. The second batch is sliced thin with the seeds removed, and those slices are the peel you’ll actually see suspended in your finished marmalade. On the last day, the reserved liquid from the first batch, the sliced fruit from the second batch, the lemon juice, and the sugar all cook down together to the setting point. Don’t skip the lemon juice or the reserved liquid, since the liquid carries most of the pectin that makes everything gel.
Day 1: Prep and Soak the First Batch
Start by dividing your citrus in half by weight, so about 1 pound for each batch in this recipe. If you’re using lemons to balance sweeter citrus, use the lemons as your first batch (the one that gets strained out) and save the sweeter fruit for the slices that end up in the finished marmalade.
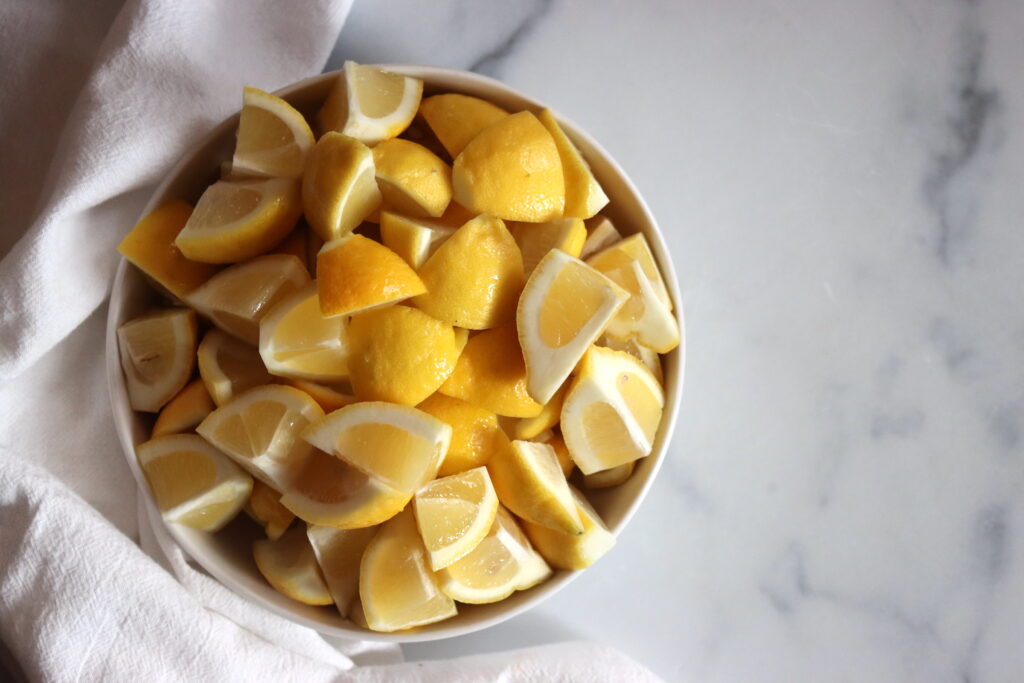
Cut that first half of the fruit coarsely into eighths and leave the seeds in, since this batch is only here to give up its pectin and will be strained out later. Place the pieces in a nonreactive saucepan, add enough cold water to cover by about an inch, cover the pot, and let it rest overnight at room temperature. This long soak softens the peel and starts pulling pectin out into the water.
Day 2: Cook the First Batch and Prep the Slices
Bring the soaked first batch to a boil over high heat, then reduce to a simmer, cover, and cook for 30 to 40 minutes, until the fruit is very soft and the liquid looks slightly syrupy. Check on it now and then to make sure the fruit stays submerged, adding a little water if it cooks down too far.
Once it’s soft, strain the cooked fruit through a fine mesh sieve set over a clean nonreactive pot, pressing firmly on the solids to squeeze out every bit of that pectin-rich liquid. Keep that strained liquid, since extracting it is the whole reason you cooked this batch, and you should end up with around 4 cups. After you’ve pressed out all the liquid, the spent chunks and seeds have done their job, so you can discard them.

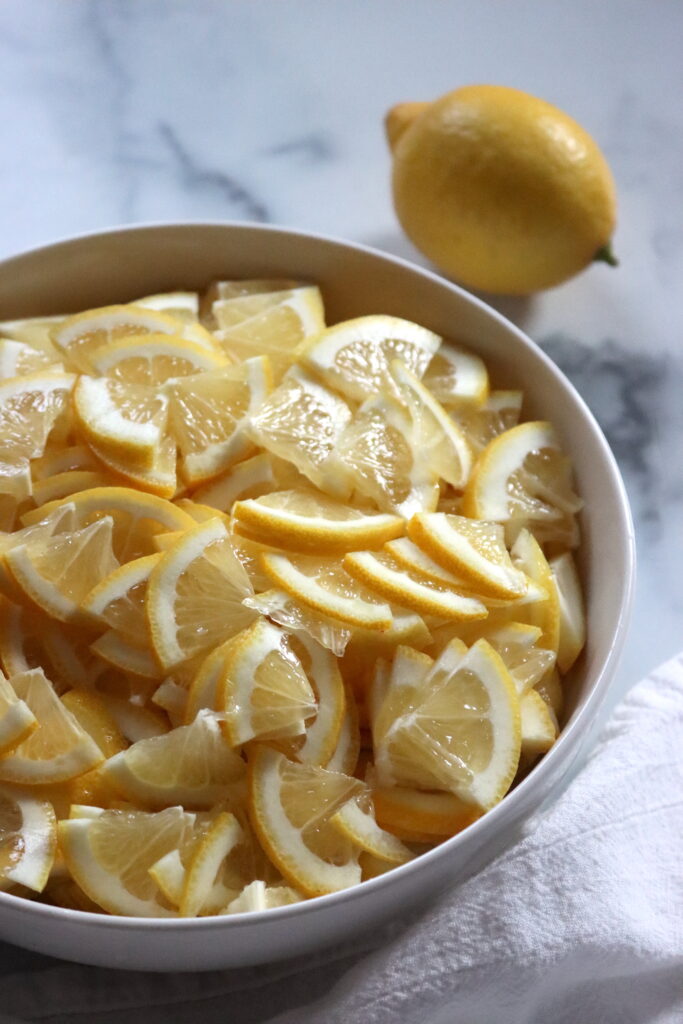
While the first batch cooks, prepare the second batch, which becomes the peel in your finished marmalade. Slice the remaining citrus in half across the middle, pick out the seeds, then cut each half into very thin slices with the peel still attached. Removing the seeds matters here, since these pieces stay in the jar.
Cover the slices with water, bring to a boil, and boil for 5 minutes. For bitter citrus, drain off that water and repeat the boil with fresh water to tame the bitterness. For sweet citrus, you can skip that second boil. Let the slices cool and soak in their cooking liquid overnight, which softens them and draws out a little more pectin.
Day 3: Combine and Cook to Set
On the third day, put a saucer with three to five metal teaspoons in the freezer for testing the set later, and prepare your water bath canner and jars if you plan to can. Make sure you’re working in a pot large enough that the fruit, liquid, and sugar fill it only about halfway, because marmalade foams up considerably as it cooks and you need the headroom.
Now bring everything together in that wide preserving pot: the reserved liquid from the first batch, the sliced fruit along with its soaking liquid, the 1/4 to 3/4 cup of lemon juice, and the sugar. (Don’t forget the reserved liquid and the lemon juice here, since both are easy to leave sitting on the counter, and that reserved liquid is carrying most of the pectin that will set your marmalade.) Stir gently to dissolve the sugar without breaking up the citrus slices.
Bring the mixture to a rapid boil over high heat and cook hard until it reaches the setting point, which can take anywhere from 30 to 45 minutes depending on your pot and stove. It’ll bubble gently at first, then foam as it thickens. Let it bubble undisturbed early on, and once the foaming starts, stir gently every few minutes with a heatproof spatula so it doesn’t scorch, stirring more often as it nears the set. There’s more on how to test the set in the notes just below.
Once it reaches the setting point, turn off the heat and skim off any foam with a metal spoon. Ladle the hot marmalade into your prepared jars, leaving 1/4 inch of headspace, and either let the jars cool for refrigerator storage or move on to canning.
Setting Notes
Marmalade reaches its setting point at about 220°F at sea level, or roughly 8°F above the boiling point of water. Since water boils at a lower temperature as you climb in elevation, the set point drops by about 1°F for every 500 feet above sea level. At 1,000 feet, for example, you’re looking for around 218°F. An instant-read thermometer is the most reliable way to hit it.
If you don’t have a thermometer, use the cold plate test. Drop a small spoonful of hot marmalade onto a plate or metal spoon straight from the freezer, let it sit for a few seconds to flash-cool, then run your finger through it. If it wrinkles and holds its shape instead of running back together, it’s set. If it still runs, keep boiling and test again every few minutes.
Keep in mind that marmalade takes 24 to 48 hours to reach its final set after canning, so don’t panic if a freshly filled jar still looks loose. Give it a day or two on the counter before you decide it didn’t set.
Canning Marmalade
Canning is optional. Marmalade keeps in the refrigerator for a few weeks or in the freezer for up to 6 months if you’d rather skip the canner entirely. To preserve it on the pantry shelf, though, a water bath canner is all you need, and marmalade is a good candidate because it’s high in both acid and sugar.
Prepare your water bath canner, jars, and lids before you start cooking on the final day. After ladling the hot marmalade into jars and leaving 1/4 inch of headspace, wipe the rims with a clean damp cloth, set the lids on, and tighten the bands to fingertip tight. Process in a boiling water bath canner for 10 minutes, adjusting for altitude as needed. Let the jars cool undisturbed on a towel for 24 hours, then check the seals and store any unsealed jars in the refrigerator for immediate use. Properly sealed jars keep their quality on the pantry shelf for 12 to 18 months. Refrigerate after opening.
Altitude Adjustments
For water bath canning, processing times increase at higher elevations:
- 0 to 6,000 feet: 10 minutes
- Above 6,000 feet: 15 minutes
Troubleshooting Marmalade
Even experienced canners run into trouble with marmalade now and then, and almost all of it comes down to texture. The preserve either ends up too thin and runny or, less often, gets overcooked and too stiff.
The good news is that both problems can usually be fixed after the fact, so a batch that didn’t turn out the way you hoped rarely has to go to waste. Here’s how to handle each one.
Fixing Runny Marmalade
If your marmalade is too runny, wait a full week after canning before you do anything, since pectin can take that long to finish setting. If it’s still runny after a week, you can reboil it. Open all the jars, pour the contents into a large pot, bring it to a boil, and cook to 220°F (or until it passes the cold plate test), then ladle it back into clean, sterilized jars and reprocess.
When you reboil, you can add a little commercial pectin to help it along. Liquid pectin works well for remaking marmalade, since it’s added after the sugar and doesn’t need to dissolve in water first. Our guide to troubleshooting jelly set walks through the remaking process in more detail if you need it.
Fixing Overcooked Marmalade
For overcooked or overly thick marmalade, prevention is the real fix. Use an accurate thermometer, pull the pot off the heat right at 220°F, and run the cold plate test frequently as you get close to the setting point, since marmalade can go from nicely set to overly stiff in a matter of minutes.
If you’ve already overcooked a batch, you can salvage it. Pour the marmalade into a saucepan, warm it gently with a little added water until it loosens to the consistency you want, bring it back to a boil, and re-can. You can also just thin it a bit at a time with warm water as you use it, which saves you from reprocessing the whole batch.
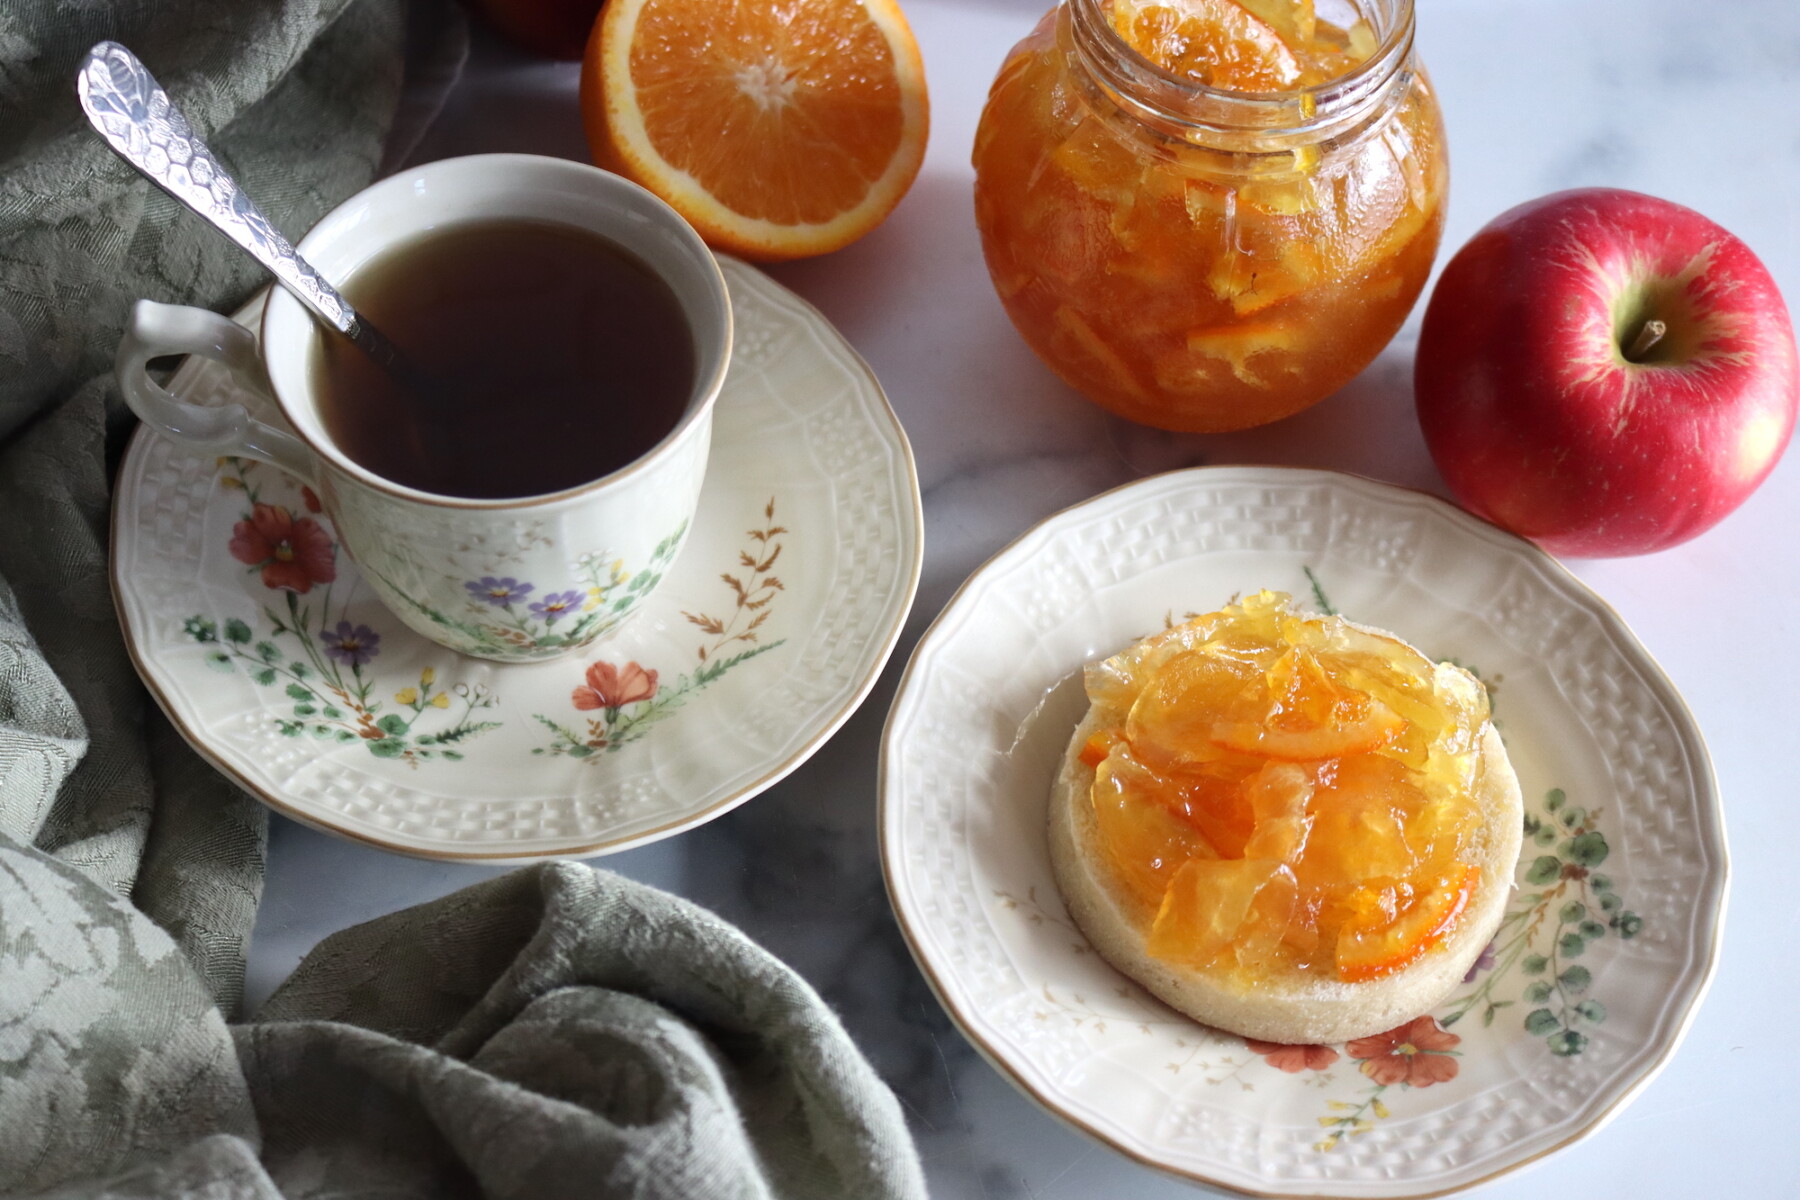
Ways to Use Marmalade
Marmalade is the obvious match for toast, scones, and biscuits, but it earns its keep well beyond breakfast. Spoon it over a wheel of warm brie, swirl it into plain yogurt or oatmeal, or brush it onto roast chicken, pork, or salmon, where the bitter edge cuts through rich meat. A little melted with hot water also makes a quick glaze for fruit tarts and cakes.
If you want to dress up a batch, stir in a flavoring near the end of cooking. Orange marmalade takes well to a little vanilla extract or vanilla vodka, which gives it an orange creamsicle flavor, and a knob of fresh ginger or a splash of rum works in almost any citrus. Add these in the last few minutes so they don’t cook off, and keep them modest so you don’t throw off the set.
Marmalade Recipe Variations
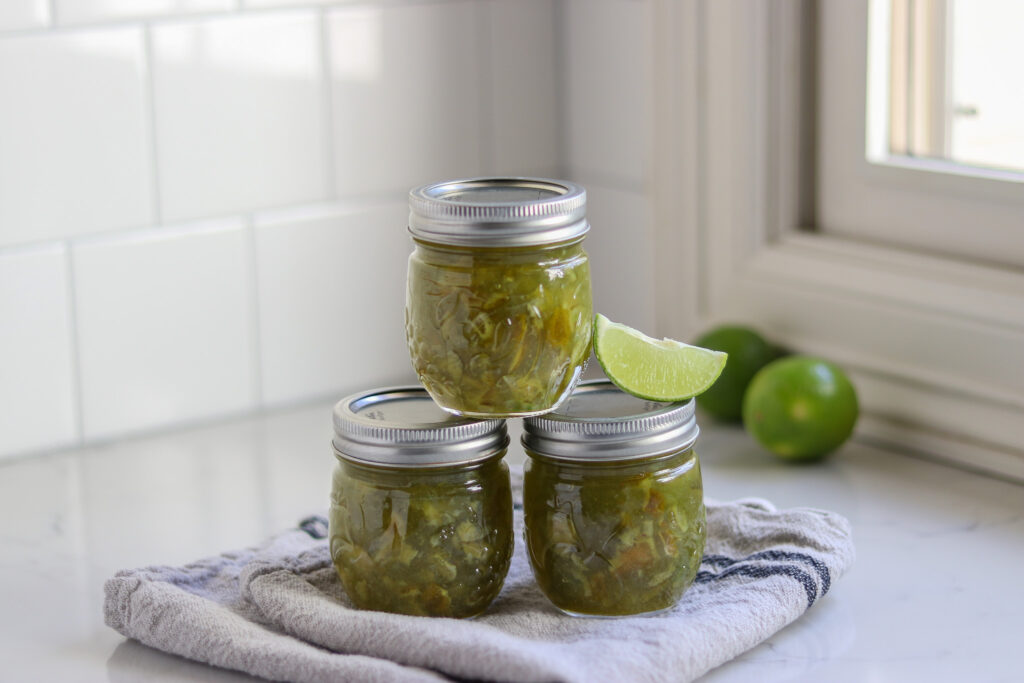
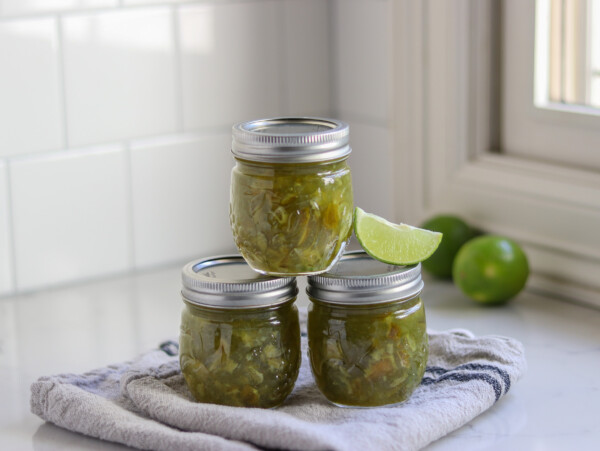
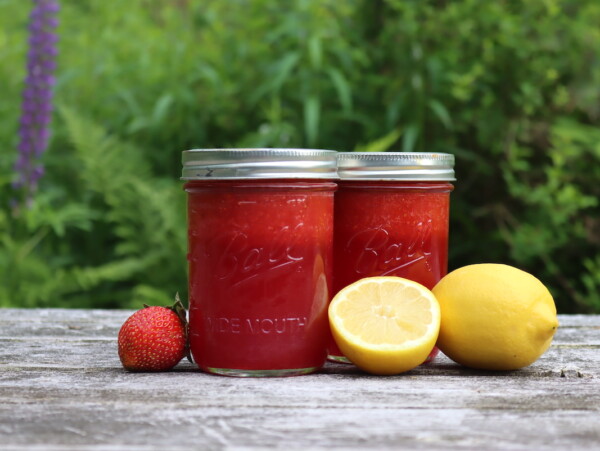
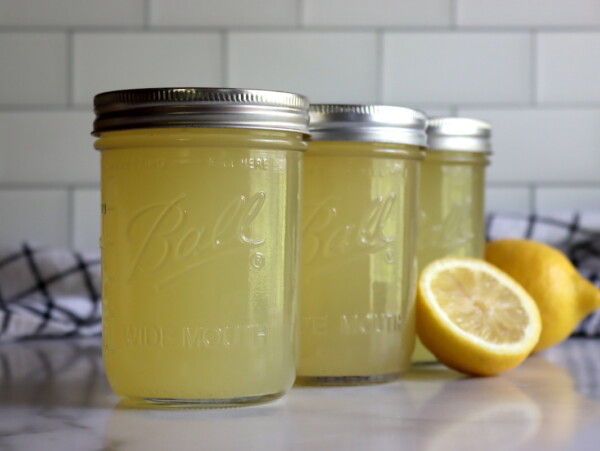
Once you’ve worked through the method once, you can apply it to just about any citrus. Try a single-fruit batch like bright, tart Lemon Marmalade or the gentler Meyer Lemon Marmalade, or go for the sharper bite of Lime Marmalade and the bittersweet edge of Grapefruit Marmalade.
For something more classic, there’s a traditional Orange Marmalade and a deep, colorful Blood Orange Marmalade. If you’re feeling adventurous, the tiny whole fruits in Kumquat Marmalade and the unusual Buddha’s Hand Marmalade are both worth a try. And if you’d like to keep the sugar down, our Low Sugar Orange Marmalade uses pectin so you can adjust the sweetness to taste.
Marmalade FAQs
Yes, this method works with almost any citrus or a mix of several. The key is balancing sweet and tart, so if you’re using sweet fruit like navel oranges, replace about a quarter to half of it with tart lemons. The lemons add acidity and pectin, which help the marmalade taste balanced and set properly. Thick-skinned and bitter citrus need the traditional three-day method rather than a quick one-day version.
No. Marmalade is made almost entirely of high-acid citrus, so the small amount of added lemon juice is there for flavor and to help the set, not to make the recipe safe to can. That means fresh lemon juice works well here and tastes better than bottled. Bottled lemon juice has a consistent, guaranteed acidity, so if you’d rather use it for extra peace of mind, you can, and 1 teaspoon of citric acid per tablespoon of lemon juice is another option.
The most common reason is not cooking it to the setting point, which is around 220°F at sea level (about 8°F above the boiling point of water, dropping 1°F per 500 feet of elevation). Marmalade also takes 24 to 48 hours to reach its final set after canning, so give a loose-looking jar a day or two before deciding. If it’s still runny after a week, you can reboil it to 220°F and re-can, adding a little commercial pectin if needed.
Not with this traditional no-pectin method, since the sugar is what makes it set. To lower the sugar, switch to the one-day method with a low-sugar pectin like Sure-Jell Low Sugar or Pomona’s Universal Pectin, which let you control the sweetness. Our low sugar orange marmalade recipe walks through that process, and you can use other citrus in place of the oranges.
Marmalade Recipes
If you tried this Marmalade recipe, or any other recipe on Creative Canning, leave a ⭐ star rating and let me know what you think in the 📝 comments below!
And make sure you stay in touch with me by following on social media!
Marmalade (with any Citrus)
Equipment
- Canning Jars, Lids and Bands
Ingredients
- 2 lbs citrus, any variety; if using sweet fruit like navel oranges, replace 1/4 to 1/2 with lemons to balance flavor and add pectin
- 2 lbs granulated sugar, roughly equal in weight to the fruit
- Water, to soak and cook the fruit
- 1/4 cup lemon juice, up to 3/4 cup, added on day 3 for flavor and set; fresh or bottled
Instructions
Day 1
- Divide and cut the first batch: Divide the citrus in half by weight. Cut the first half coarsely into eighths and leave the seeds in. This batch is only here to give up its pectin and will be strained out later, so it does not need to look neat. If you are using lemons to balance sweet citrus, use the lemons for this first batch.
- Soak overnight: Place the cut fruit in a nonreactive pot and add enough cold water to cover by about an inch. Cover the pot and let it rest overnight at room temperature to soften the peel and start releasing pectin.
Day 2
- Cook the first batch: Bring the soaked first batch to a boil over high heat, then reduce to a simmer. Cover and cook for 30 to 40 minutes, until the fruit is very soft and the liquid looks slightly syrupy. Add water as needed to keep the fruit submerged.
- Strain and reserve the liquid: Strain the cooked fruit through a fine mesh sieve set over a clean nonreactive pot, pressing firmly on the solids to extract all of the pectin-rich liquid. Keep that reserved liquid, since it carries the pectin that will set your marmalade. You should end up with around 4 cups. Discard the spent chunks and seeds.
- Prepare the slices: While the first batch cooks, thinly slice the remaining citrus, removing all of the seeds, since these slices stay in the finished marmalade. Cover the slices with water, bring to a boil, and boil for 5 minutes, then drain. For bitter citrus, repeat the boil with fresh water; for sweet citrus, skip the second boil.
- Soak the slices overnight: Return the slices to the pot, cover with fresh water, bring to a boil, and simmer until tender. Remove from heat and let the slices cool and soak in their liquid overnight to soften further and release more pectin.
Day 3
- Get ready to finish: Place a saucer with several metal teaspoons in the freezer for testing the set. If canning, prepare a water bath canner and jars. Work in a pot large enough that the filling comes only about halfway up the sides, since marmalade foams as it cooks.
- Combine everything: In the wide preserving pot, combine the reserved liquid from the first batch, the sliced fruit along with its soaking liquid, the lemon juice, and the sugar. Stir gently to dissolve the sugar without breaking up the slices. Do not leave out the reserved liquid or the lemon juice, as both go in now.
- Cook to the setting point: Bring the mixture to a rapid boil over high heat and cook hard until it reaches the setting point, about 220 degrees F at sea level. This takes roughly 30 to 45 minutes. Let it bubble undisturbed at first, then stir gently every few minutes once it foams. Test with a frozen spoon or cold plate: a spoonful should wrinkle and hold its shape rather than run.
Finishing Marmalade
- Jar the marmalade: Turn off the heat and skim off any foam with a metal spoon. Ladle the hot marmalade into prepared jars, leaving 1/4 inch headspace.
- Can or store: If canning, process in a boiling water bath for 10 minutes, adjusting for altitude. Let the jars cool undisturbed for 24 hours, then check the seals. Store sealed jars in the pantry and refrigerate any that did not seal. If not canning, refrigerate for a few weeks or freeze for up to 6 months.
Notes
0 to 6,000 feet: 10 minutes
Above 6,000 feet: 15 minutes
Nutrition
Nutrition information is automatically calculated, so should only be used as an approximation.
Citrus Canning Recipes

Find the perfect recipe
Searching for something else? Enter keywords to find the perfect recipe!

Good morning from Australia Ashley. I’m wondering if you can clarify the steps in your recipe.
I’ve finished day 1 and 2 which involved prepping the fruit; slicing the fruit into 8 pieces, soaking them in water overnight.
Day 2 I brought the pot to boil and reduced the heat to a simmer and cooked the fruit for 40 minutes with the lid on strained the fruit, reserved the liquid, I also allowed the citrus to drain overnight. I’ve got both the reserved liquid and the citrus chunks in my fridge waiting for day 3.
Day 3, I’ve sliced the remaining fruit and covered them with water and bringing them to a boil. I have allowed the citrus fruit to cool down in the water and I’m going to put it in the fridge overnight.
However, what do I do with the citrus chunks and reserved liquid from day 1 and day 2? Do I throw out the citrus chunks? Do I throw out the reserved liquid? Or do I add the citrus chunks and reserved liquid from day 1 and day 2 to the fruit and liquid from day 3?
I’d love to hear from you Ashley 🤗
Great questions, and you’ve followed it perfectly so far. Here’s what to do with those day 1 and 2 leftovers. Keep the reserved liquid. That’s your pectin base, and extracting it is the whole reason you boiled that first batch of fruit. On day 3, add it to the pot with your thinly sliced fruit, then add the sugar and cook everything together to the set. You can discard the boiled citrus chunks. Before you toss them, press them through a fine strainer to squeeze out any last bit of that pectin-rich liquid (add that to your reserved liquid), then the spent chunks and seeds can go. They’ve given up their pectin and flavor to the liquid, so they’ve done their job. So on day 3, your pot will have the thinly sliced fruit, its soaking water, and the reserved liquid from the first batch, all cooked together with the sugar (and the lemon juice). Hope that clears it up, and good luck with it!
Good morning Ashley. Well it’s morning here for me in Australia. I live on the Far North Coast of NSW in a rural town called Murwillumbah.
I am very interested in your website and I thank you so much for such an extensive tutorial in making marmalade.
I would like to make orange marmalade, and I am tossing and turning over using naval oranges or blood oranges as I’ve purchased a buddha hand and I’d like to use the buddha hand in the orange marmalade. I’m not sure if we have Seville oranges here and if they’re in season at the moment.
I shop only for organic fruit and vegetables. In Murwillumbah we are blessed with farmer’s markets on Wednesday at our local showground and there is a little farmer’s market in Uki on Saturday mornings. We have 2 awesome health shops which sell fresh produce and one bioorganic fruit shop under the local shopping centre.
The Buddha Hand weighs around 780 grams which is 1.7 pound in (I hope) the USA.
I’d love to hear your advice Ashley 🙏
Warm regards
Sonja Truesdale 🤗
Let me know what you decide to do, it sounds like you have a lot of good options!
Thank you for replying to my comment Ashley.
I’d like to use either naval or Valencia oranges Ashley. I’ll stay traditional this time.
I think naval oranges are in season at the moment, although in saying that, my local bio-organic farmer said that he had Valencia at the moment.
So, yeah, what do you reckon? Do you reckon it’s possible to add my buddha hand to the orange marmalade?
I’ll also like to use your traditional method over three days.
Sorry about the delay in answering you, I was expecting your response to come through email 🤣
Again, thank you so much for getting back to me, I really appreciate that, given that you would be pretty busy.
PS I’ll check this page over the next few days, I understand if you can’t answer straight away as well 🤗
Either one would work with added buddha’s hand. Normally navel oranges make a really sweet, sometimes cloying marmalade, but I think it’d be much more balanced with the buddha’s hand to add more bitterness and some more aromatic notes. Let me know how it turns out for you.
Cool. Thank you Ashley. I’ve order 1.5 kg of (I think) Valencia oranges from my local bio-organic farmer. Yes, I will let you know how it turns out 🤗😁
Sounds perfect, Valencia oranges will make a lovely marmalade. I’d love to hear how it turns out. Good luck with it!