This post may contain affiliate links. Please see our disclosure policy.
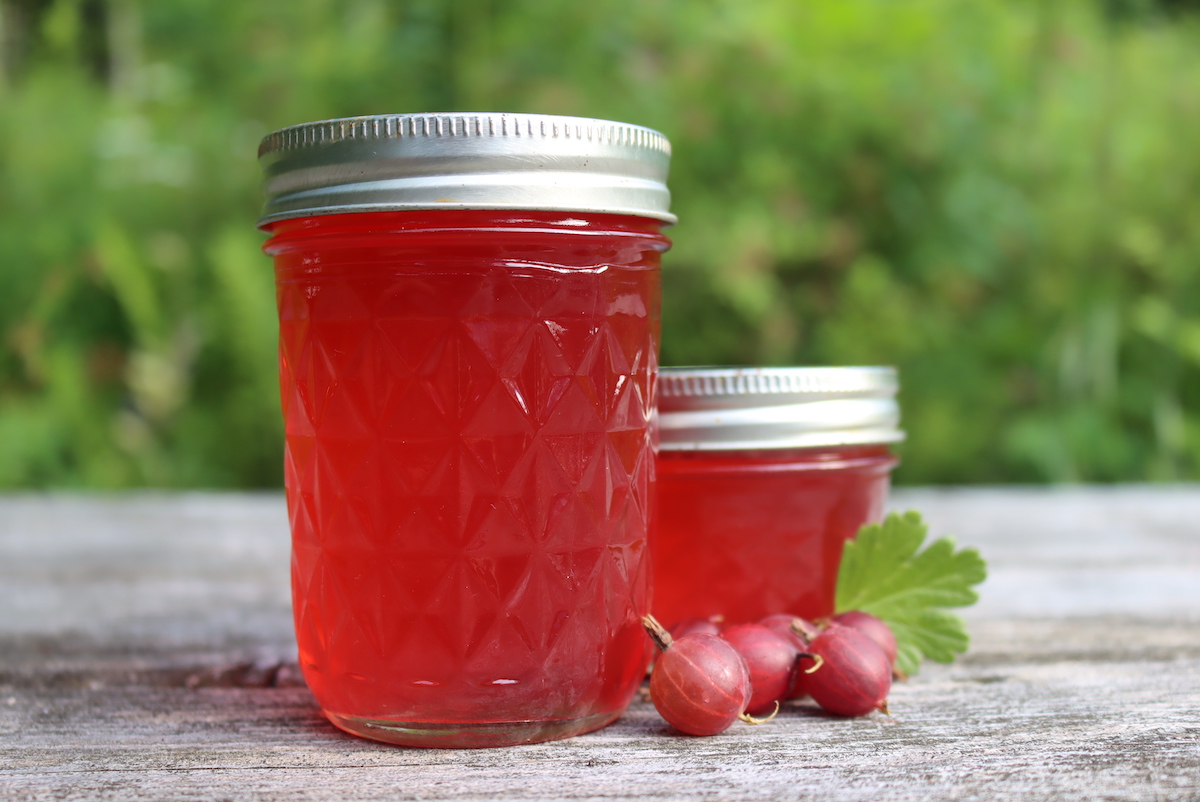
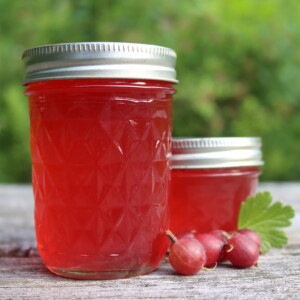
Gooseberry jelly is a delicious way to preserve this short-season summer fruit. Believe it or not, gooseberry jelly comes together with just two ingredients and minimal preparation. No need to remove gooseberry tops and tails!
Gooseberries are one of my husband’s favorite fruits, and he has many fond memories of harvesting them from his grandmother’s bushes as a child in Oregon.
When we moved to our solar-powered homestead here in Vermont, gooseberries were some of the first fruits we planted in our permaculture orchard.
I hadn’t grown up with gooseberries, so the first year these beautiful fruits ripened on the bushes I spent hours pouring through cookbooks looking for creative ways to use gooseberries.
They’re deliciously eaten out of hand in the summer sun, but I think they’re even better in preserves and baked goods.
Gooseberry jam was an instant hit, and so was gooseberry pie filling. We even canned whole gooseberries to use to make Gooseberry Cake and Gooseberry Crumble Muffins later in the season.
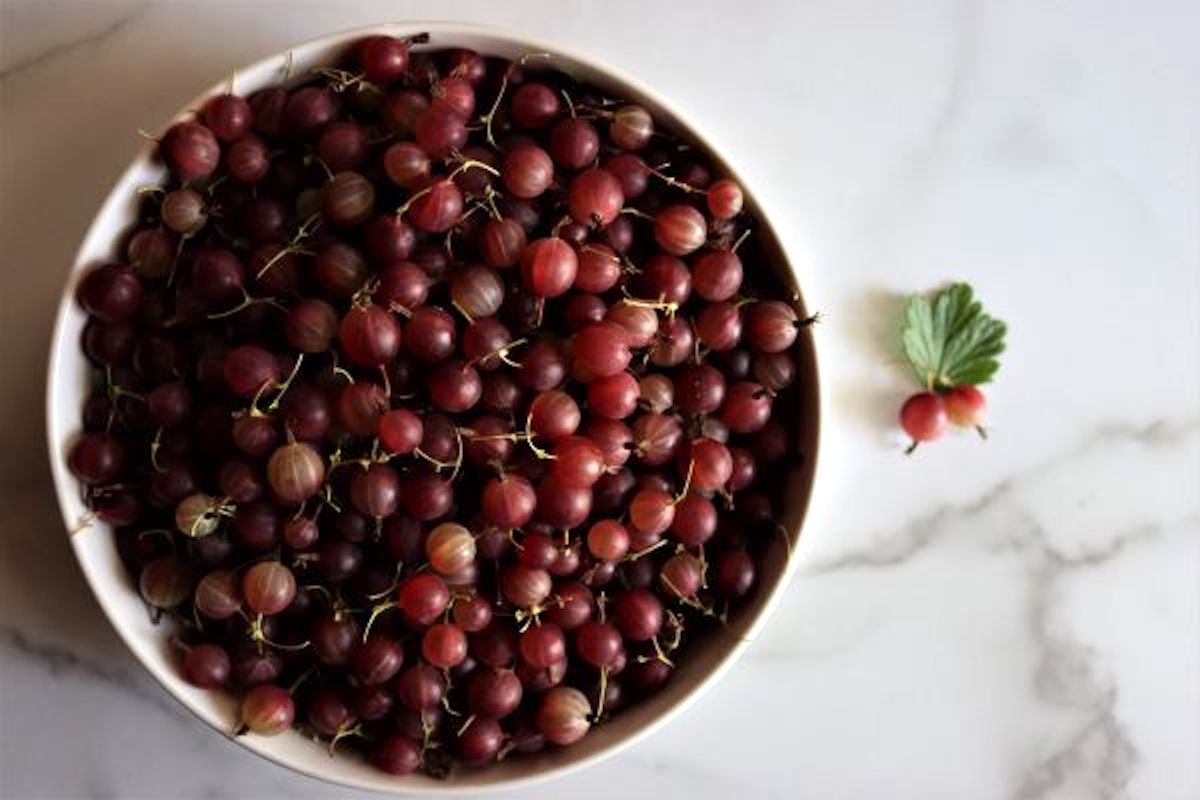
The problem is, most gooseberry recipes start with removing the “tops and tails” of the fruits. That’s the stems and blossom ends, which are tough and a bit spiny, no good for cooking.
Gooseberries ripen in mid-summer, right in the busiest time of year when I’m harvesting all manner of fruits from our gardens. I don’t always have an extra hour to spend with the paring knife cleaning gooseberries.
This year I had way too much going on, and I vowed that I wouldn’t be topping and tailing our crop. They’re all getting juiced, which strains out those pesky parts.
I started with a batch of gooseberry wine using our early ripening gooseberries, but then our second flush came in and I needed another quick gooseberry recipe.
I considered just canning gooseberry juice for cocktails, but as soon as you add sugar to gooseberry juice it sets almost instantly. Even without sugar, gooseberries have so much pectin that the juice partially sets in the jars even without going through the process of actually “making jelly.”
Jelly is a lot more useful than syrup anyway, at least in my opinion. With no extra prep, I can enjoy gooseberry jelly on my morning toast, or use it in any of hundreds of recipes using jam (like thumbprint cookies or crumb bars).
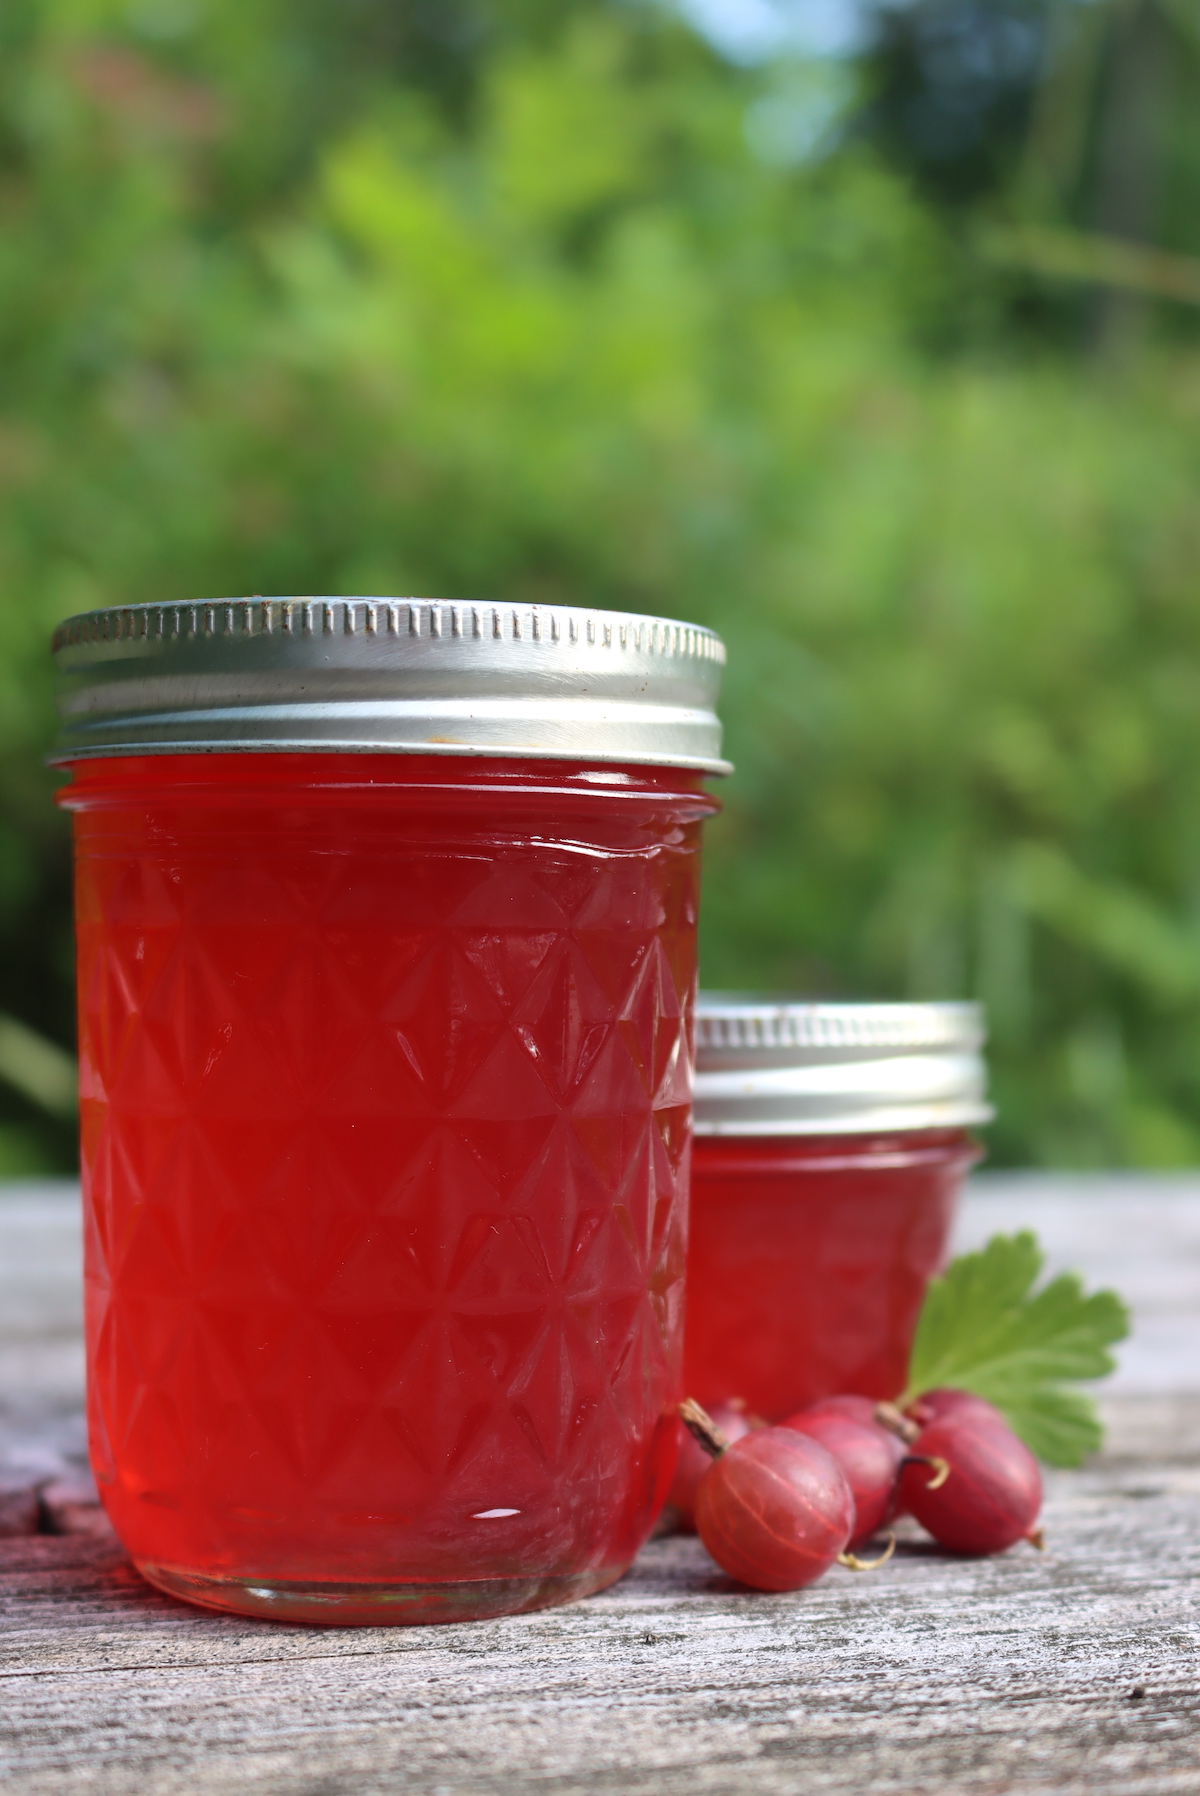
We grow both red and green gooseberries, and I mixed them together to make this lovely pink gooseberry jelly.
A Quick Look at the Recipe
- Recipe Name: Gooseberry Jelly
- Recipe Type: Jelly Recipe without Pectin
- Canning Method: Waterbath Canning
- Prep/Cook Time: 2 Hours
- Canning Time: 10 Minutes
- Yield: 6 half pint jars
- Jar Sizes: Quarter Pint, Half Pint or Pint
- Headspace: 1/4 inch
- Ingredients Overview: Gooseberry Juice and sugar
- Difficulty: Moderate. Familiarize yourself with how to check for set in jelly recipes without added pectin before you begin.
- Similar Recipes: The process is very similar to making other old fashioned fruit jellies without added pectin, including red currant jelly, black raspberry jelly, and quince jelly.
How Many Gooseberries Do you Need for Gooseberry Jelly?
A half-pound of fruit usually yields about 1 cup of juice, if cooked properly with 1 cup of water to start.
I like to start with 2 pounds of gooseberries or about 7 to 8 cups of fruit. I add in 4 cups water, and the yield is generally about 4 cups of gooseberry juice.
When I add in sugar at a 1:1 ratio by volume (4 cups sugar to 4 cups juice), the yield is about 6 half-pint (8 oz) jars.
You can start with as little as half a pound of fruit to make just over 1 jar of jelly, but be careful with amounts that small as they tend to scorch. If increasing the recipe, don’t use more than 8 cups of juice as large batches won’t heat evenly and that prevents them from setting properly.
I haven’t had any trouble getting gooseberry jelly to set, but some gooseberries has a bit less pectin than others. Some guides suggest using 1/4 to 1/3 underripe fruit, as underripe fruit has more pectin.
I don’t do that, but if you have trouble getting yours to set that might be a way to resolve the problem.
How to Make Gooseberry Jelly
Since they’re such a low moisture fruit, gooseberries need a good bit of added water when you’re extracting their juice.
To make one cup of gooseberry juice, you’ll need about 1/2 pound of gooseberries. That’s roughly 225 grams, or 1 1/2 to 2 cups of whole gooseberries. Their size will determine how well they pack into the measuring cup, so weight is a better indicator.
Add 1 cup of water for every 1/2 pound of gooseberries.
I know, that seems like a lot of water, but they’ll need it so they don’t scorch. The first time I made this I start with less and the mixture scorched and was ruined. You really do need that much to keep it from burning.
Bring the gooseberries and water to a boil on the stove and mash with a potato masher to help break them up. After 2-3 minutes at a gentle boil, the gooseberries should have completely fallen apart and released as much juice as they’ve got.
Don’t cook them too long, they’ll start to set in the pot and you won’t be able to strain out the solids. Remove the gooseberry mixture from the heat and strain through a jelly bag or strainer lined with a double layer of cheesecloth.
You should have 1 cup of gooseberry juice for every half pound of whole gooseberries (or 2 cups per pound).
Your yield may be different, just measure the juice. For every cup of gooseberry juice, add 1 cup of sugar.
I generally like to do a batch with 4 cups of juice, so in that case, I add 4 cups of sugar.
Prepare your jars ahead of time, and a water bath canner if canning. Gooseberry jelly sets very quickly, so be prepared to move fast once you start making it.
Place a jam pot on the stove and bring the juice/sugar mixture to a boil over medium-high heat. Mine set within 1-2 minutes of reaching a hard boil, so almost instantly.
Keep an instant-read thermometer on hand. When the mixture reaches 220 degrees F (104 C) then it’s done.
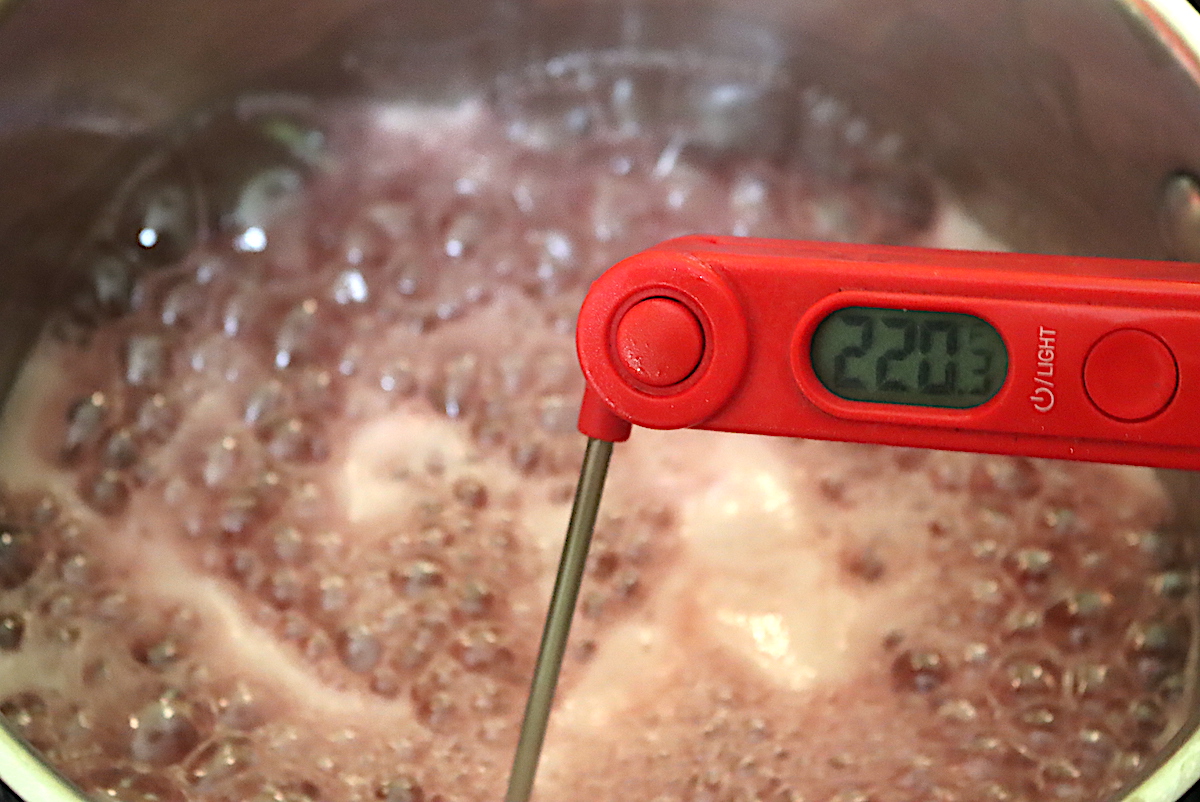
You can also test the gooseberry jelly for a set on a plate that’s been placed in the freezer. That’s tricky though, as it tends to set so quickly that I can’t move fast enough to test it without burning the rest of the batch.
I’d suggest the thermometer method, or just watching the bubbles if you’re an experienced jelly maker. The bubbles look different once a jelly reaches the set point, in a way that’s difficult to describe if you haven’t made dozens of batches of homemade jelly.
If you have, you know what I’m talking about. If you haven’t, a thermometer is your friend.
Once the jelly reaches the setpoint, ladle it into prepared jars leaving 1/4 inch headspace.
Canning Gooseberry Jelly
It’s perfectly fine to make this gooseberry jelly recipe as a refrigerator or freezer jelly. It’ll keep for several weeks in the refrigerator or up to 6 months in the freezer.
Personally, I like to water bath can my preserves so they last on the pantry shelf all year long. I’m always short on freezer space, and it’s nice to enjoy the sweet taste of summer fruit during our long winter here in Vermont.
If canning, prepare a water bath canner before you start making the jelly. You’ll want to do this after you’ve extracted the juice, but before you put it back in the jam pot with sugar. Prepare jars and lids as well.
Once the jelly reaches the setpoint, ladle it into the prepared jars leaving 1/4 inch headspace. Cap with 2 part lids and then load the jars into the water bath canner with a jar lifter.
Process in a water bath canner for 10 minutes (or 15 minutes if above 6,000 feet in elevation).
Remove the jars to cool on a towel on the counter, and check seals after 12-24 hours. Store any unsealed jars in the refrigerator for immediate use.
Properly canned and sealed jars will maintain peak quality on the pantry shelf for 12-18 months. Refrigerate after opening.
If you tried this Gooseberry Jelly Recipe, or any other recipe on Creative Canning, leave a ⭐ star rating and let me know what you think in the 📝 comments below!
And make sure you stay in touch with me by following on social media!
Gooseberry Canning Recipes
Gooseberry Jelly
Ingredients
- 4 cups gooseberry juice, from 2 pounds gooseberries, about 7 to 8 cups, or 900 grams
- 4 cups sugar
Instructions
- To extract gooseberry juice, place the berries in a pot with 2 cups of water per pound of fruit (or 4 cups water to make this recipe with 2 pounds fruit).
- Bring the mixture to a boil over medium-high heat, and cook the fruit for 2-3 minutes. Mash the fruit as they cook to encourage them to release their juices. Gooseberries have a lot of pectin and set very quickly, so don't overcook. Just cook long enough for them to completely fall apart, with the help of your mashing.
- Strain the gooseberry juice through a jelly bag or double layer of cheesecloth. Measure the extracted juice. You should have 4 cups. If you have less or more, adjust the recipe accordingly and add 1 cup of sugar per cup of juice.
- Prepare a water bath canner (if canning) and jelly jars.
- Place the sugar and gooseberry juice into a jelly pot and bring them to a boil over high heat, stirring continuously to prevent scorching. Gooseberry jelly reaches its set point almost immediately after boiling, so be prepared to work quickly.
- Test for set on a plate that's been placed in the freezer, or use an instant-read thermometer. The setpoint is 220 degrees F (104 C) at sea level. For every 500 feet above sea level, the setpoint drops by 1 degree. For example, at 1000 feet in elevation, the setpoint is 218 F.
- Ladle the finished gooseberry jelly into jars, leaving 1/4 inch headspace and cap with 2 part lids.
- If canning, process the jars in a water bath canner for 10 minutes (or 15 minutes if above 6,000 feet in elevation).
- Remove the jars to cool on a towel on the counter. After 12-24 hours, check seals and store any unsealed jars in the refrigerator for immediate use. Properly canned and sealed jars will keep on the pantry shelf for 12-18 months without losing quality. Refrigerate after opening.
Notes
Nutrition
Nutrition information is automatically calculated, so should only be used as an approximation.
Jelly Recipes
Cooking up more than gooseberry jelly this summer?
Summer Canning Recipes
Keep your pantry full with these summer canning recipes!

I really love the simplicity of this recipe. No need to remove tops of tails, and it all comes together quickly with just fruit and sugar.
Ive been using the recipe for a few years. One friend calls it my million dollar jelly. She begs for more every year. I use my steamer juicer for juice.
So happy to hear it!
Great Recipe, but FYI…Gooseberries are easily juiced in a steam juicer and there is no need to add water. A steam juicer uses steam to break down fruits cell walls and you get 100% pure juice which you can make into jelly. There’s no need to top/tail with a juicer either.
Google “Mehu juicer” or a “Cook N Home”. Mehu is top of the line $$$ and the other is very affordable and performs well. We grow 13 varieties of organic fruits and my Mehu has cut my work by half or more. It’s 3 part system and juice runs out a hospital grade silicone tube into my clean canning jars which I then put in frige if I’ve no time to make jelly the same day. If I’m making jelly right after I put hot fresh juice in my FreshTech Ball Jam & Jelly Maker.
Because I put up 500+ jars of food every summer these 2 pieces of equipment have streamlined my canning operation & saved me a great deal of time. I found both my steamer juicer and jam and jelly maker on sale online.
Just FYI