This post may contain affiliate links. Please see our disclosure policy.
Canning turkey is an excellent way to preserve your leftover holiday turkey and have delicious, ready-to-eat meals all year round. This method allows you to avoid worrying about power outages or freezer failures, and the best part is, your turkey is already cooked, making it easy to just heat and serve from the jar!

I absolutely love pressure-canning recipes that simplify busy weeknights. By canning turkey, you get meals prepped and stored safely on your pantry shelf, ready to be used at a moment’s notice. Whether you’re canning leftover turkey from Thanksgiving, Christmas, or any other special meal, you’ll be amazed at how convenient and tasty this method is.
What’s Different About Canning Turkey?
As opposed to when you’re canning chicken (or canning duck), most people who are canning turkey use the leftover cooked meat from a holiday meal, which means it’s already fully cooked and tender.
You can debone the turkey, shred it, or cut it into cubes before canning it in jars. The best part is you don’t have to deal with raw meat or additional cooking time—just pack it into jars, cover with broth, and pressure can it.
(Be aware, you can use turkey in place of chicken in just about any chicken canning recipe, and every turkey canning recipe works just as well with chicken, duck, or goose.)
Preparing the Turkey for Canning
Before you get started, you’ll want to decide how to prepare the turkey. Since you’re likely working with already cooked turkey, the main decisions are:
- Shredded or Cubed: Do you want your turkey shredded or in nice, neat cubes? Either works great!
- Bones or Boneless: Do you want to can the turkey with bones, or debone it for a more convenient jar? I recommend boneless for ease of use. Turkey bones are larger than chicken bones, and don’t fit well into jars (and since the meat is likely already cooked, it’s easy enough to debone).
- Broth or Water: Canning turkey in broth will add more flavor than using just water, so I recommend using turkey or broth if you have it.
If you’re starting with leftover turkey, you’ll want to pick the meat from the bones (if not already done) and decide how to cut it. You can either:
- Shred the turkey into small pieces.
- Cube the turkey into bite-sized chunks.
- Leave it in larger pieces (though this is less space-efficient in jars).
Once you’ve deboned and cut your turkey into the desired pieces, you’re ready to pack it into jars!

Raw Pack vs. Hot Pack for Canning Turkey
When canning turkey, you have two options: raw pack or hot pack. The hot pack method is used for cooked turkey, and raw pack is used with completely raw meat (not leftovers).
- Raw Pack: This means you place the raw meat directly into jars without cooking it first. The meat will release some liquid during the canning process, but you’ll still need to add broth to fill the jars. This method is quick, and works well with raw meat, but many people prefer to brown the meat before canning for a better flavor and more attractive jars.
- Hot Pack: With this method, you place fully cooked turkey into the jars, or brown the raw meat before packing into jars. This helps retain the flavor and moisture, and is the method I recommend for the best results. You can skip any extra cooking steps if the turkey is already fully cooked.
Canning Leftover Turkey
Here’s how to prepare your turkey for pressure canning using the hot pack method for leftover fully cooked turkey:
Shred or cube your leftover turkey and place it in a large pot. If you want to add flavor, you can simmer it briefly in turkey broth (or chicken broth). This step helps to reheat the meat and adds flavor.
If you happen to have leftover turkey drippings from roasting the turkey, you can also use those as a canning liquid. That’ll result in an incredibly flavorful bird in a jar simply because the drippings are incredibly concentrated broth. The main thing here is you want to make sure there’s nothing that’s not canning safe in the pan (bread stuffing, butter, etc), and strain the drippings really well.
The drippings tend to be fatty, so they’ll need to be skimmed, as the drippings often have a good bit of fat. Putting the drippings in a jar and refrigerating them until they solidify is an easy way to efficiently skim the fat, then simply reheat them for canning the turkey.

Wash your canning jars, lids, and rings. Keep your jars warm to avoid breakage when you add hot turkey.
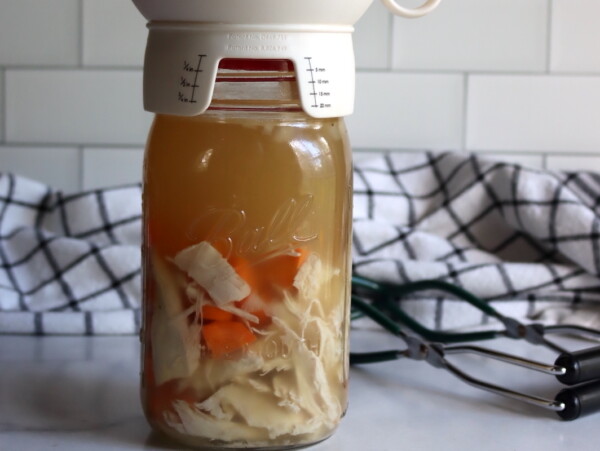
Once the turkey is heated and tender, pack it into the jars, leaving about 1 1/4 inch of headspace. Don’t overpack the jars—leave some space to allow the broth to circulate between the pieces of meat during canning.
Pour hot turkey broth (or chicken broth, if you don’t have turkey broth) over the meat, leaving 1 1/4 inch of headspace. Make sure the meat is completely submerged in the broth. If necessary, use a spatula or a de-bubbler tool to remove air bubbles.
Make sure the rims of the jars are clean before you seal them. Wipe them with a clean cloth to remove any food or oil.
Place the lids on the jars, screw on the rings, and tighten them just to “finger tight.” This prevents air from getting in during the canning process but allows the jars to seal properly as they cool.
Canning Raw Turkey
The process is the same as working with raw turkey. You can brown the meat if you’d like, or pack it into jars completely raw. Quality and flavor is better when you brown the meat before packing it into jars.

Pressure Canning Turkey
Now that your jars are packed, it’s time to pressure can your turkey.
Prepare your canner according to the manufacturer’s instructions. For most canners, that means adding 2-3 inches of water to the bottom of your canner, adding the bottom trivet and bringing it up to a gentle simmer. Place the jars in the canner according to the manufacturer’s instructions, and seal the lid but don’t add the canning weight.
Turn on the heat to high, and once the canner starts to steam, allow it to vent steam for 10 minutes before sealing the vent.
Once the steam has vented, seal the vent and allow the canner to reach the correct pressure (see table below). Process pints for 75 minutes and quarts for 90 minutes.
Once the processing time is complete, turn off the heat and allow the pressure canner to cool completely before opening. This may take 30-60 minutes.
After removing the jars, check that the lids have sealed properly by pressing down in the center. If they pop back, the jar didn’t seal, and you’ll need to refrigerate and use it soon. If the lid stays down, store the jars in a cool, dark place.
Altitude Adjustments
When pressure canning, the canning time stays the same with altitude, but the pressure increases as you go up in elevation. Here are the altitude adjustments for canning turkey:
For Dial Gauge Pressure Canners (presto brand, etc):
- For 0 to 2,000 feet in elevation, use 11 pounds of pressure
- For 2,001 to 4,000 feet in elevation, use 12 pounds of pressure
- For 4,001 to 6,000 feet in elevation, use 13 pounds of pressure
- For 6,001 to 8,000 feet in elevation, use 14 pounds of pressure
- Above 8,000 feet in elevation, use 15 pounds of pressure
For Weighted Gauge Pressure Canners (All American Brand, etc):
- For 0 to 1,000 feet in elevation, use 10 pounds of pressure
- Above 1,000 feet in elevation, use 15 pounds of pressure
How Long Will Canned Turkey Last?
Properly canned turkey will last on your pantry shelf for 12 to 18 months, as long as the jars remain sealed. After opening, any unused turkey should be refrigerated and used within a few days.
For the best quality, use your canned turkey within one year. While it won’t “spoil” past that, the texture and flavor may begin to degrade over time.
Tips for Canning Turkey:
- Don’t over-pack: Leave space in the jars for liquid to expand and avoid filling them too full.
- Use homemade broth: If possible, use homemade turkey or chicken broth for the best flavor, but store-bought broth works just fine too.
- Season to taste: You can add spices, herbs, or even a little garlic or onion powder to your turkey before canning. Just remember that flavors can intensify during canning, so go light on seasoning until you see what works best for your family.
- Bones: If you want to can the turkey with bones, it’s safe to do so, but be mindful that bones in canned turkey can become soft and fragile.
How to Use Canned Turkey
Once your turkey is canned, there are countless ways to use it! Canned turkey is incredibly versatile and can be used in a variety of dishes:
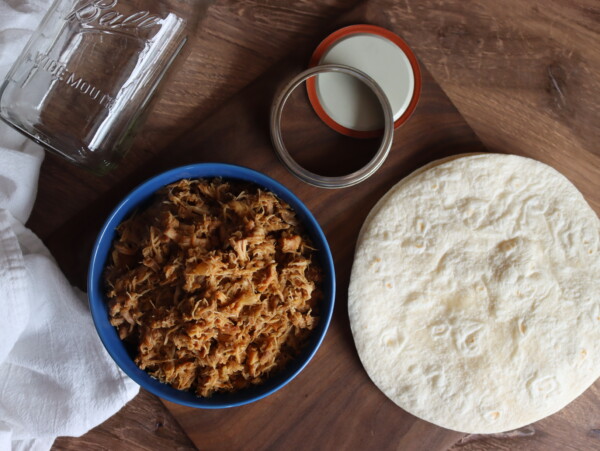
- Shredded turkey is perfect for tacos, sandwiches, or casseroles.
- Cubed turkey works great in soups, stews, and salads.
- Turkey Wings can be browned in a pan and served as-is or added to a sauce for a quick meal.
And, of course, it’s always delicious on a plate next to mashed potatoes, home canned green beans and a dollop of homemade cranberry orange sauce.
By canning your leftover turkey, you’ve got a delicious, ready-to-go protein that’s perfect for any meal. Enjoy your pantry full of turkey all year long!
Poultry Canning Recipes
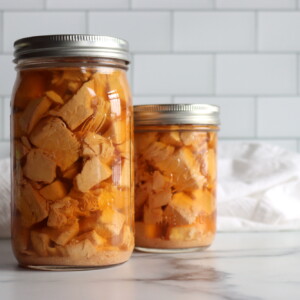
Canning Turkey
Equipment
Ingredients
- Leftover cooked turkey, shredded or cubed, bones removed
- Turkey broth, or water
- Salt, optional, 1 tsp per quart or 1/2 tsp per pint
Instructions
- Start with leftover cooked turkey, already fully cooked. Debone the turkey and cut it into chunks or shred it, depending on your preference.
- You can use turkey that has been roasted, baked, or even cooked in a slow cooker. Be sure to remove any skin and bones.
- (Raw turkey works as well, and it can be diced and loaded into jars completely raw. Quality and flavor are better if it’s browned before canning.)
- Bring turkey or chicken broth to a boil on the stove. If you don’t have homemade turkey broth, you can use store-bought broth or water. Homemade turkey broth will give the best flavor, but it’s not necessary if you don’t have any.
- Add 2 to 3 inches of water to your pressure canner and set the bottom rack in place. Preheat it to a gentle simmer while you prep the jars.
- Pack the shredded or cubed turkey into canning jars, leaving 1 1/4 inch of headspace. Be sure the meat is loosely packed, so the broth can circulate between the meat during the canning process.
- Optionally, add 1 tsp of salt per quart or 1/2 tsp per pint for added flavor. Salt is optional and will not affect preservation, but it helps with texture and flavor.
- Pour hot turkey broth (or water) over the turkey in each jar, maintaining the 1 1/4 inch headspace. Use a debubbler to remove any air pockets. If necessary, adjust the broth level to maintain proper headspace.
- Wipe the rims of the jars to remove any oil or residue, and then cap them with two-part canning lids. Tighten the rings until finger-tight.
- Load the filled jars into your preheated pressure canner using a jar lifter. Follow the manufacturer’s instructions for loading the jars properly.
- Close the canner lid, but do not seal the vent yet. Bring the heat up to high and allow the canner to vent steam for 10 minutes before sealing the canner completely.
- Once venting is complete, bring the canner up to the recommended pressure for your altitude and canner type (see notes). Process pint jars for 75 minutes and quart jars for 90 minutes.
- When the canning time is complete, turn off the heat and allow the canner to cool down naturally. Don’t open the canner until the pressure has returned to zero and the canner is safe to open.
- Once the jars are cool enough to handle, remove them from the canner and check the seals. If a jar hasn’t sealed properly, refrigerate it and use it within a few days.
- Store sealed jars in a cool, dark place.
Notes
Yield
You need about 1 pound of meat per pint jar, or two pounds per quart. Each jar will need broth or water, and pints usually need about 3/4 to 1 cup, while quarts need 1 1/2 to 2 cups. This will vary based on how tightly you've packed the jars. Raw pack needs less liquid as the meat packs more tightly together, and the turkey will release liquid as it cooks in the canner.Salt
Adding salt is completely optional and not necessary for preservation. However, it does enhance both the flavor and texture of the canned turkey, and the finished product tastes a lot better when canned with salt.Water or Broth
You can use either water or broth as the liquid for canning. For the richest flavor, chicken broth is the preferred option, but water will work in a pinch.Raw Pack vs. Hot Pack
I recommend using the hot pack method for the best results, as it leads to higher-quality canned turkey that holds up better over time. If you choose to go with the raw pack method, simply pack the uncooked turkey into jars and top with hot broth, leaving 1 1/4 inches of headspace. Seal the jars and process them just like you would for the hot pack method.Altitude Adjustments
For Dial Gauge Pressure Canners;- For 0 to 2,000 feet in elevation, use 11 pounds of pressure
- For 2,001 to 4,000 feet in elevation, use 12 pounds of pressure
- For 4,001 to 6,000 feet in elevation, use 13 pounds of pressure
- For 6,001 to 8,000 feet in elevation, use 14 pounds of pressure
- Above 8,000 feet in elevation, use 15 pounds of pressure
- For 0 to 1,000 feet in elevation, use 10 pounds of pressure
- Above 1,000 feet in elevation, use 15 pounds of pressure
Nutrition
Nutrition information is automatically calculated, so should only be used as an approximation.
Chicken and Turkey Canning Recipes
Turkey can be used in place of chicken in any canning recipe. Try any of these tasty poultry canning recipes:
I’ve also got you covered if you’re specifically looking for classic Turkey Canning Recipes.

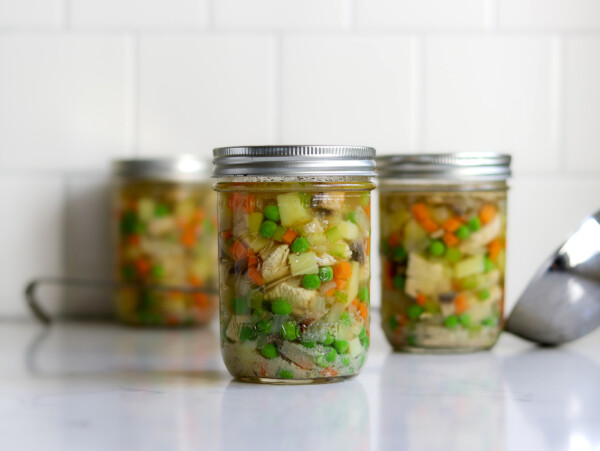
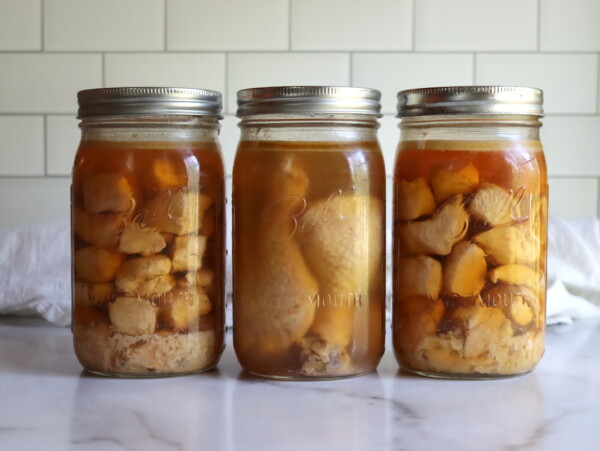
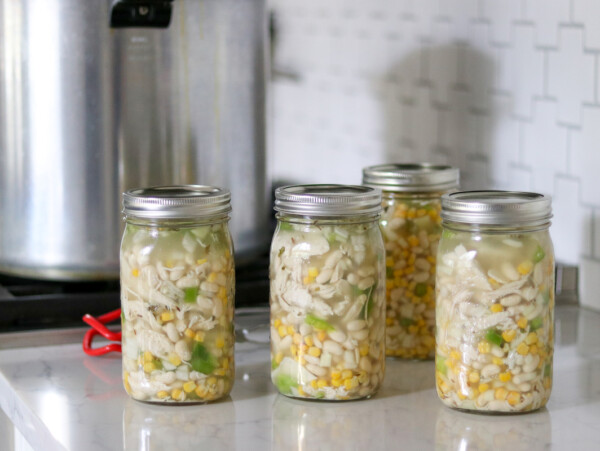
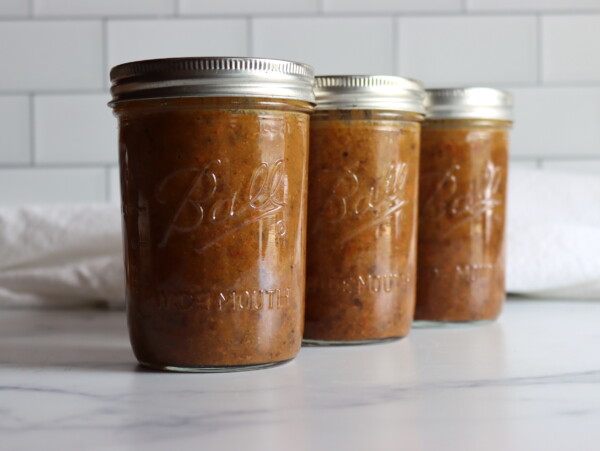
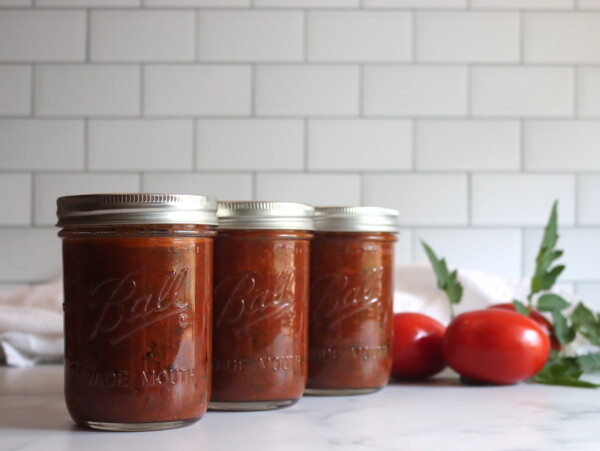
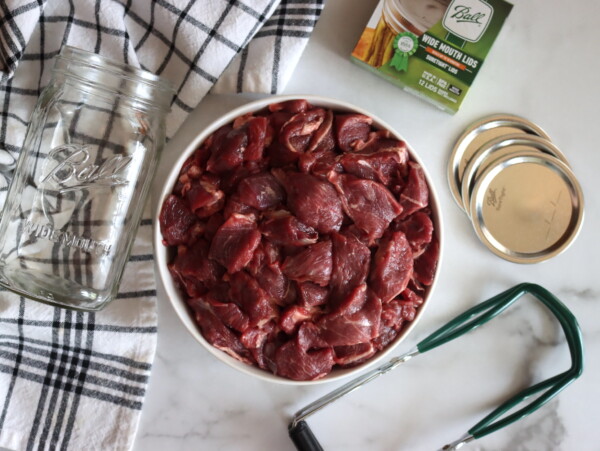
The perfect way to put up leftover turkey after the holidays! There’s no freezer burn, and it’s ready to heat and eat right out of the jars. Delicious!