This post may contain affiliate links. Please see our disclosure policy.
Canning Tuna at home in a pressure canner is the perfect way to preserve your catch. Whether you’re a fisherman or a DIY home cook who wants to know exactly what’s in your food, this simple recipe will allow you to preserve your home-canned tuna on your pantry shelf. There are no additives, just amazing tuna flavor!
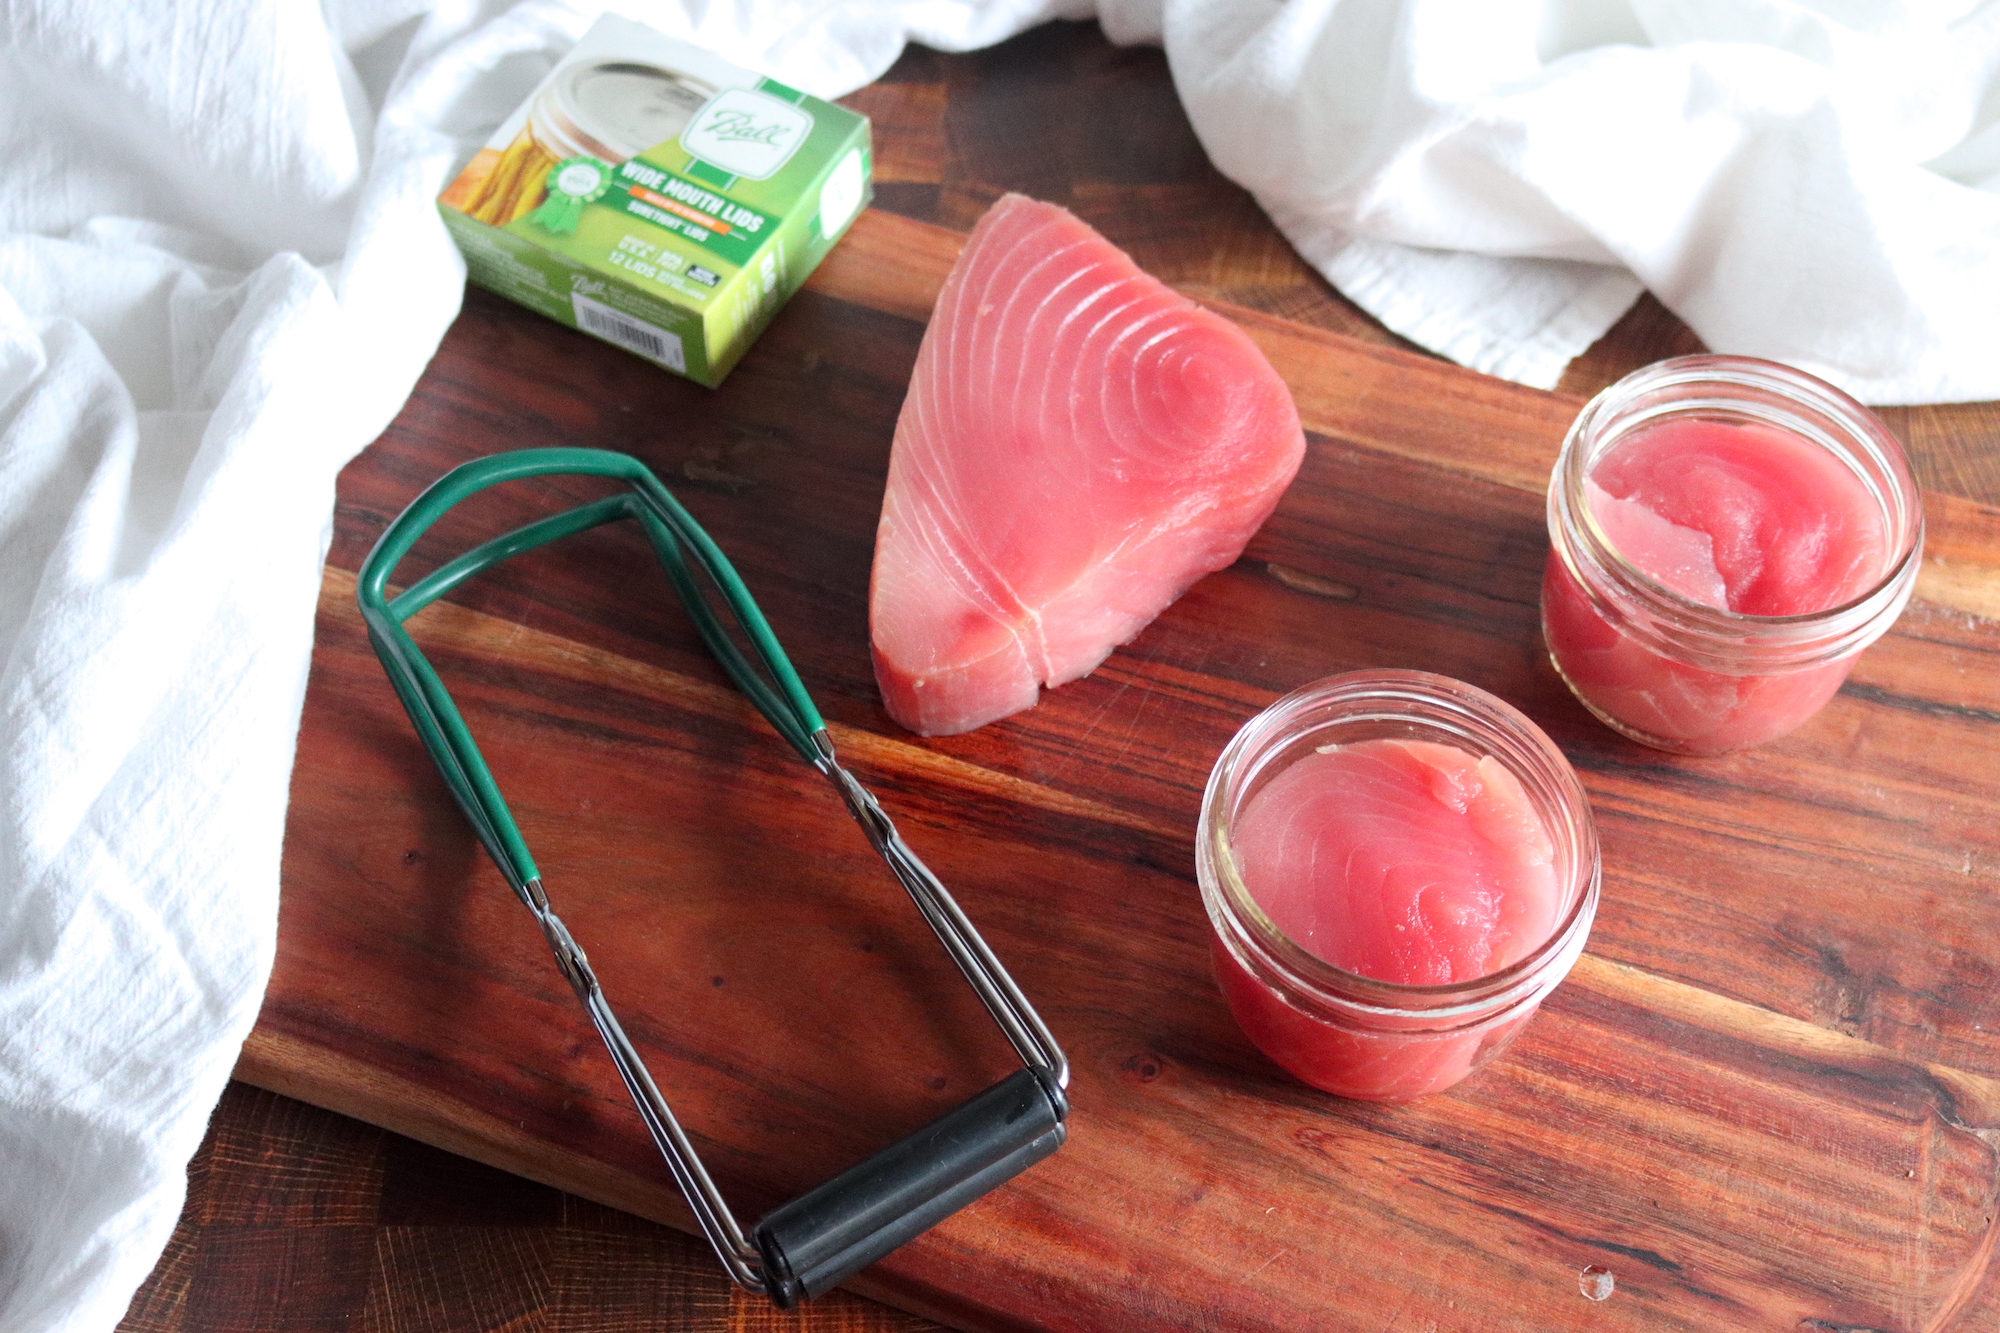
You love your afternoon tuna fish sandwich, but have you ever thought it might be possible to have your freshly caught tuna without relying on the tinned stuff you buy at the corner grocery store?
Canning tuna at home is a great way to preserve this delicious fish, ensuring you have a supply of high-quality protein ready whenever needed. It’s easier than you think and can be a fun and rewarding process – plus, it tastes much better than the factory-produced cans.
By canning your tuna, you can control the quality and flavor of the fish you eat. Plus, you can avoid the preservatives and additives often found in store-bought canned tuna. Whether you’re a home cook, a healthy eater, or a food enthusiast, canning your tuna is a valuable skill.
In this guide, we’ll cover everything you need to know about canning tuna, from the ingredients and preparation to the actual canning process.
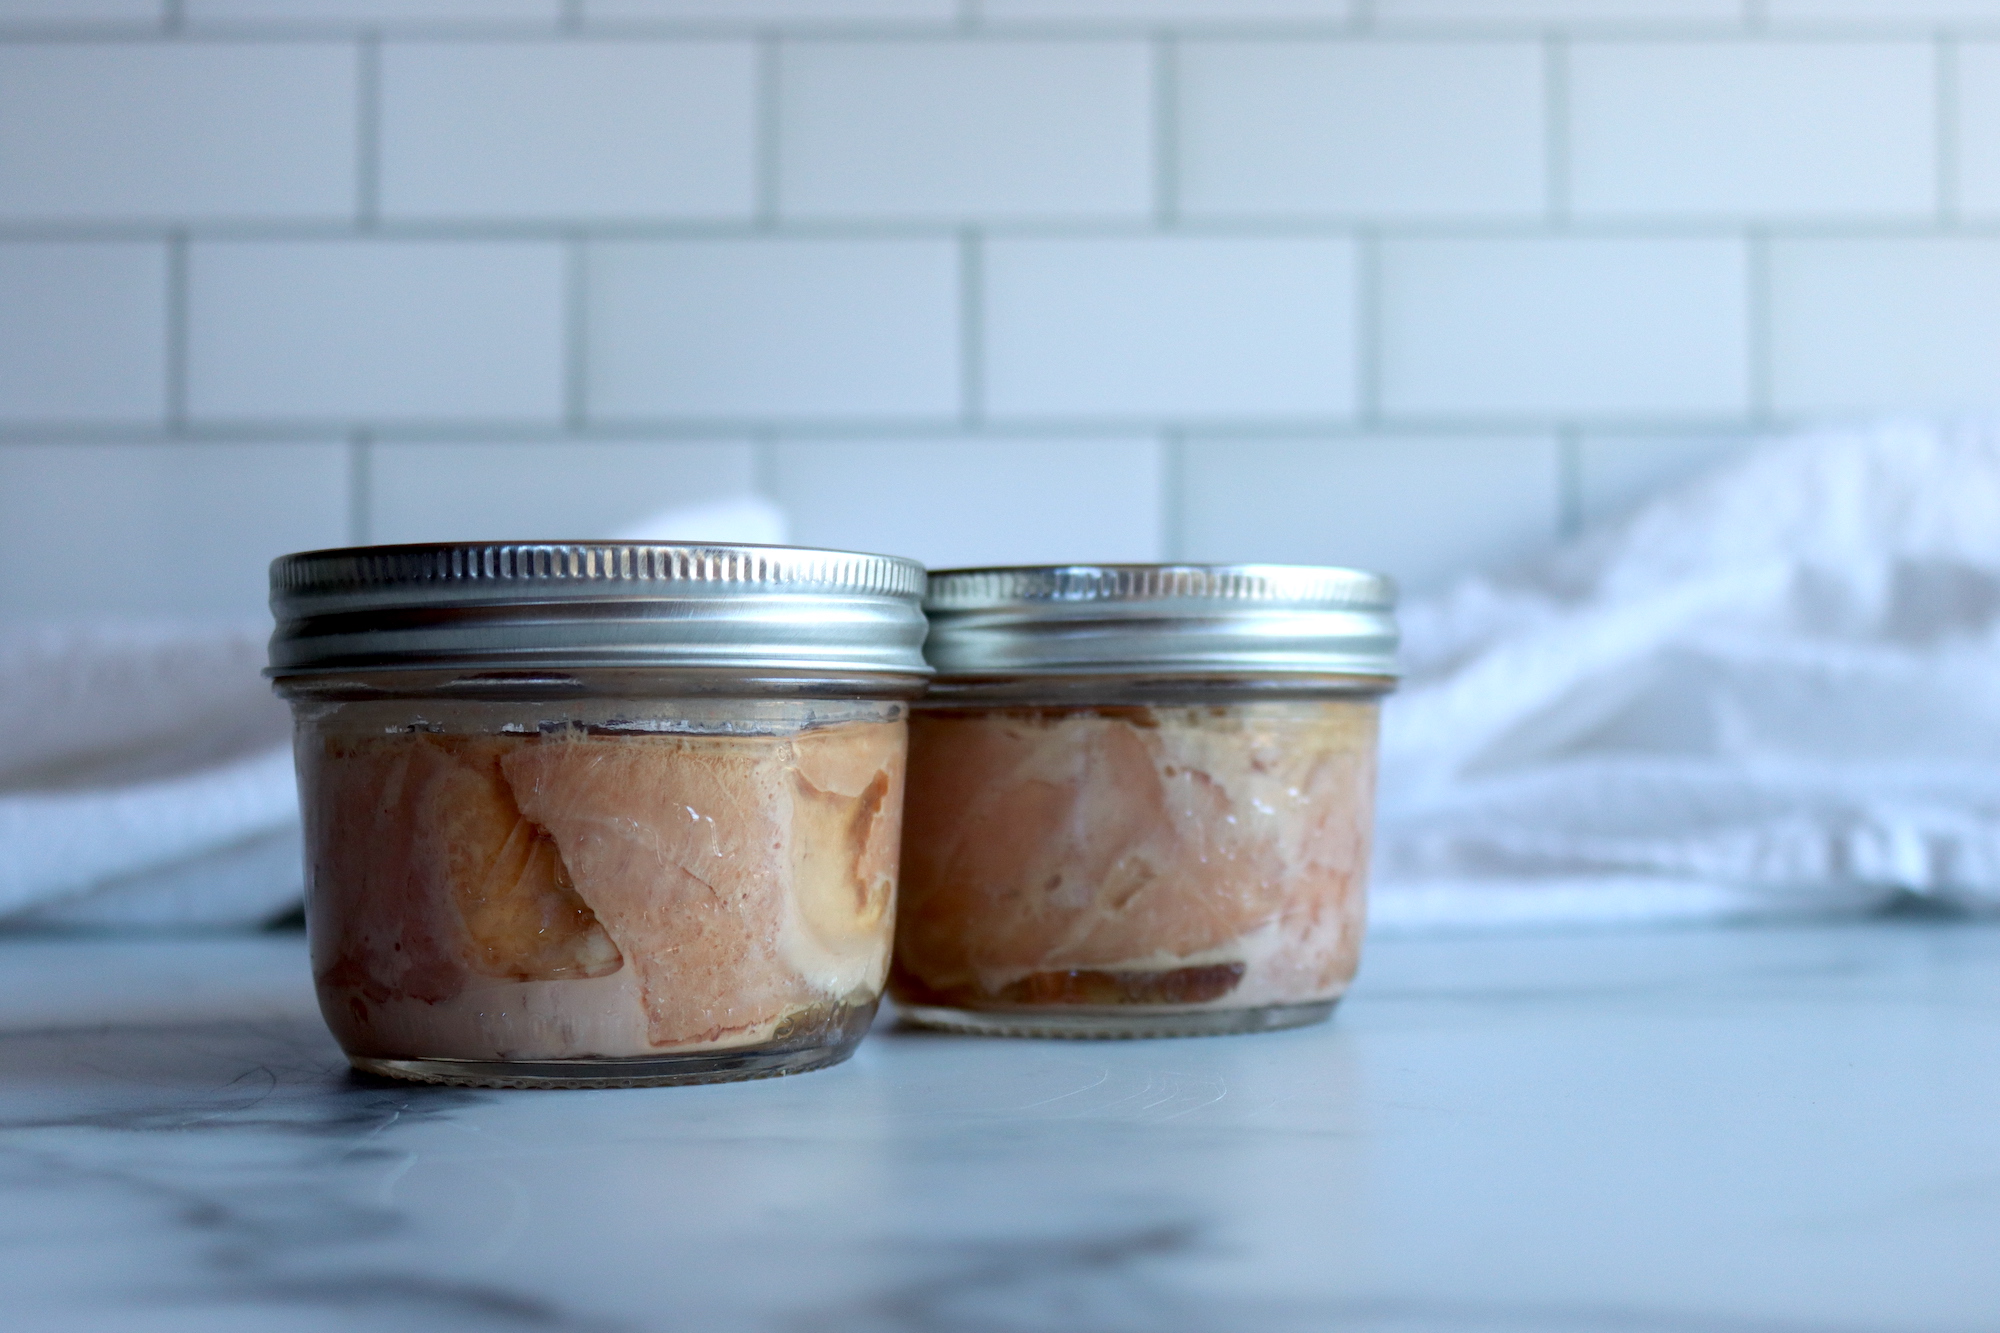
Ingredients for Canning Tuna
This is a tested recipe for canning shrimp at home, put out by the Pacific Northwest Extension Service (publication PNW194). The ingredients for canning tuna are pretty simple and all you need is:
- Raw Fresh Tuna (freshly caught, on ice, if possible)
- Salt
These ingredients are all you need to get started. The quantities listed here are for a whole batch of six pints. You’ll need to adjust the amounts if you can more or less tuna.
I’m canning tuna in half pint jars, which suits my family. You can use pints, half pints or quarter pints. You’ll need about 1 pound of tuna per pint jar, or 1/2 pound per half pint jar.
There is a “pre-cooked tuna” canning recipe that calls for baking or steaming the tuna before packing it into jars, but that results in a lower-quality product. People generally do that if they have strong-tasting or inferior fish, since the cooking process will remove much of the flavor and the oils in the fish. In that process, you add a bit of neutral oil to each jar to maintain moisture in canning.
What I’m doing here is a raw pack because I’m looking for the best possible quality canned tuna in my home. I’ll cover the hot pack process as well, for completeness.
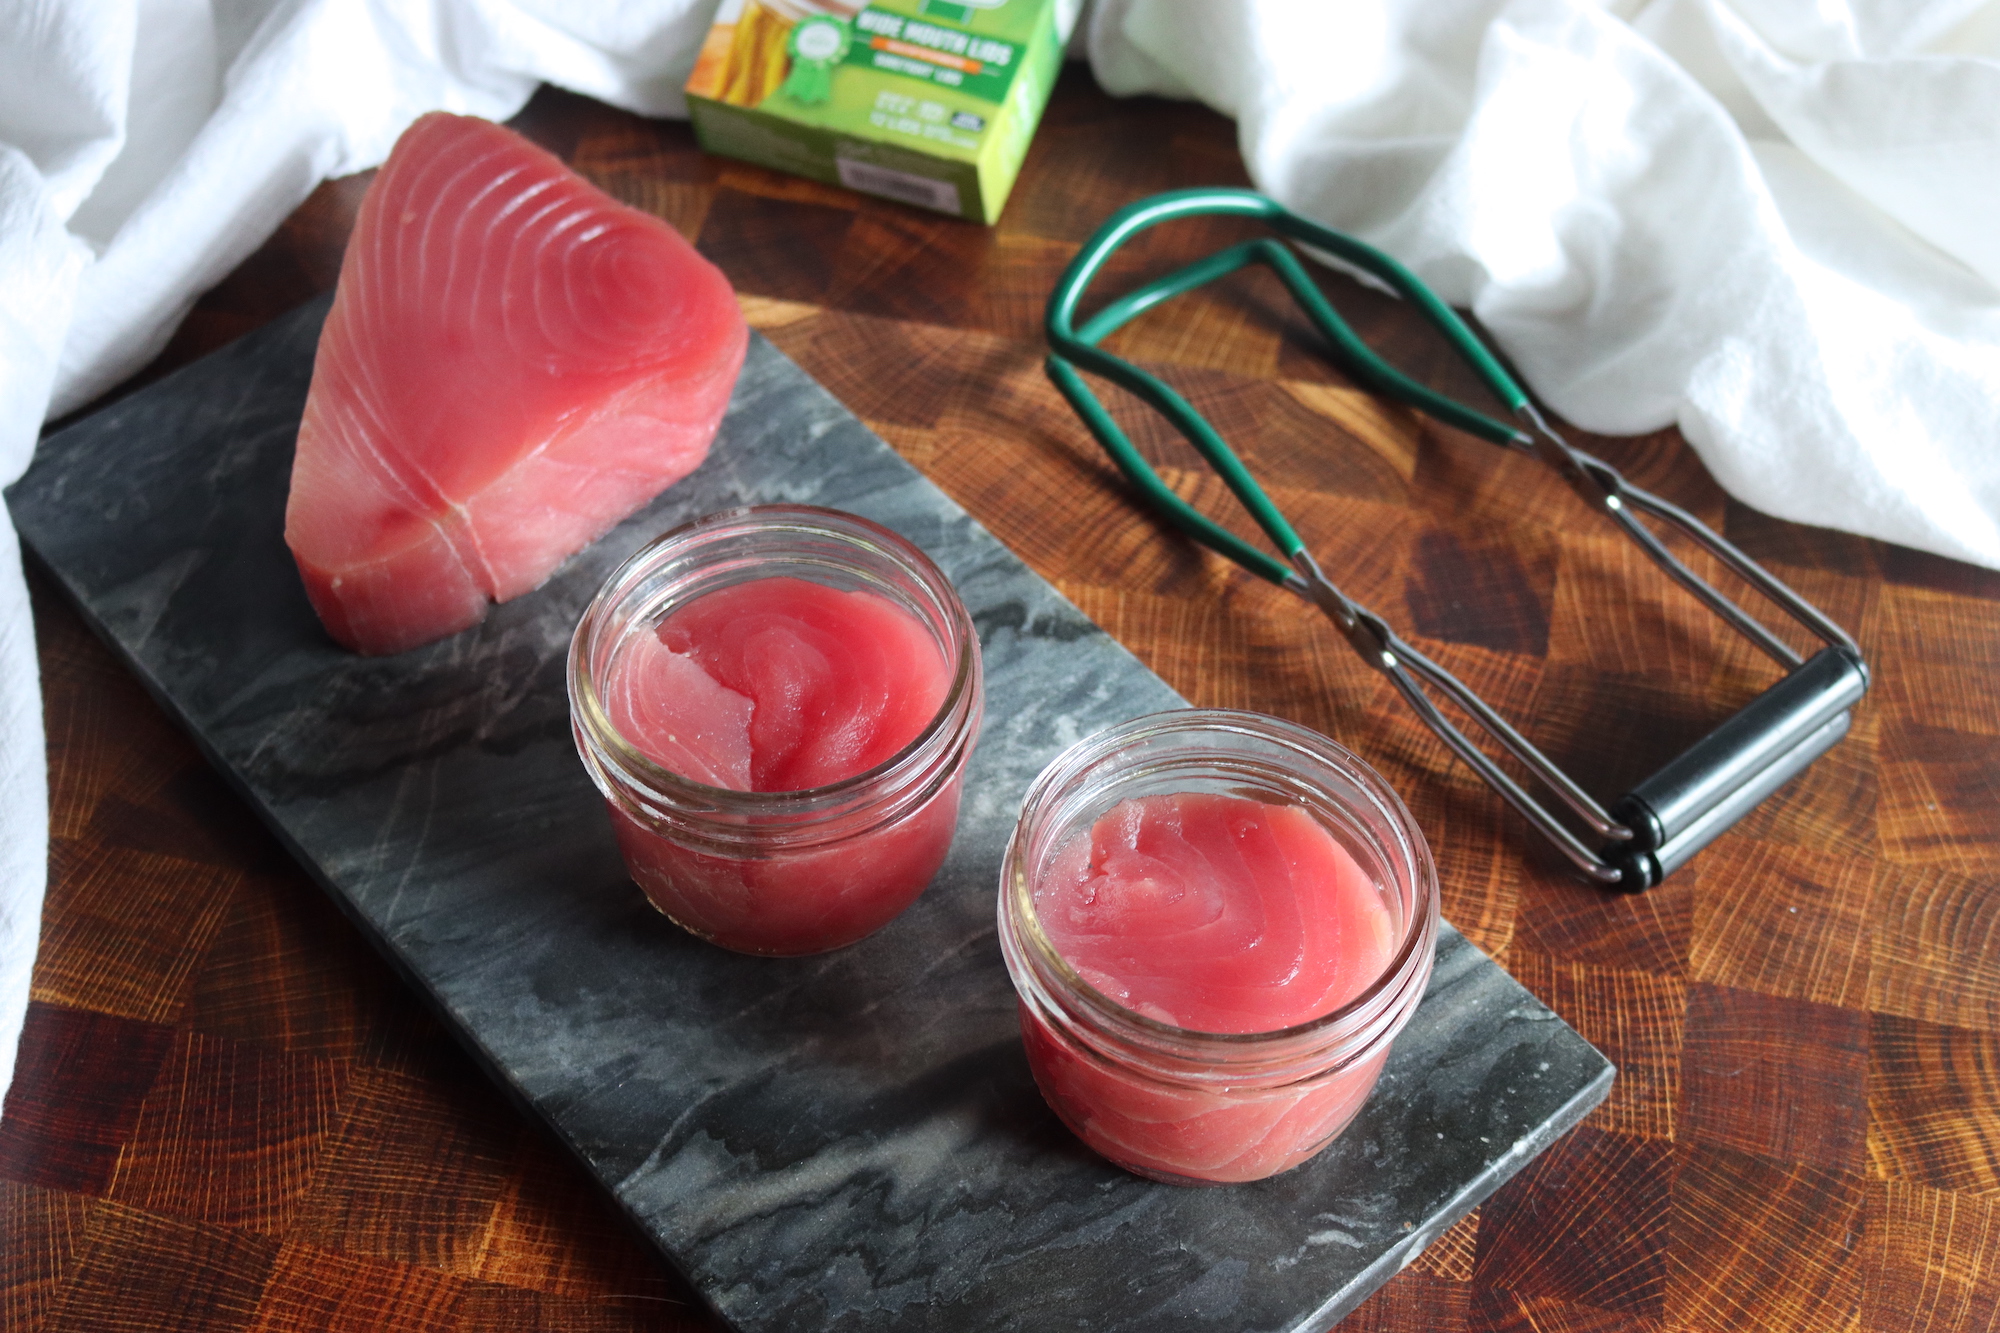
Canning Tuna
Tuna can be canned, either precooked or raw. Each method has benefits and drawbacks, so you should decide which one best suits your needs.
For either of these methods, your next step is to freeze the fish partially. It’s far easier to filet the tuna if it’s partially frozen. You can skin the fish either before or after it’s been filed. For raw tuna, you can skip the step about removing the viscera.
Next, you’ll peel off the skin using a sharp knife. Gently scrape the surface to remove discolored flesh or blood vessels. Cut the fish into quarters by cutting it away from the bones. Pull off and cut out all bones and fin bases. Scrape and cut out all dark flesh, which has a t flavor and can impart an unpleasant taste to your canned food. Save it for pet food!
Precooking Tuna for Canning
Precooking helps remove some of the strong-flavored oil in tuna, and it’s a great option for lower grades of tuna or darker sections of meat that tend to have stronger flavors. Opt for canning tuna raw if you have high-grade meat. Precooking requires extra steps, and much of the natural oils in the fish are lost (and you replace them with vegetable oil or water in the jar). I’m not a fan of precooking tuna when canning, but many people prefer this method.
First, you’ll need to clean the fish. Remove the viscera and wash the fish well in cold water. Allow the blood to drain from the cavity.
Then, it’s time to cook. Place the cleaned tuna on a rack or metal tray at the bottom of a baking pan. Cook at 225 to 250 degrees for two to four hours, depending on the size of the fish, or bake at 350 degrees for an hour. Alternatively, you can steam the tuna for about two to four hours. For food safety, make sure it reaches an internal temperature of 165 to 175 degrees F.
After cooking, refrigerate the tuna overnight to firm up the meat.
Preparing Raw Tuna for Canning
If you decide to can raw tuna, you’ll save some time, so it might be better if you have high-quality meat and want to preserve the fish’s natural oils.
Cut the quarters in half crosswise into lengths suitable for your jars.
Canning Tuna at Home
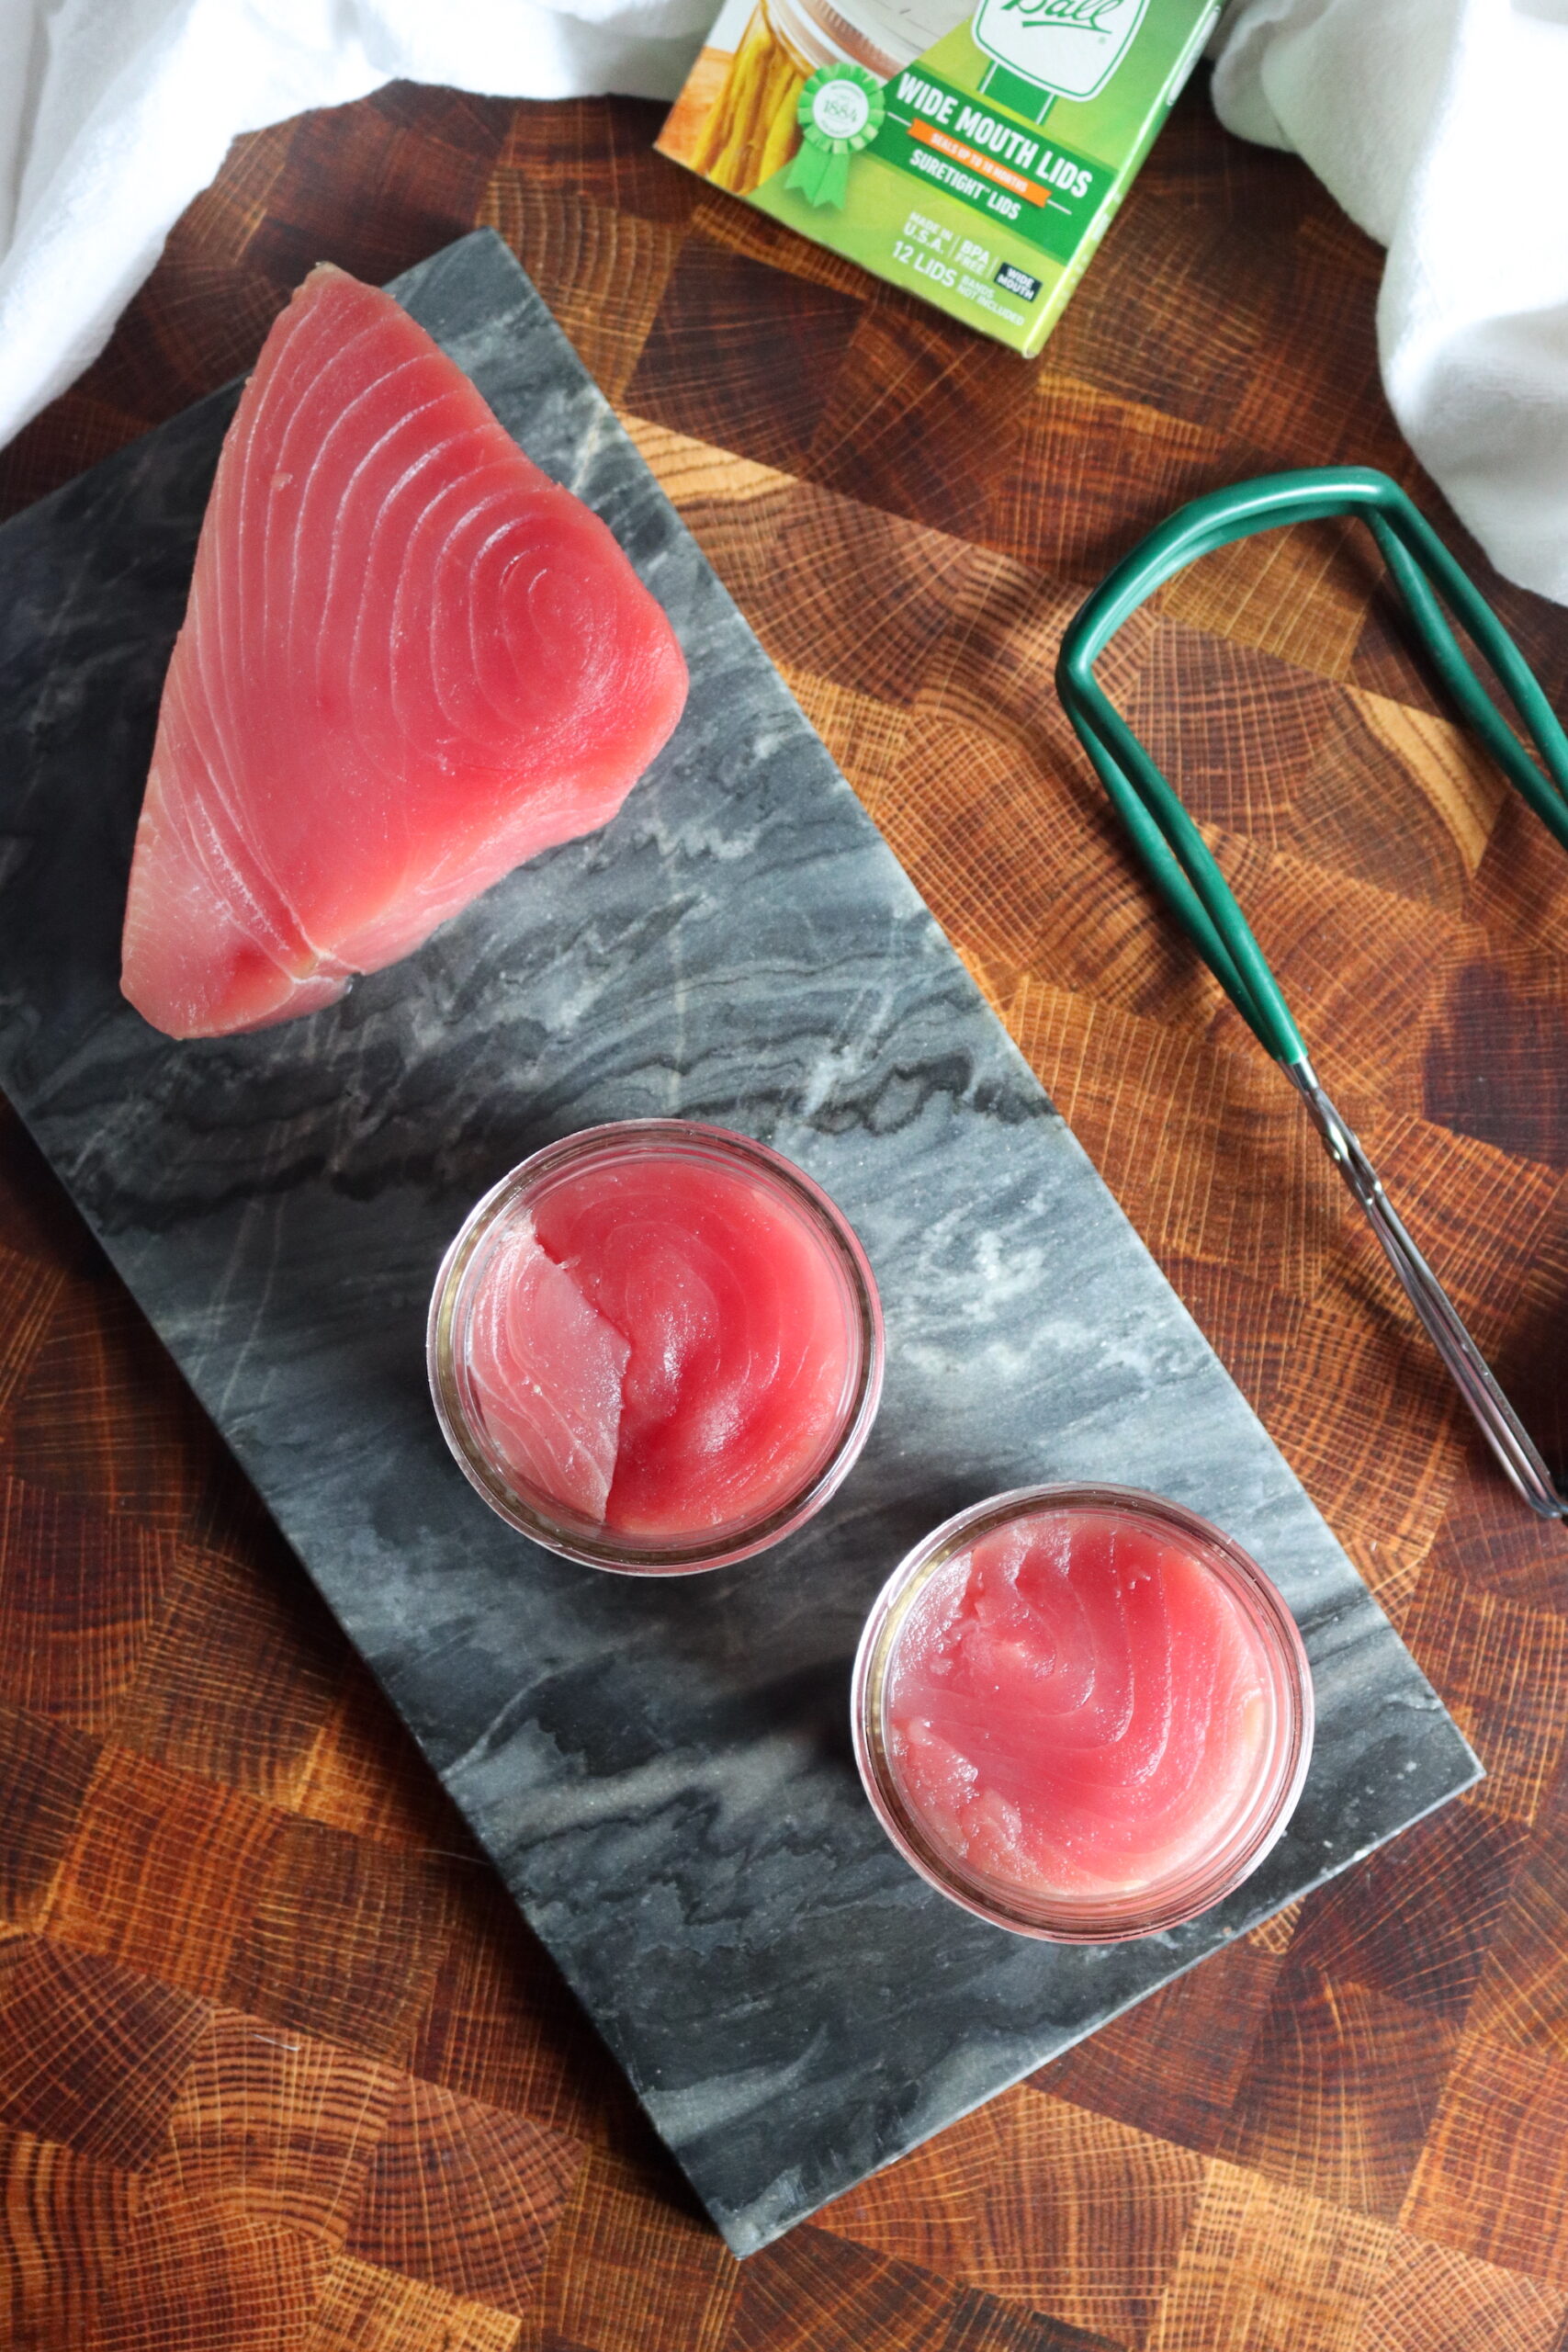
Now that your tuna is prepped, it’s time to start the canning process. It takes around a pound of fish to fill one half-pint jar. Leaving an inch of headspace, press the pieces into pint or half-pint jars. It’s okay to press down gently to make a solid pack that’s great for canning.
Precooked Tuna Pack
You’ll need to add oil or water to the jars with precooked tuna. For half-pint jars, add ½ tsp salt and 1-3 tbsp of oil (vegetable oil, soy, cottonseed). Add 1 tsp salt and 2-6 tbsp of oil for pint jars. You can use water instead of oil if you prefer.
Raw Tuna Pack
You do not need to add anything to the jars for raw packed tuna. Just pack the tuna into jars as tight as you can, leaving 1 inch headspace. Do not add oil or water. Adding salt is optional, and if you choose to add it, you’ll need 1/2 tsp per half pint or 1 tsp per pint.
Process half-pints and pints for 100 minutes at 10 lbs pressure (in a weighted gauge canner) or 11 lbs pressure in a dial gauge, adjusting for altitude if needed. If you dip below the recommended pressure, even for a moment, make sure you adjust your canning time.
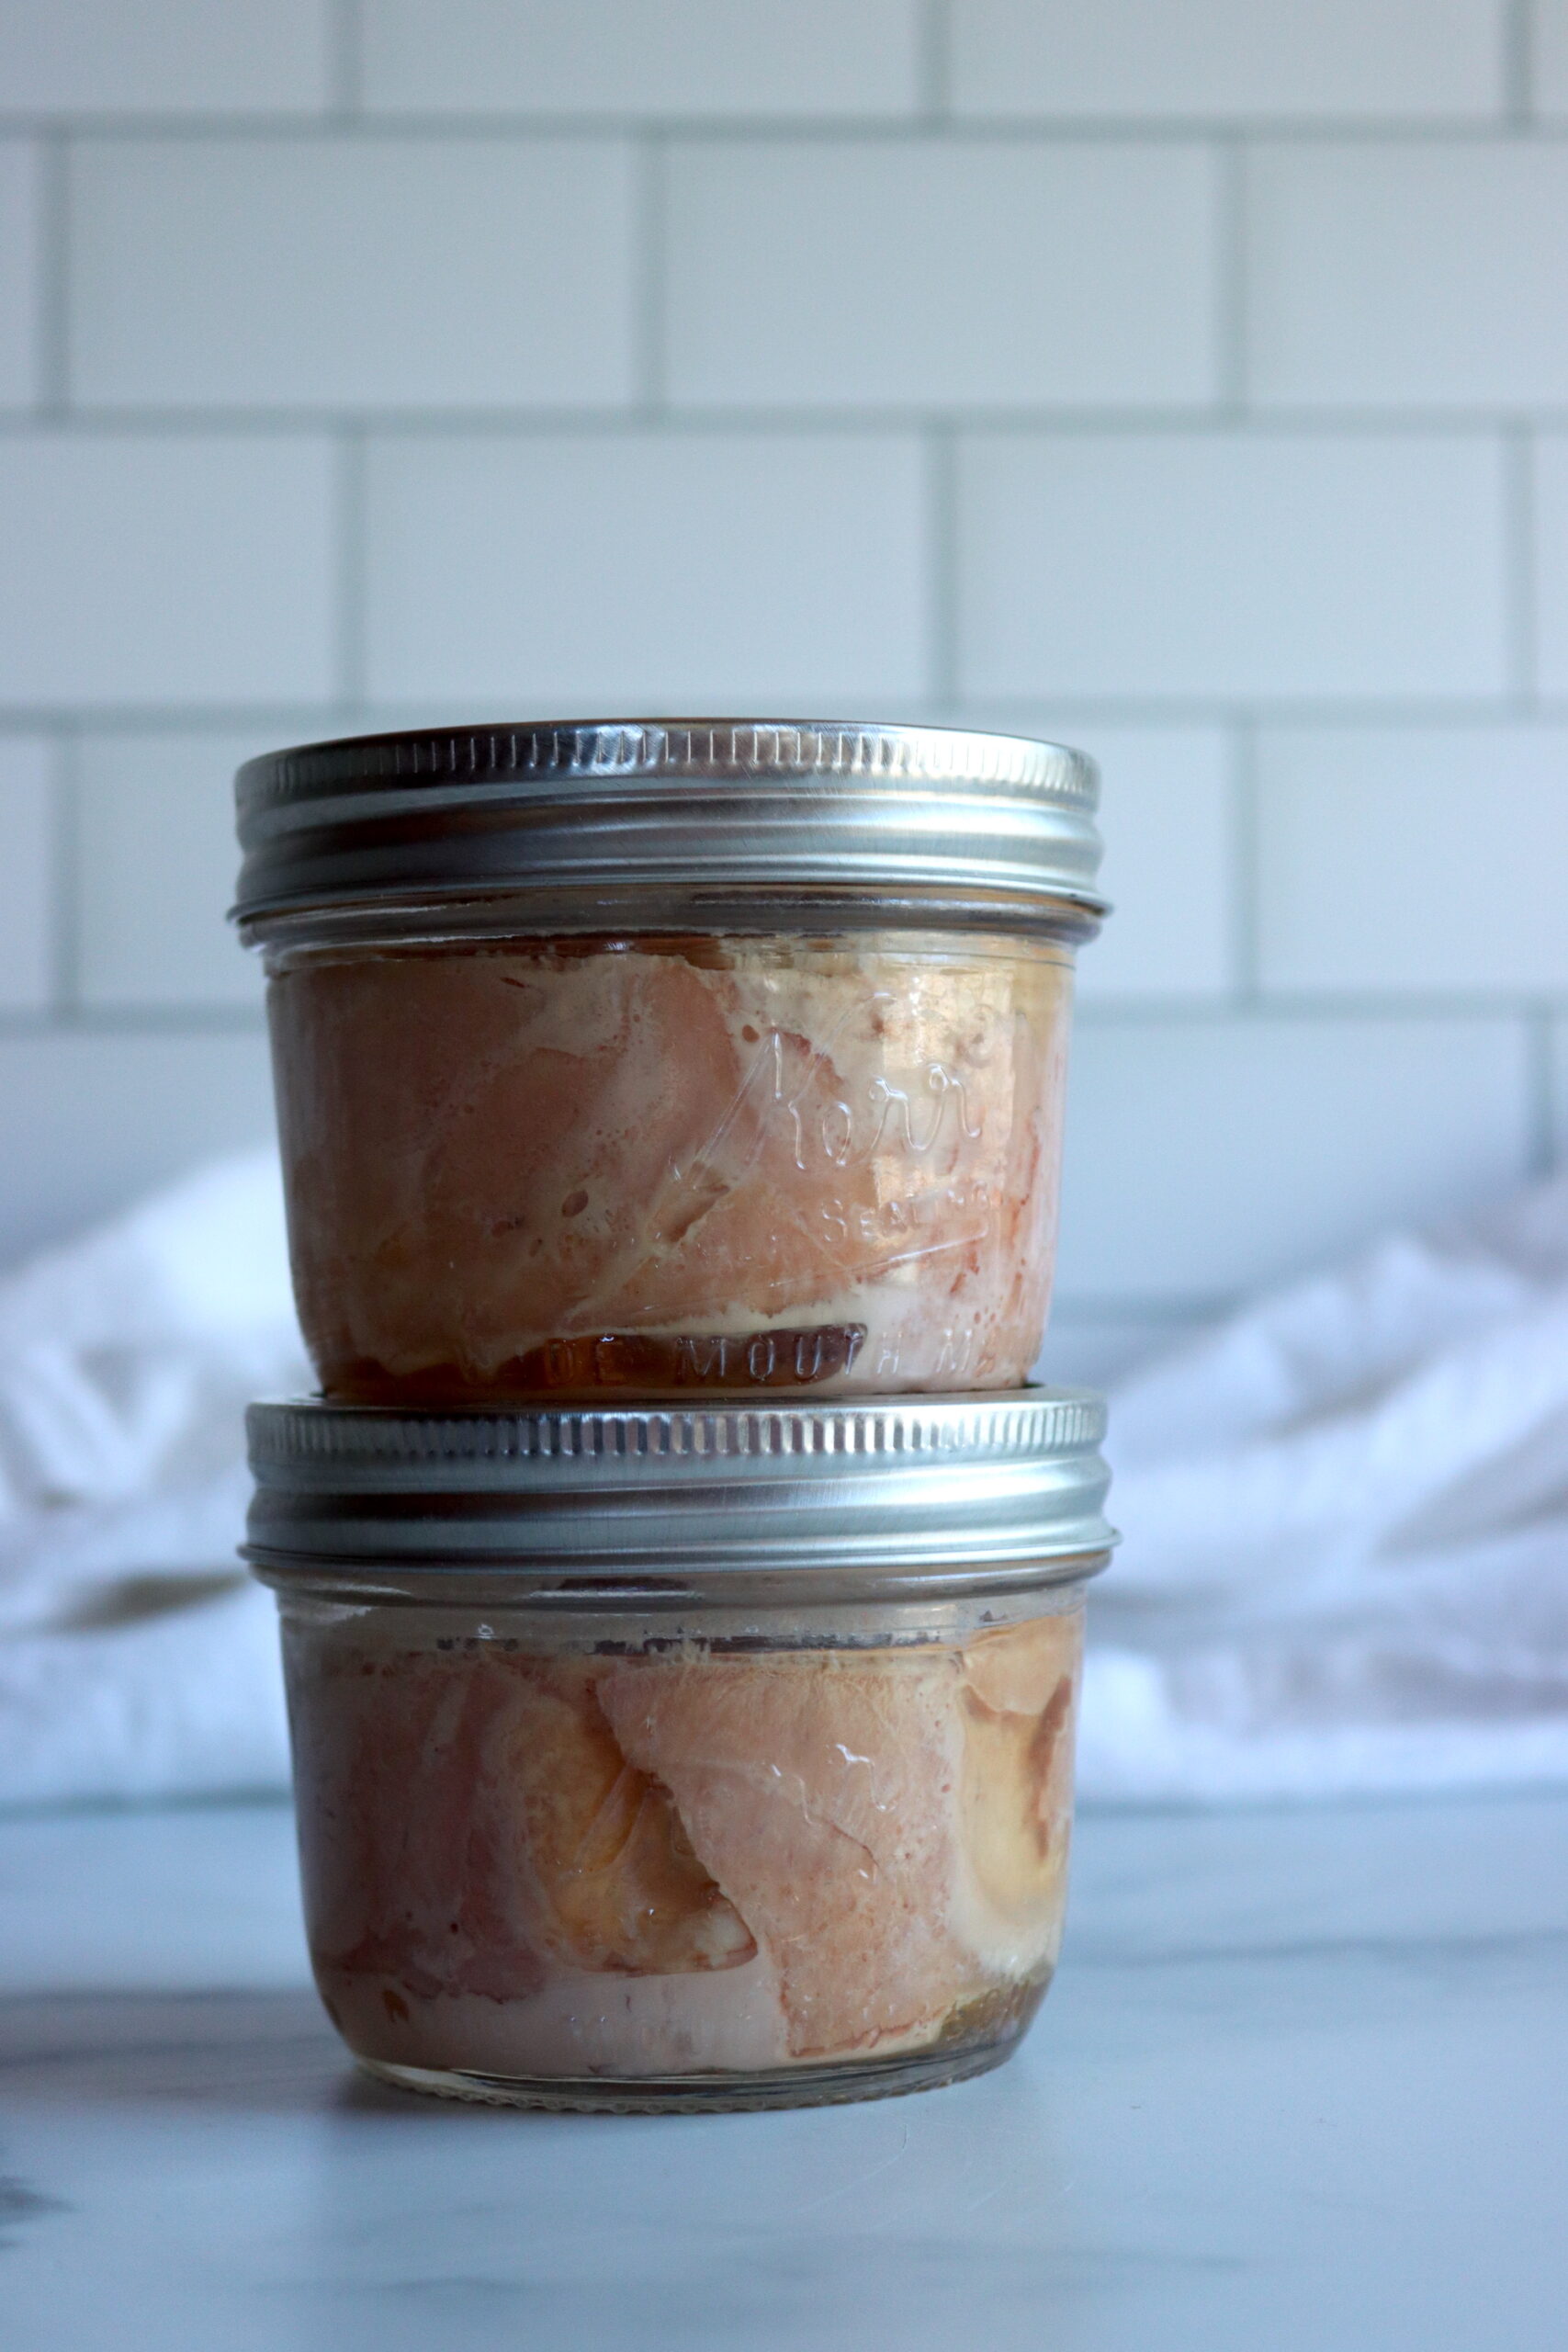
After the canning time has finished, turn off the canner and let it depressurize naturally. Remove the jars from the canner after they have reached zero. Let them cool on the counter for 24 hours. Check the seals, label, and store your canned tuna.
Altitude Adjustments for Canning Tuna
With pressure canning, the processing times stay the same at higher altitudes, but the pressures change. Here are the altitude adjustments for pressure canning tuna:
For dial gauge pressure canners:
- 0 to 2,000 feet in elevation – 11 lbs pressure
- 2,001 to 4,000 feet in elevation – 12 lbs pressure
- 4,001 to 6,000 feet in elevation – 13 lbs pressure
- 6,001 to 8,000 feet in elevation – 14 lbs pressure
For weighted gauge pressure canners:
- 0 to 1,000 feet in elevation – 10 lbs pressure
- Above 1,000 feet – 15 lbs pressure
Serving Canned Tuna
Canned tuna is incredibly versatile and can be used anywhere you’d use conventionally canned tuna (but with better flavor). You can eat it straight from the jar or mix it into salads, sandwiches, pasta, and more. Here are a few ideas:
- Tuna Salad: Mix your canned tuna with mayonnaise, celery, and onions for a classic tuna salad.
- Tuna Sandwich: Spread tuna salad on whole-grain bread with lettuce and tomato for a quick and healthy sandwich.
- Tuna Pasta: Toss canned tuna with cooked pasta, olive oil, garlic, and cherry tomatoes for a delicious meal.
Canning Tuna
Equipment
Ingredients
- Tuna, freshly caught, on ice, if possible
- neutral oil, vegetable, soy, cottonseed or water (optional)
- salt, optional
Instructions
- Prepare canning jars and a pressure canner before beginning.
- Tuna is easier to cut evenly if partially frozen. Place the tuna fillets in the freezer for 30 to 60 minutes to partially freeze, then skin and cut into chunks.
- Fill each jar with filleted tuna (no skin), leaving a 1-inch headspace. Add 1 teaspoon of salt to each pint jar or 1/2 tsp to each half pint (optional).
- Wipe the rims, put on the lids, and screw on the bands to fingertip tight.
- Place the jars in a pre-heated pressure canner with the water warmed to about 140 degrees F. Hot, but not yet simmering.
- Process the jars at pressure for 100 minutes for both pints and half pints. Pressure depends on altitude, see table below in notes.
- Allow the canner to depressurize naturally, then remove the lid carefully.
- Lift out the jars and let them cool completely. Check seals and store in a cool, dark place.
Notes
Yield
You'll need about 1 pound of tuna fillets per pint jar, or about 1/2 pound per half pint. This is a raw pack pressure canning recipe, which yields the best quality. There are hot pack instructions for pre-cooked tuna, and I've gone through those in the article. I do not recommend canning pre-cooked tuna, as the quality is inferior.Altitude Adjustments
With pressure canning, the processing times stay the same at higher altitudes, but the pressures change. Here are the altitude adjustments for pressure canning tuna:For dial gauge pressure canners:
- 0 to 2,000 feet in elevation – 11 lbs pressure
- 2,001 to 4,000 feet in elevation – 12 lbs pressure
- 4,001 to 6,000 feet in elevation – 13 lbs pressure
- 6,001 to 8,000 feet in elevation – 14 lbs pressure
For weighted gauge pressure canners:
- 0 to 1,000 feet in elevation – 10 lbs pressure
- Above 1,000 feet – 15 lbs pressure
Nutrition
Nutrition information is automatically calculated, so should only be used as an approximation.
Fish Canning Recipes
Tuna is a pantry staple but it’s not the only type of tinned fish!
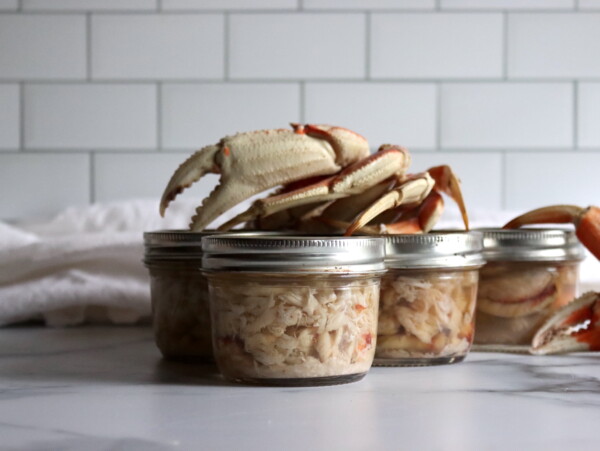
Try out other fish canning recipes from my list and you’ll learn the process for Canning Crab and canning shrimp, along with full meals like home canned Nordic Salmon Soup and the hearty Fish Chowder Base.
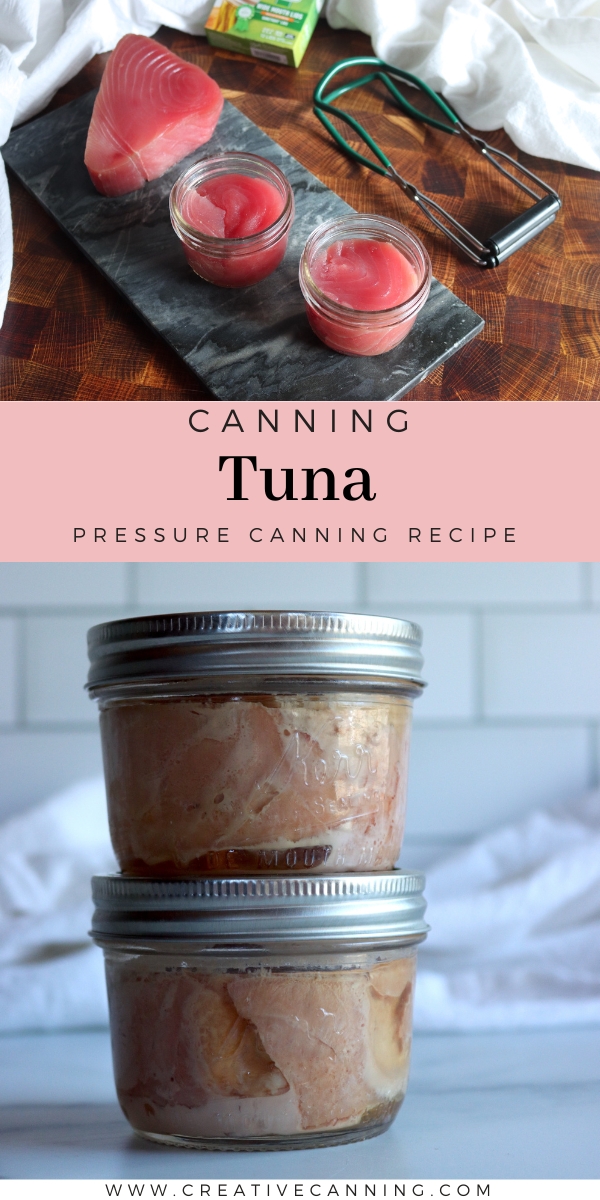
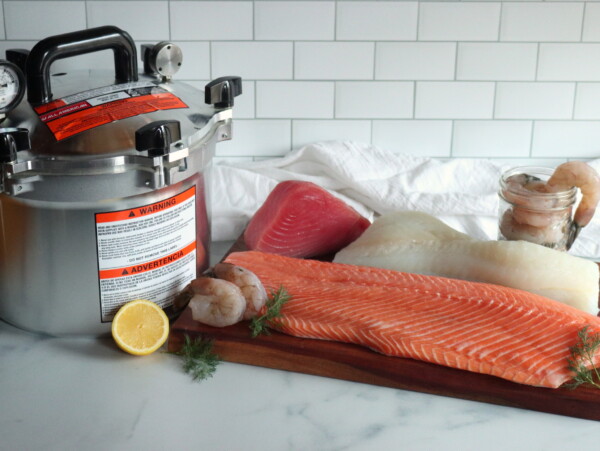
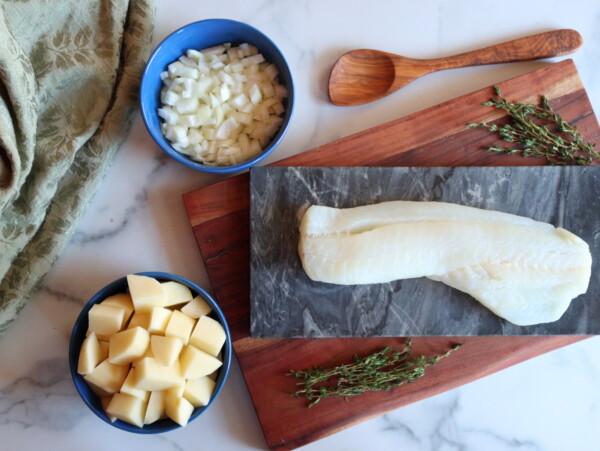
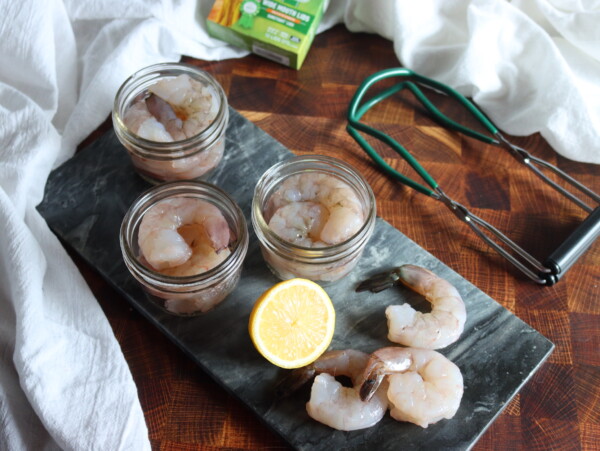
We were amazed by how good home canned tuna turned out! It’s so much better than the store-bought stuff. Now we’re wishing we had more fresh tuna to can!