This post may contain affiliate links. Please see our disclosure policy.
Canning shrimp is a great way to preserve your catch, and it allows you to preserve these highly perishable fish right on your pantry shelf. Never worry about your freezer going out again! Since they’re shelf stable, you can simply enjoy them as a meal on the go right out of the jar!
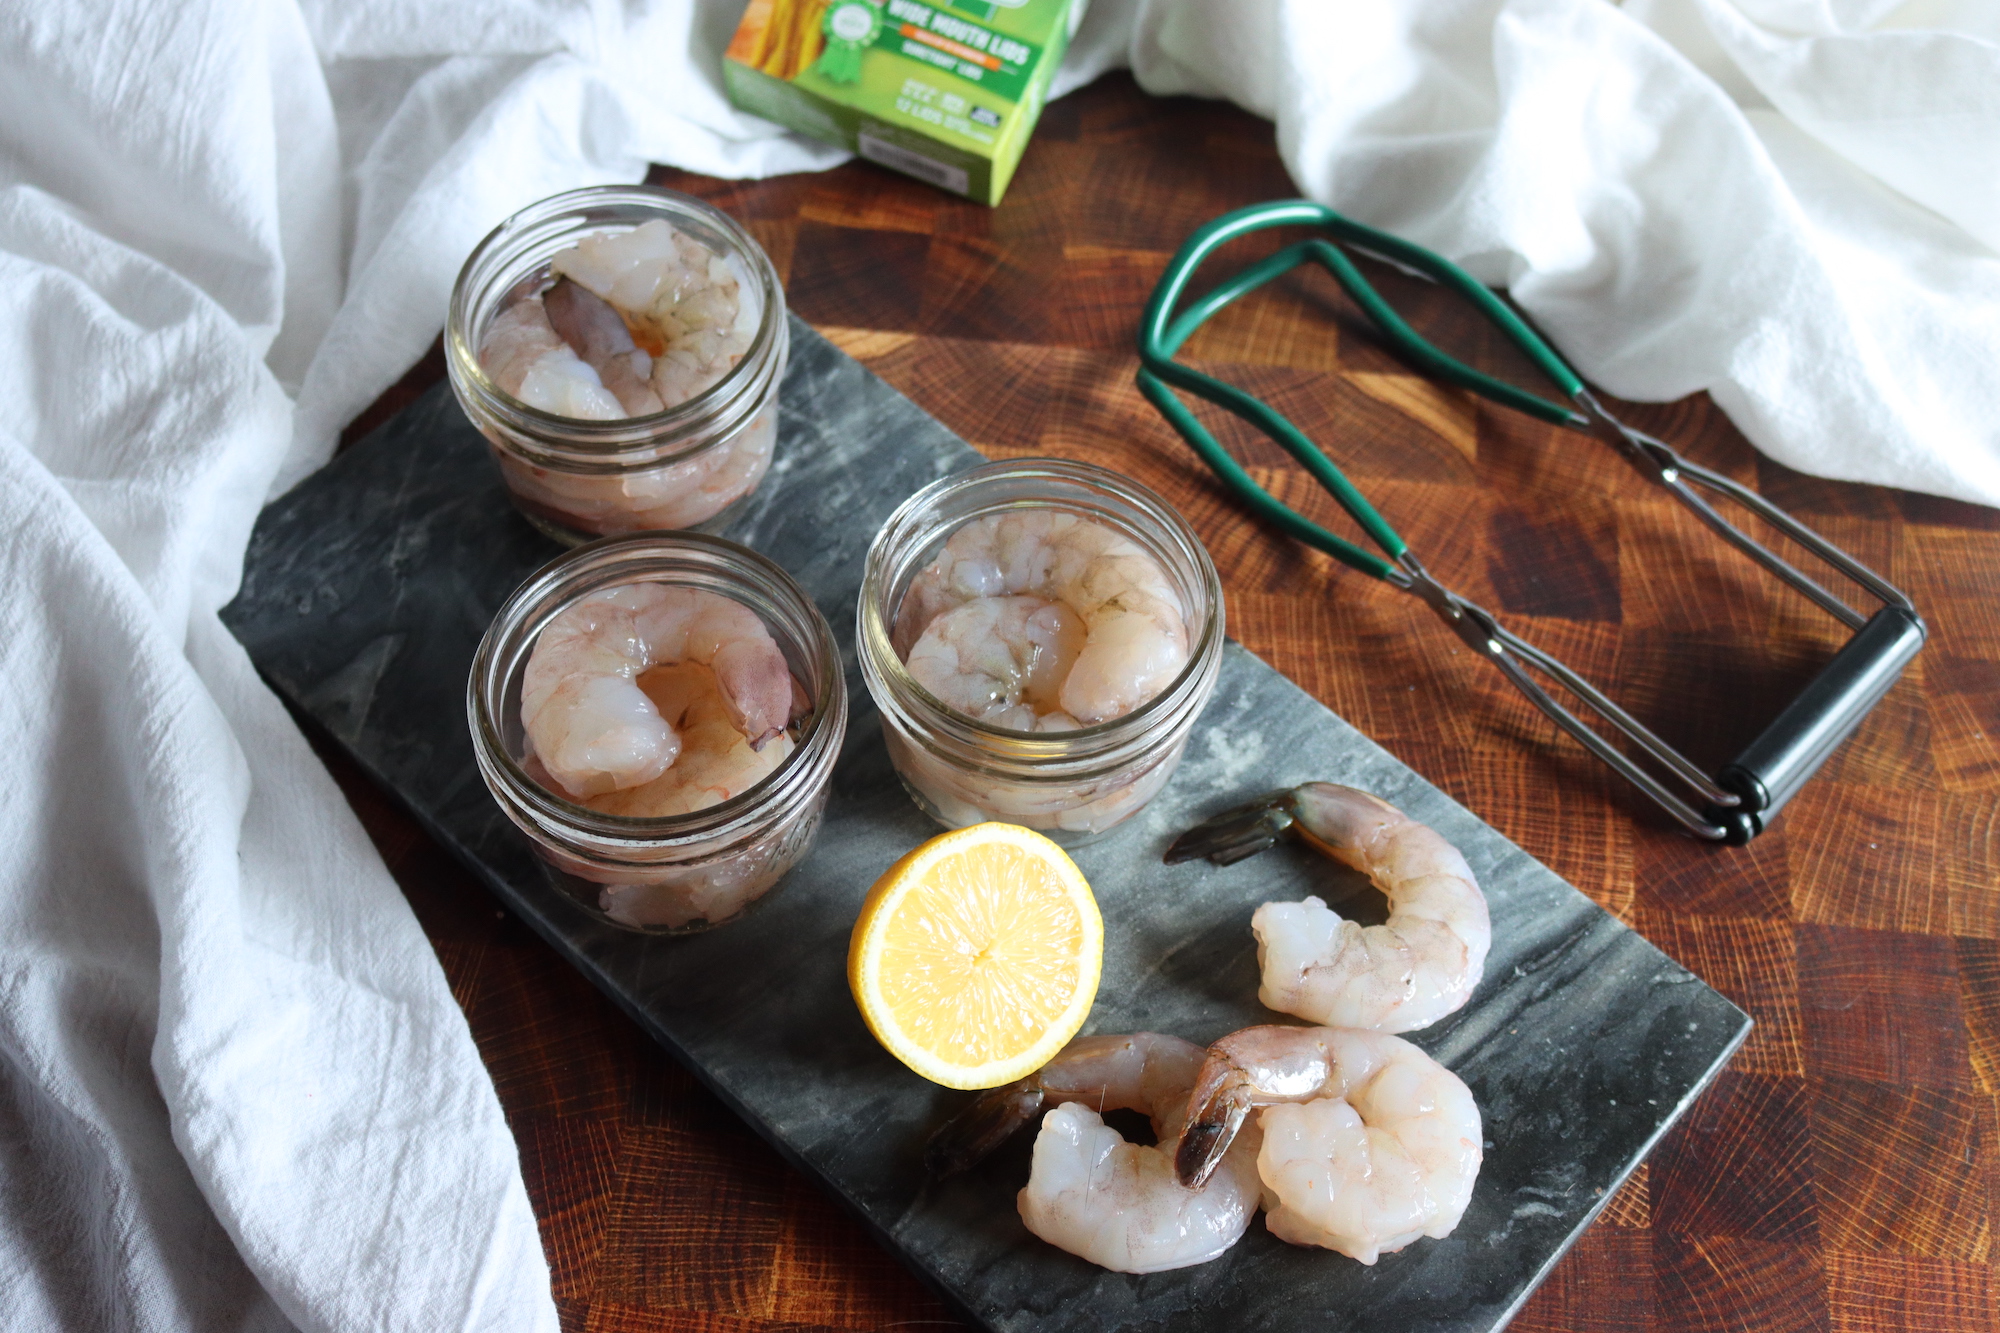
There’s nothing quite like the satisfying pop of a piece of shrimp beneath your teeth, but let’s face it – shrimp can be tough to find sometimes.
If you’re lucky enough to have a big supply of shrimp on hand, you may want to consider canning it. This offers countless advantages that extend beyond just the ability to preserve fresh seafood that you caught yourself.
For one, it allows you to enjoy the fresh taste of shrimp year-round, regardless of the season. By canning shrimp yourself, you have full control over the ingredientes, so you can make sure there are no unnecessary additives or preservatives – just pure, wholesome, delicious, shrimpy goodness.
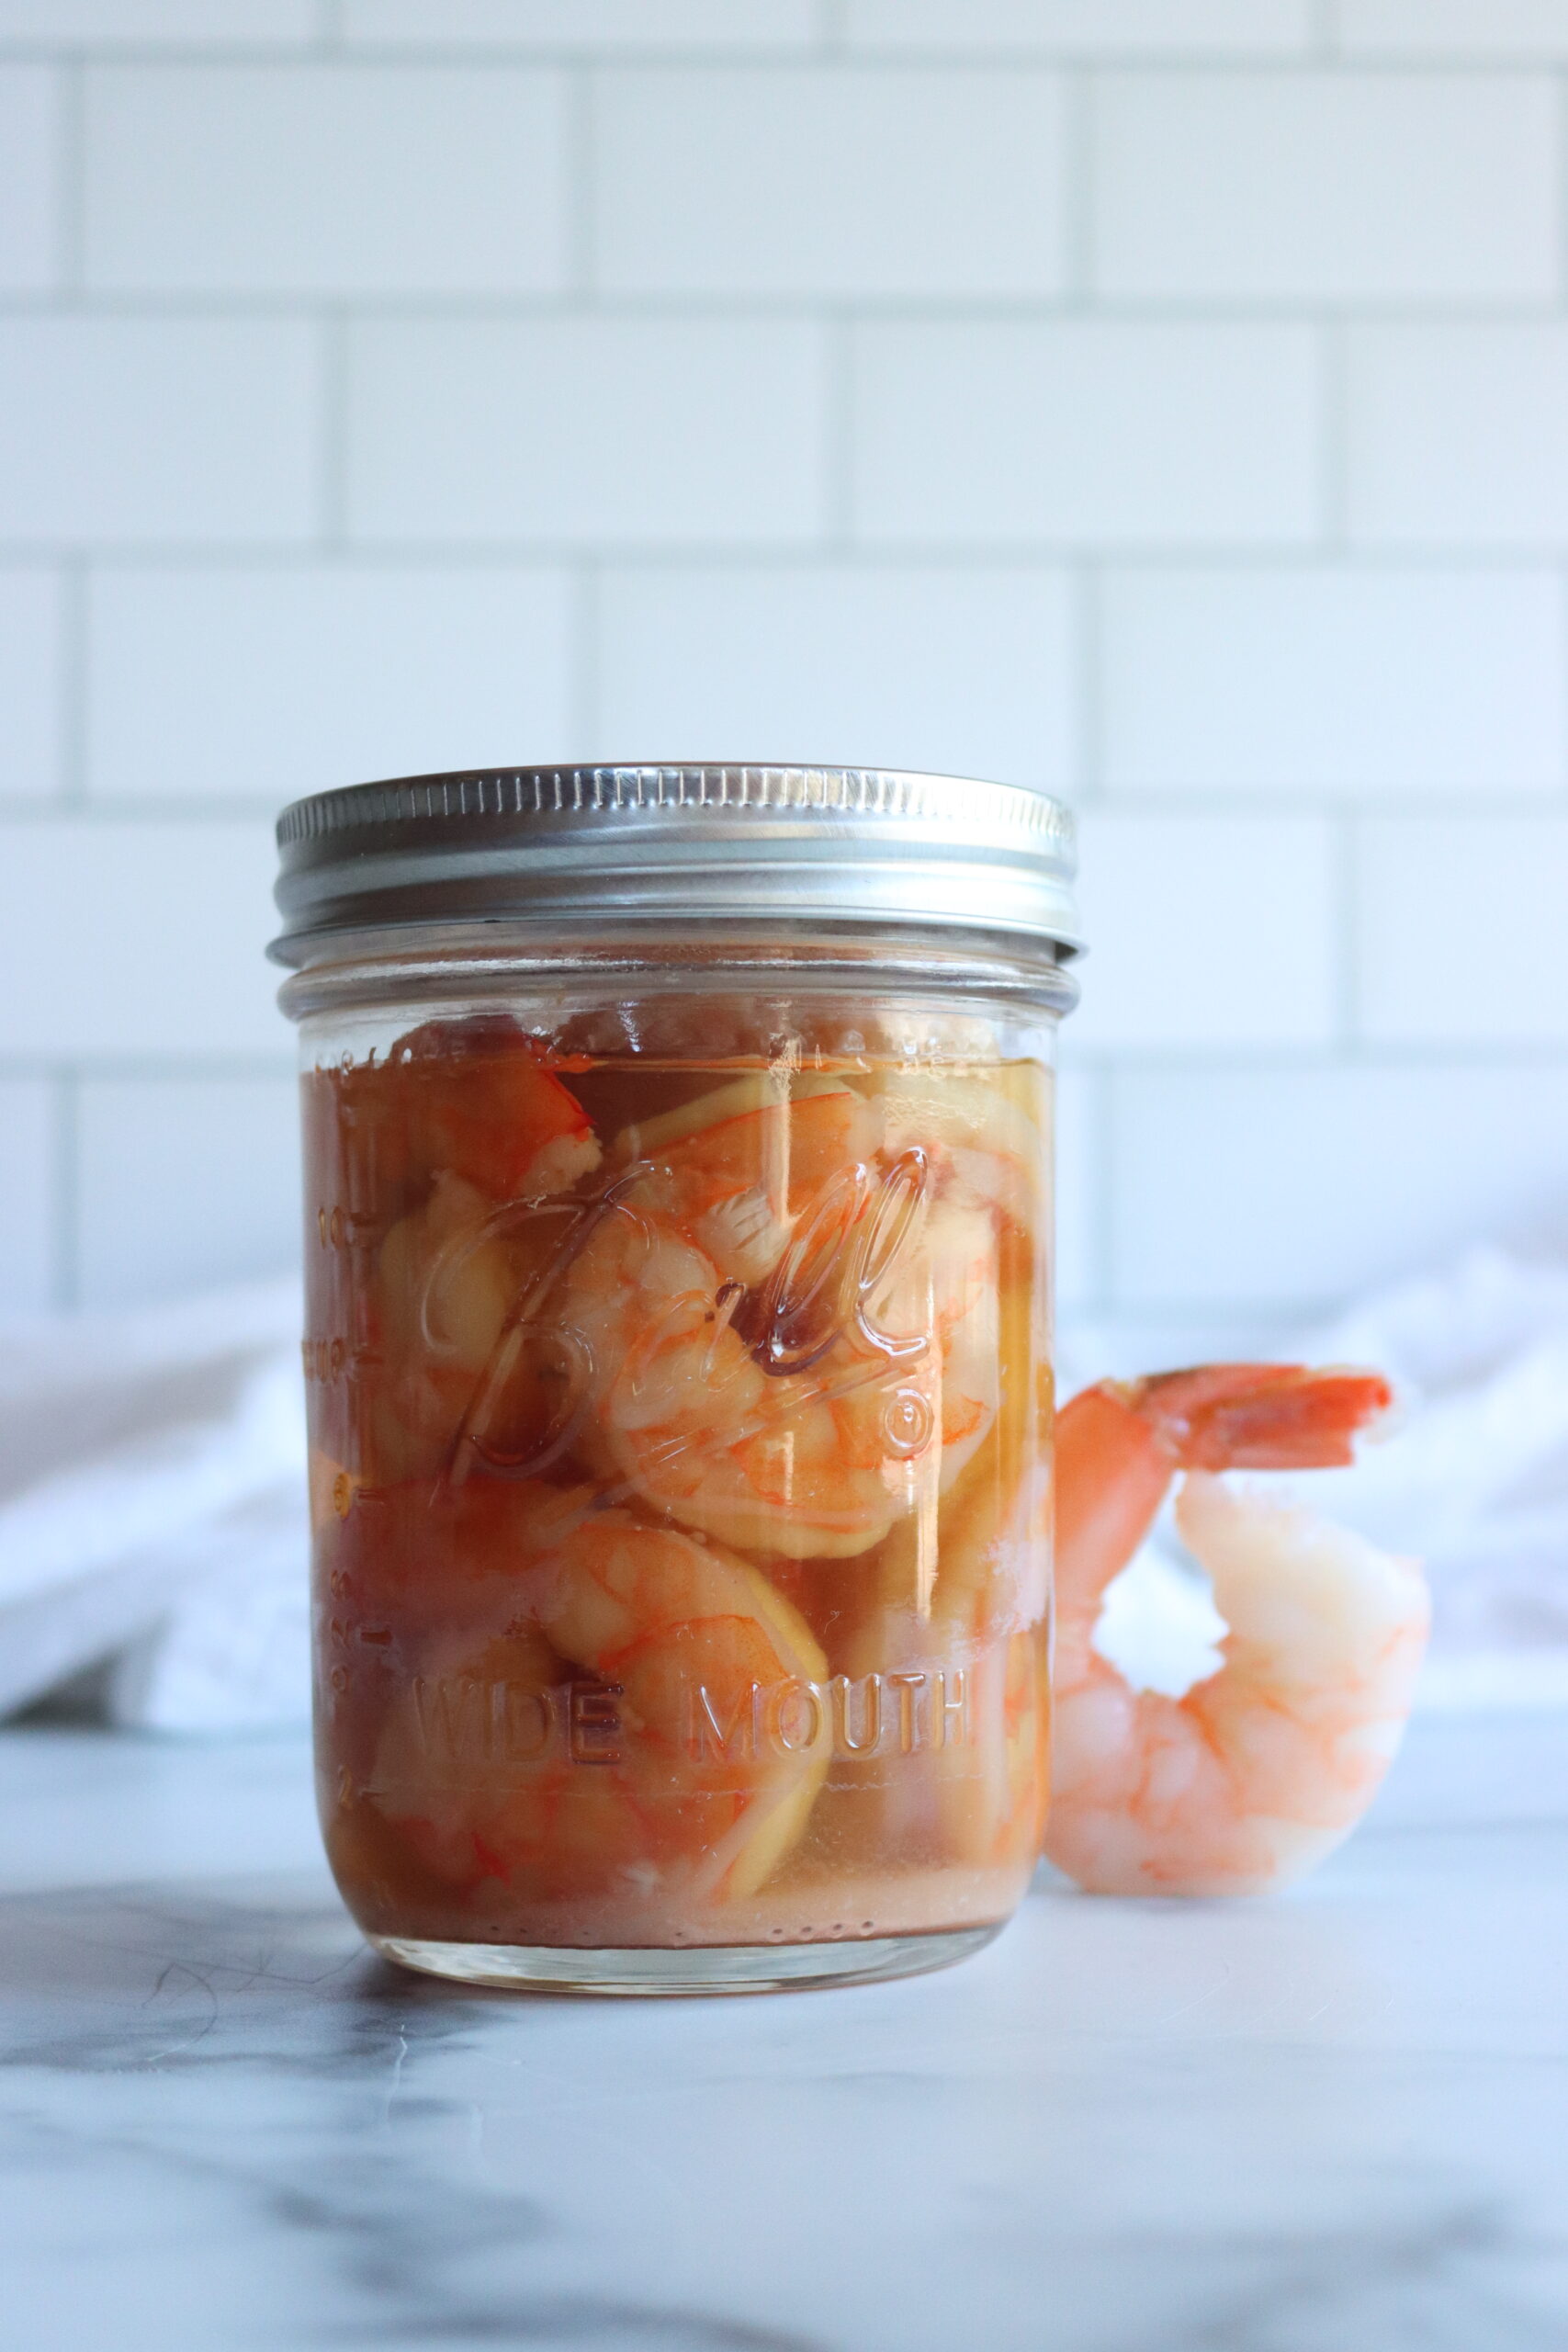
It’s also cost-effective, as buying shrimp in bulk and canning it at home can help you save money in the long run. And for those concerned about sustainability, canning at home reduces food waste by allowing you to store shrimp that might otherwise spoil. It also promotes self-sufficiency, giving you the satisfaction of creating a pantry stocked with homemade goods.
From enhancing meal prep to providing a convenient protein source, the benefits of canning shrimp at home are truly multifaceted. Here’s how to do it.
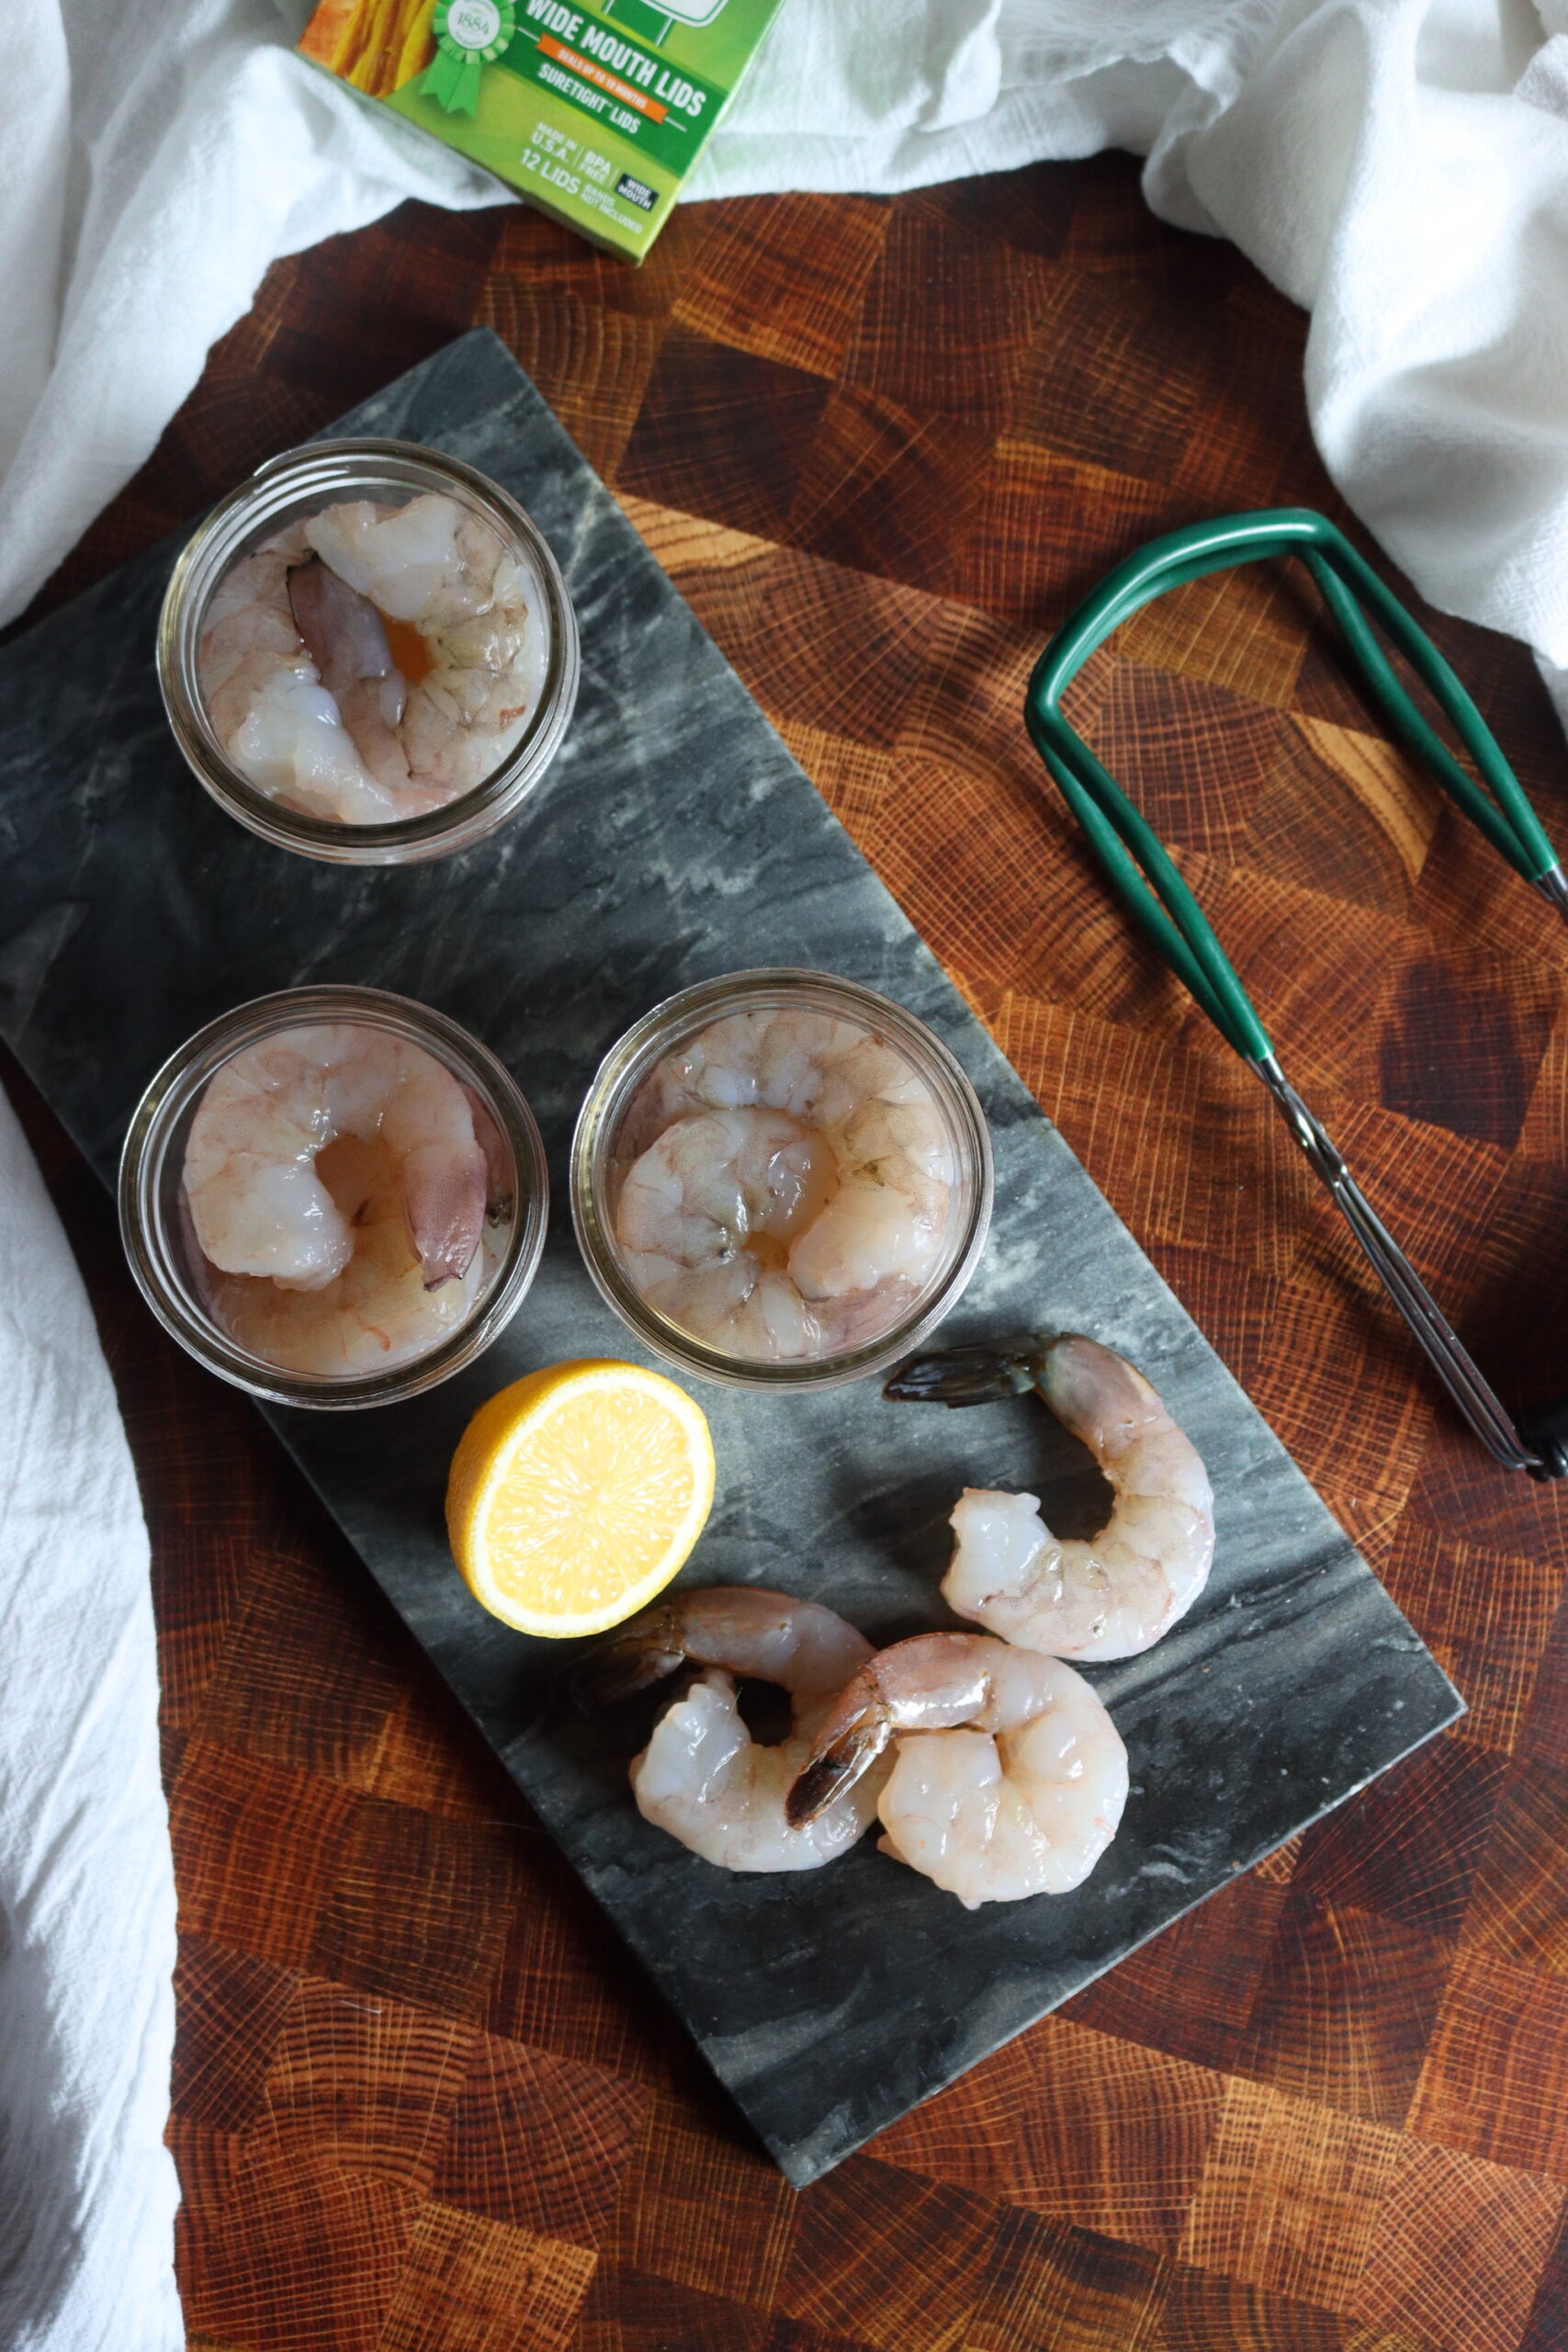
Ingredients for Canning Shrimp
This is a tested recipe for canning shrimp at home, put out by the Pacific Northwest Extension Service (publication PNW194). The ingredients for canning shrimp are quite simple. All you need is:
- Shrimp
- Water
- Salt
When it comes to shrimp, it’s important to note that 1 ½ pounds of shrimp as purchased makes about 1 pound prepared and cleaned. If you can’t find fresh shrimp, you can use frozen shrimp, but make sure to thaw them completely and pat them dry before starting the canning process.
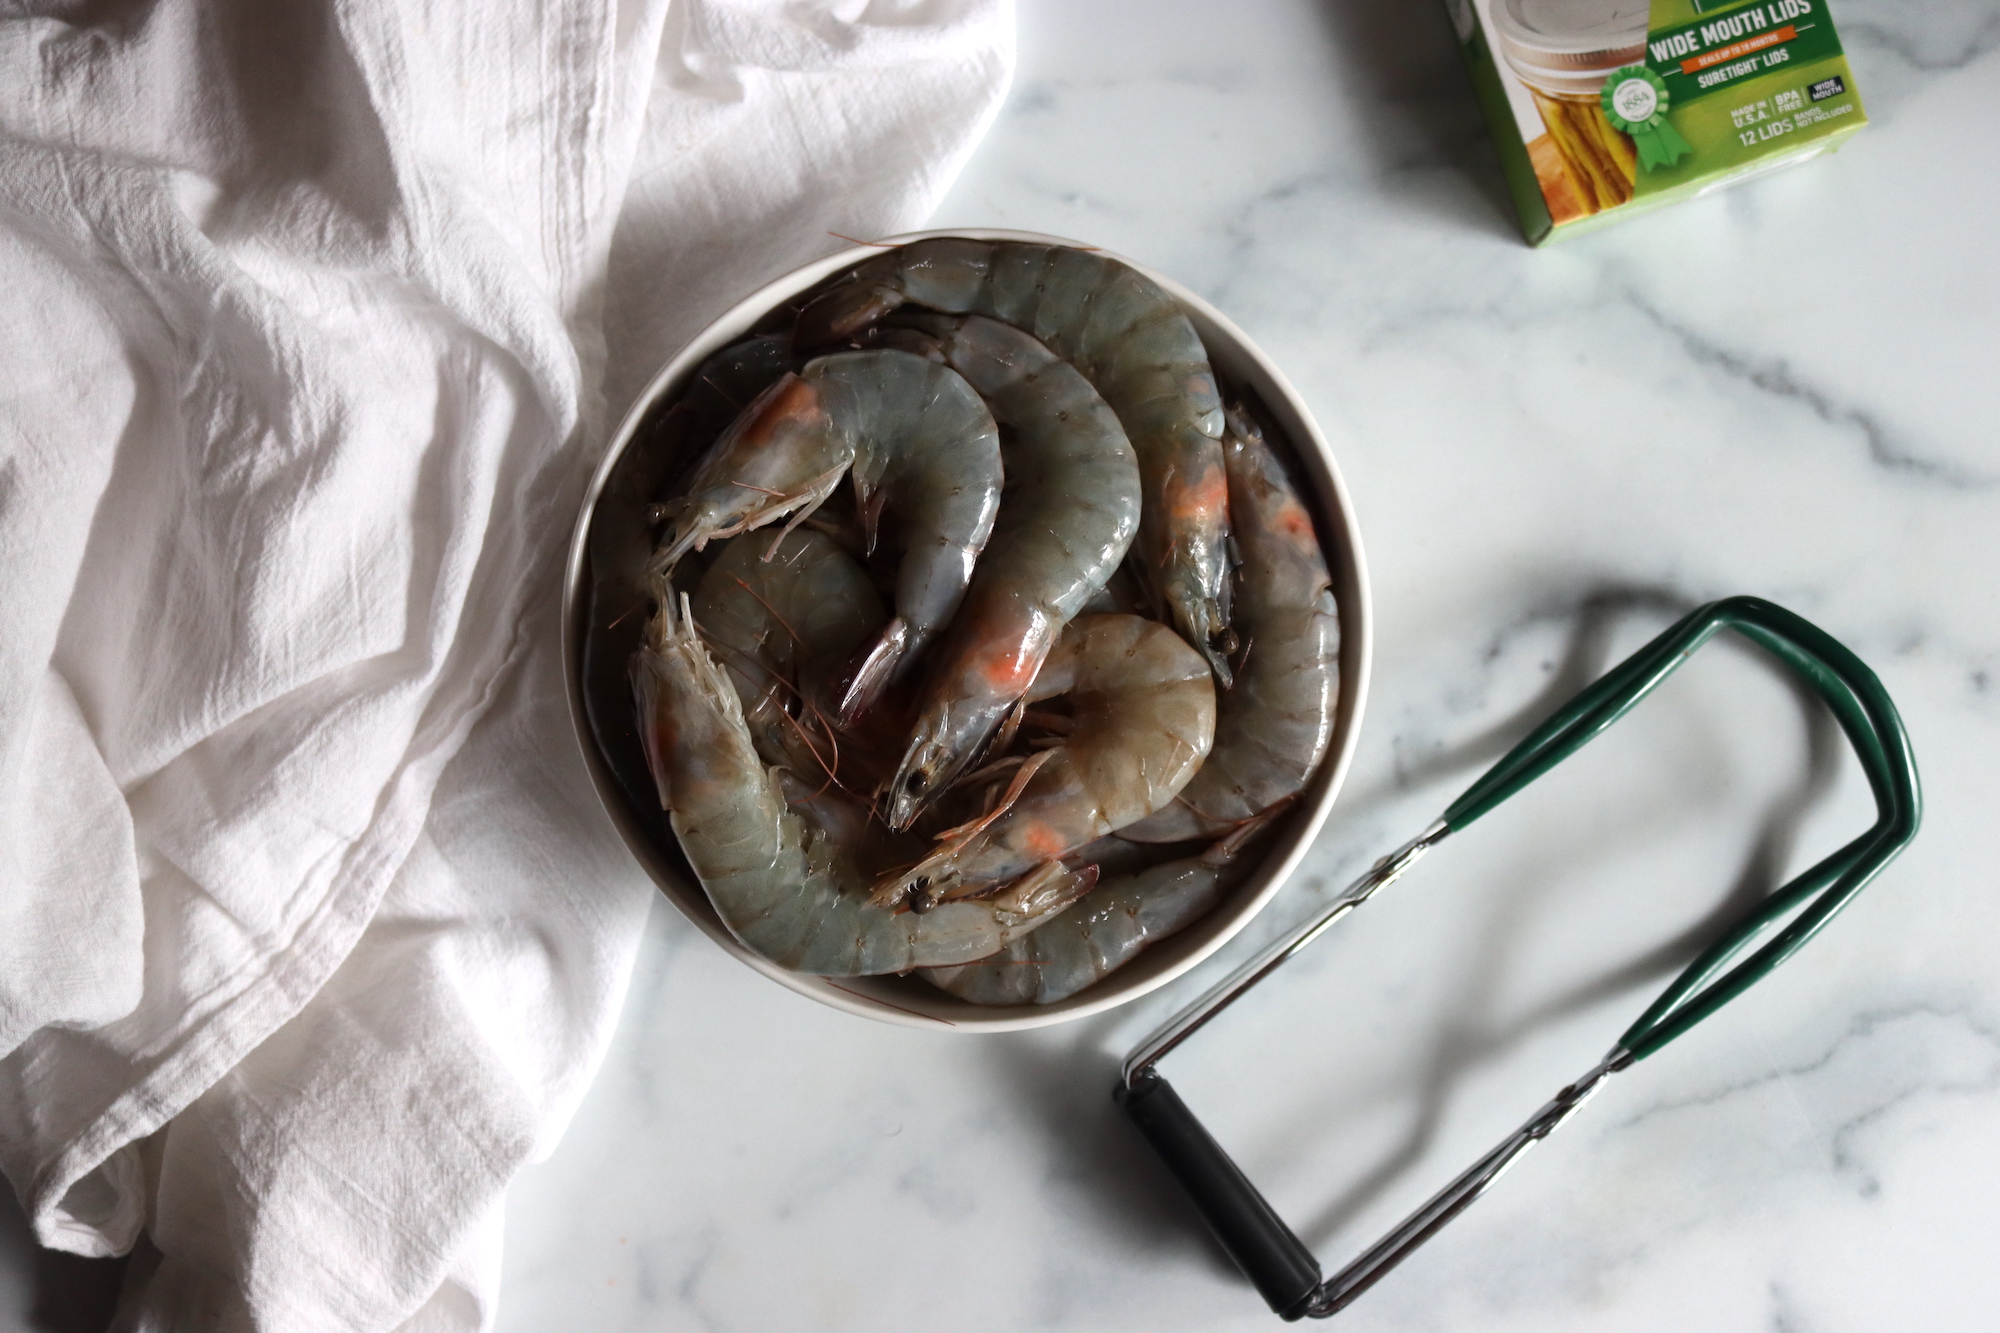
Canning Shrimp
Before you start canning, you’ll need to prepare your shrimp. First, remove the heads as soon as you catch or buy them. Chill the shrimp until you’re ready to can. Wash and drain the shrimp thoroughly. This step is especially important, as it helps to remove any dirt or impurities that could affect the quality of your canned shrimp.
Cook the shrimp for eight to ten minutes in boiling acidic brine. The brine should consist of ¼ to 1 cup of salt and 1 cup of vinegar per gallon of water. This acidic environment helps preserve the shrimp and enhances its flavor. After cooking, rinse the shrimp in cold water and drain them well.
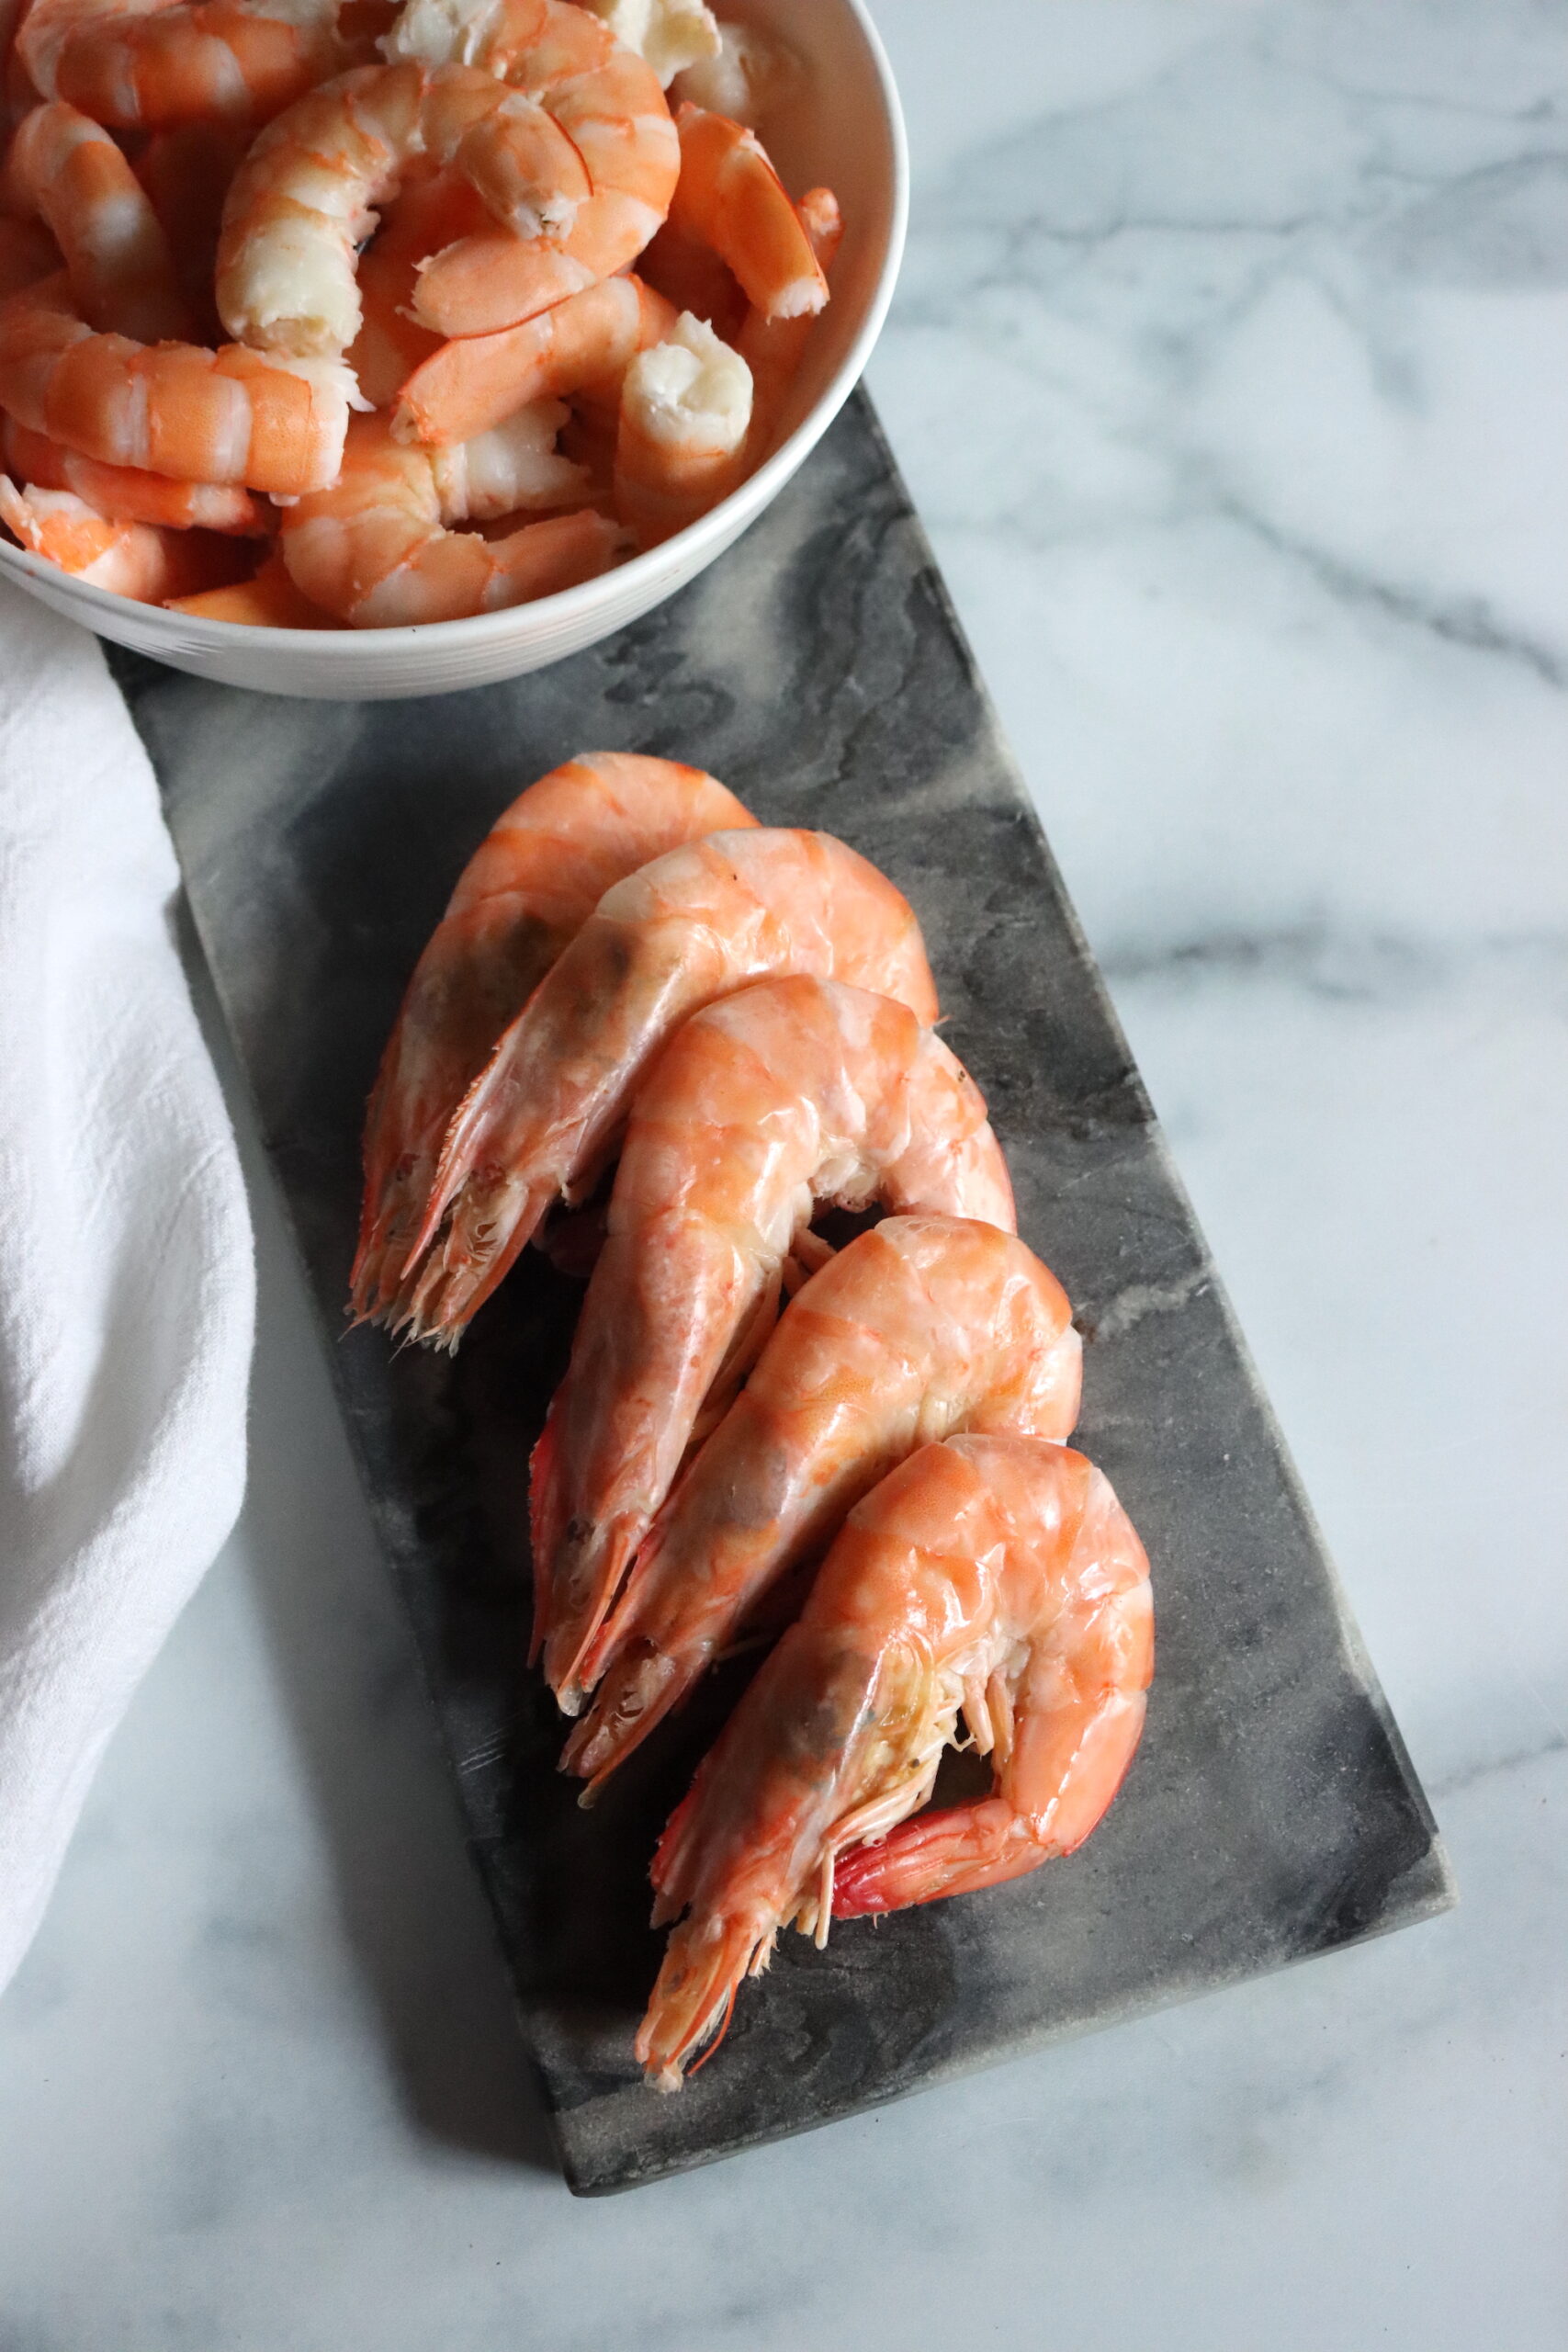
Once the shrimp are cooked and drained, peel them and pack them into jars, leaving about 1 inch of headspace. This space allows for proper sealing and prevents overflow during the canning process. Cover the shrimp with more of the boiling salt brine, using 1 to 3 tablespoons of salt per gallon of water.
Add hot water to your pressure canner according to the manufacturer’s requirements, usually about 3 quarts. Place the hot jars in the pressure canner, lock the lid, and place the canner on high heat to bring it to a boil.
Allow the canner to vent for 10 minutes to release steam. Close the vent (or add the weight)and continue heating to achieve 11 PSI for a dial gauge and 10 PSI for a weighted gauge, or adjust according to your elevation.
Process both pints and half-pints for 45 minutes. If you’re using a weighted gauge, maintain 10 lbs of pressure, and for a dial gauge, maintain 11 lbs. Adjust the pressure for higher elevations as needed. After the processing time is complete, turn off the heat and allow the pressure to naturally return to zero. This can take about 30 minutes or more.
Once the canner is at zero PSI, carefully remove the lid, deflecting the steam away from your face. Allow the canner to sit for 10 minutes undisturbed before removing the jars. Place the jars on a cutting board and allow them to cool undisturbed for at least 8 hours or overnight.
After the jars have cooled completely, check the seals, and label each jar with the name and date, and store them in a cool, dark place.
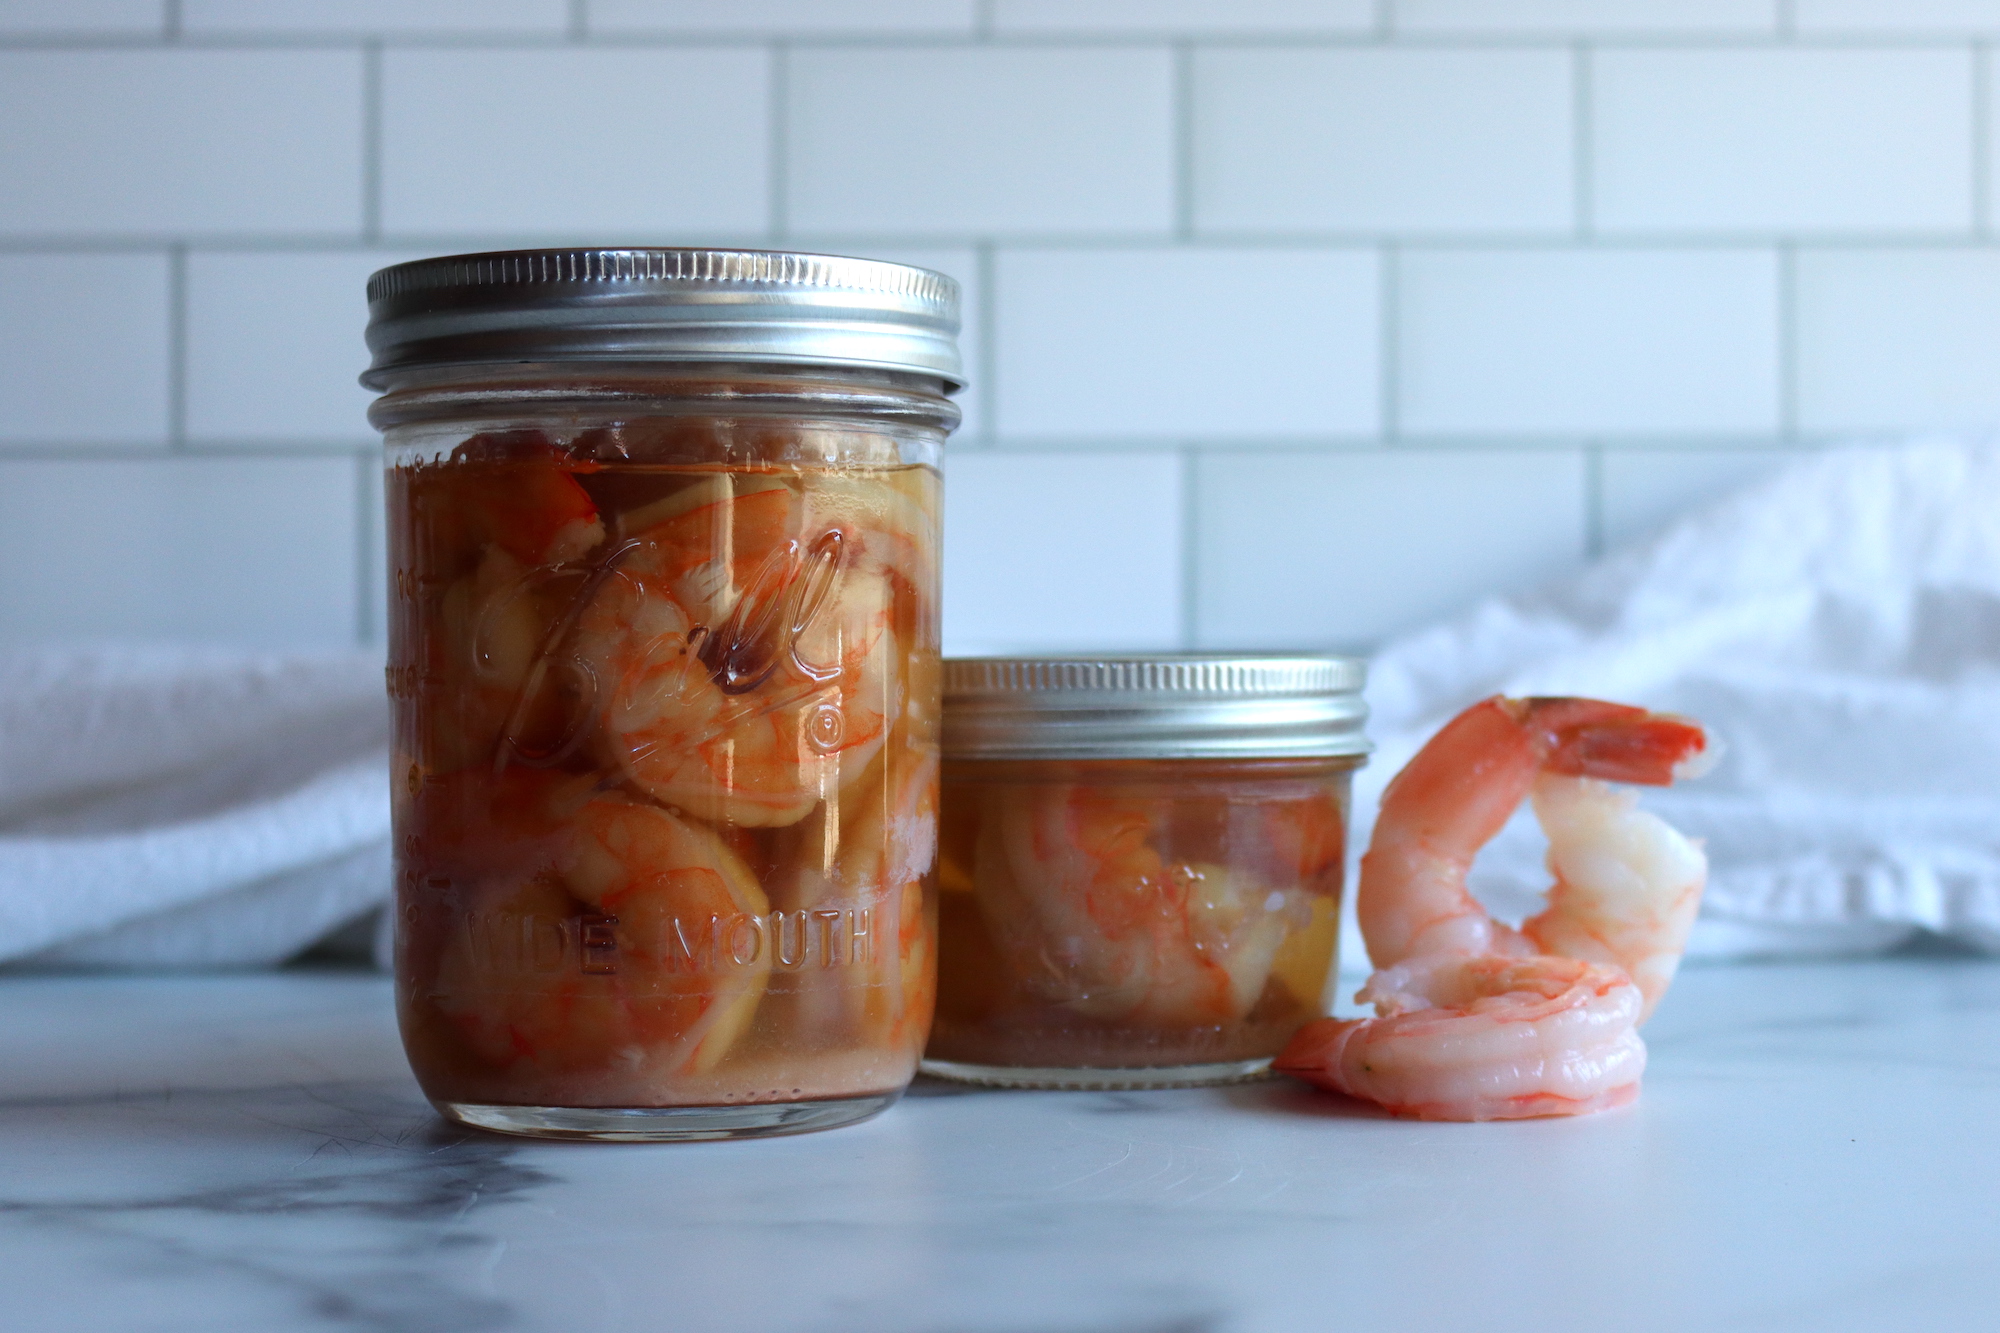
Serving Canned Shrimp
Canned shrimp are incredibly versatile and can be used in various dishes. Here are some serving suggestions to get you started:
- Shrimp Salad: Mix canned shrimp with mayonnaise, celery, and a squeeze of lemon juice for a quick and tasty shrimp salad. Serve it on a bed of lettuce or in a sandwich for a light meal.
- Shrimp Pasta: Add canned shrimp to your favorite pasta dish. It pairs well with garlic, olive oil, and a sprinkle of Parmesan cheese. This makes for a quick weeknight dinner that feels gourmet.
- Shrimp Tacos: For a fun twist, use canned shrimp to make shrimp tacos. Warm up the shrimp in a skillet with some taco seasoning, then serve in tortillas with fresh salsa and avocado.
When stored properly in a cool, dark place, canned shrimp can last up to one year. Always check the seal before consuming to make sure it’s still intact.
Canning Shrimp
Ingredients
- Fresh Shrimp
- Water
- Salt
- Vinegar, for pre-cook
Instructions
- Remove the heads from the shrimp immediately after catching or purchasing. Chill the shrimp until ready to can.
- Thoroughly wash and drain the shrimp to remove any impurities.
- Prepare the brine with ¼ to 1 cup of salt and 1 cup of vinegar per gallon of water. Boil the shrimp in an acidic brine for 8-10 minutes.
- After cooking, rinse the shrimp in cold water and drain well.
- Peel the cooked shrimp and pack them into jars with about 1 inch of headspace.
- Cover the shrimp with additional boiling salt brine, using 1 to 3 tablespoons of salt per gallon of water.
- Add hot water to the pressure canner per the manufacturer's instructions.
- Place the hot jars in the canner, lock the lid, and bring to a boil.
- Vent the canner for 10 minutes, then close the vent and reach 11 PSI for a dial gauge or 10 PSI for a weighted gauge, adjusting for altitude.
- Process both pints and half-pints for 45 minutes at the specified pressure (see table below).
- Allow the canner to depressurize naturally after processing.
- Carefully remove the jars and let them cool on a cutting board for at least 8 hours.
- Check seals, label jars, and store in a cool, dark place.
Notes
Altitude Adjustments
With pressure canning, the processing times stay the same at higher altitudes, but the pressures change. Here are the altitude adjustments for pressure canning shrimp:For dial gauge pressure canners:
- 0 to 2,000 feet in elevation – 11 lbs pressure
- 2,001 to 4,000 feet in elevation – 12 lbs pressure
- 4,001 to 6,000 feet in elevation – 13 lbs pressure
- 6,001 to 8,000 feet in elevation – 14 lbs pressure
For weighted gauge pressure canners:
- 0 to 1,000 feet in elevation – 10 lbs pressure
- Above 1,000 feet – 15 lbs pressure
Fish and Seafood Canning Recipes
Shrimp adds a touch of luxury to your pantry! Pair this recipe with others like Canning Crab for gourmet meals or Canning Tuna for everyday convenience. For soup lovers, try adding shrimp to bases like Canning Fish Chowder Base or the hearty Canning Salmon Chowder Base.
Discover even more seafood ideas in the comprehensive guide, 12+ Fish Canning Recipes.
Well, I have not tried this yet, but have wanted to for years, and after seeing your finished product, I am all in. Been worried they’d be tough and rubbery. I will be getting some fresh albacore soon, and when I can it, I’m going to thaw a pound of spot prawns and can up a couple or 3 jars. Can’t wait, thanks for the inspiration!
So I’m going to be honest here Rose…While in my experience most fish is absolutely wonderful canned, shrimp is not at its best from a jar. The shrimp will get kind of tough, and I’d try a small batch first to see how you like them. (Tuna, salmon, and even crab are absolutely wonderful canned and those are excellent candidates for canning for every taste.)
I’m wondering if the shrimp comes out tough after pressure canning? I know that cooking too long in a skillet can make shrimp the consistency of rubber!
Honestly, they do come out quite firm. After canning, I use them in fried rice and salads, and I pull them out of the jar and slice them into small pieces so that you get great shrimp flavor but you’re not getting too much texture. I also use the canning liquid in chowder and to cook rice.