This post may contain affiliate links. Please see our disclosure policy.
Canning sausage is a great way to store flavorful meat on your pantry shelf, ready to heat and serve at a moment’s notice. Sausage links, patties or loose pack ground crumbles are all perfectly fine for pressure canning, so take your pick!
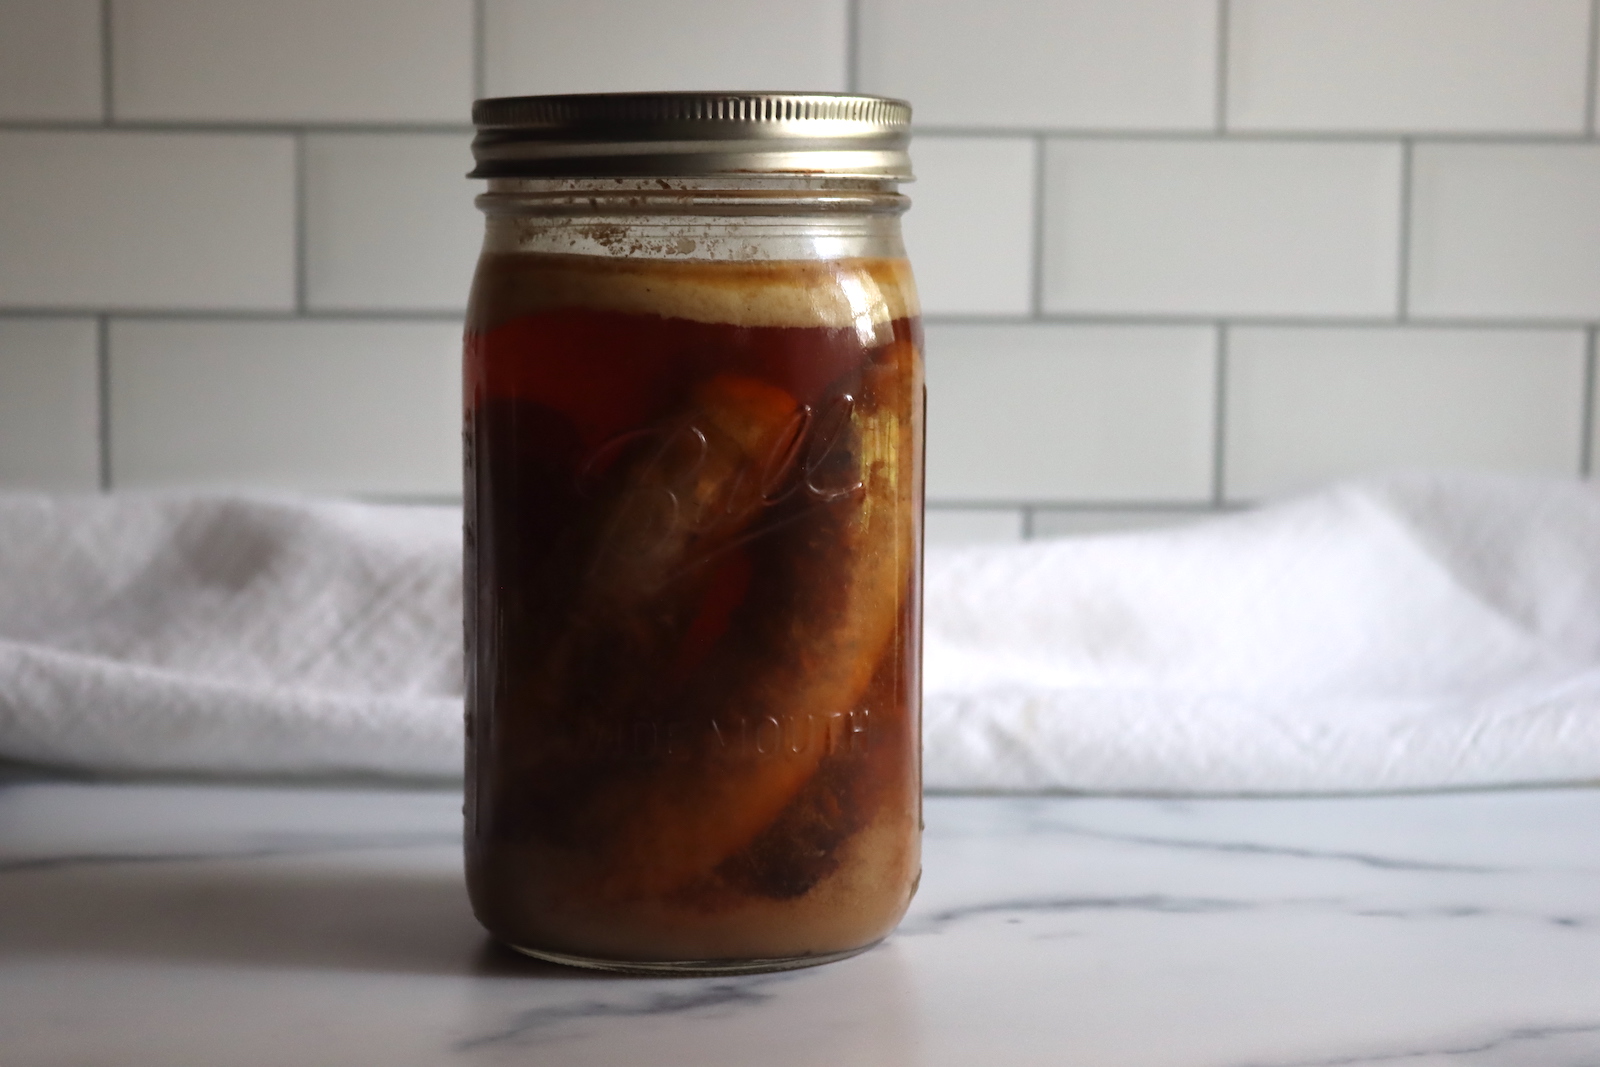
Do you love sausages? Who doesn’t, right? Sausage is one of the most versatile meats out there, perfect for breakfast, brunch, lunch, dinner, and yes, even dessert if you’re feeling adventurous.
Here’s some great news – you can now enjoy sausages anytime you want, thanks to canning.
Canning sausage doesn’t just give you a steady supply of your favorite meat. It also makes meal prep a breeze and saves you money in the long run. So, without further ado, let’s get started!
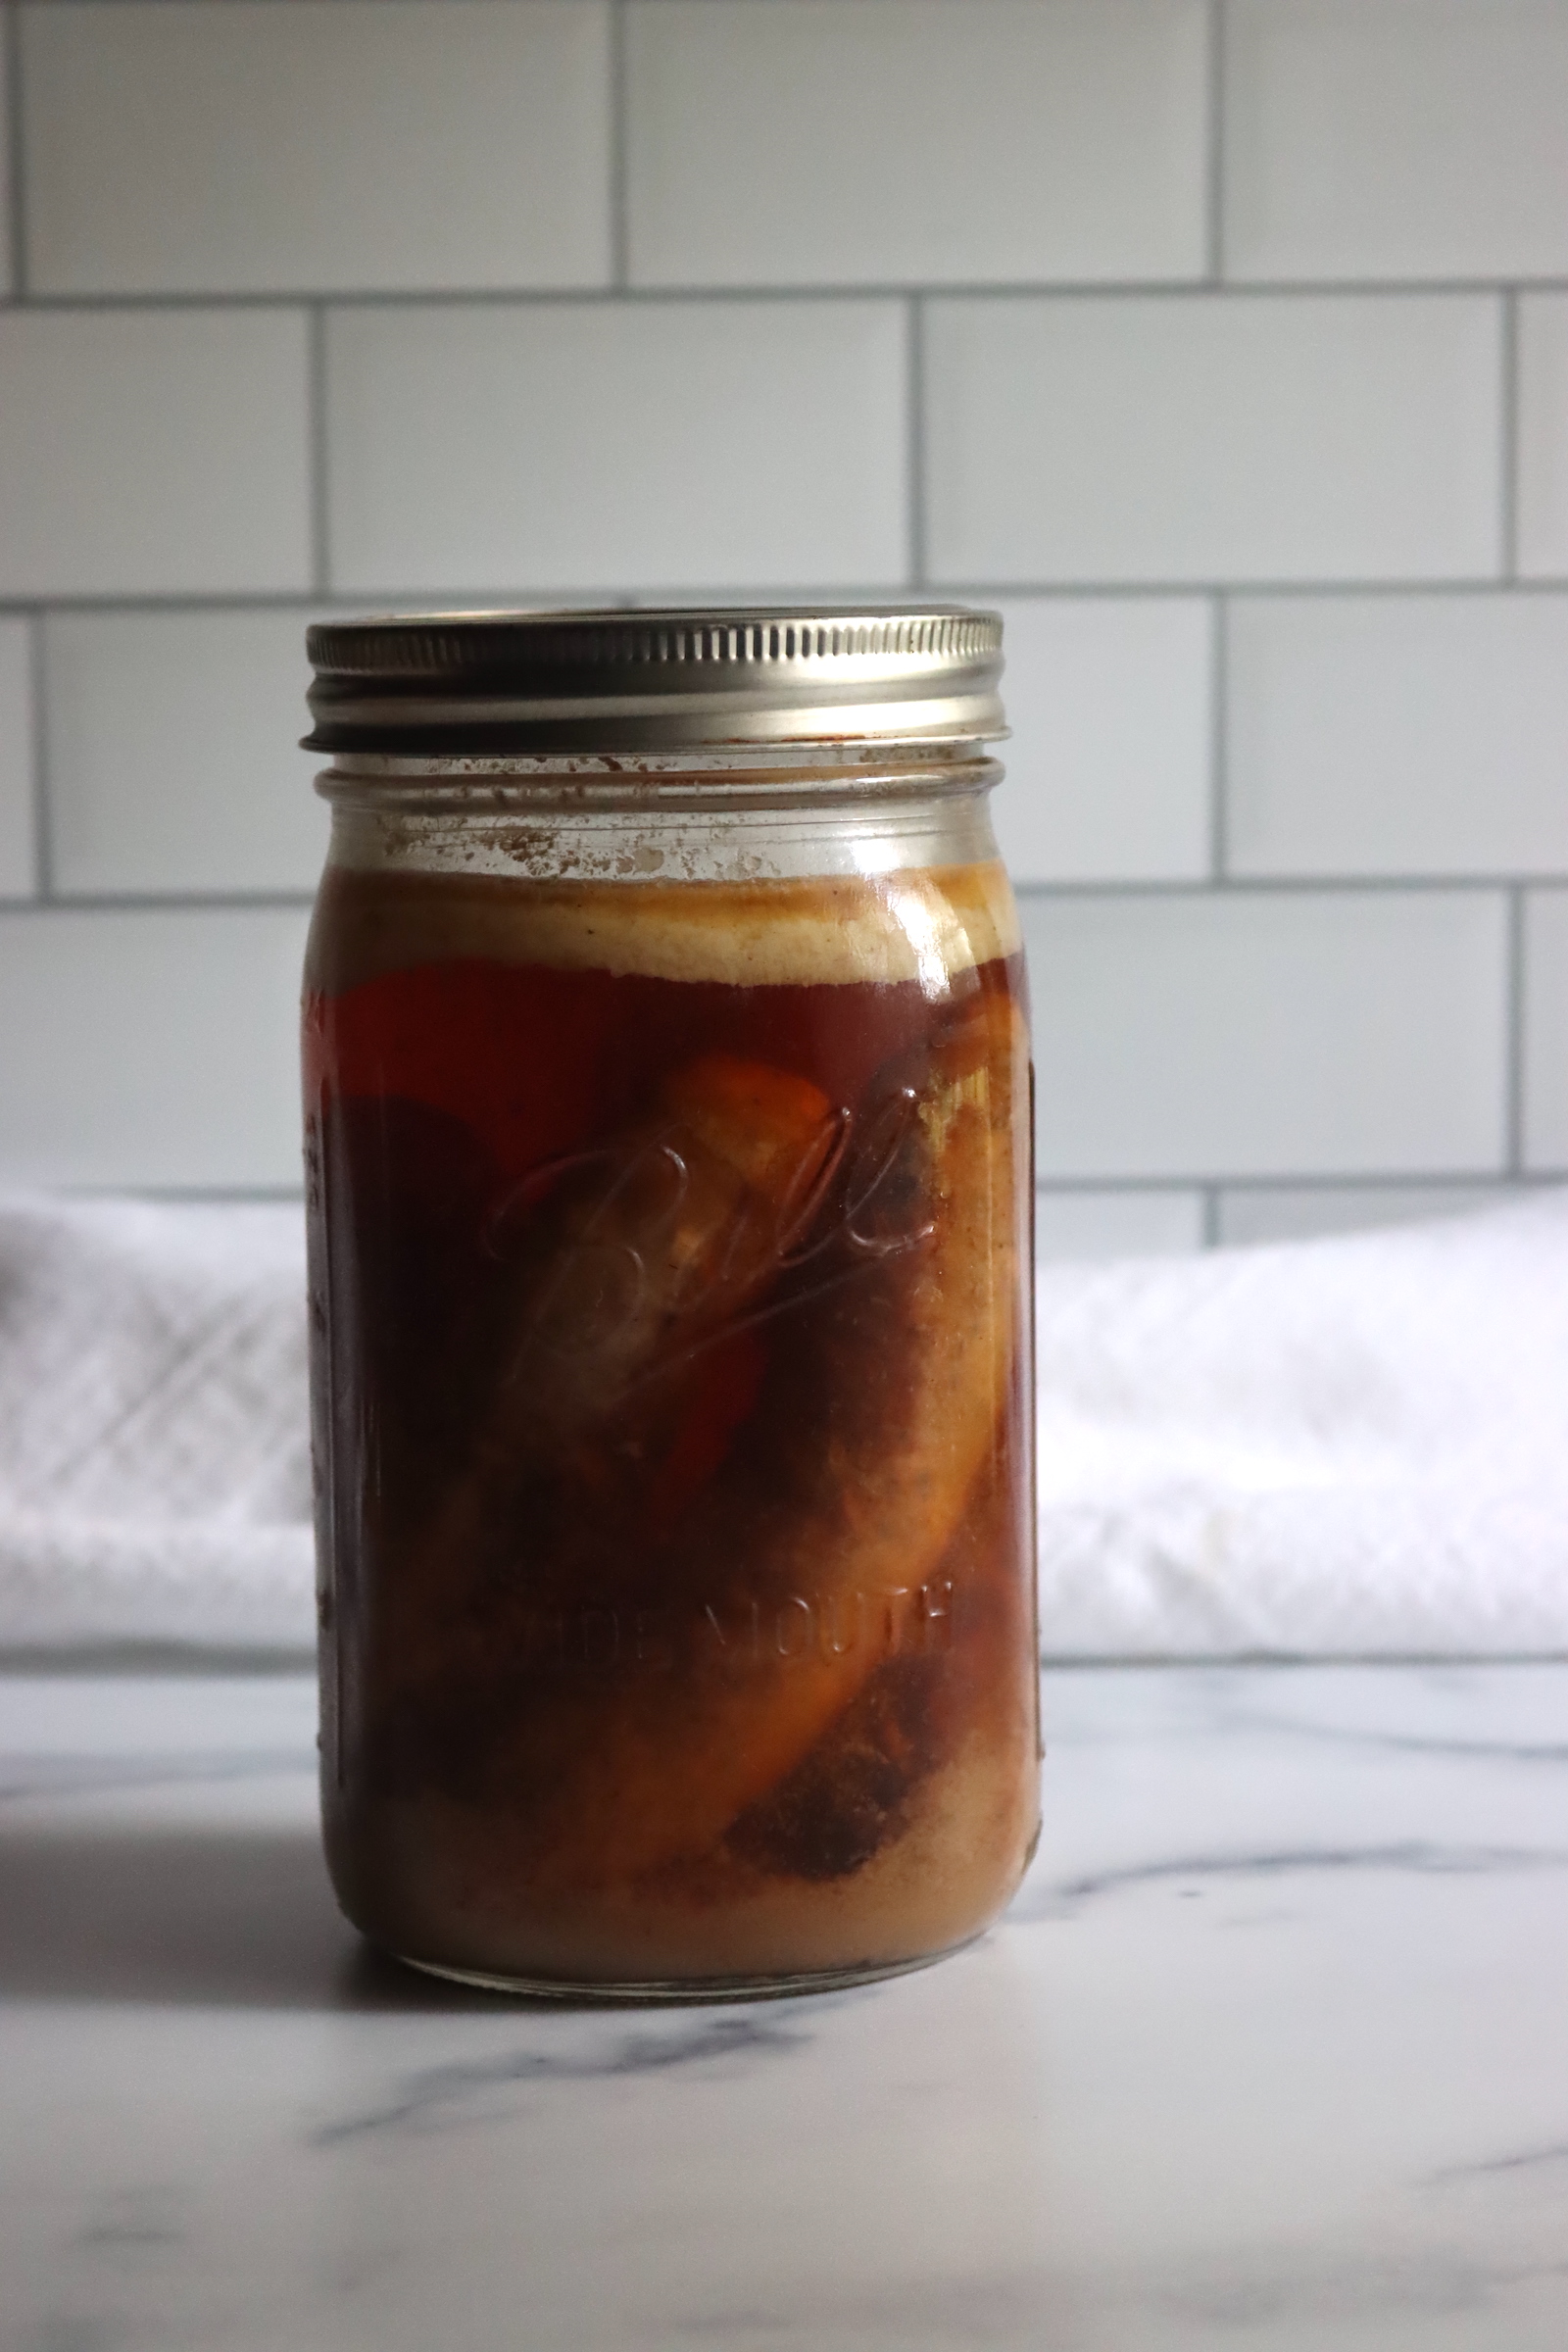
Ingredients for Canning Sausage
This is a tested canning recipe from So Easy to Preserve by the University of Georgia Cooperative Extension.
The ingredients for canning sausage are quite simple. To make a canner batch of six pints, you’ll need the following:
- Pork Sausage (Links, Patties or Loose Pack Ground)
- Broth
- Salt
- Pepper
- Other herbs as desired (optional)
In terms of quantities, this recipe is quite flexible – since the only real ingredients are pork, broth, and salt and pepper, you can easily adjust the quantities to make them work for you.
In general, a pound of sausage will average one or two pint jars, so you’ll need roughly three pounds of pork to make this recipe. Feel free to add any herbs or other seasonings you’d like, such as dried red pepper flakes or cumin. Some other great spices and herbs include basil, onion powder, garlic powder, and parsley.
For Italian sausage, choose spices like basil, oregano, marjoram, rosemary, and thyme. Or, for a spicier sausage, choose garlic powder, anise, fennel, dried red pepper flakes, and paprika.
You can use pre-made store-bought sausage, provided it doesn’t include any thickeners (flour, corn starch, etc) as additives. That’s not all that common, but it does happen in some of the less natural options. It does need to be a fresh sausage, with just ground meat, seasonings, sugar, or salt. It cannot be cured meat (so no pepperoni, salami, bologna, or hot dogs).
As I’ve said, in a natural casing is fine, as are patties or loose pack.
Canning Sausage
Begin by grinding your fresh pork with an electric or manual food grinder. Measure out the ground pork into the quantities you want to use for canning. Shape the pork into patties or into three- to four-inch links, depending on your preferences. (Or, start with pre-ground pork or sausage)
Next, cook the patties in a frying pan, lightly browning them until they are just about done but not fully cooked through. Drain the grease. In a separate pan, bring the broth to a boil, then reduce to a simmer, being sure to keep it hot.
If using link sausage, brown the links.
If using loose pack sausage crumbles, brown the meat thorougly (you cannot can it raw, as it will clump into a loaf in the jars).
Pack the sausages into hot jars, leaving about one inch of headspace. Ladle the hot broth over the sausages, again, paying attention to that one inch of headspace. Remove any air bubbles, then clean the rims of the jars. Center the lids on the jars and adjust the bands until they are fingertip tight.
Place the jars on the rack in the pressure canner. This canner should contain about two inches of simmering water (to 180 degrees Fahrenheit), depending on the manufacturer’s recommendations. Repeat this process until all the jars are filled and loaded into the canner.
Next, place the lid on the canner. Turn it to the locked position, then adjust the heat to medium-high. Vent steam for ten minutes.
Put the weighted gauge on the vent, then bring the pressure to 10 lbs. Process ints for 75 minutes or, if you’d prefer, quarts for 90 minutes. Be sure to adjust your timing if the pressure drops below 10 lbs.
When the canning time has finished, turn off the heat and allow the canner to cool to zero pressure. Remove the lid once it’s been at zero pressure for at least five minutes. Let the jars cool for another 10 minutes with the lid off the canner, then remove the jars. Avoid retightening the bands if they are loose.
Let the jars cool at room temperature for 12 hours, then check the seals. Label and store the jars.
Sausage Canning Altitude Adjustments
With pressure canning, the processing times stay the same at higher altitudes, but the pressures change. Here are the altitude adjustments for pressure canning:
For dial gauge pressure canners:
- 0 to 2,000 feet in elevation – 11 lbs pressure
- 2,001 to 4,000 feet in elevation – 12 lbs pressure
- 4,001 to 6,000 feet in elevation – 13 lbs pressure
- 6,001 to 8,000 feet in elevation – 14 lbs pressure
For weighted gauge pressure canners:
- 0 to 1,000 feet in elevation – 10 lbs pressure
- Above 1,000 feet – 15 lbs pressure
Serving Sausage
Once you’ve canned your sausages, label and date your jars, and store them in a cool, dry place, away from sunlight. Canned sausages can last for up to a year, but it’s best to consume them within six to eight months for optimal flavor and quality.
Canned sausages don’t require any extra ingredients at serving time. Once you’ve canned and stored them properly, they’re ready to be reheated and served right away.
Think of canned sausages like canned soup; you just need to heat them up on the stove or microwave, and voila, you have a tasty and satisfying meal in minutes. You can serve canned sausages in many ways, too.
You can eat them as a snack, pair them with eggs or beans for breakfast, add them to pasta or rice dishes for lunch or dinner, or chop them up into cubes for soups and stews.
Canning Sausage
Ingredients
- Pork
- Broth
- Salt
- Pepper
- Other herbs as desired, optional
Instructions
- Grind your fresh pork with an electric or manual food grinder. Measure out the ground pork into the quantities you want to use for canning. Shape the pork into patties or into three- to four-inch links, depending on your preferences. (Pre-made store bought sausage is also fine for canning, provided it's not cured, and the ingredients are just fresh ground meat, seasonings, sugar or salt.)
- Cook the patties in a frying pan, lightly browning them until they are just about done but not fully cooked through. Drain the grease. (Similarly, brown loose-pack crumbles or link sausage before packing into jars.)
- In a separate pan, bring the broth to a boil, then reduce to a simmer, being sure to keep it hot.
- Pack the sausages into hot jars, leaving about one inch of headspace. Ladle the hot broth over the sausages.
- Remove any air bubbles, check again for headspace, then clean the rims of the jars. Center the lids on the jars and adjust the bands until they are fingertip-tight.
- Place the jars on the rack in the pressure canner.
- Put the lid on the canner. Turn it to the locked position, then adjust the heat to medium-high.
- Vent steam for ten minutes.
- Put the weighted gauge on the vent, then bring the pressure to 10 lbs. Process ints for 75 minutes or, if you'd prefer, quarts for 90 minutes.
- Turn off the heat and allow the canner to cool to zero pressure. Remove the lid once it's been at zero pressure for at least five minutes.
- Let the jars cool for another 10 minutes with the lid off the canner, then remove the jars. Avoid retightening the bands if they are loose.
- Let the jars cool at room temperature for 12 hours, then check the seals. Label and store the jars.
Notes
Sausage Canning Altitude Adjustments
With pressure canning, the processing times stay the same at higher altitudes, but the pressures change. Here are the altitude adjustments for pressure canning:For dial gauge pressure canners:
- 0 to 2,000 feet in elevation – 11 lbs pressure
- 2,001 to 4,000 feet in elevation – 12 lbs pressure
- 4,001 to 6,000 feet in elevation – 13 lbs pressure
- 6,001 to 8,000 feet in elevation – 14 lbs pressure
For weighted gauge pressure canners:
- 0 to 1,000 feet in elevation – 10 lbs pressure
- Above 1,000 feet – 15 lbs pressure
Meat Canning Recipes
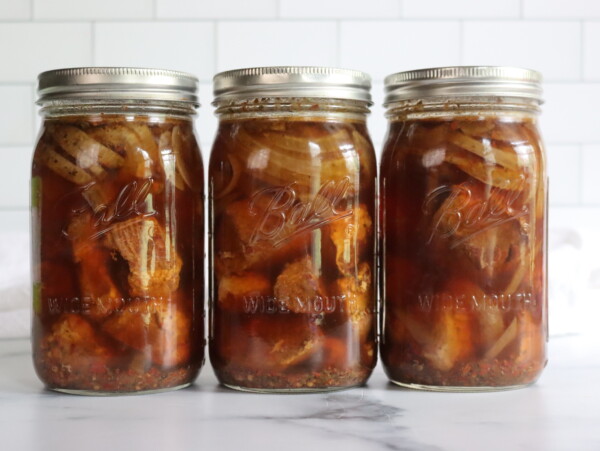
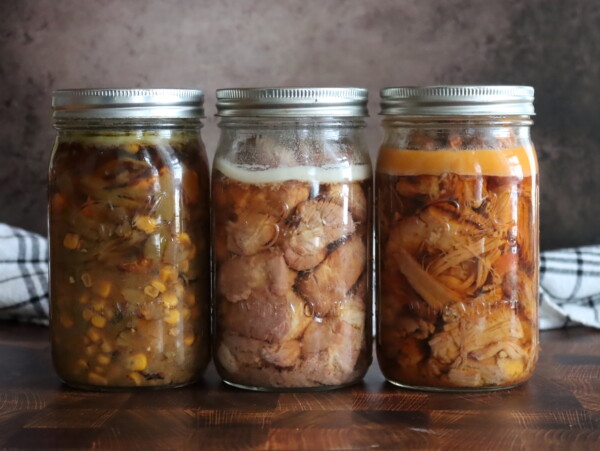
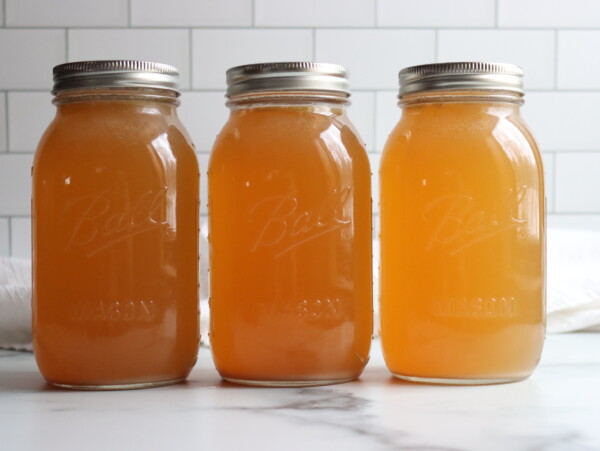
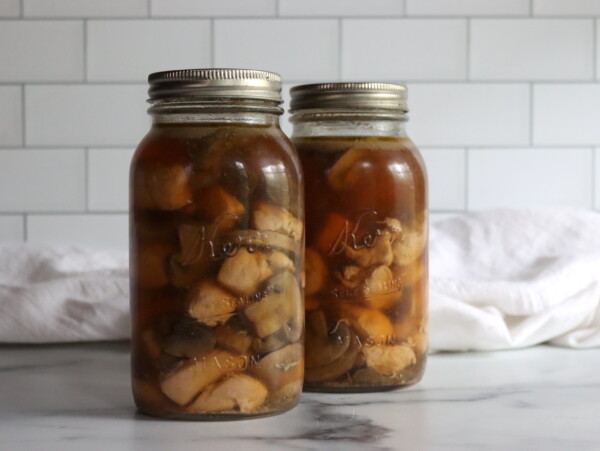
Sausage isn’t the only meat you can preserve in a jar! Keep your pantry stocked with these meat canning recipes:
What broth are you talking about for canning sausage
You can use any broth you choose. I actually often make batches of pork broth with the leftover bones from pork shoulders and ribs. But really, any broth will work, including chicken, beef or vegetable. Lacking pork broth, chicken is a good second choice. Beef and veggie really change the flavor, which can be fine, depending on how you’re using it.