This post may contain affiliate links. Please see our disclosure policy.
Canning Salmon is the perfect way to preserve your wild catch; it tastes much better than storebought stuff!
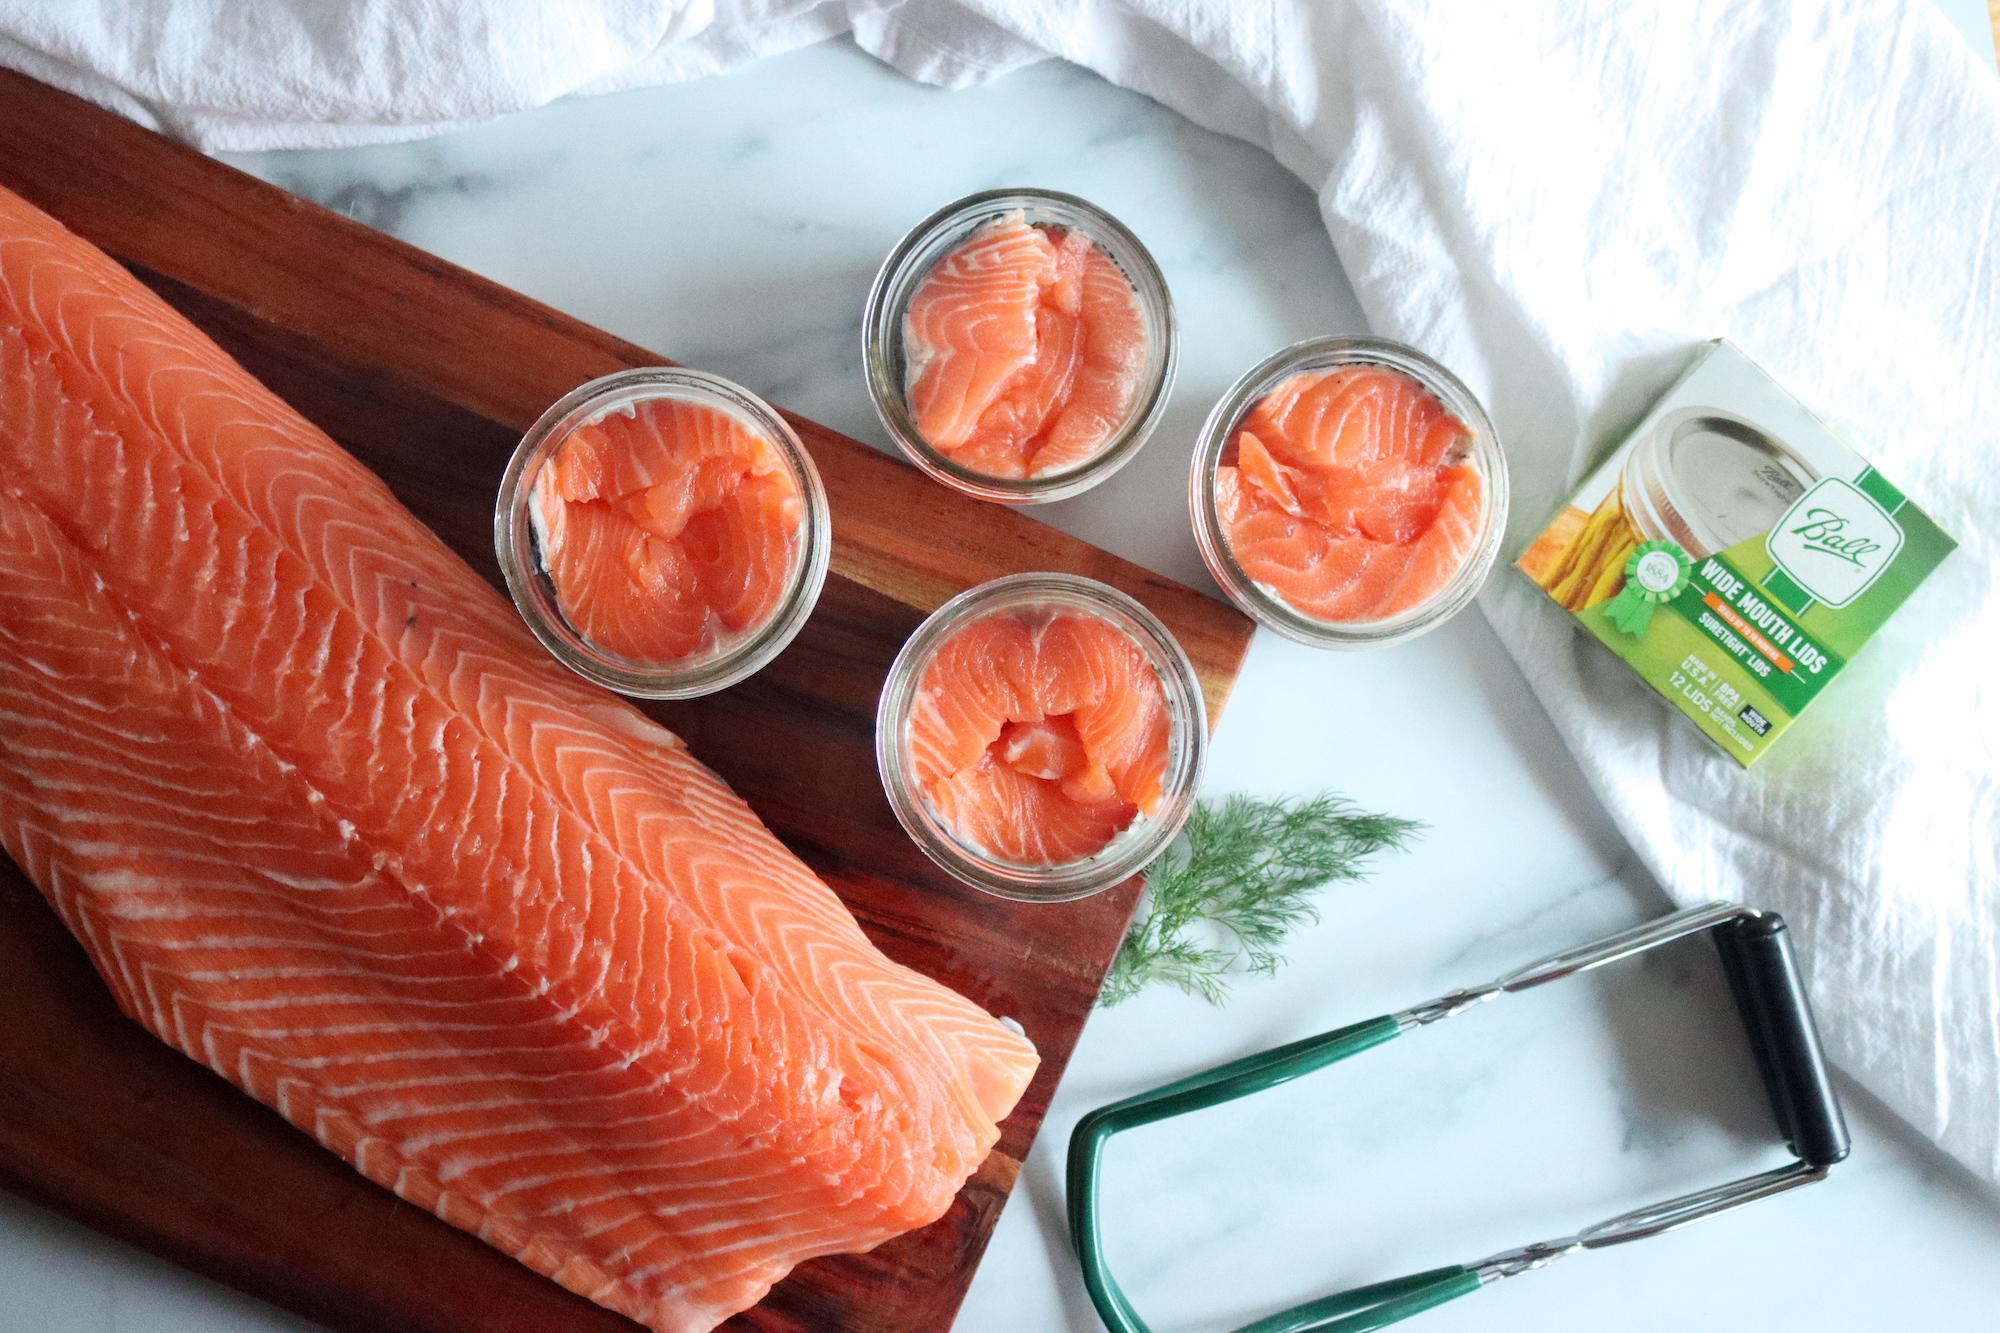
Home-canned salmon is a delicious and healthy food choice that many people enjoy right out of the jar. Canning salmon is a great way to preserve this tasty fish – and it can be done easily in your own home with a few simple steps with a pressure canner.
You can put up wild caught salmon from your own harvest, or simply take advantage of a bulk sale at your local retailer (without using up freezer space).
Whether you’re canning salmon with skin (or without), or with bones (or without), the canning instructions are the same.
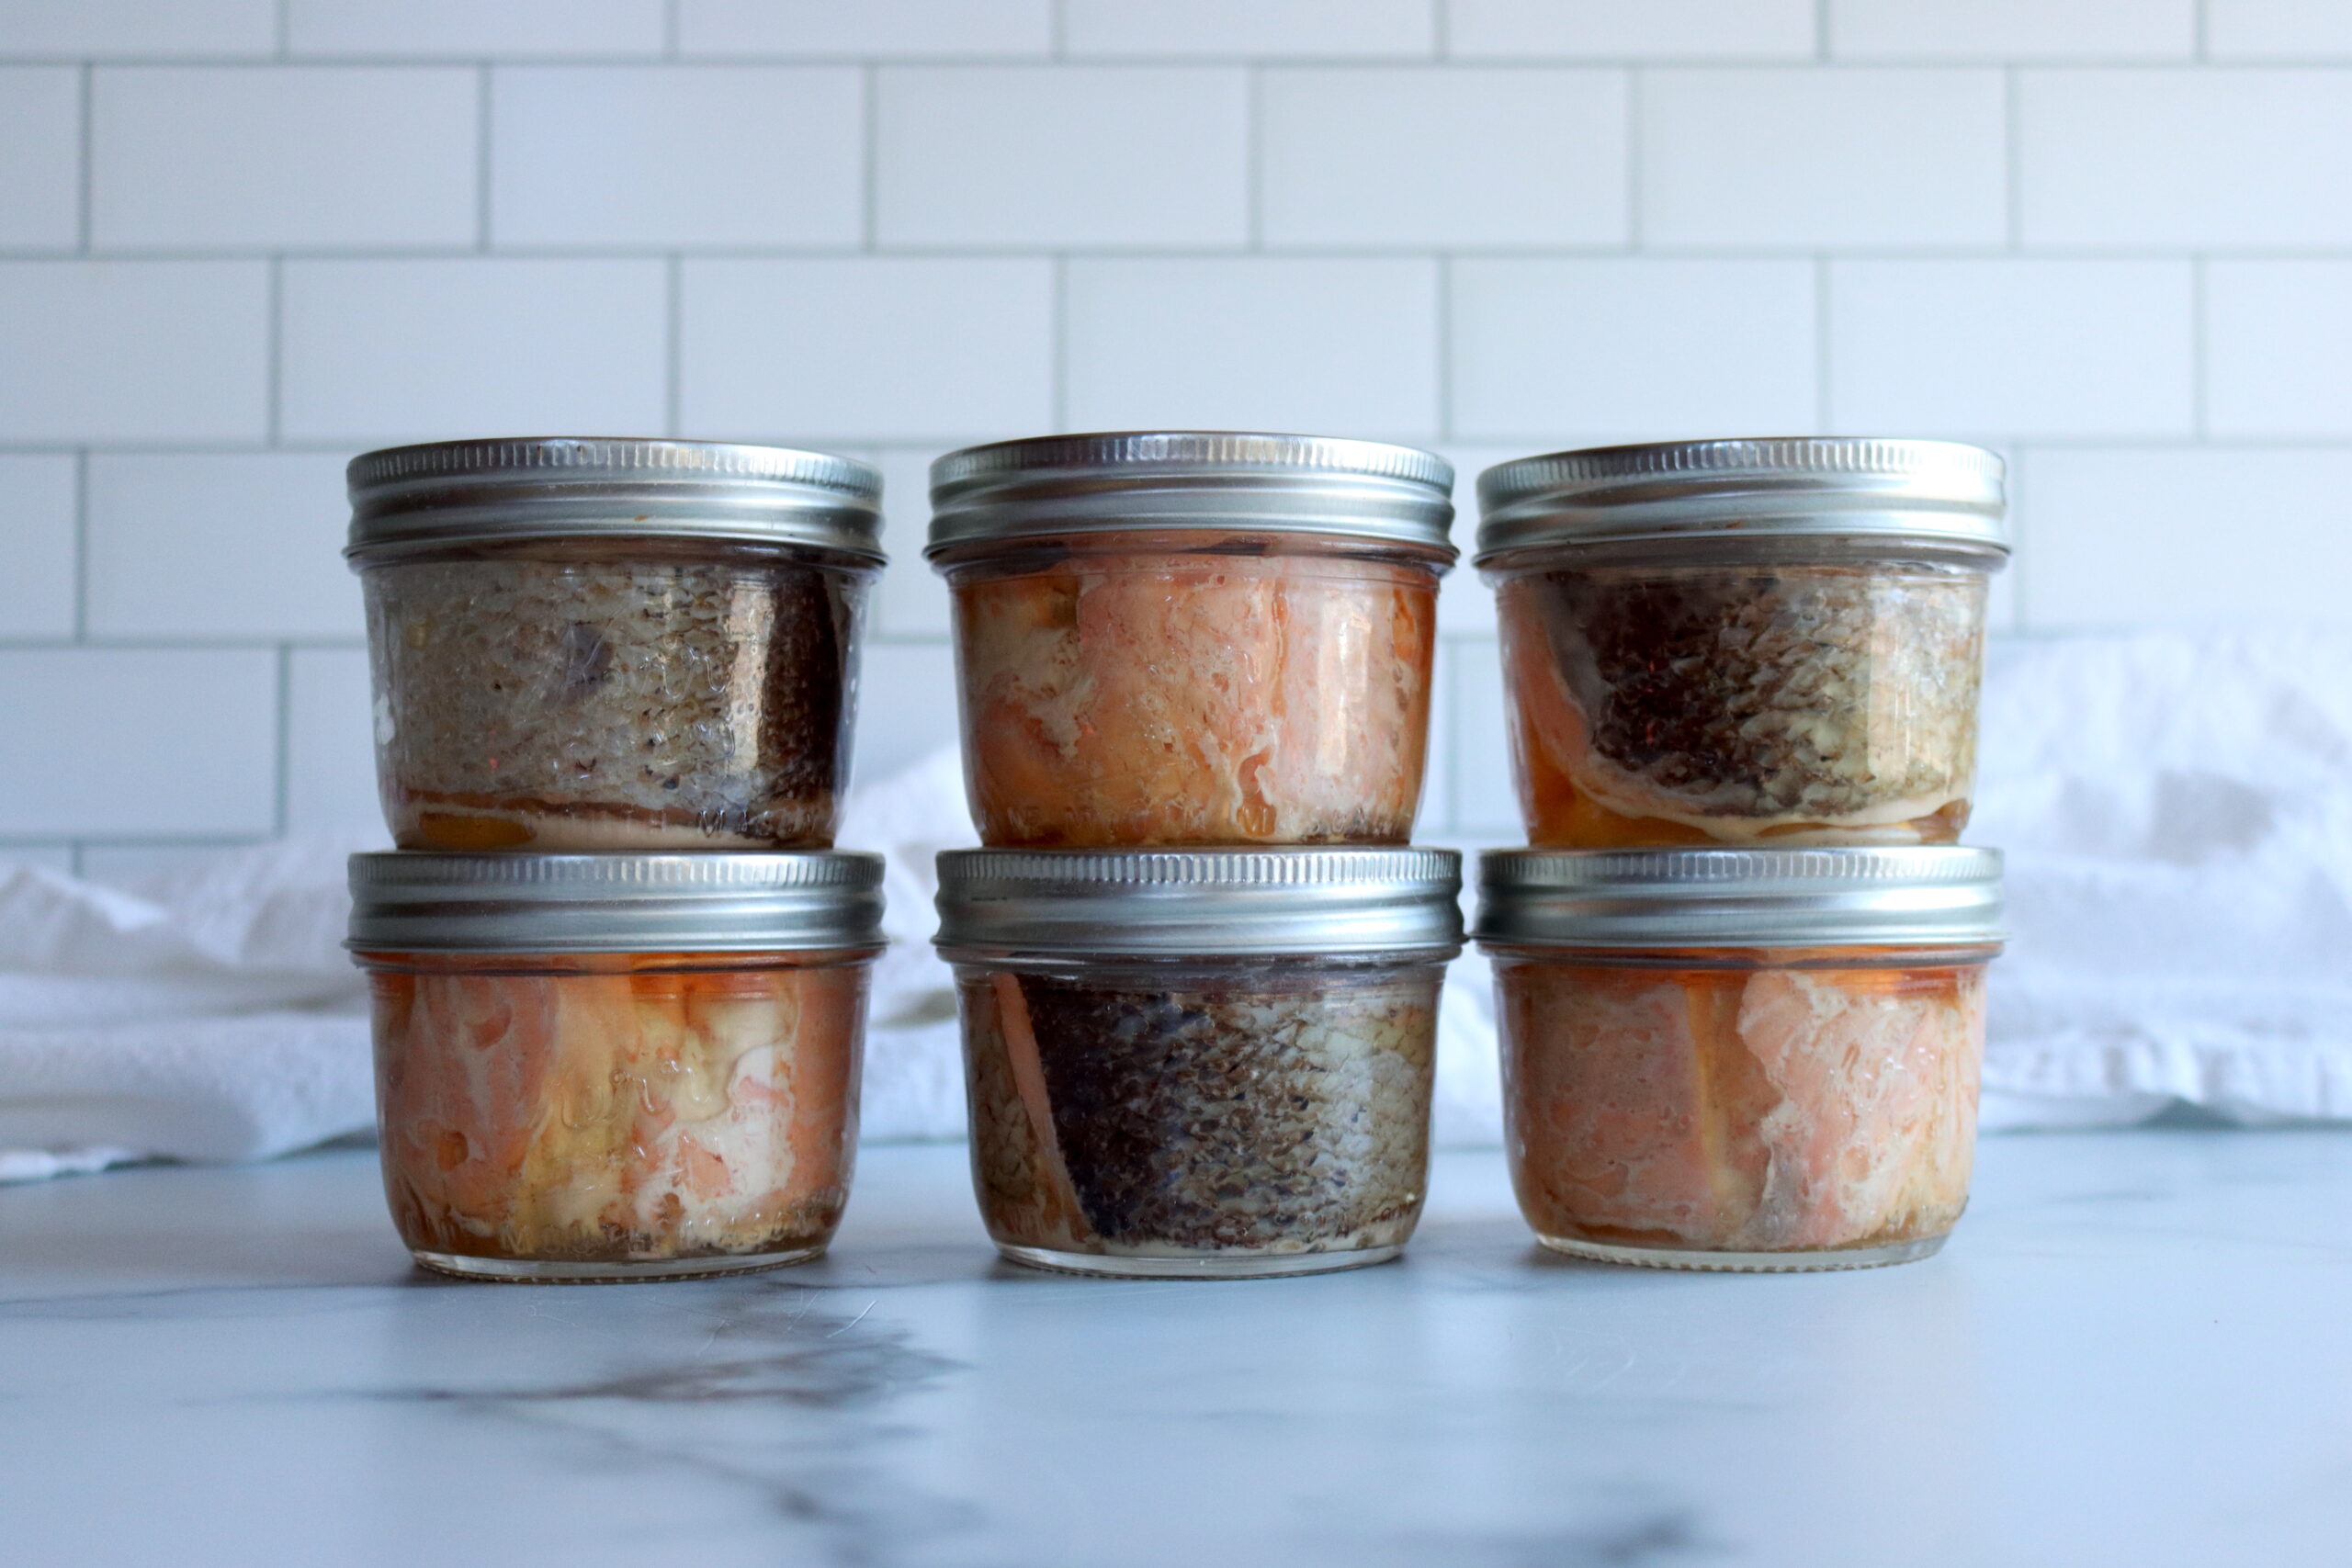
As a fatty fish, salmon has a lot of natural oils that keep it moist and flavorful. This makes it an excellent candidate for canning because it won’t dry out like other lean fish might. Plus, salmon is bursting with healthy Omega-3 fatty acids, which makes it a nutritious choice for your diet.
By canning your own salmon, you can have healthy and delicious fish on hand whenever you want – give it a try with this simple canning recipe!
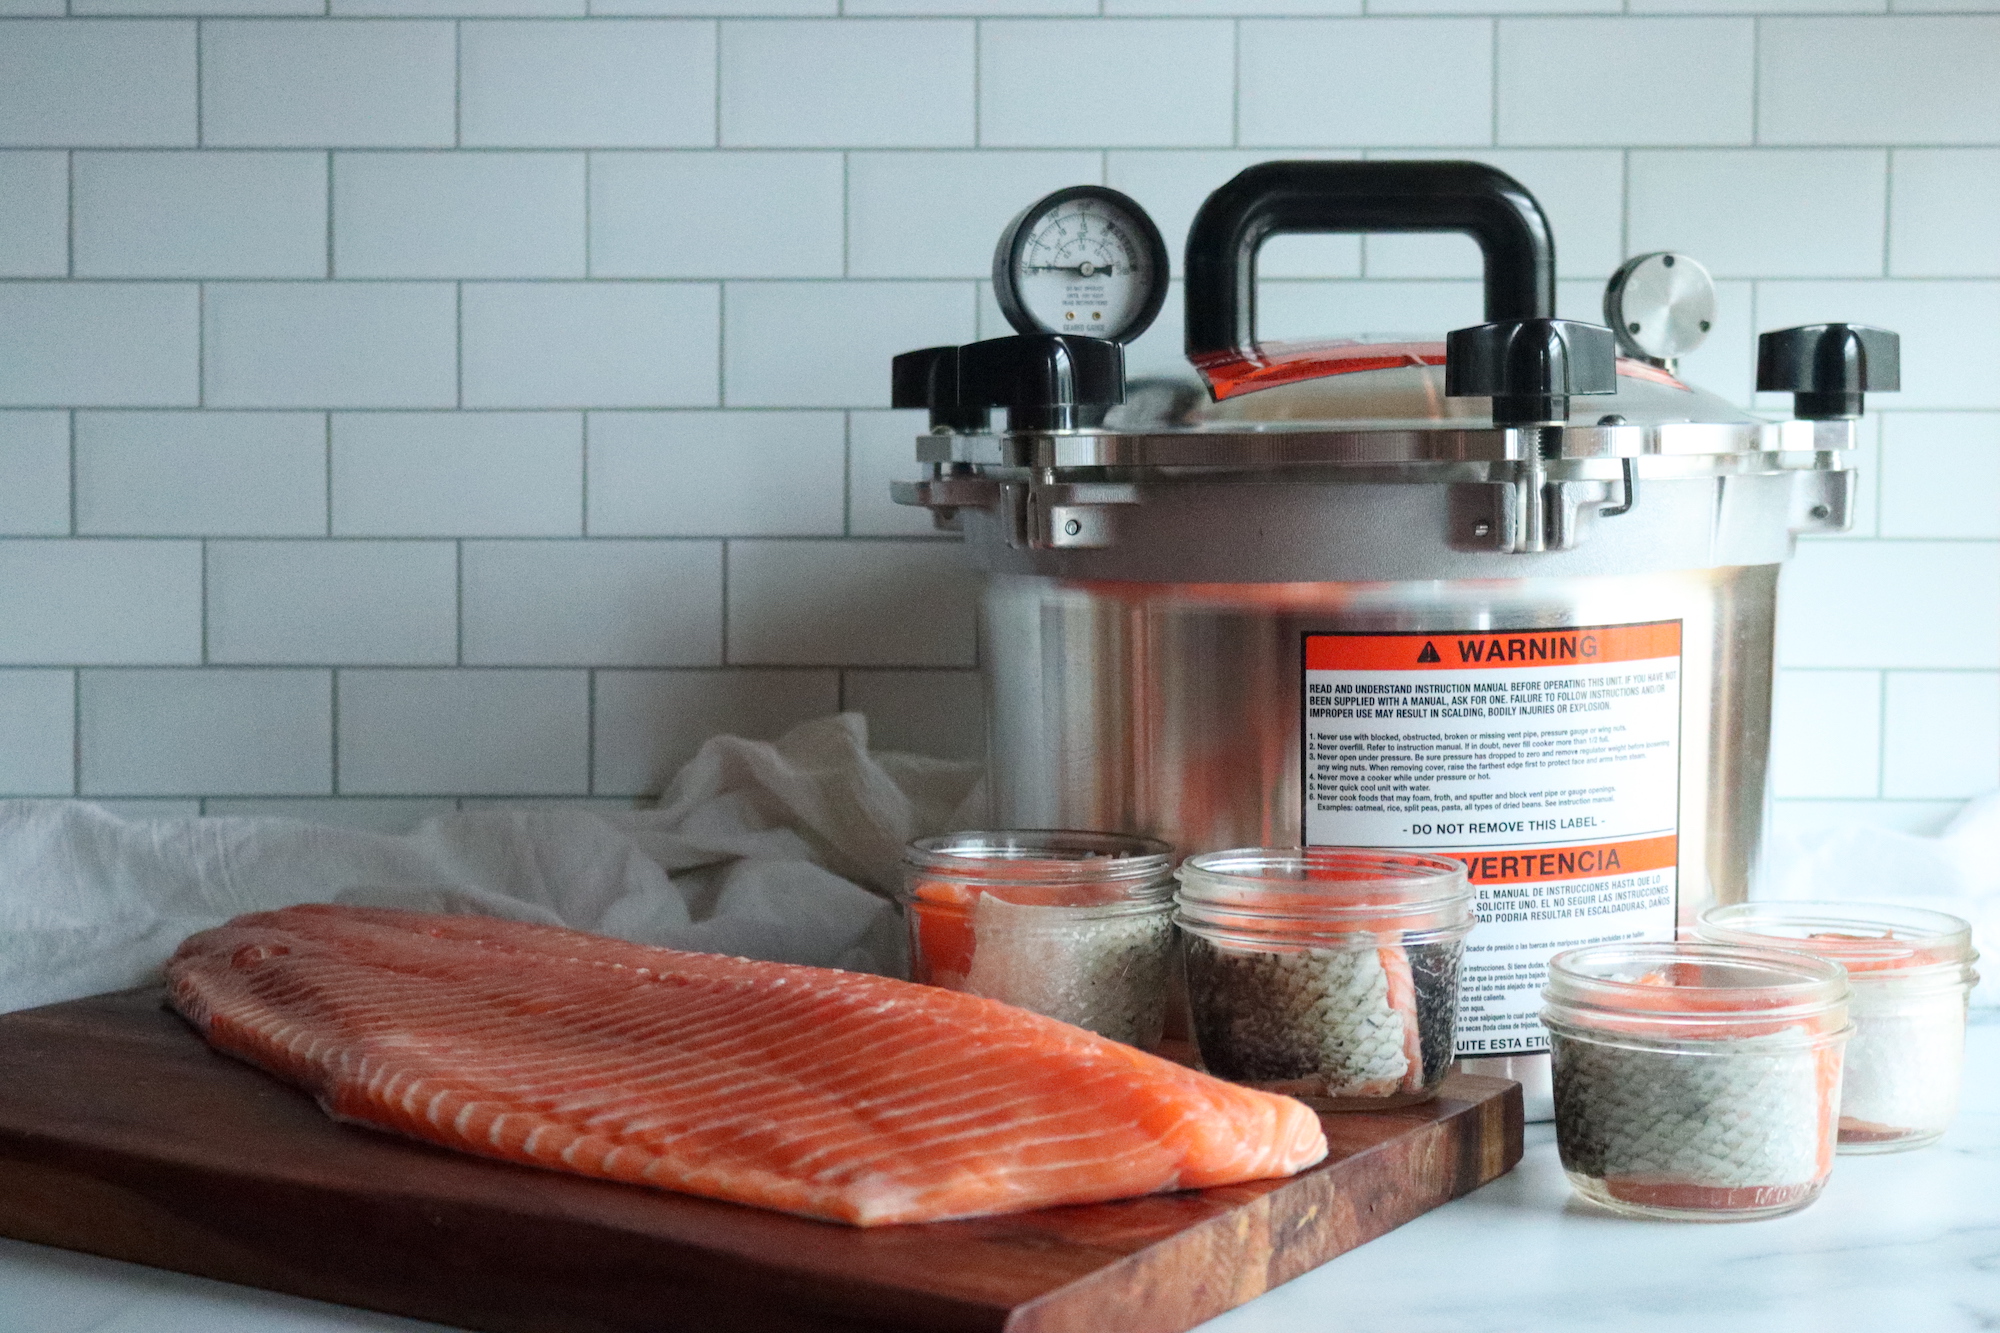
Ingredients for Salmon
The ingredients for canning salmon are quite simple. To make a canner batch of ten pints, you’ll need the following:
- Fresh salmon (about 1 lb per pint, or 1/2 pound per half pint)
- Salt (optional)
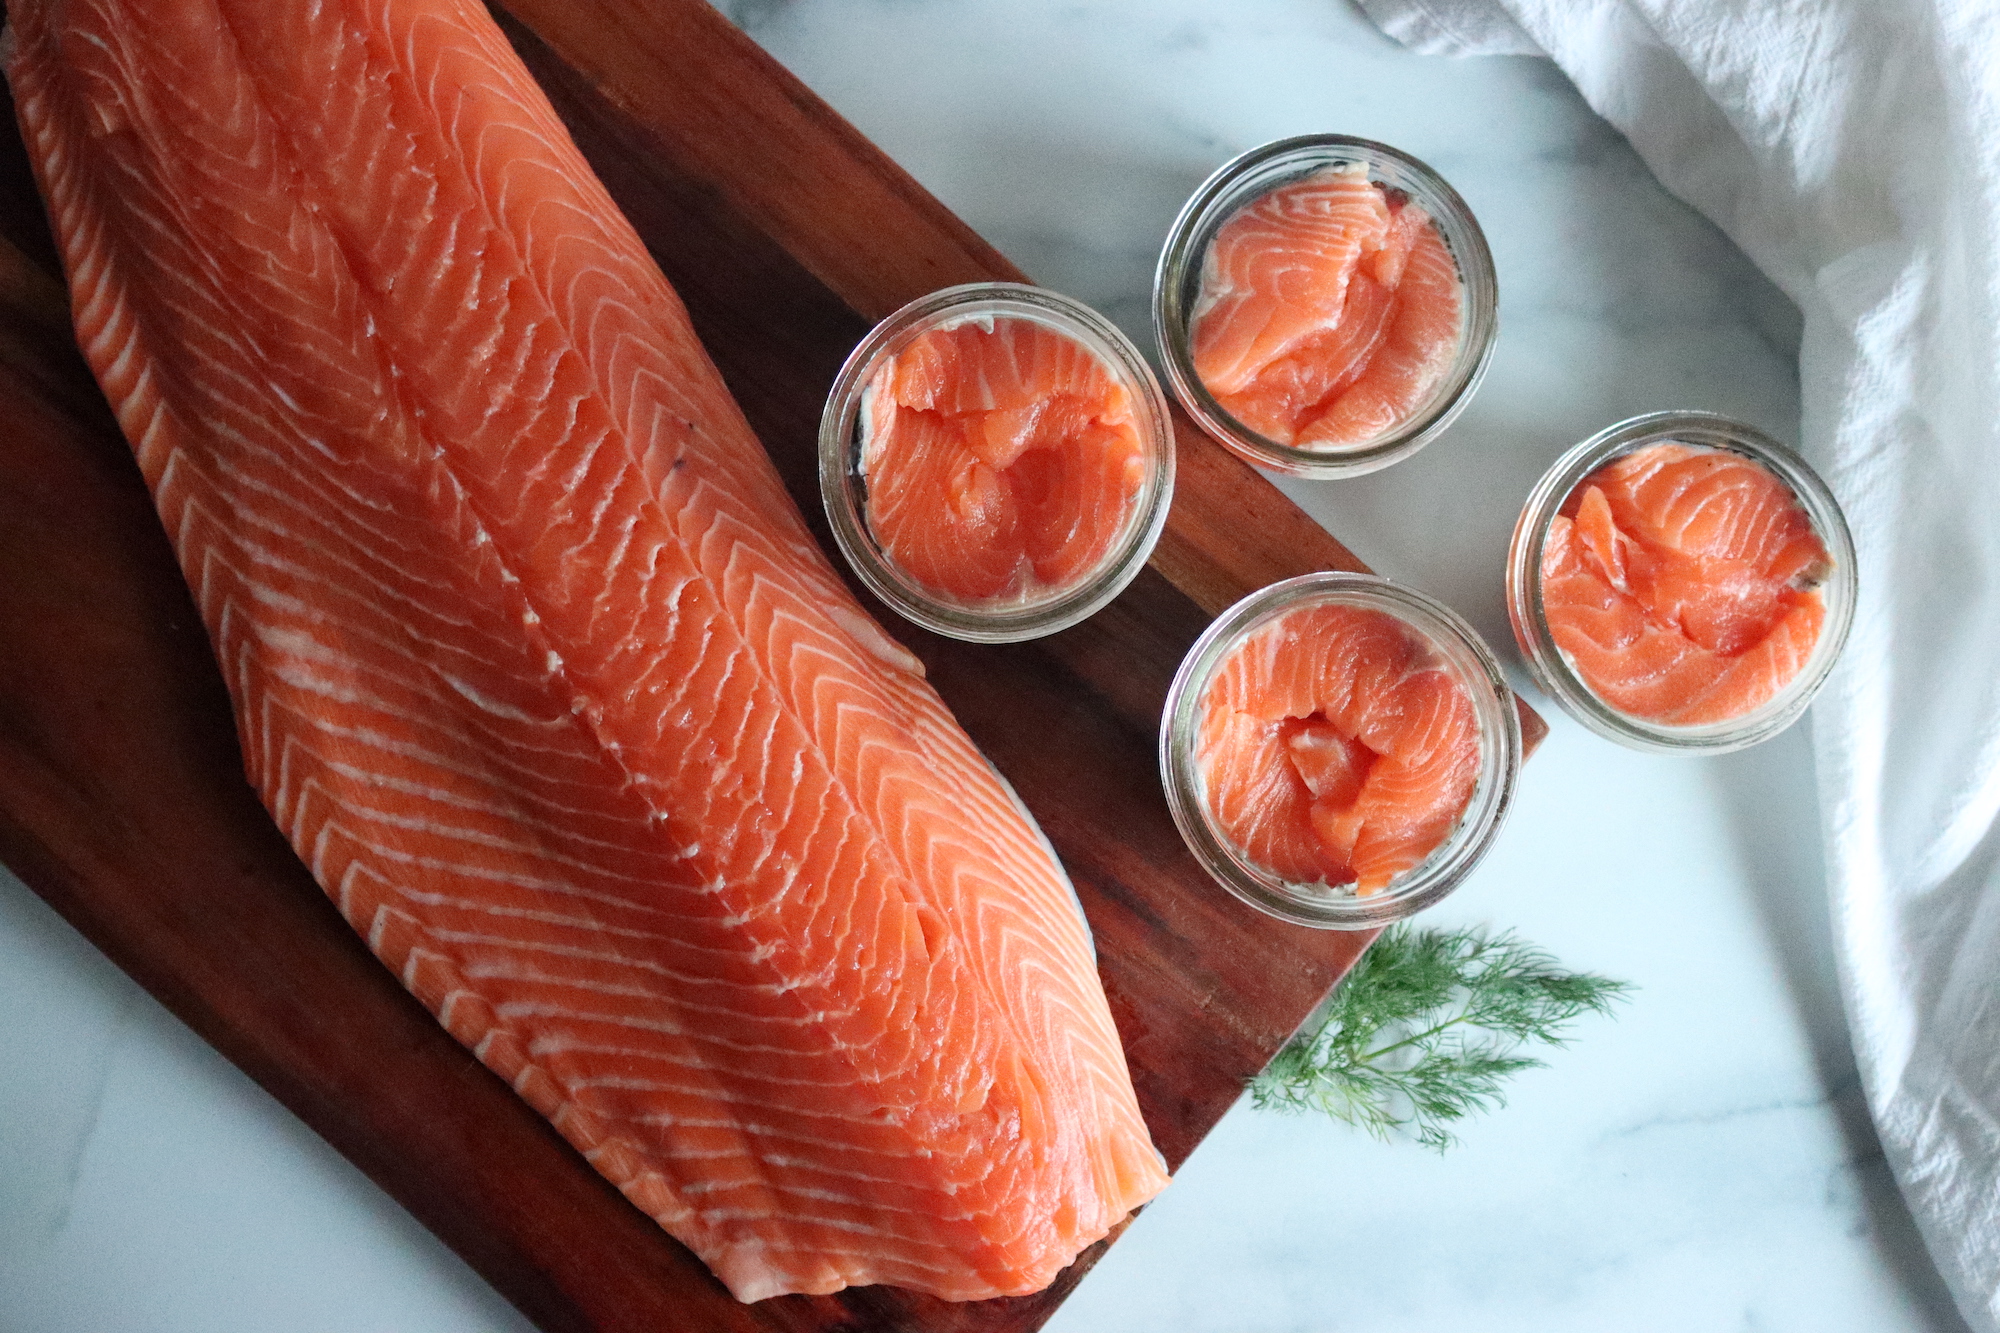
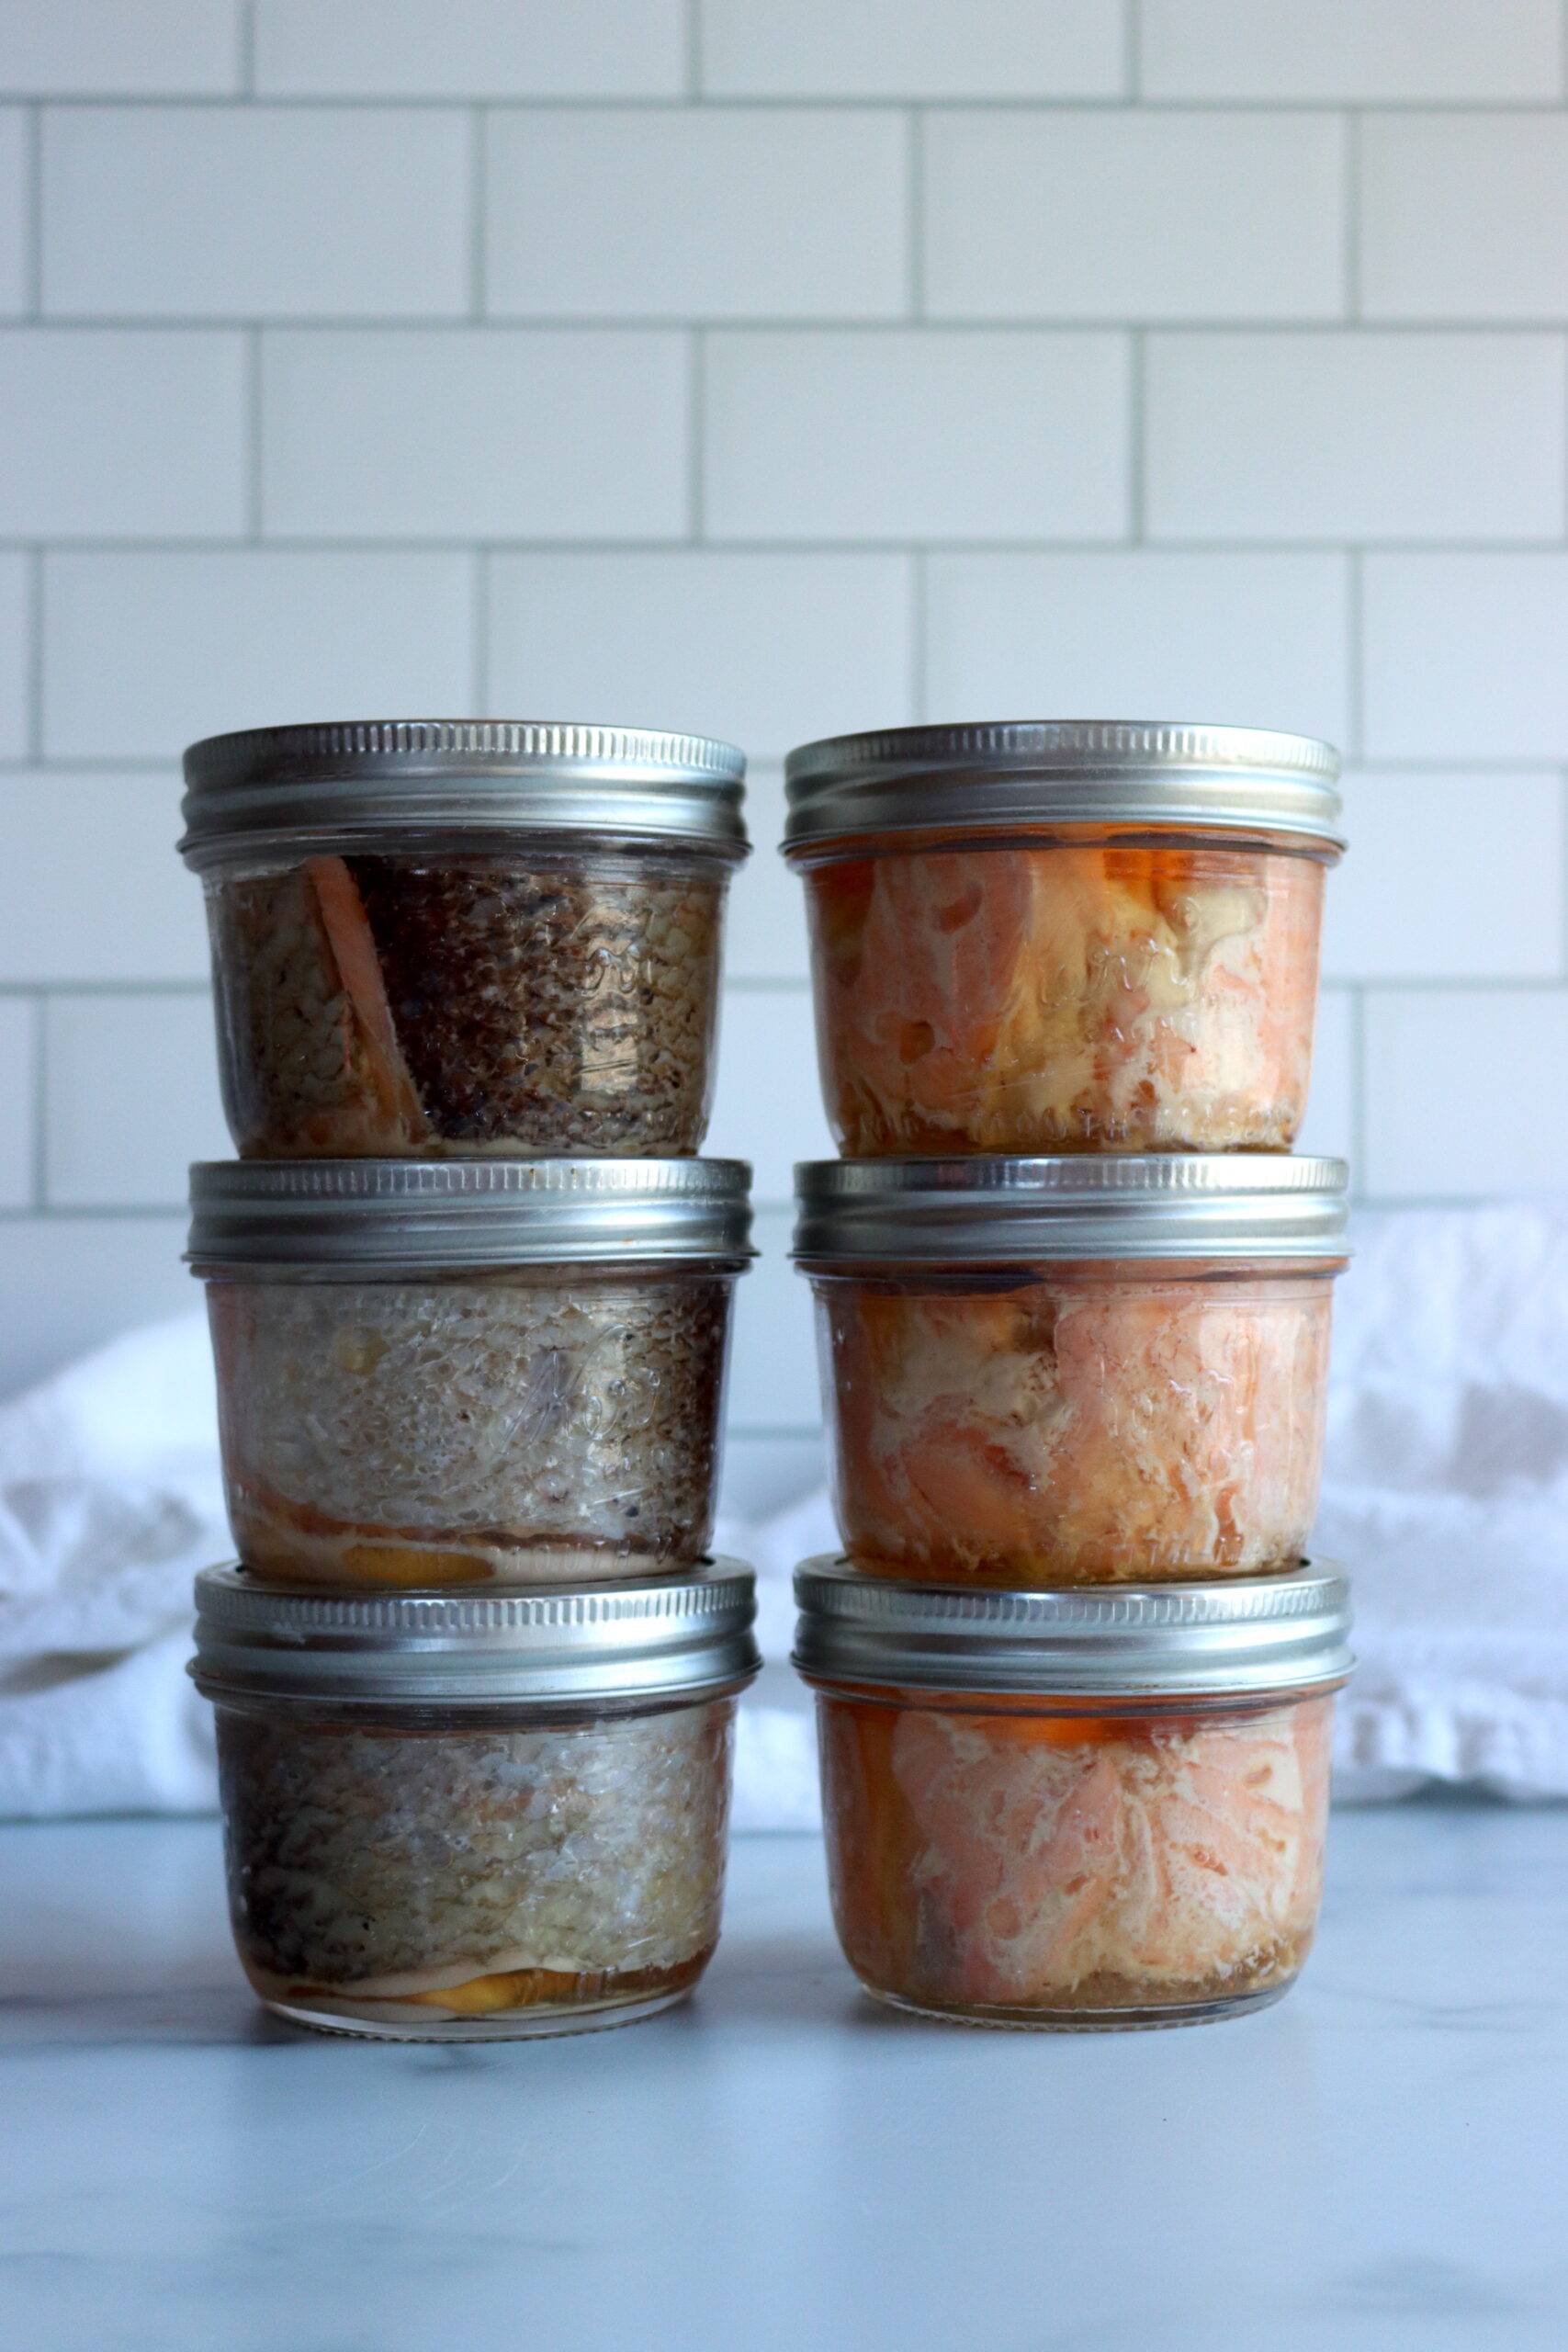
When canning salmon, you can process the fish with or without skin. Many people choose to leave the skin on, as it contains a lot of beneficial oils that it releases into the jar during canning. The skin, once scaled, is edible (and it’s my husband’s favorite part). Even if you don’t like the skin, leaving it in the jar helps keep the salmon moist during canning and ensures that you get the most from your home canned food.
Generally, when people leave the skin on, they can the salmon skin side out. This leads to more attractive jars on the shelf (but it can make the jars tricky to clean afterward, as the skin tends to stick to the jars).
How you orient the salmon pieces in the jars is up to you, and you don’t have to put their skin side out. (You also can just use skinned fillets if that’s your preference.)
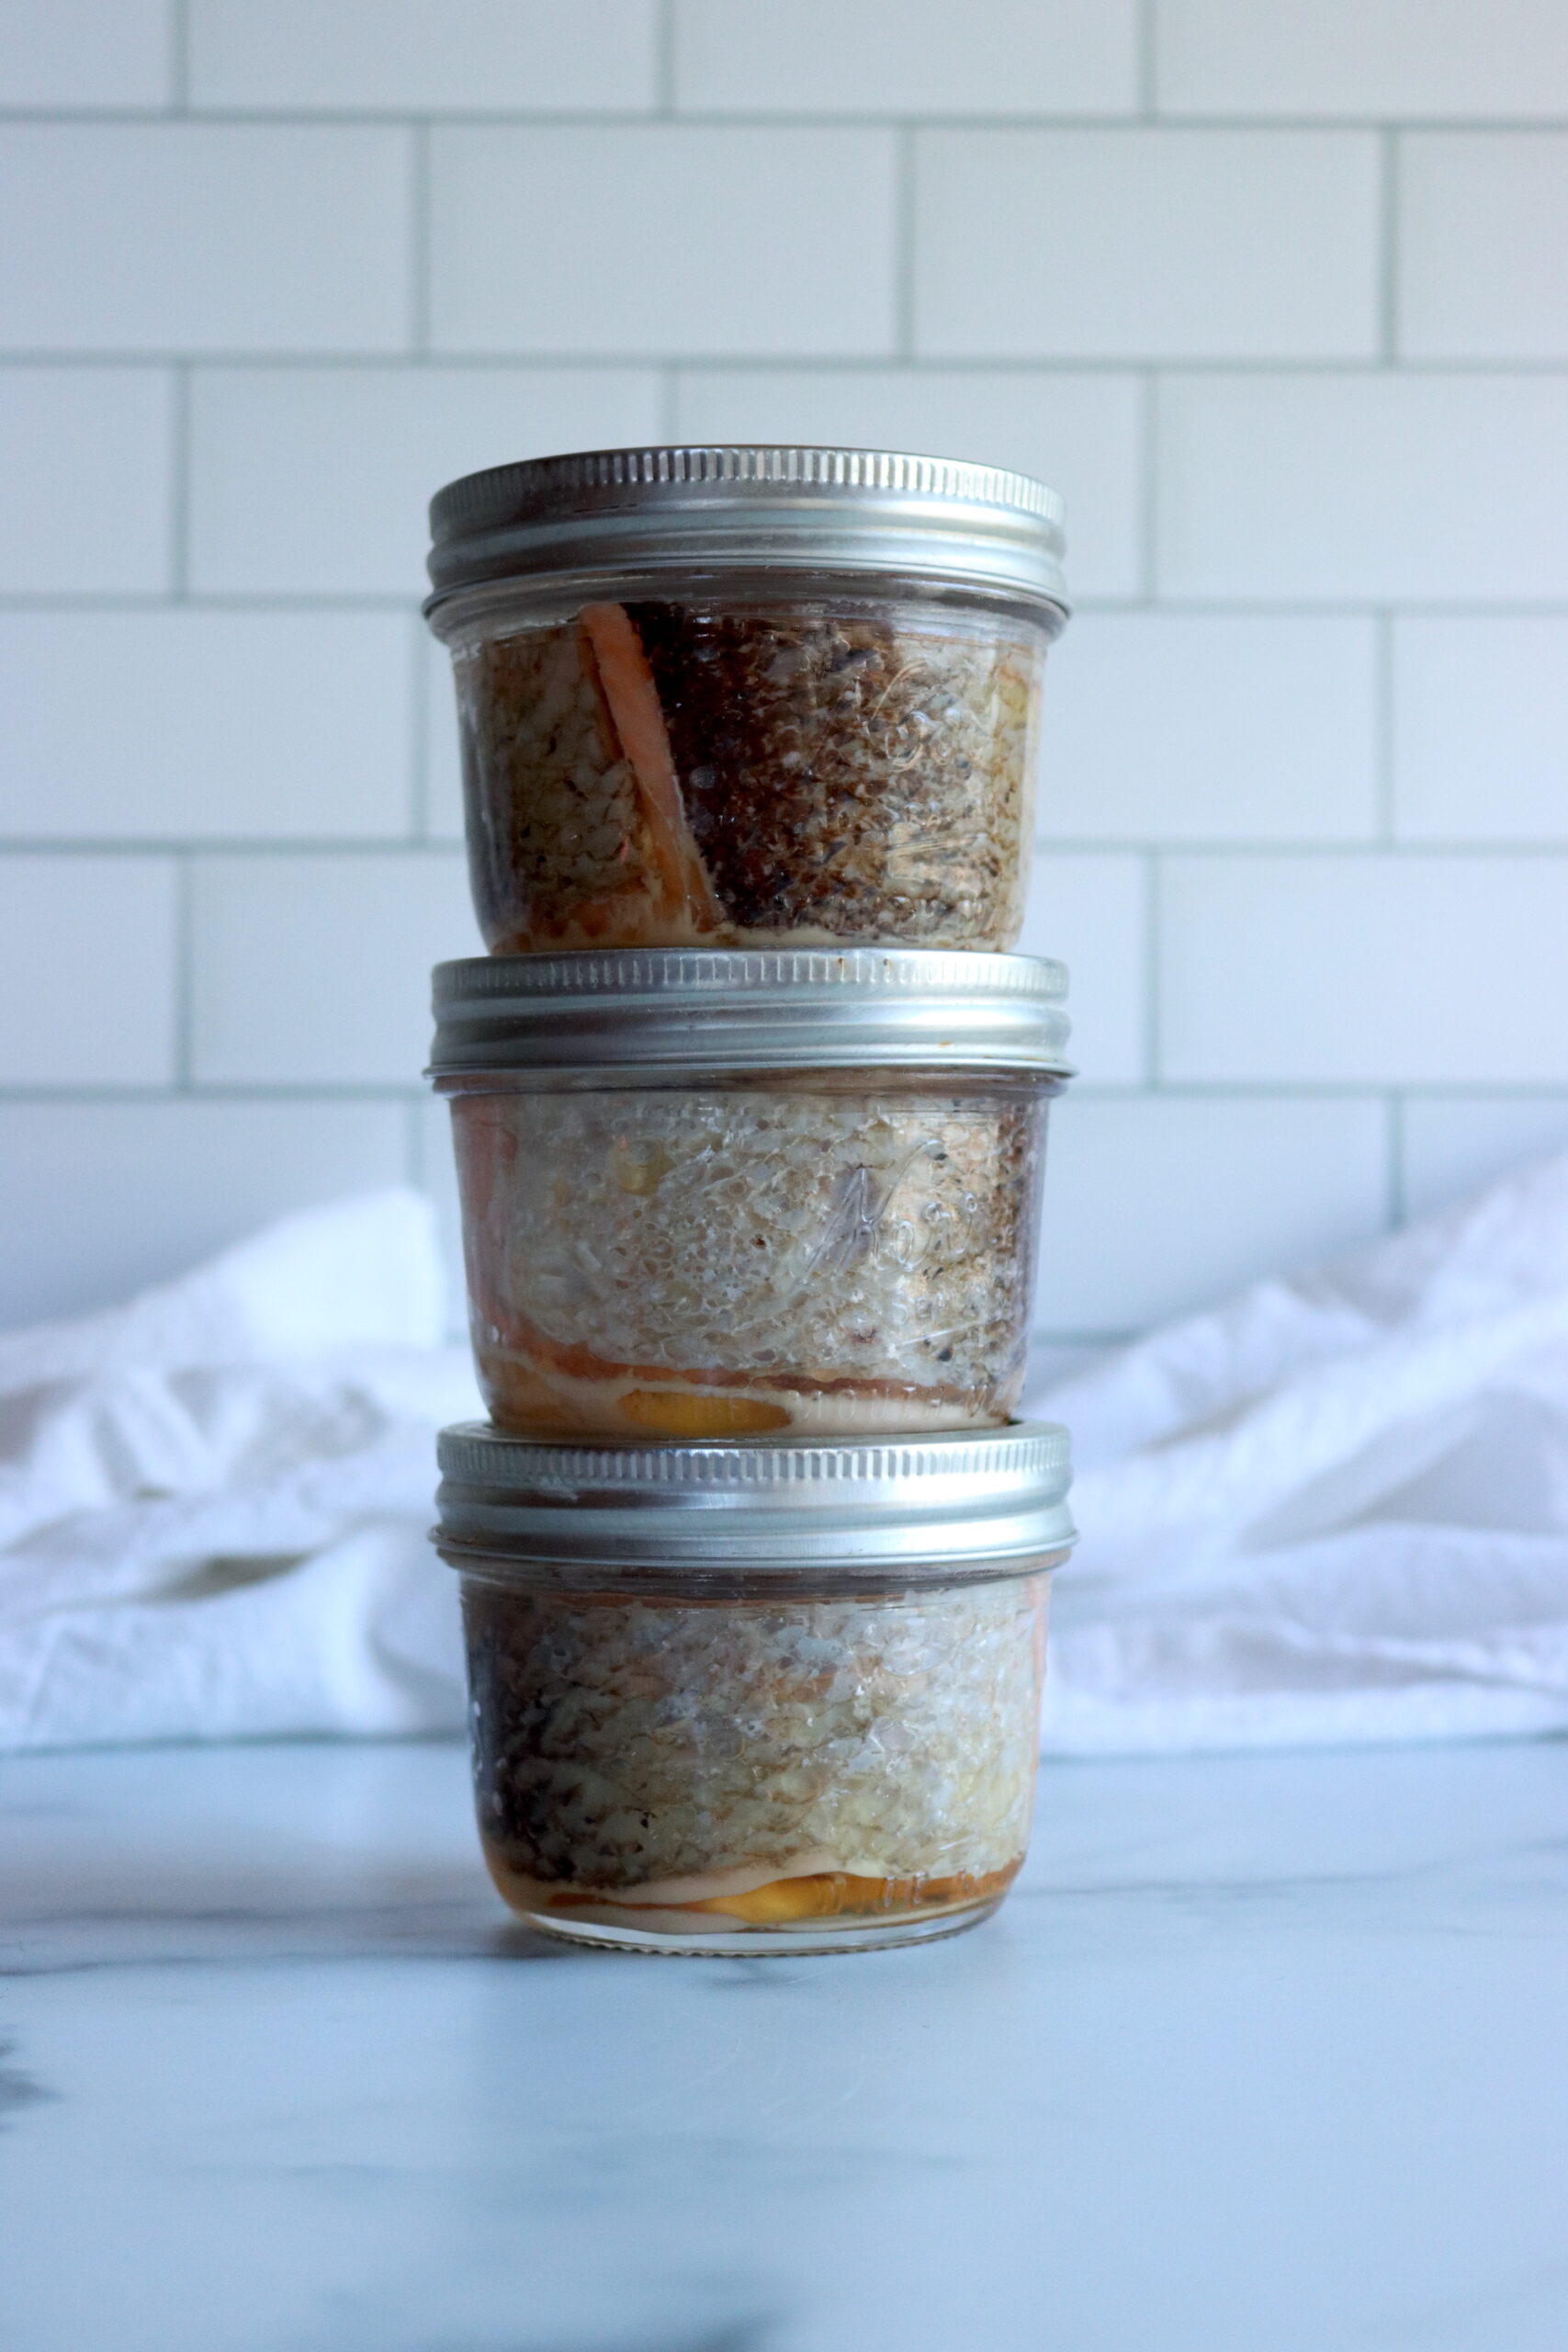
When it comes to boning the fish, that’s completely optional. Fish bones soften during canning, and they’ll mostly dissolve, leaving the jars full of more bio-available calcium. Generally, salmon bones are not removed when the fish is canned commercially. Whether you remove them is up to you.
Canning Salmon
Start with fresh, cleaned fish (or strorebought filets). Keep the fish cold until they’re ready to can, not more than two days. Remove the tail, head, scales, fins, and skin, then wash to remove all blood.
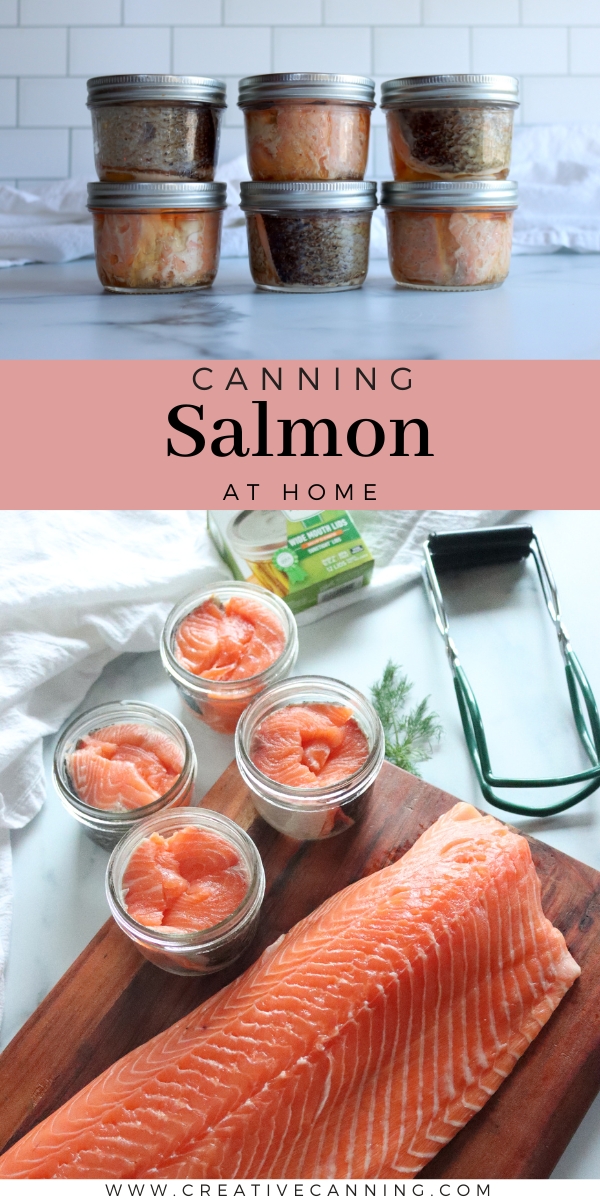
Cut your salmon filets into smaller pieces that will fit easily into pint jars. You can do this to your preferences, but try to cut them into small enough pieces so you won’t have to squish or compress them into the jars. Usually, this is around 3 ½ inch lengths.
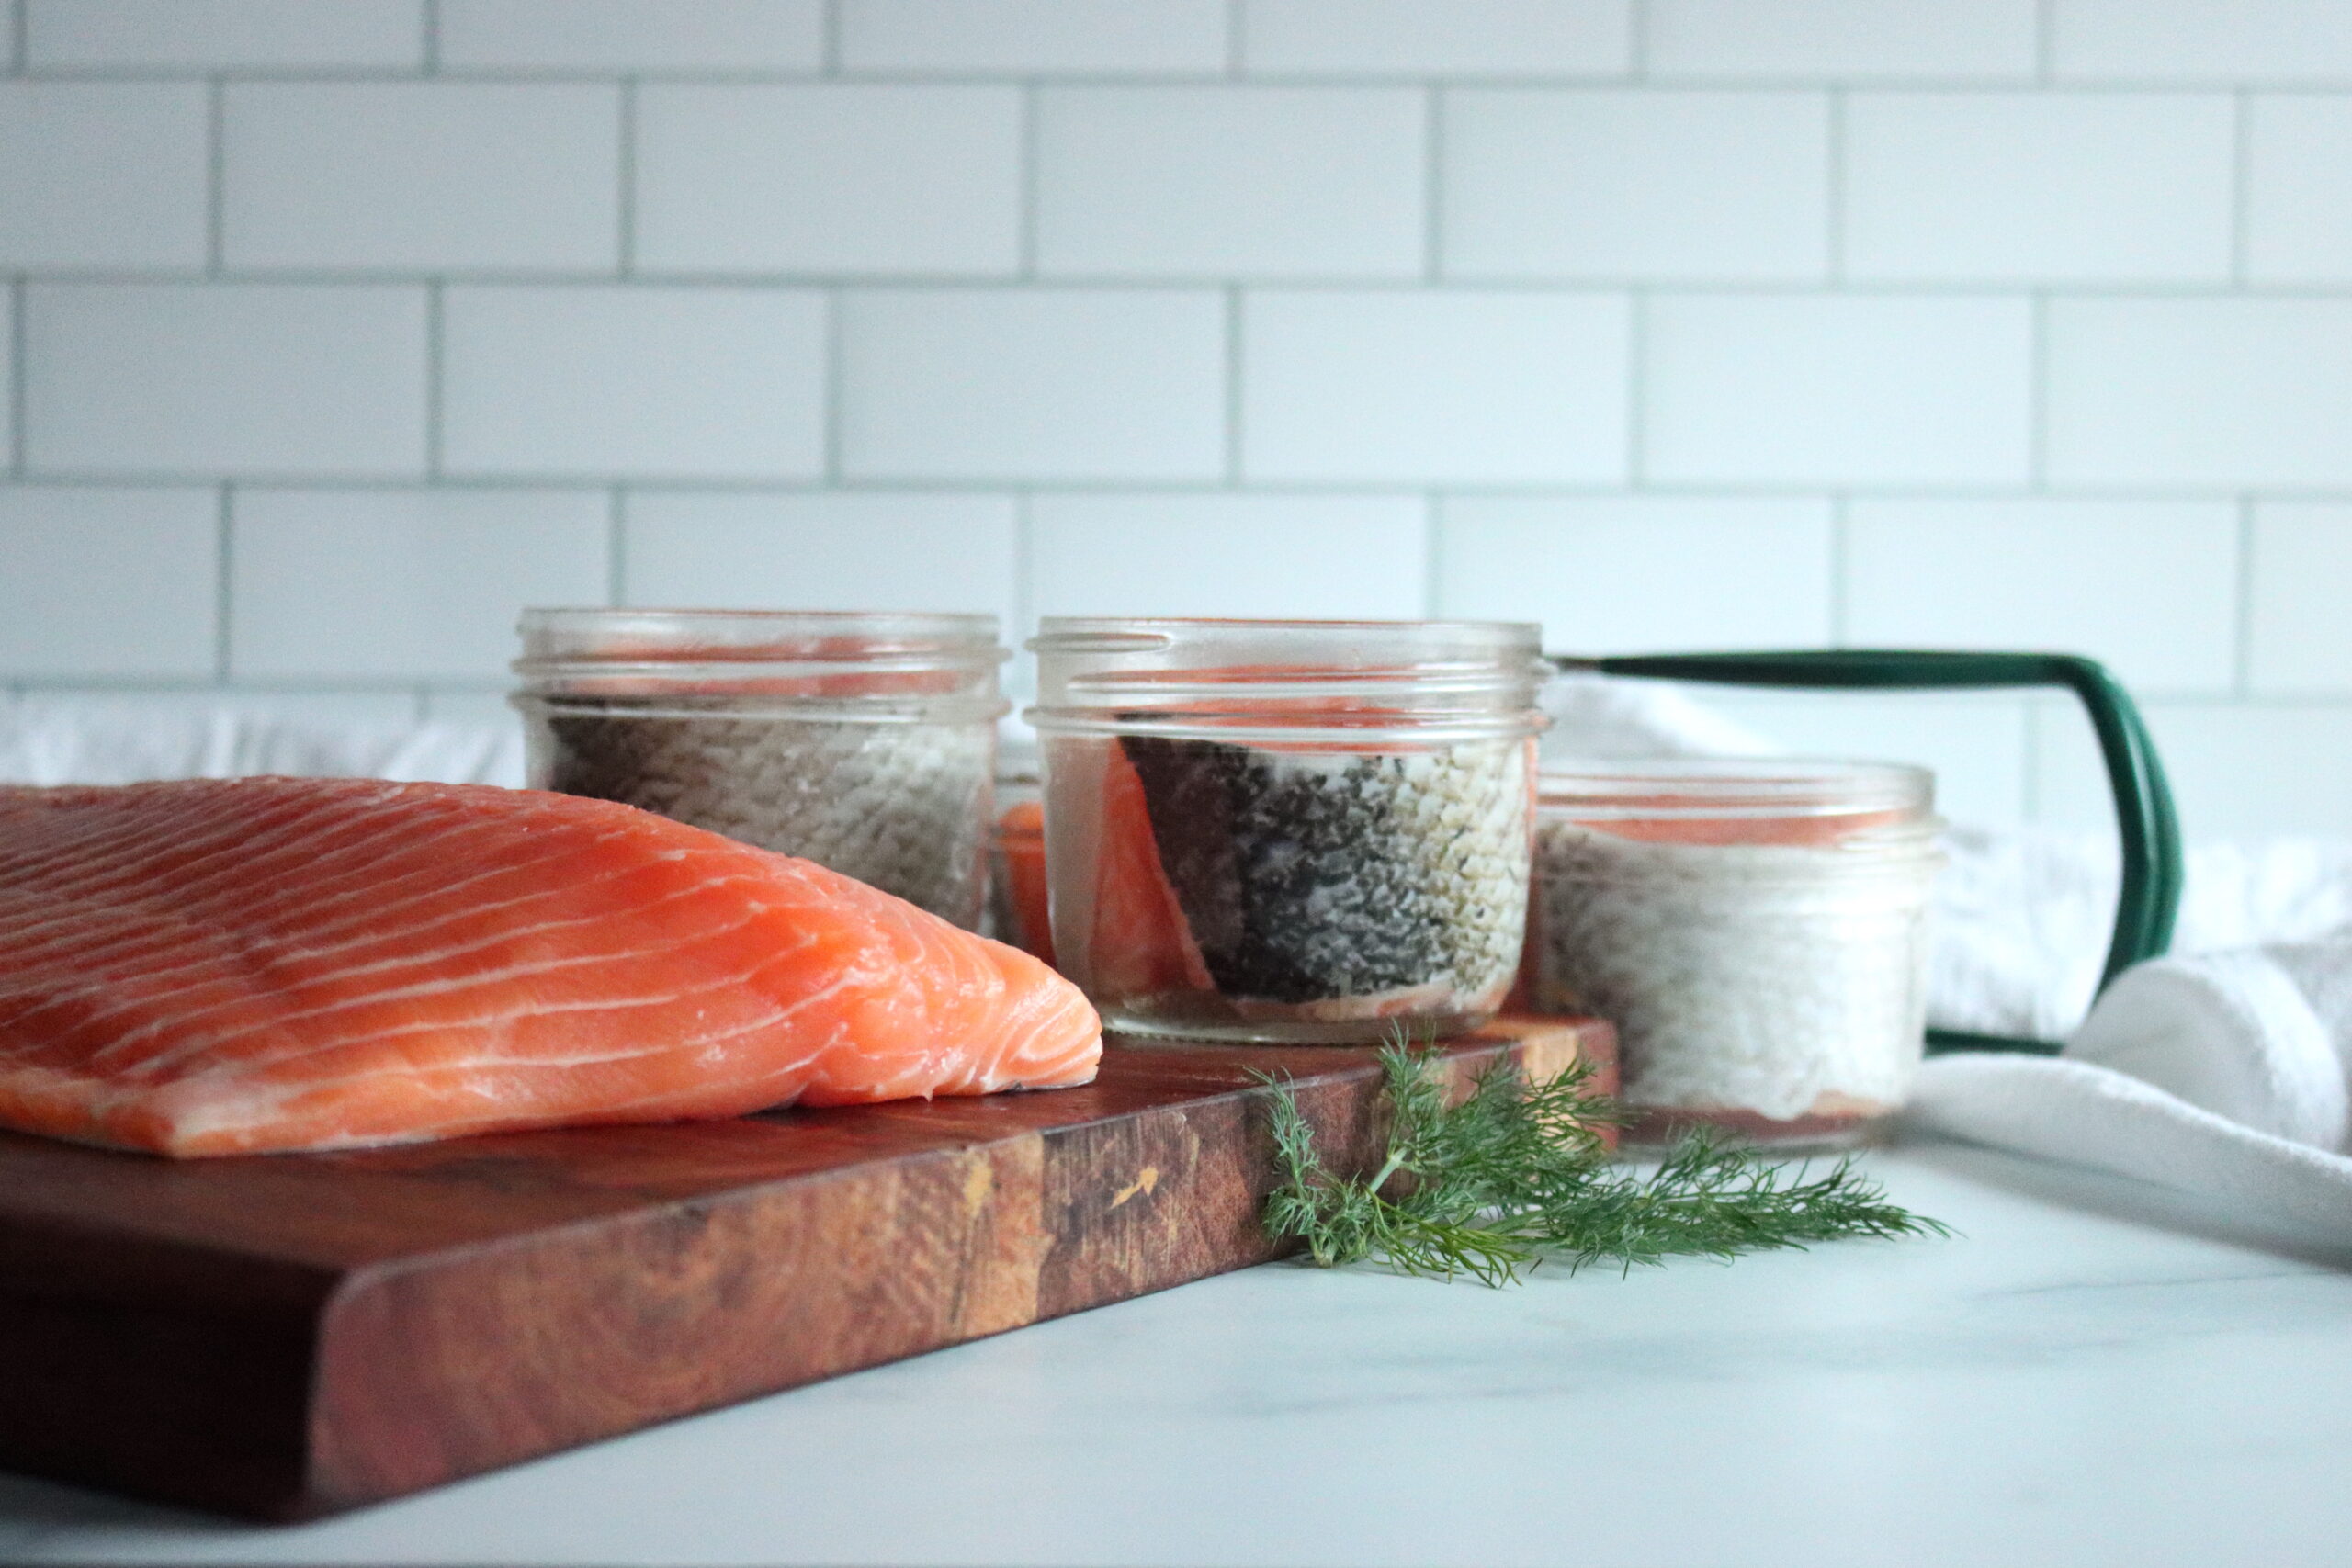
Put two to three inches of water in your pressure canner and heat it to a simmer. Use just enough water so that the canner doesn’t boil dry.
Prepare the jars, making sure they’re sterilized and clean. Fill the jars with the salmon, leaving 1” of headspace. You do not need to add any water or broth. If desired, you can add ½ teaspoon of salt per pint jar or 1/4 tsp per half pint.
Do not add liquid! Salmon is canned as is, with just fish (and optional salt). The fish releases enough oil in the canning process to fill the jars.
Wipe the jars with a clean, damp cloth to remove any food particles or fatty deposits.
Then, place a hot lid on the jar. Screw the metal band onto the jar until it is fingertip tight. Resist the urge to overtighten, as this can cause the lid to buckle. While the jars are processing, the band will let the lid expand just slightly to let some steam and air escape.
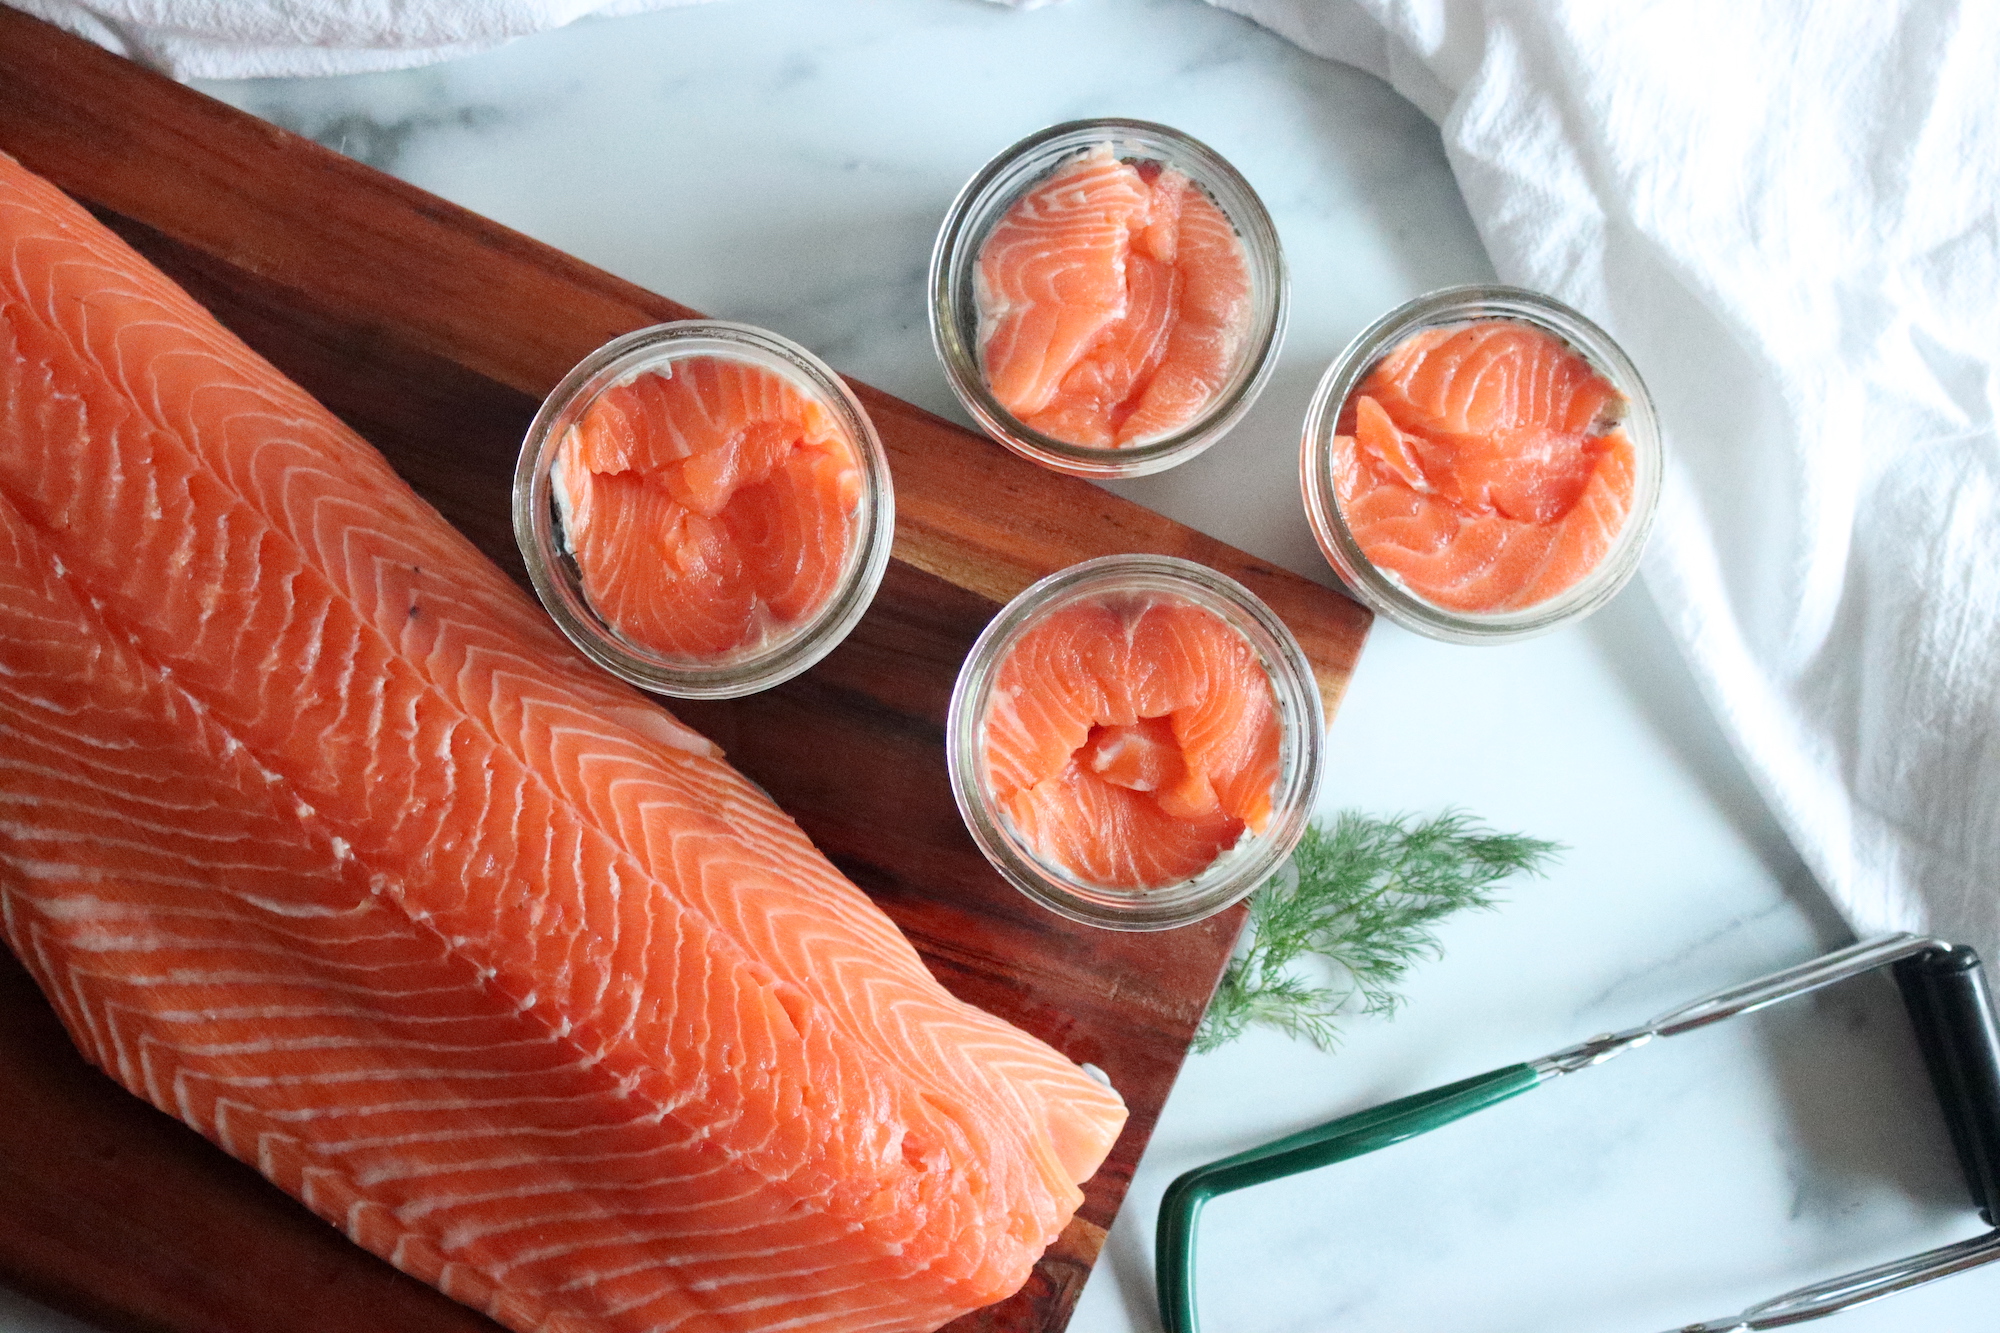
Place the filled jars on a rack in the canner, leaving room for steam to flow freely around the jars. In canners that are deep enough to allow you to stack jars, make sure you use a rack between the layers.
Put the canner lid on the canner. Heat the canner until you see the steam escaping from the open net. Once it starts to do this, vent steam for 10 minutes.
Close the petcock or place the pressure regulator on the vent pipe. Allow the pressure to reach 11 lbs pressure for a dial gauge canner and 10 lbs pressure for a weighted gauge. Process the jars at 100 minutes for pints, being sure to restart your timer if the pressure drops below 10 (or 11) lbs. (This time is for both pints and half pints.)
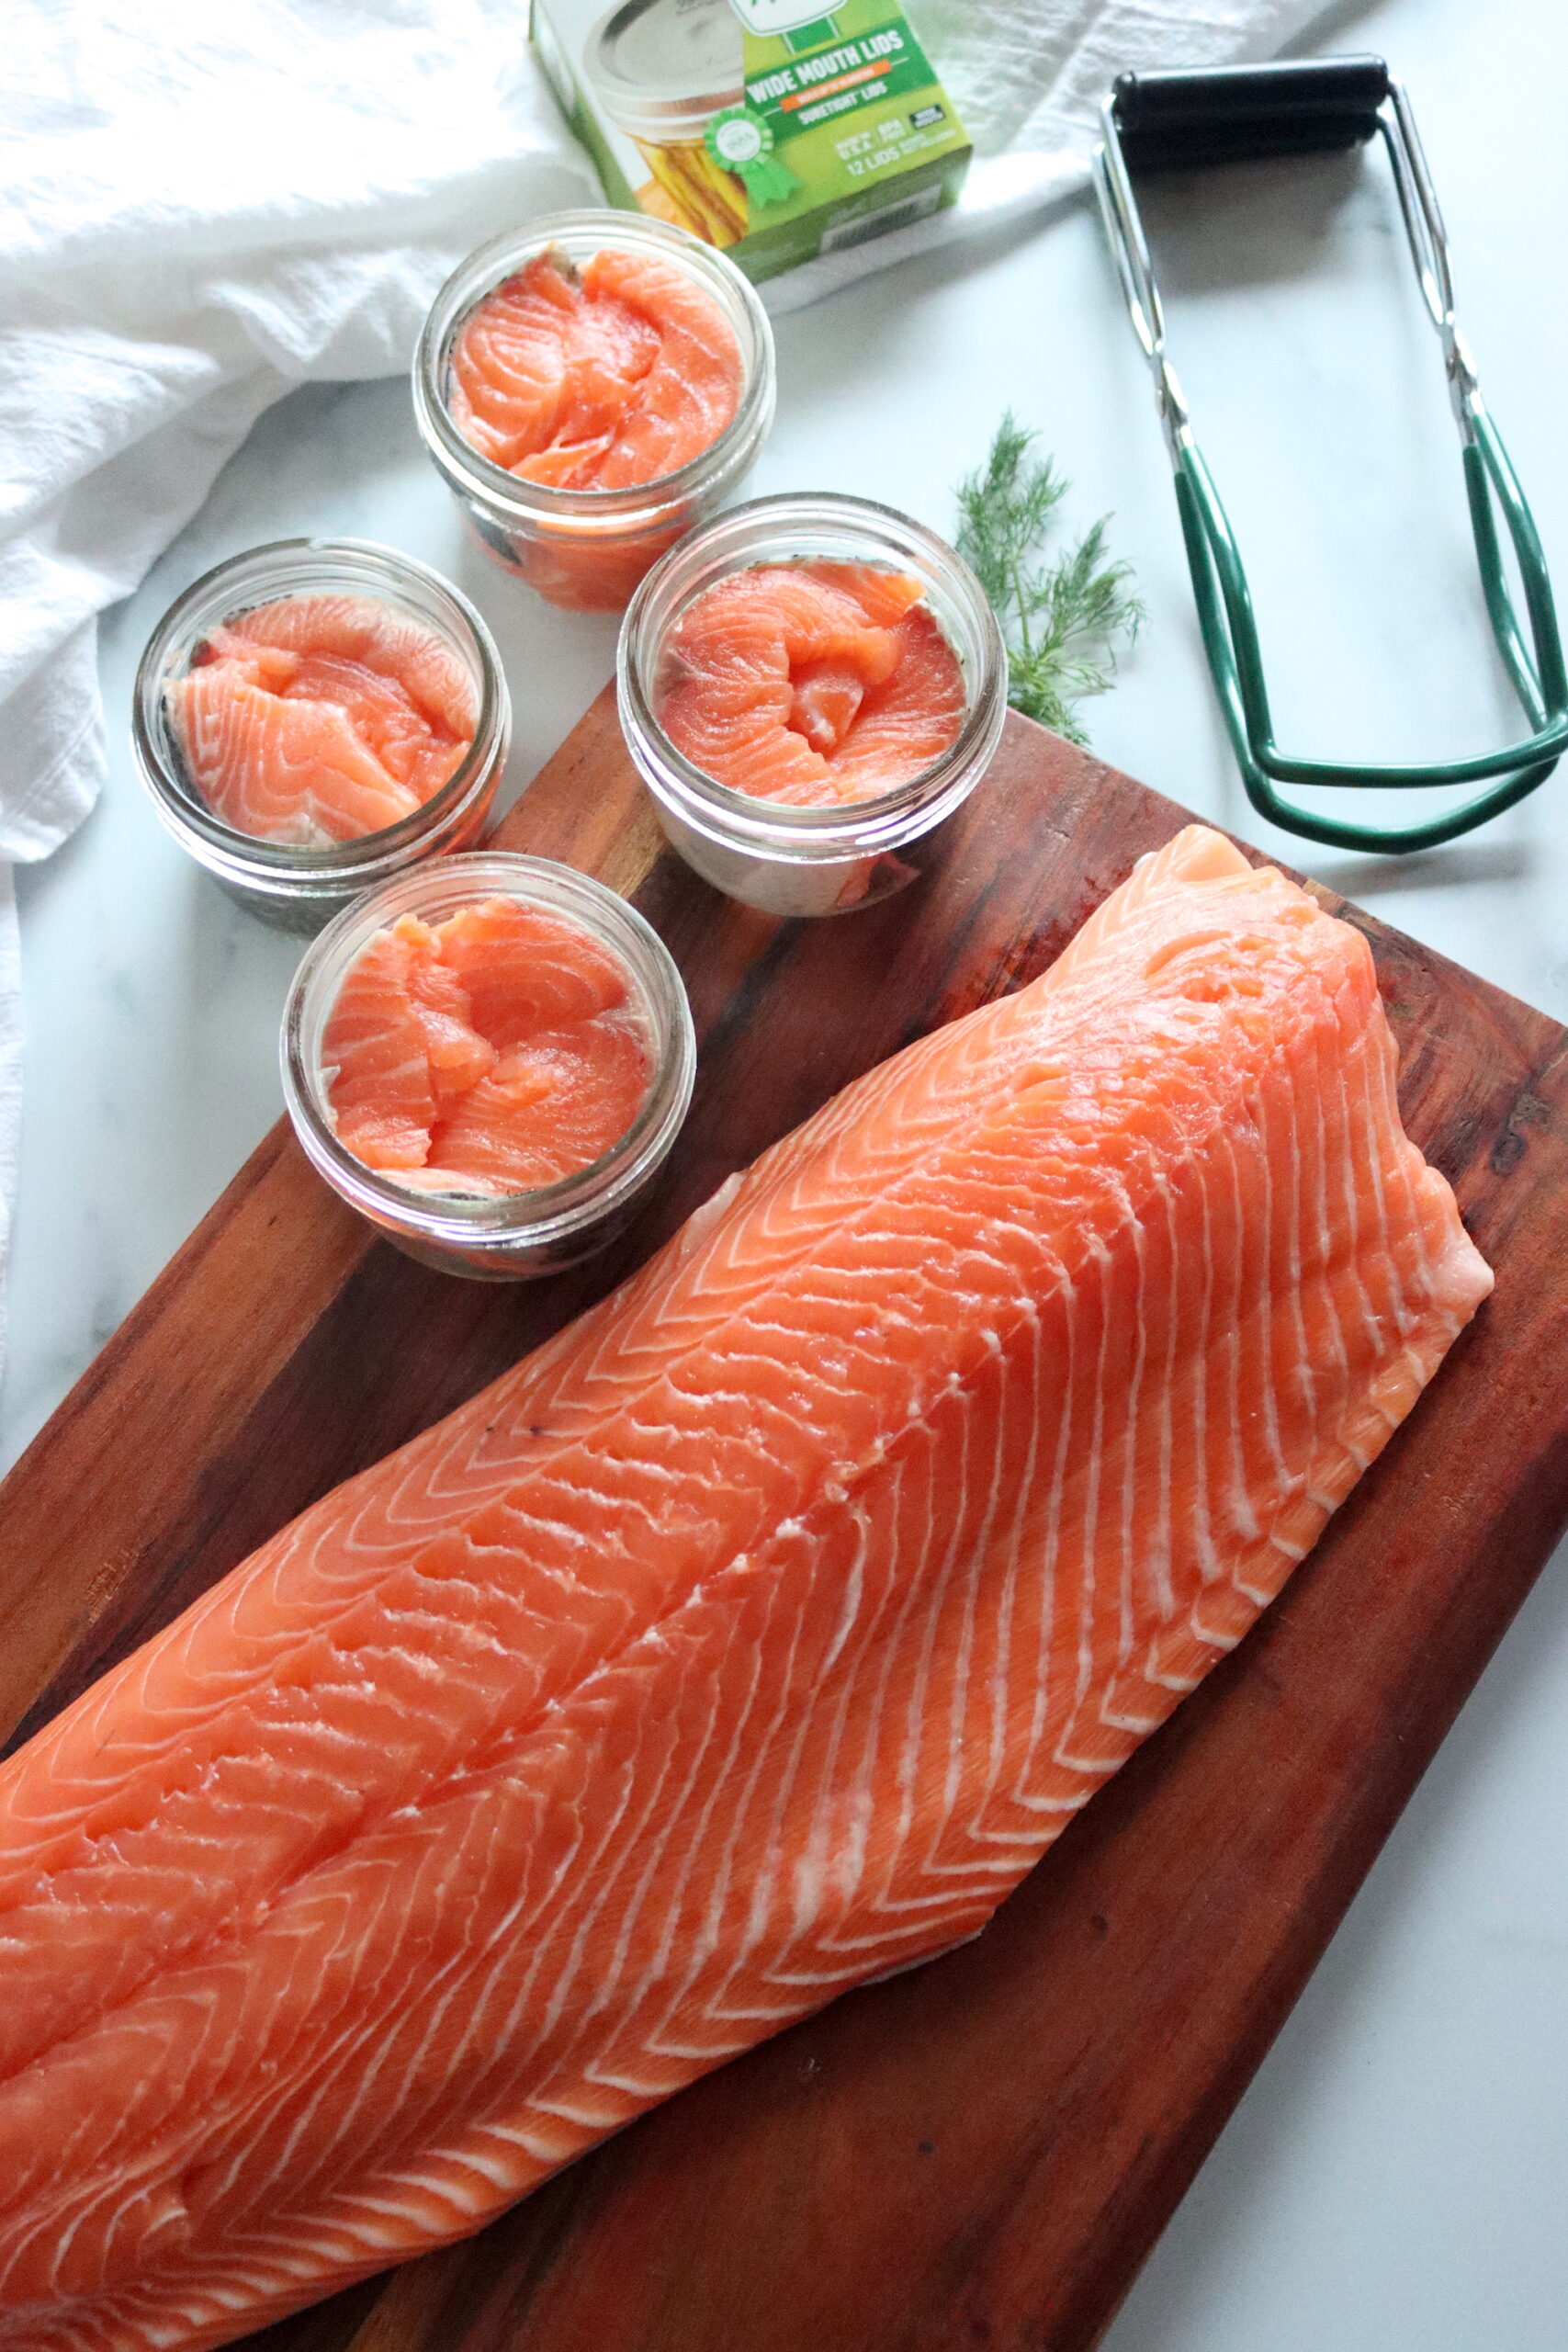
When the canning time is done, turn off the heat and allow the pressure to return to zero. Wait an additional fifteen minutes, then remove the lid. Let the jars cool for another five minutes in the canner, then take them out and allow them to cool at room temperature for 24 hours. Check the seals, label, and store.
Note that when you can salmon, you may notice crystals of magnesium ammonium phosphate. These look like glass but are perfectly safe to eat – they typically dissolve when they’re heated. There’s no way to know whether or not your salmon will have it and no way to prevent it in any case, so don’t worry too much about it.
Altitude Adjustments for Canning Salmon
With pressure canning, the processing times stay the same at higher altitudes, but the pressures change. Here are the altitude adjustments for pressure canning:
For dial gauge pressure canners:
- 0 to 2,000 feet in elevation – 11 lbs pressure
- 2,001 to 4,000 feet in elevation – 12 lbs pressure
- 4,001 to 6,000 feet in elevation – 13 lbs pressure
- 6,001 to 8,000 feet in elevation – 14 lbs pressure
For weighted gauge pressure canners:
- 0 to 1,000 feet in elevation – 10 lbs pressure
- Above 1,000 feet – 15 lbs pressure
Serving Home Canned Salmon
Once your canned salmon is ready, it’s time to serve and enjoy! Canned salmon can be eaten straight out of the jar, or used in a variety of recipes. Some of our favorite ways to enjoy canned salmon include salmon salad sandwiches, salmon quiches, salmon chowders, and salmon pasta dishes.
You can also add the canned salmon to salads, pizzas, wraps, and omelets. Just remember to store your canned salmon in a cool, dry, and dark place, and to use it within one year for best quality.
Fish Canning Recipes
Salmon is a favorite for home canning, but there are plenty of other seafood recipes to explore! Try Canning Tuna for a pantry staple or Canning Crab for a gourmet option. For soup lovers, check out Canning Salmon Chowder Base or the Scandinavian-inspired Canning Nordic Salmon Soup. If you enjoy variety, explore the full list in 12+ Fish Canning Recipes, which includes options like shrimp and chowder bases.
Canning Salmon
Equipment
- Pressure Canner I use an All-American Model 930
- Jar Lifter
- Wide Mouth Half Pint Jars
- Wide Mouth Canning Lids
Ingredients
- 4 lbs Fresh salmon, about 1 lb per pint
- 1 tsp Salt, optional
Instructions
- Start with fresh, cleaned fish. Keep the fish cold until they're ready to can, not more than two days.
- Remove the tail, head, scales, fins, and skin, then wash to remove all blood.
- Cut your salmon filets into smaller pieces that will fit easily into pint jars.
- Put two to three inches of water in your pressure canner and heat it to simmer.
- Prepare the jars, making sure they're sterilized and clean.
- Fill the jars with the salmon, leaving an inch of headspace. You do not need to add any water or broth. If desired, you can add ½ teaspoon of salt per jar.
- Wipe the jars with a clean, damp cloth to remove any food particles or fatty deposits.
- Then, place a hot lid on the jar. Screw the metal band onto the jar until it is fingertip tight. Resist the urge to overtighten, as this can cause the lid to buckle.
- Place the filled jars on a rack in the canner, leaving room for steam to flow freely around the jars. In canners that are deep enough to allow you to stack jars, make sure you use a rack between the layers.
- Put the canner lid on the canner. Heat the canner until you see the steam escaping from the open vent. Once it starts to do this, vent steam for 10 minutes.
- Close the petcock or place the pressure regulator on the vent pipe. Allow the pressure to reach 11 lbs pressure for a dial gauge canner and 10 lbs pressure for a weighted gauge.
- Process the jars at 100 minutes for pints or half pints (adjusting for altitude, see notes).
- When the canning time is done, turn off the heat and allow the pressure to return to zero. Wait an additional fifteen minutes, then remove the lid. Let the jars cool for another five minutes in the canner, then take them out and allow them to cool at room temperature for 24 hours.
- Check the seals, label, and store.
Notes
Altitude Adjustments for Canning Salmon
With pressure canning, the processing times stay the same at higher altitudes, but the pressures change. Here are the altitude adjustments for pressure canning:For dial gauge pressure canners:
- 0 to 2,000 feet in elevation – 11 lbs pressure
- 2,001 to 4,000 feet in elevation – 12 lbs pressure
- 4,001 to 6,000 feet in elevation – 13 lbs pressure
- 6,001 to 8,000 feet in elevation – 14 lbs pressure
For weighted gauge pressure canners:
- 0 to 1,000 feet in elevation – 10 lbs pressure
- Above 1,000 feet – 15 lbs pressure
Nutrition
Nutrition information is automatically calculated, so should only be used as an approximation.
Meal in a Jar Canning Recipes
Need a few more meal-in-a-jar canning recipes?
- Chipotle Beef Taco Meat
- Chicken Chili Verde
- Taco Soup
- White Bean Chicken Chili
- Cajun Red Beans and Sausage
Pressure Canning Recipes
Fill your pressure canner again with these simple pressure canning recipes:
Can you still eat the salmon right away if a jar didn’t seal properly? And can you add lemon slice and garlic to the jar when pressuring canning salmon?
If the jar didn’t seal, yes, you can eat it right away. Store it in the refrigerator and use it within a week or so. You can add small amounts of seasonings to the jar, and yes, a lemon slice or garlic clove (sliced) would be good choices. Enjoy!
Can you use frozen salmon instead of fresh? It’s almost impossible to get fresh where I live that’s not been farm raised. Do you know of any sources of fresh salmon that ships to middle of US, and is affordable?
Yes, you just have to thaw it first.