This post may contain affiliate links. Please see our disclosure policy.
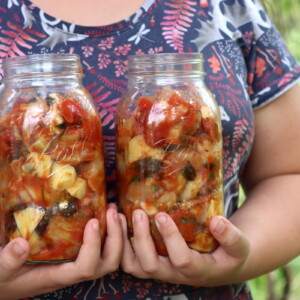
Pressure canning chicken curry gives you a flavorful, ready-to-heat meal with all the warm spices of a slow-simmered dish—right from your pantry shelf. Just heat and serve over rice for an easy, comforting dinner that’s both convenient and deeply satisfying.
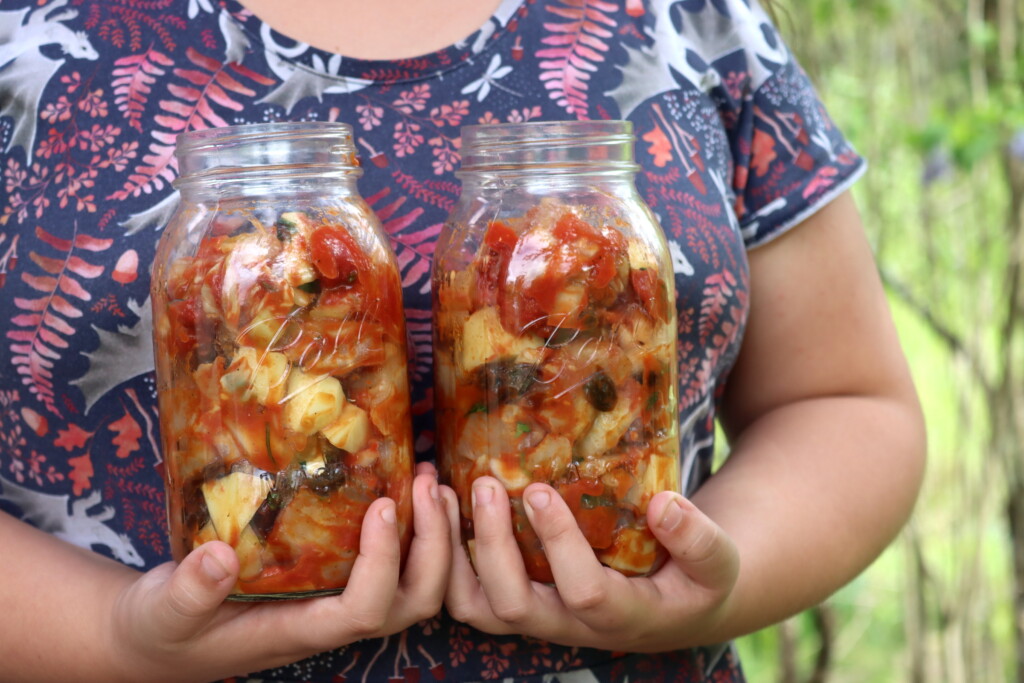
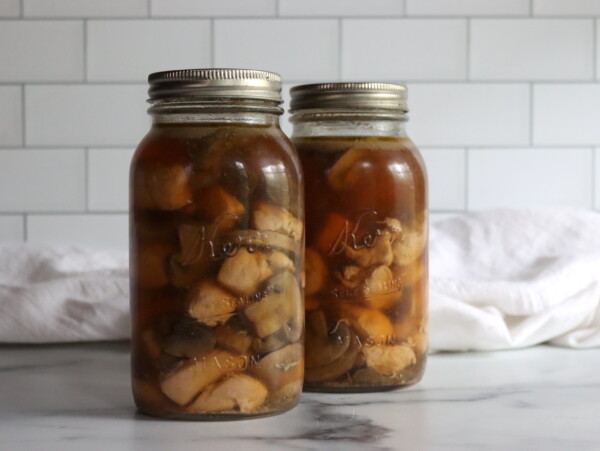
This is one of the raw-pack “meal in a jar” recipes developed by Ball Canning in their All New Book of Canning and Preserving. Like their other small-batch canning recipes, it’s designed to be quick to prep and safely processed in a pressure canner, with fully cooked results ready when you are.
Each quart jar makes about two generous servings. This is an excellent meal to stockpile in your pantry for nights when you don’t want to cook but still want a warm, homemade dinner.
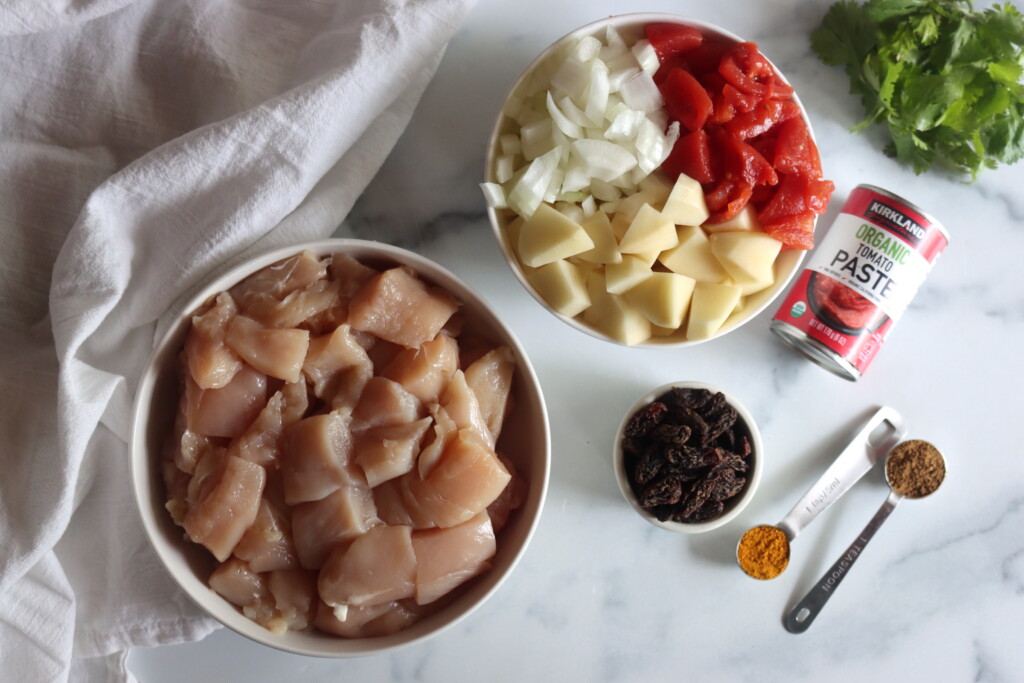
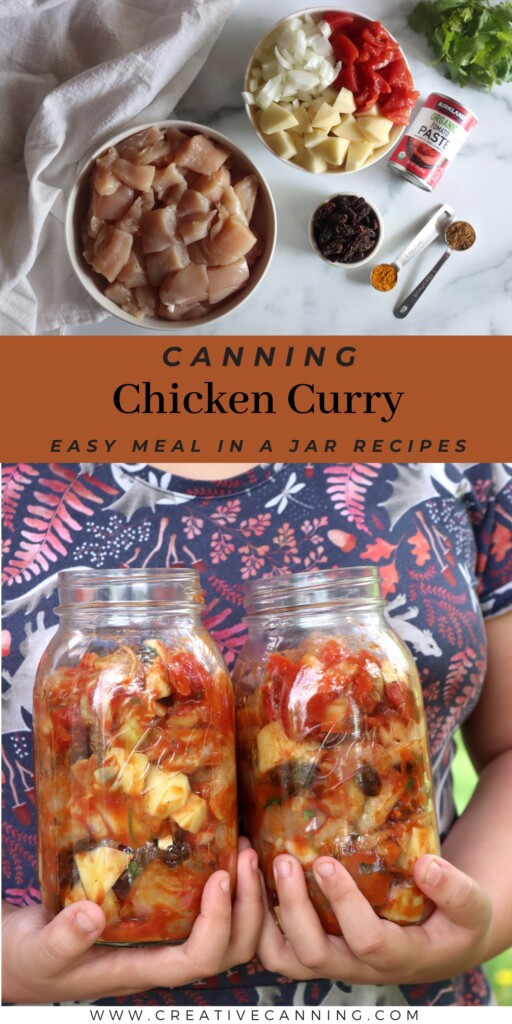
Ingredients for Chicken Curry in a Jar
Each batch makes 2 quarts or 4 pints, which is the smallest safe load for a pressure canner. You can scale it up if you’d like—my All American Brand 930 canner holds 14 quarts, and it’s a great way to stock up on flavorful meals when chicken is on sale or after a big batch cook.
Here’s what goes into this cozy curry:
- Chicken – Boneless chicken breasts, thighs, or a mix of both work well here. Cut the meat into 2-inch pieces so it holds up well during pressure canning and doesn’t fall apart. Dark meat becomes more tender and saucy; white meat holds its shape better. Use what you like.
- Onion, Tomato, and Potato – These vegetables add body and flavor to the dish, making it a true one-pot meal. The recipe simply notes “finely chopped tomato” but makes no mention of peeling or seeding, so that’s optional. You can also use 1 cup of canned diced tomatoes. For all the veggies, be sure to chop them finely so they cook evenly and fit snugly around the meat in the jar.
- Raisins (Optional) – A traditional addition to many mild curries, raisins add subtle sweetness and richness. They’re entirely optional—leave them out if you’re not a fan of fruit in savory dishes.
- Cilantro – Freshly chopped cilantro gives this curry a burst of herbaceous flavor. If you don’t have it, you can substitute parsley or skip it altogether and add fresh herbs when serving. Or skip it if you’re one of those people who don’t like cilantro, it’s optional.
- Tomato Paste – A couple tablespoons of tomato paste per jar enriches the curry and helps build a thick, savory base for the sauce when heated.
- Spices – Curry powder and garam masala give this dish its signature warm, fragrant profile. These spice blends are shelf-stable and mellow slightly during canning, so don’t be afraid to season well.
- Broth or Water – You’ll need hot liquid to fill the jars before canning. Chicken stock gives the most flavor, but water works in a pinch if that’s what you have on hand.
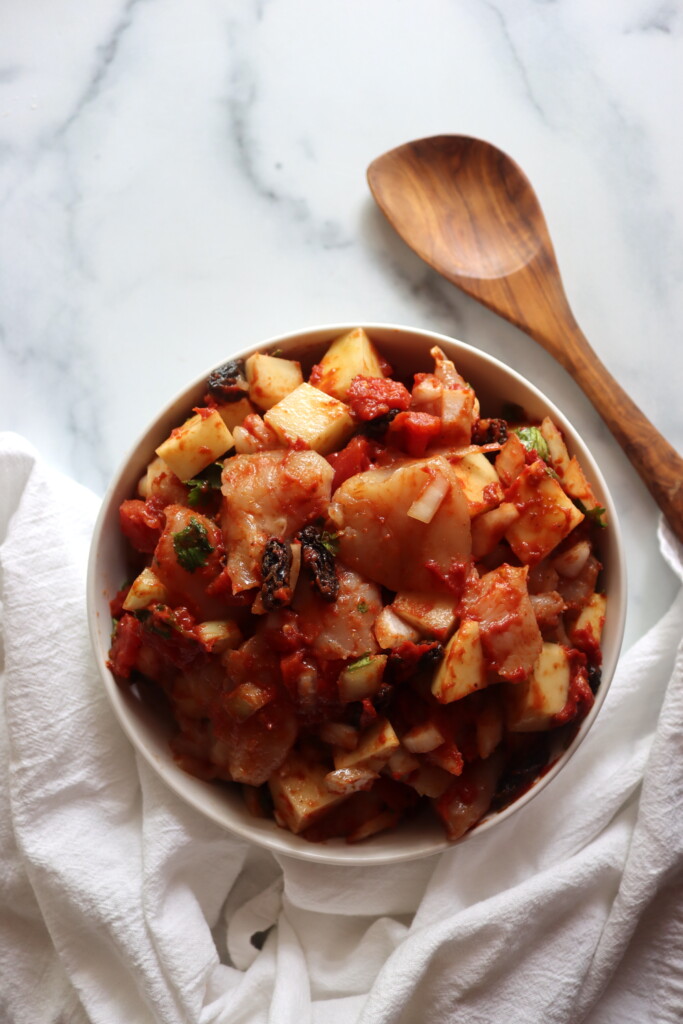
All the ingredients are mixed together in a bowl before going into the jars. I know it’s tempting to just layer all the ingredients in each jar, but they won’t mix in the canning process and you’ll get dense pockets of spices or tomato paste that don’t process well (and flavor will suffer too).
For both safety and quality, make sure you mix everything thorougly in a bowl before raw packing the jars.
How to Make Chicken Curry in a Jar
Start by prepping your ingredients. Finely chop the onions, tomatoes, and potatoes, and cut the chicken into 2-inch cubes. Add everything to a large mixing bowl along with the raisins, cilantro, tomato paste, curry powder, and garam masala.
Mix thoroughly so that the seasoning is evenly distributed throughout the mixture. This is important! Don’t just add the ingredients directly into the jars. Everything needs to be well mixed before it’s placed in the jars of they won’t heat evenly. (And, your tomato paste and raisins will make a puck in the jar, rather than seasoning everything into a nice curry.)
Once combined, set the bowl aside and prepare your canner and jars.
Canning Chicken Curry
Heat up your chicken stock or water so it’s ready to go when you’re ready to fill.
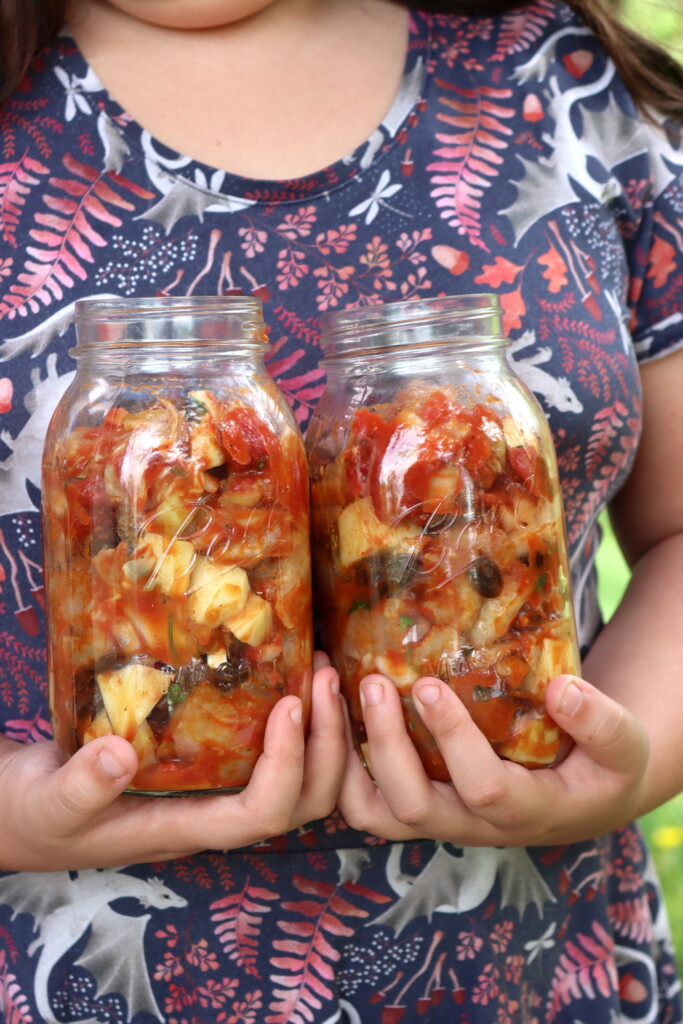
Pack the hot jars with the raw chicken curry mixture, leaving 1-inch headspace. Each quart jar should need about 1 cup of hot water or broth, but this can vary, so make sure you have extra water on in a kettle just incase.
Pour hot broth or water over the solids, maintaining the same headspace. Remove air bubbles, wipe jar rims, and secure lids and rings.
Process the jars in a pressure canner—75 minutes for pints and 90 minutes for quarts—at 10 pounds pressure with a weighted gauge (or 11 pounds with a dial gauge), adjusting for your elevation.
When done, allow the canner to cool and depressurize completely before removing jars. Let them sit on a towel-covered counter for 12 to 24 hours. Check seals before labeling and storing in a cool, dark place.
Altitude Adjustments
Processing times don’t change with elevation, but the pressure setting does. Make sure you’re using the correct pressure for your altitude:
Dial Gauge Canners
- 0–2,000 ft: 11 lbs
- 2,001–4,000 ft: 12 lbs
- 4,001–6,000 ft: 13 lbs
- 6,001–8,000 ft: 14 lbs
Weighted Gauge Canners
- 0–1,000 ft: 10 lbs
- Above 1,000 ft: 15 lbs
How to Serve
To serve, pour the contents of the jar into a saucepan and simmer over medium heat for about 10 minutes, stirring occasionally. The mixture will be fully cooked, but heating brings the flavors together and warms it through.
Serve your chicken curry over hot cooked rice for a quick and filling meal. You can also add a splash of coconut milk or cream if you’d like a richer, more saucy version. Pair it with naan or flatbread and a simple side of greens for a complete dinner.
Canning Chicken Curry
Equipment
Ingredients
- 2 lbs chicken, boneless, white or dark meat, cut into 2-inch cubes
- 1 cup onion, finely chopped
- 1 cup tomatoes, finely chopped, fresh or canned
- 1 cup potato, peeled and diced
- ½ cup raisins, optional
- 4 tbsp fresh cilantro, finely chopped
- 4 tbsp tomato paste
- 2 tsp salt, or to taste
- 1 tsp curry powder
- 1 tsp garam masala
- Hot chicken broth or water, to fill jars, about 1 cup per quart, see notes
Instructions
- Prepare a pressure canner and jars before beginning.
- Chop onion, tomato, potato, and cilantro. Cube chicken into 2-inch pieces.
- Combine all ingredients (except broth) in a large bowl and mix well.
- Heat broth or water until hot.
- Pack mixture into hot jars, leaving 1-inch headspace.
- Top off with hot broth or water, maintaining headspace.
- Remove air bubbles, adjust liquid, and wipe jar rims.
- Apply lids and rings.
- Pressure can at 10 lbs (weighted gauge) or 11 lbs (dial gauge), adjusting for altitude (see notes). Process pints for 75 minutes, quarts for 90 minutes.
- Once the processing time is complete, allow the canner to cool completely before opening to remove jars.
- Let jars cool for 12–24 hours. Check seals before storing.
Notes
Canning Safety Note
This is a tested recipe from Ball Canning’s All New Book of Canning and Preserving. As it includes meat and low-acid vegetables, it must be pressure canned. Water bath canning is not safe for this type of meal. Always follow the recommended pressure and time for your altitude.
Altitude Adjustments
Use these pressure guidelines when canning at elevation:
Dial Gauge Canners
- 0–2,000 ft: 11 lbs
- 2,001–4,000 ft: 12 lbs
- 4,001–6,000 ft: 13 lbs
- 6,001–8,000 ft: 14 lbs
- 0–1,000 ft: 10 lbs
- Above 1,000 ft: 15 lbs
Serving Suggestions
To serve, heat the contents in a saucepan for 10 minutes, stirring often. Spoon over hot rice or grain of choice. You can also add coconut milk or cream for a richer sauce, or add cream and butter for something similar to classic butter chicken.Nutrition
Nutrition information is automatically calculated, so should only be used as an approximation.
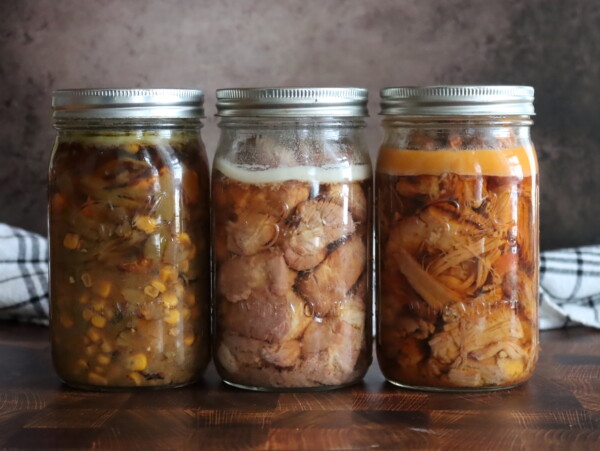
Chicken Canning Recipes
Looking for more ways to can chicken for easy weeknight meals?
This chicken curry recipe is rich and flavorful, but if you’re after something with a creamier texture and a bit of heat, try my Thai Red Curry Chicken. It uses red curry paste in the canning recipe, and then it’s served with coconut milk for a smooth, spicy-sweet finish that’s anything but ordinary.
For a more traditional comfort food option, Canning Chicken and Gravy is always a hit. It’s perfect over mashed potatoes or biscuits and makes a great base for pot pie, too.
Chicken Chili Verde is another favorite—a well seasoned, southwestern-style jar meal made with white beans and salsa verde. We love it topped with sour cream and served with tortilla chips for crunch.
And don’t forget Canning Chicken Soup—a timeless pantry staple. Add rice or noodles when serving for a filling and nourishing bowl of homemade goodness.

We both love Indian meals which I mostly cook at home since we live an hour outside of Nashville. I was thrilled to find this chicken curry recipe and was not disappointed. I tweaked the spices a little to our personal preferences after opening the can but I followed the recipe very closely when canning. I used 2 inch chunks of boneless chicken thighs and did not find them stringy. My husband (of 55 years) recently gifted me an electric pressure canner since I often want to make small batches and my old canner is getting to be too much to handle. It worked perfectly. Thank you for a wonderful recipe. I look forward to trying more.
Lovely! I’m so glad you enjoyed it.