This post may contain affiliate links. Please see our disclosure policy.
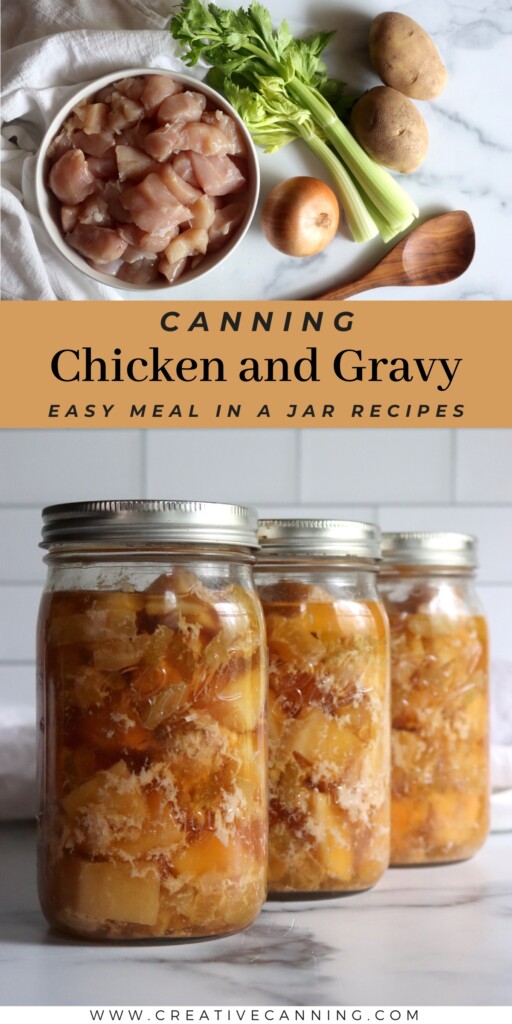
Pressure canning chicken and gravy in a jar makes an easy, shelf-stable meal—just heat, thicken, and serve over potatoes, rice, or biscuits.
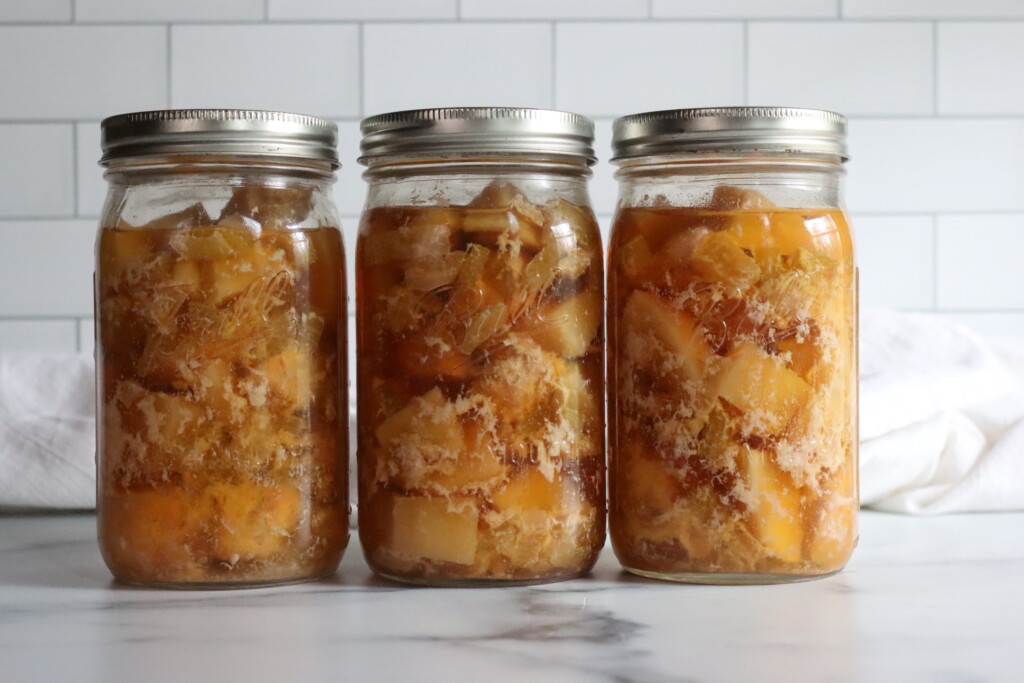
Chicken and gravy in a jar is one of those comfort food staples that makes life so much easier on a busy evening. It’s a hearty, savory main dish that’s almost a complete meal on its own—just heat it up, thicken the juices into a gravy, and pour it over mashed potatoes, rice, biscuits, or noodles for a satisfying homemade dinner without the fuss.
This pressure canned version saves time while locking in flavor. The meat stays tender, the vegetables hold up beautifully, and everything is already seasoned—so there’s no scrambling around last-minute. Just open a jar, warm it up, and supper is on the table in 15 minutes.
The best part is it’s tested as a quick raw pack canning recipe. Just chop up your ingredients, fill the jars, top with broth and you’re good to can!
Ingredients for Chicken and Gravy in a Jar
This is a simple pressure canning recipe developed by Ball Canning in their All New Book of Canning and Preserving. It’s in their simple raw pack meal in a jar section, where they walk you through a bunch of simple small batch classic meal in a jar canning recipes.
Each recipe is written as a two quart (or 4 pint) canning batch because that’s the absolute minimum that you can put into a pressure canner safely. (If the batch size is too small, it doesn’t heat correctly.) Bigger batches, however, are perfectly fine, and you can increase this recipe as much as you like, up to the maximum capacity of your particular canner.
My All American Brand 930 canner holds 14 quarts, and I generally make full batches, especially of our favorites, Beef Stroganoff and Chipotle Beef. I’ve already made this chicken and gravy meal a few times, and it’s a keeper, but I’m making a small demo batch here for you today so you can see the quantities.
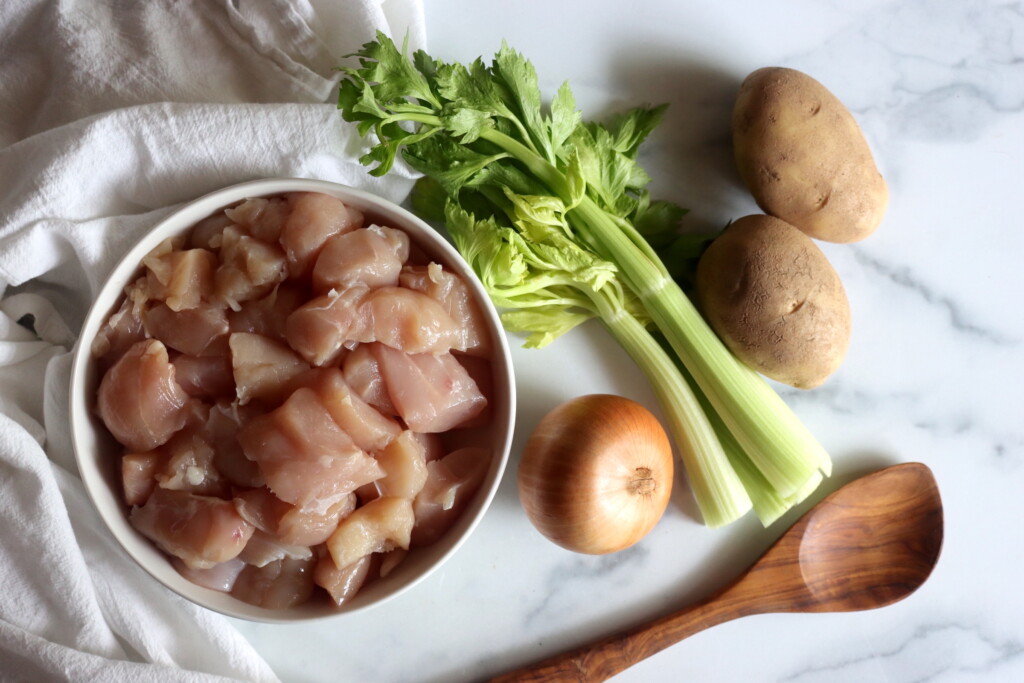
Here’s what you need for a small 2 quart batch:
- Chicken – Boneless chicken is the base of this meal. You can use white or dark meat, or a mix of both depending on what you have on hand. The meat is cut into 2-inch chunks so it holds its shape through pressure canning without getting stringy. I have found that white meat chicken holds up better in the canner than dark, and I use dark meat for things that I want to fall apart, like my pressure canned pulled chicken taco meat.
- Onions, Celery, and Potatoes – These aromatic vegetables round out the meal and help build flavor in the jar. Dice them small so they cook evenly and fit easily around the chicken pieces.
- Salt, Poultry Seasoning, and Black Pepper – These basic seasonings bring out the savory richness of the chicken. If you’re using a salt substitute, just be sure it’s one that won’t turn bitter or cloud your jars during processing. You can also skip the poultry seasoning if you don’t happen to have any on hand, just remember to season the dish on serving.
- Dry White Wine – Just a bit of wine adds depth and acidity to balance the dish. If you prefer not to use wine, you can leave it out or replace it with a splash of lemon juice or cider vinegar, plus additional broth.
- Chicken Stock or Water – You’ll need hot liquid to top off the jars before canning. Homemade stock is ideal, and you can use pressure canned chicken stock that you’ve put up, but store-bought or bouillon-based broth works fine too. Just make sure it’s hot when you add it to the jars.
If you don’t have chicken stock on hand, you can use bullion cubes to make a broth, or you can use veggie stock instead. Other broths and stocks also work, as does water in a pinch. Know that canning in water will make your meal taste a bit washed out, but it will still get the job done.
The white wine is entirely for flavor, not for preservation. Feel free to skip it, or add a teaspoon or two of lemon juice, or a Tablespoon or so of cider vinegar to add a little bright acidity (plus a bit more broth to make up the balance of the total liquid).
How to Make Chicken & Gravy in a Jar
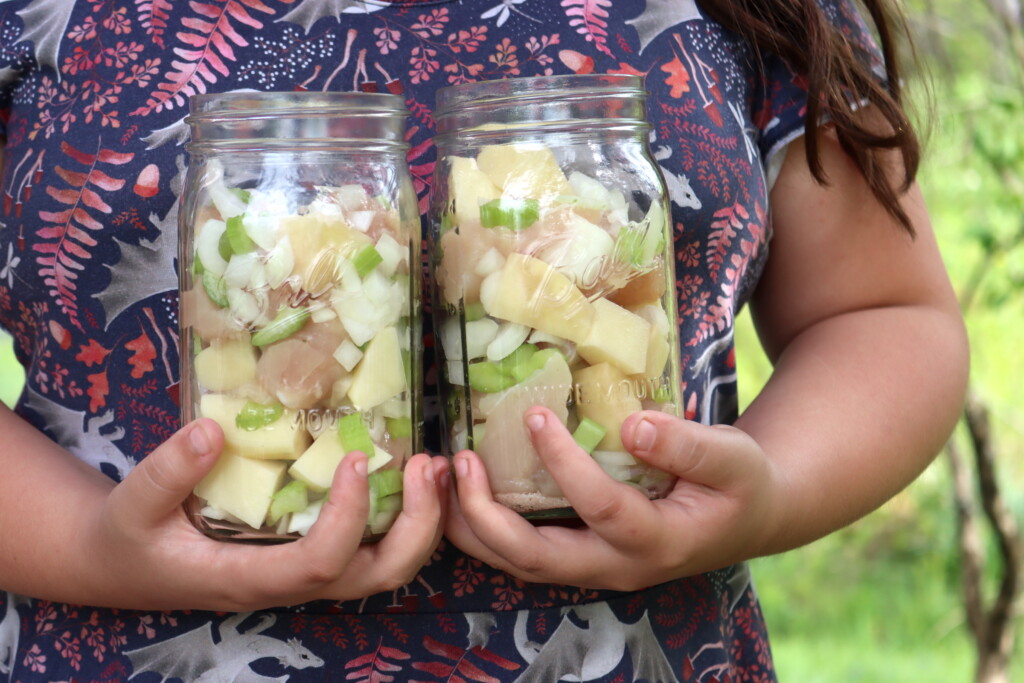
Start by prepping your ingredients. Peel and chop the onions, dice the celery, and peel and cube the potatoes into bite-sized pieces. Cut your boneless chicken into roughly 2-inch chunks—small enough to cook through during canning, but large enough to hold their shape.
Place everything into a large mixing bowl: the chicken, onions, celery, and potatoes, along with the salt, poultry seasoning, black pepper, and white wine. Using your clean hands or a very sturdy spoon, mix thoroughly to distribute the seasoning evenly.
Once this raw mixture is well mixed it’s time to pack it into prepared jars. Set it aside and prepare your canner and jars for the next step.
Canning Chicken and Gravy Meal in a Jar
Now it’s time to get your canning setup ready and preheat the broth for canning.
If you’re using bouillon-based broth, put a kettle on to boil water. If you’re using homemade or boxed broth, start warming it so it’s hot when you ladle it into the jars.
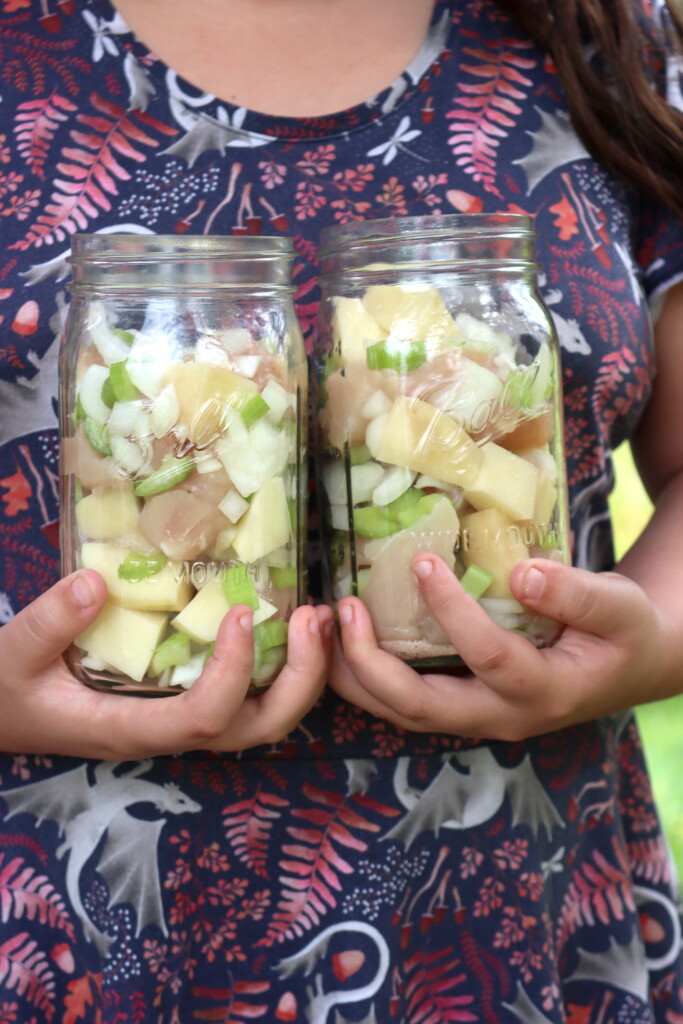
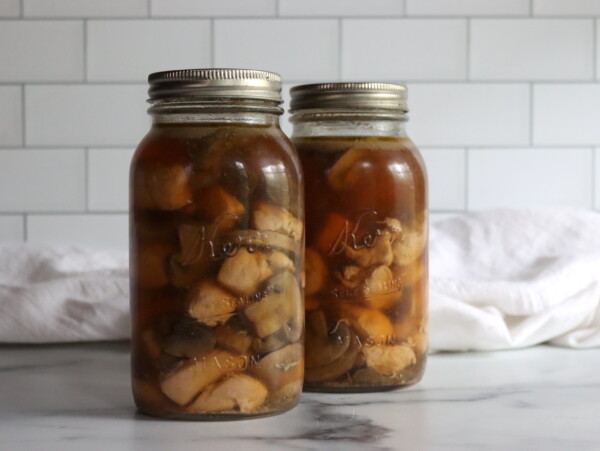
Fill your hot jars with the chicken and vegetable mixture, packing firmly but not tightly. Leave a 1-inch (3 cm) headspace. Then top off each jar with hot broth or water, maintaining that same 1-inch headspace. Use a bubble remover to release any trapped air, adjust the liquid as needed, wipe the rims with a clean, damp cloth, and apply your lids and rings.
Process the jars in a pressure canner—75 minutes for pints and 90 minutes for quarts—at 10 pounds pressure with a weighted gauge (or 11 pounds with a dial gauge), adjusting for your altitude as necessary.
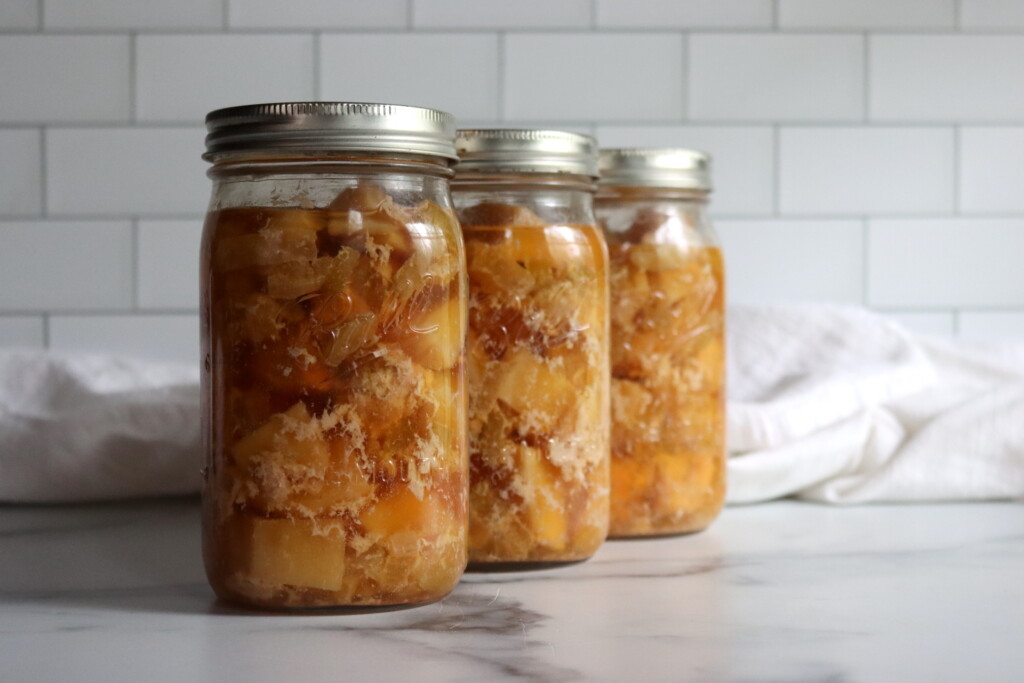
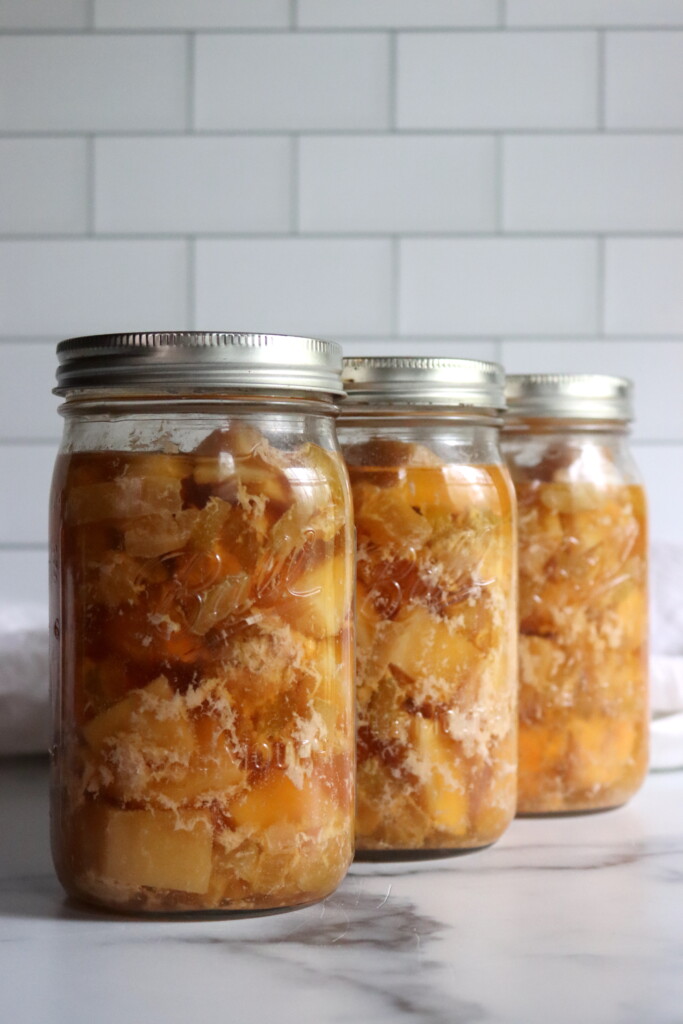
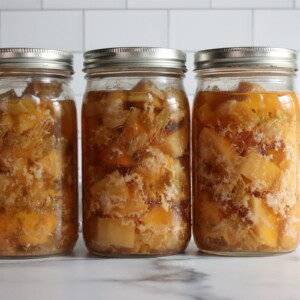
Once the jars are finished, allow the canner to cool completely and depressurize before removing the jars. Let them sit undisturbed on a towel-covered counter for 12–24 hours. After checking seals, label and store your jars in a cool, dark place.
Altitude Adjustments
With pressure canning, the processing times stay the same at higher altitudes, but the pressures change. Here are the altitude adjustments for pressure canning:
For dial gauge pressure canners:
- 0 to 2,000 feet in elevation – 11 lbs pressure
- 2,001 to 4,000 feet in elevation – 12 lbs pressure
- 4,001 to 6,000 feet in elevation – 13 lbs pressure
- 6,001 to 8,000 feet in elevation – 14 lbs pressure
For weighted gauge pressure canners:
- Above 1,000 feet – 15 lbs pressure
- 0 to 1,000 feet in elevation – 10 lbs pressure
How to Serve
When you’re ready to serve, just pour the contents of the jar into a saucepan, heat until simmering, and thicken the juices with a tablespoon or two of flour or cornstarch slurry. It makes an incredible gravy to ladle over mashed potatoes, rice, or biscuits. Pair it with a side of greens, and dinner’s done.
It’s also a versatile meal starter, and you can use it as a stew with a bit more broth, or as a filling for a pot pie or cottage pie.
Meal Prep Bonus
Each quart jar holds about two hearty servings.
You can scale this recipe up for batch canning day, making the batch as large as your pressure canner’s total capacity. Don’t scale it down below quart jars (or 4 pints) as that’s the minimum batch size for pressure canning.
Chicken and Gravy Meal in a Jar
Equipment
Ingredients
- 1 cup onion, chopped
- 1 cup celery, finely chopped
- 1 cup potato, peeled & diced
- 2 lbs chicken, white or dark meat, boneless, cut into 2 inch chunks
- 2 tsp salt, or a safe substitute
- 2 tsp poultry seasoning
- 1 tsp ground black pepper
- 4 tbsp dry white wine
- Hot chicken stock or water, to fill jars
Instructions
- Prepare a pressure canner and jars before beginning.
- Peel and chop onions, celery, and potatoes.
- Cut chicken into 2-inch pieces.
- Place all ingredients except broth into a large bowl. Mix thoroughly.
- Heat chicken broth or water until hot.
- Pack the mixture into hot jars, leaving 1-inch headspace.
- Top off with hot broth, maintaining 1-inch headspace.
- Debubble, adjust liquid as needed, and wipe rims.
- Apply lids and rings.
- Pressure can at 10 lbs (weighted gauge) or 11 lbs (dial gauge), adjusting for altitude (see notes). Process pints for 75 minutes and quarts for 90 minutes.
- Allow the canner to cool completely to room temperature before opening and removing jars.
- Let jars cool undisturbed for 12–24 hours. Check seals before storing.
Notes
Canning Safety Note
This is a tested canning recipe developed by Ball Canning for raw pack. All meal in a jar recipes containing meat and low acid vegetables must be pressure canned—never use a water bath. Because it contains low-acid foods like meat and vegetables, only a pressure canner can safely process. Stick to tested processing times, maintain proper headspace, and adjust pressure for your altitude. Do not thicken the gravy before canning, that has to be done at serving. Likewise, don’t add butter, cream or dairy to this recipe before canning. If using those ingredients, they must be added at serving.Altitude Adjustments for Pressure Canning
While the processing time doesn’t change at higher elevations, the pressure does. Use the correct pressure setting for your altitude: Dial Gauge Canners- 0–2,000 ft: 11 lbs
- 2,001–4,000 ft: 12 lbs
- 4,001–6,000 ft: 13 lbs
- 6,001–8,000 ft: 14 lbs
- 0–1,000 ft: 10 lbs
- Above 1,000 ft: 15 lbs
Serving Suggestions
To serve, empty the jar into a saucepan and heat until it simmers. Thicken the juices with flour or a cornstarch slurry to make a rich gravy, then spoon it over mashed potatoes, rice, or biscuits. It’s a full meal with just a quick reheat. For something different, use the mixture as a stew with extra broth, or bake it into a pot pie or cottage pie for a cozy dinner twist.Nutrition
Nutrition information is automatically calculated, so should only be used as an approximation.
Chicken Canning Recipes
Looking for a few more chicken canning recipes to put up this healthy protein?
This recipe chicken and gravy recipe can be used as a pot pie filling, but you can also make my canning recipe for chicken pot pie filling if you want more veggies in the mix. It includes peas and carrots for a more rounded pot pie.
Chicken chili verde is another Ball Canning recipe that combines chicken, white beans and salsa verde into a delicious chicken chili recipe. It’s a full meal in a jar, but my family loves it served with either cornbread or tortilla chips and sour cream.
If you’re looking for a classic, there’s no better choice than canning chicken soup, and you can add rice or pasta at serving. Nothing beats it when you’re feeling under the weather.
And if you’re looking for something a bit more exotic, try Thai Red Curry Chicken. It uses warm red curry paste and classic Thai flavors, so it’s not your everyday canning recipe!
So, I thought when I raw pack chicken, I’m not supposed to fill with liquid to the headspace because the liquid comes out of the chicken. That’s not the case with this recipe, even tho the chicken is raw packed? Looks delicious and I want to try it after I am sure I understand the recipe! 🙂
That is generally true when using recipes for canning raw chicken from the NCHFP, but those recipes are all meat (no other veggies). This recipe is from ball canning and was tested as a raw pack recipe, but it does use chicken broth to top off the jars before canning. They actually have a number of raw pack recipes (for chicken, beef and more) that use broth. The recipe is written as it was tested, and does use chicken broth. Enjoy!
Can’t wait to try these recipes.