Canning parsnips with a pressure canner gives you a versatile pantry staple you can add to soup, shepherd’s pie, and other essential cold weather recipes.
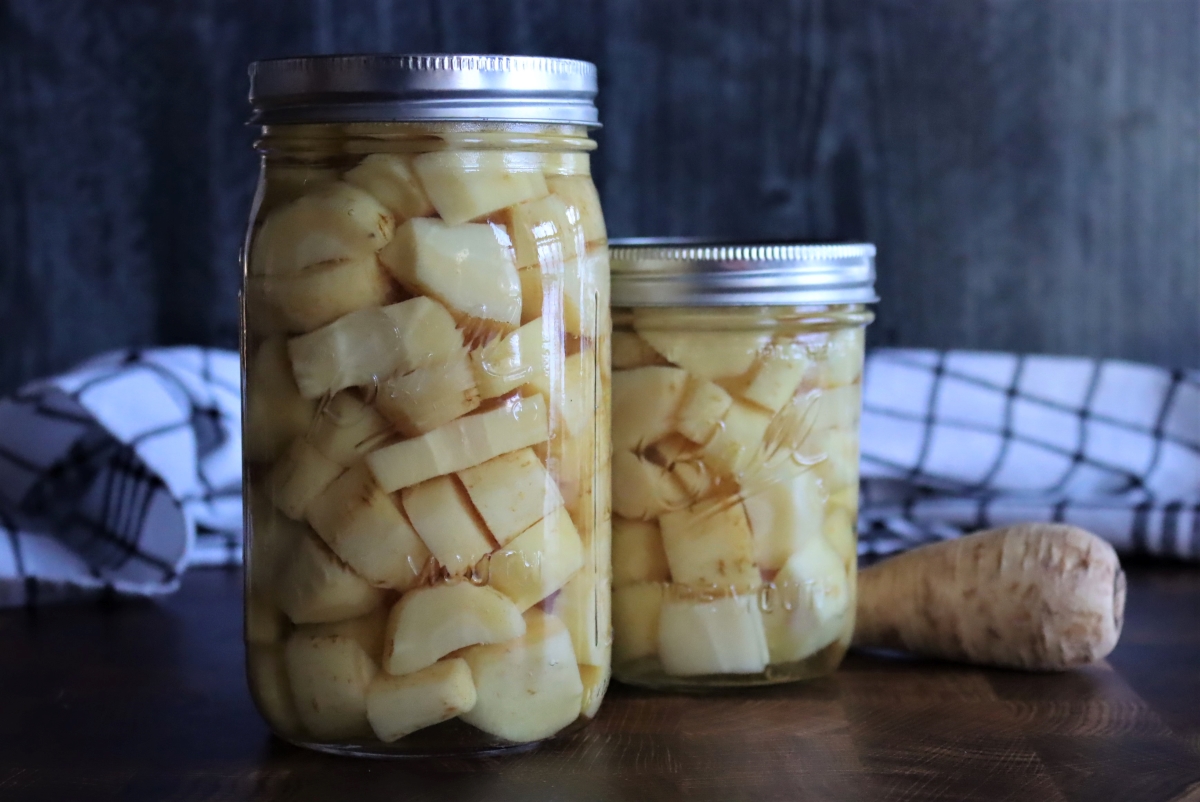
I’m a huge fan of parsnips, which I consider to be somewhat of an underdog in the root vegetable world, and I love to cook with them year-round. In fact, my family loves them so much we grow our own. This means there are plenty of parsnips to go around, but in the past I’ve been at a loss as to how I can actually use it all up. Parsnips aren’t the hardiest of vegetables, they’re quick to whither and can quickly turn fibrous and tough if you’re dealing with a particularly mature specimen. Although we’re fortunate enough to store parsnips overwinter in the garden (which means we can dig them out of the snow whenever we’re in need) sometimes the object of the game is speed and accessibility and not the time it takes to peel and prep freshly dug-up parsnips.
Canned parsnips are wonderful anytime, but they’re particularly attractive on nights when you’re trying to get supper on the table. You know, those evenings where energy levels are low or somewhere else entirely. Hot packed in a simple boiling water liquid (even salt is optional) and processed in a pressure canner, these parsnips will maintain their delicately sweet, pleasantly grassy flavor for an entire year (and even longer, if I’m being honest).
Once you have these pre-chopped parsnips at your disposal you’ll be inclined to add them to all sorts of recipes. Soup, shepherd’s pie, winter salads—canned parsnips have a wide variety of uses (and are, of course, perfect for snacking on with a pinch of coarse salt and freshly ground black pepper).
Preparing Parsnips for Canning
Parsnips, like other root vegetables, should always be peeled prior to canning. Root vegetables grow in soil, which is where botulism spores can live. Fortunately botulism is rare, but it is serious and it can even be deadly and the simple act of peeling root vegetables prior to canning greatly reduces this risk.
Pressure canning—which is the canning method we’re going to use in this scenario—also prevents botulism but it’s always better to be safe than sorry (and really, with a good Y-shaped peeler the peeling process goes by pretty quickly). Peeling the parsnips will get rid of the natural stringy, fibrous outer layer, which has a tendency to taste overly earthy if not removed.
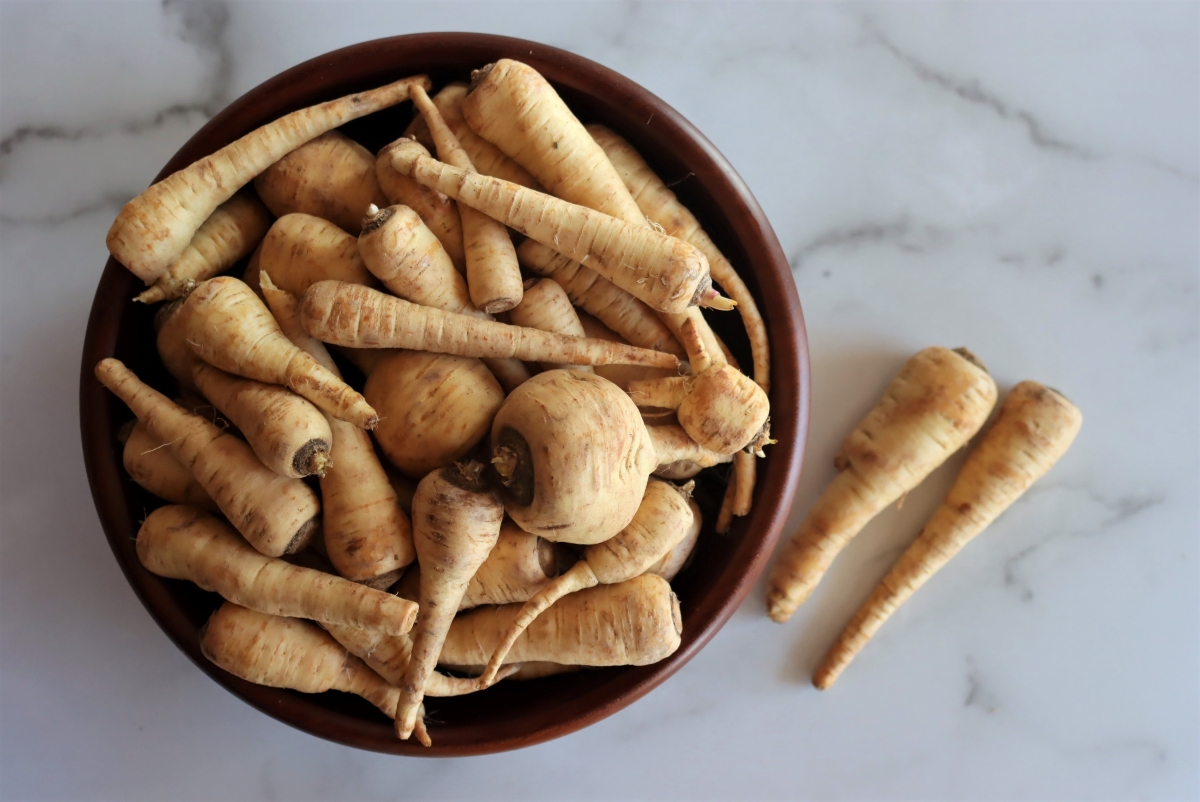
Choose small to medium parsnips for canning as these tend to be the sweetest. Avoid parsnips that that have a wrinkled appearance, have long, spindly tips, or that have a rubbery texture.
For a canner batch of 7 quarts you’ll need 16 to 18 pounds of parsnips and for a canner batch of 9 pints you’ll need 10 to 12 pounds of parsnips.
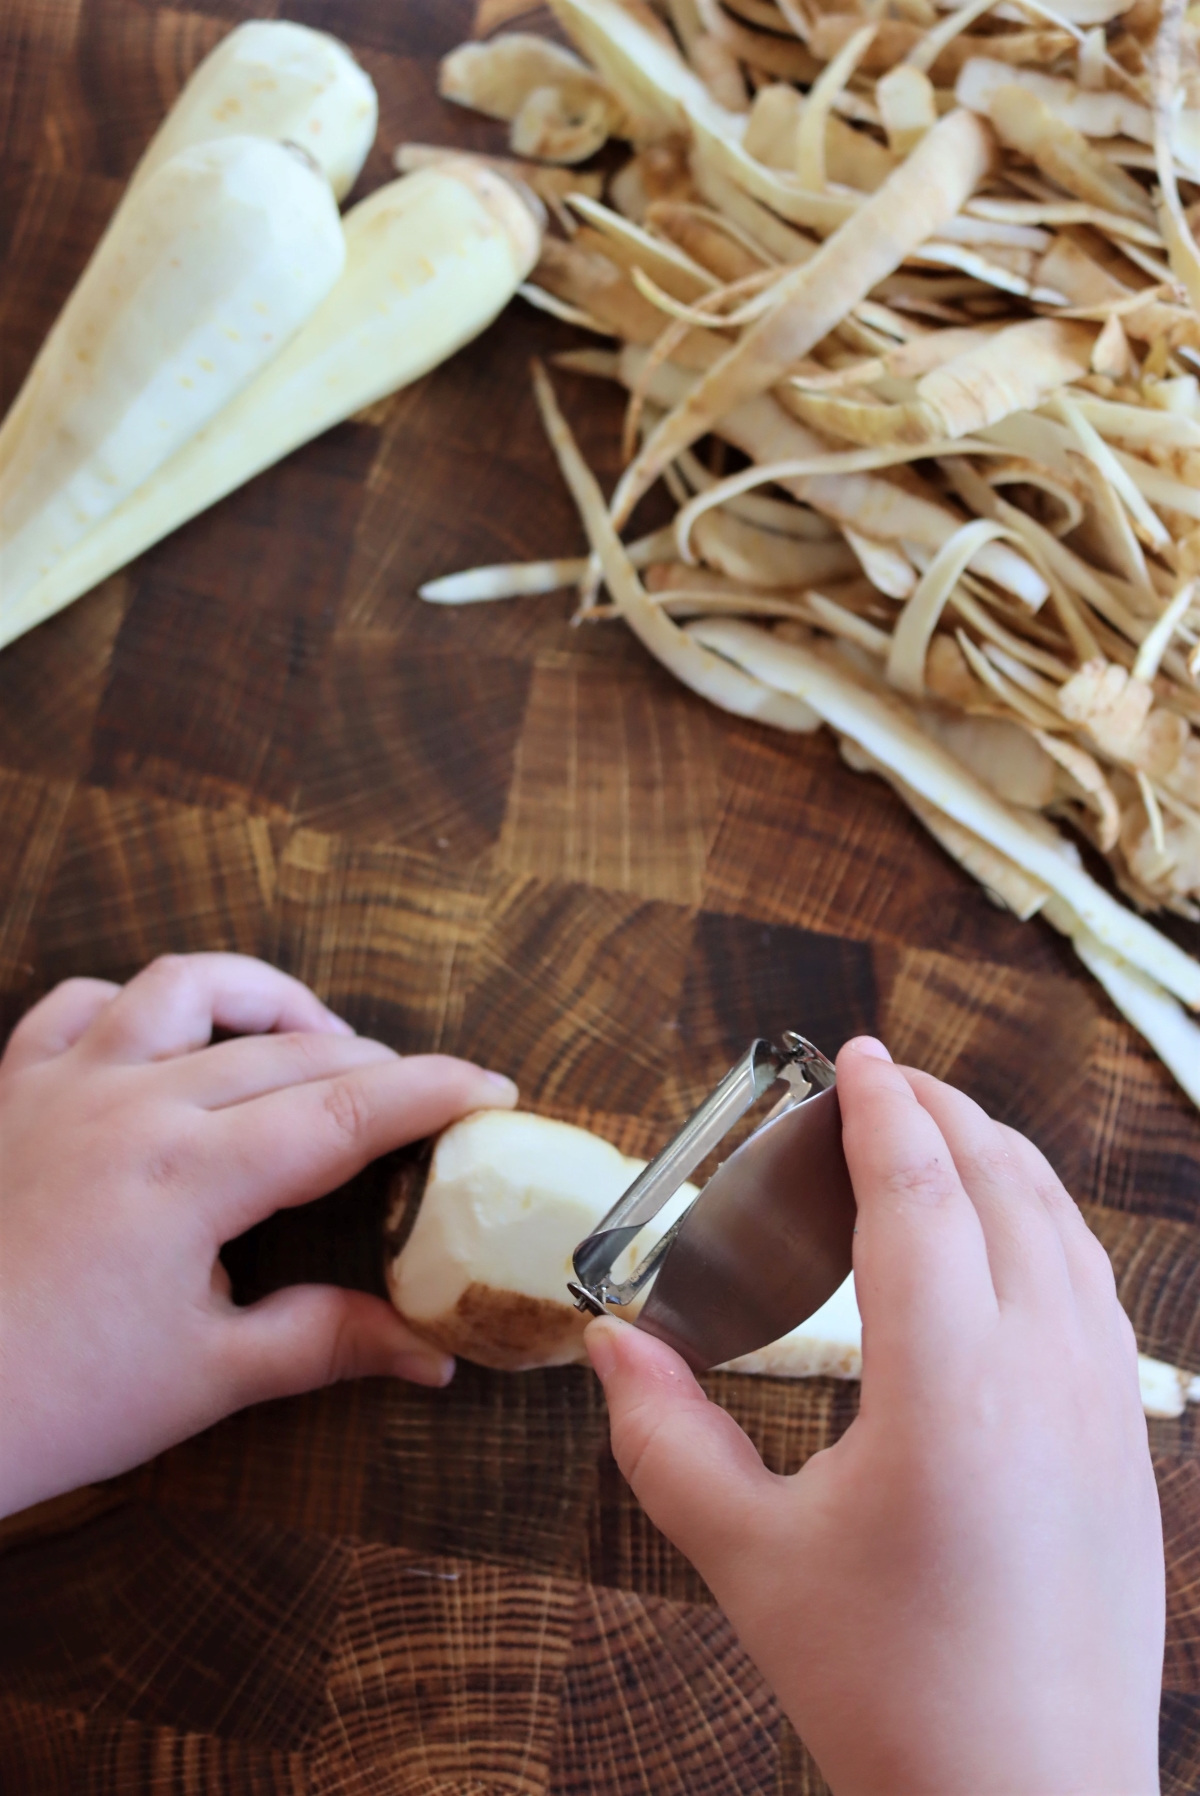
Y-shaped peelers (also sometimes called Swiss peelers) make the fastest work of peeling the parsnips, but any kind of sharp vegetable peeler will do the job.
Chop the parsnips into uniformly shaped and sized chunks. Parsnips have a tendency to taper off sharply, making it difficult to create sizeable pieces. Cut these pieces into a small dice and add the parsnip to soups, stews, stir fries, and veggie burgers.
Some people like to remove the fibrous core from parsnips when they’re being used for canning, but I find that as long as I stick to younger parsnips the taste and texture of the core is indistinguishable from the outer layers of the root.
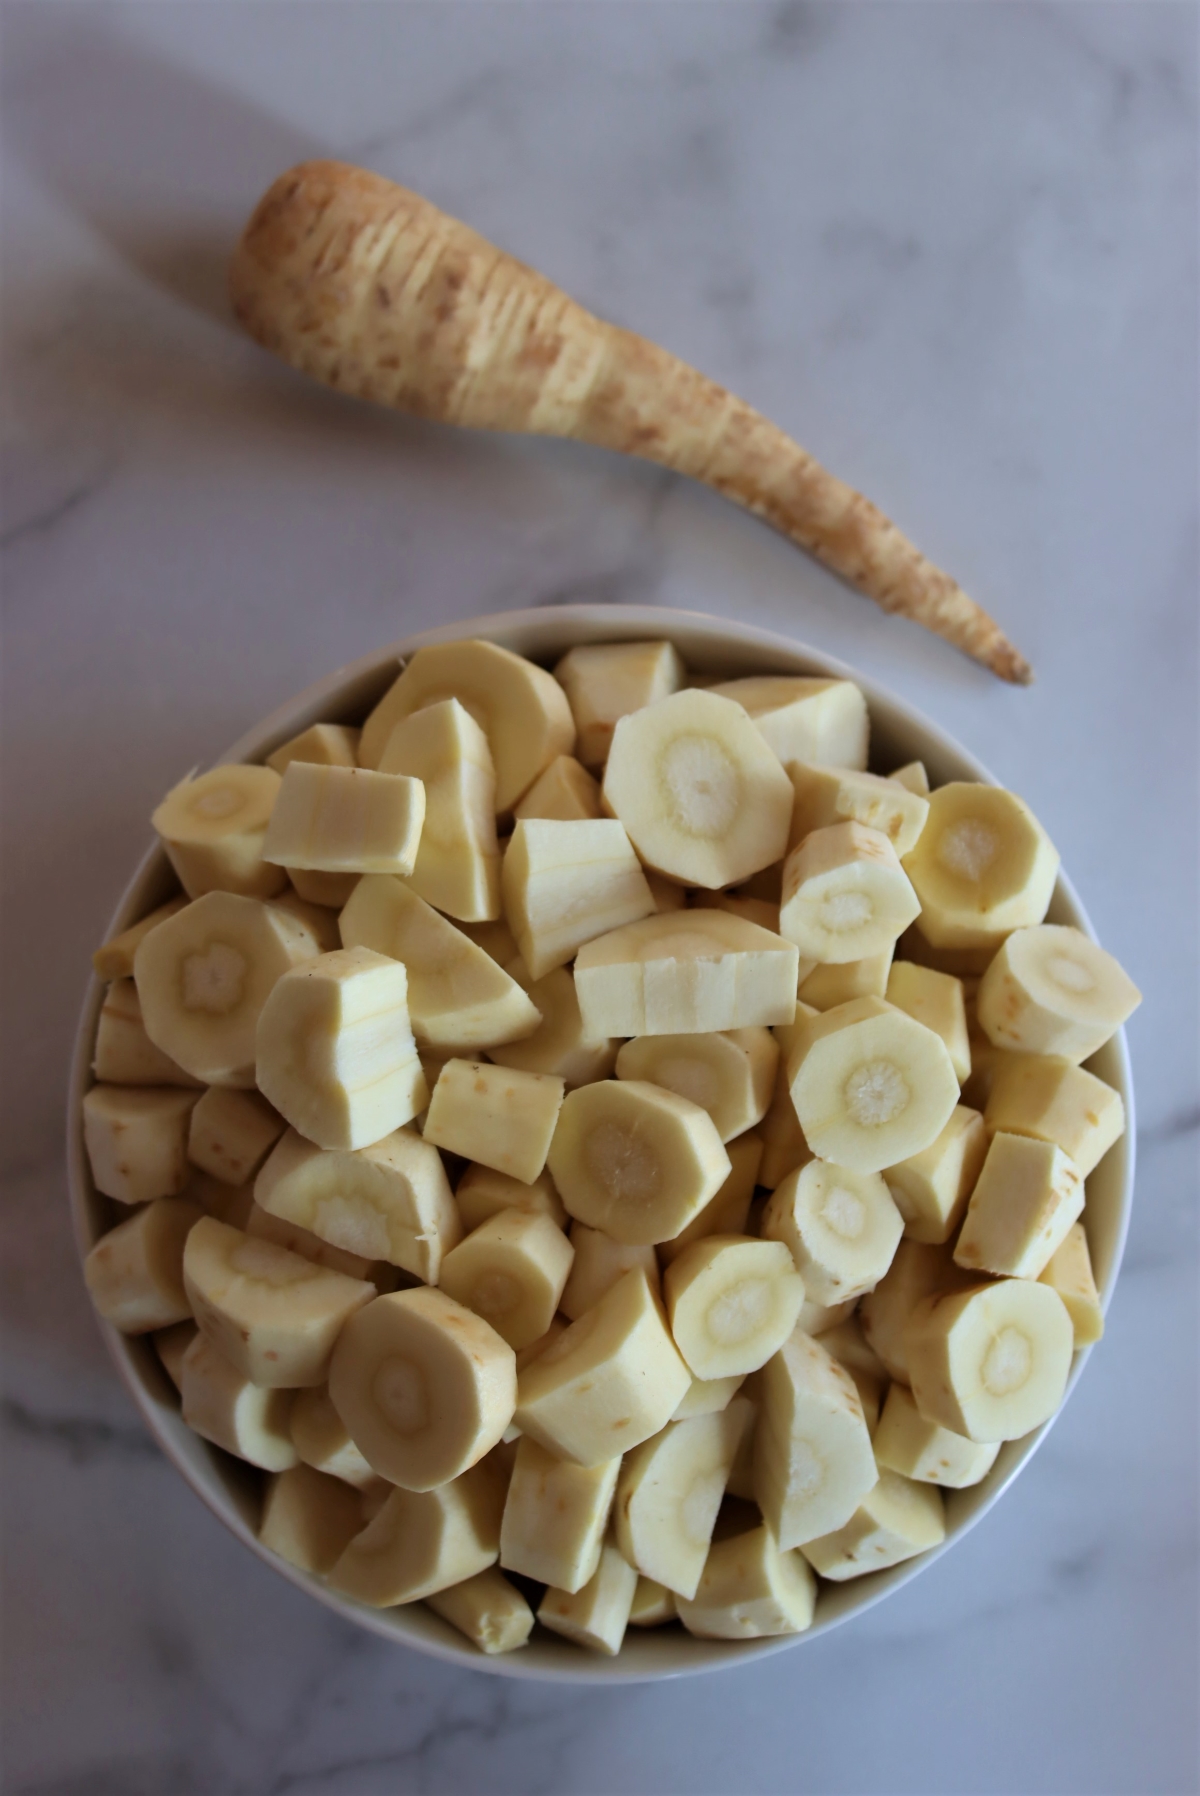
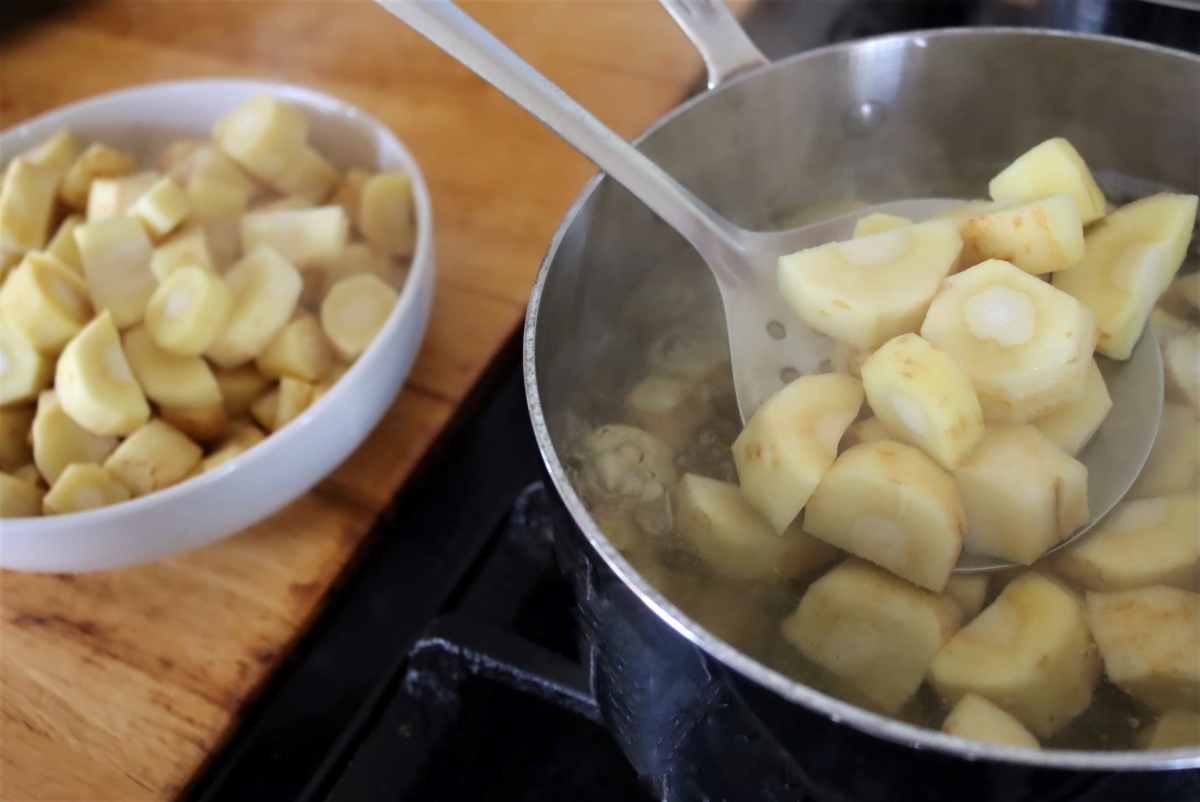
The next step is to blanche the chopped parsnips in boiling water for 5 minutes. Blanching or hot packing the parsnips helps to remove air pockets and yields an overall better end result.
Don’t add the parsnips to the water until it’s come to a roiling boil and remember: don’t start the timer until the water has returned to a boil. If your pan is on the smaller side, blanche the parsnips in smaller batches.
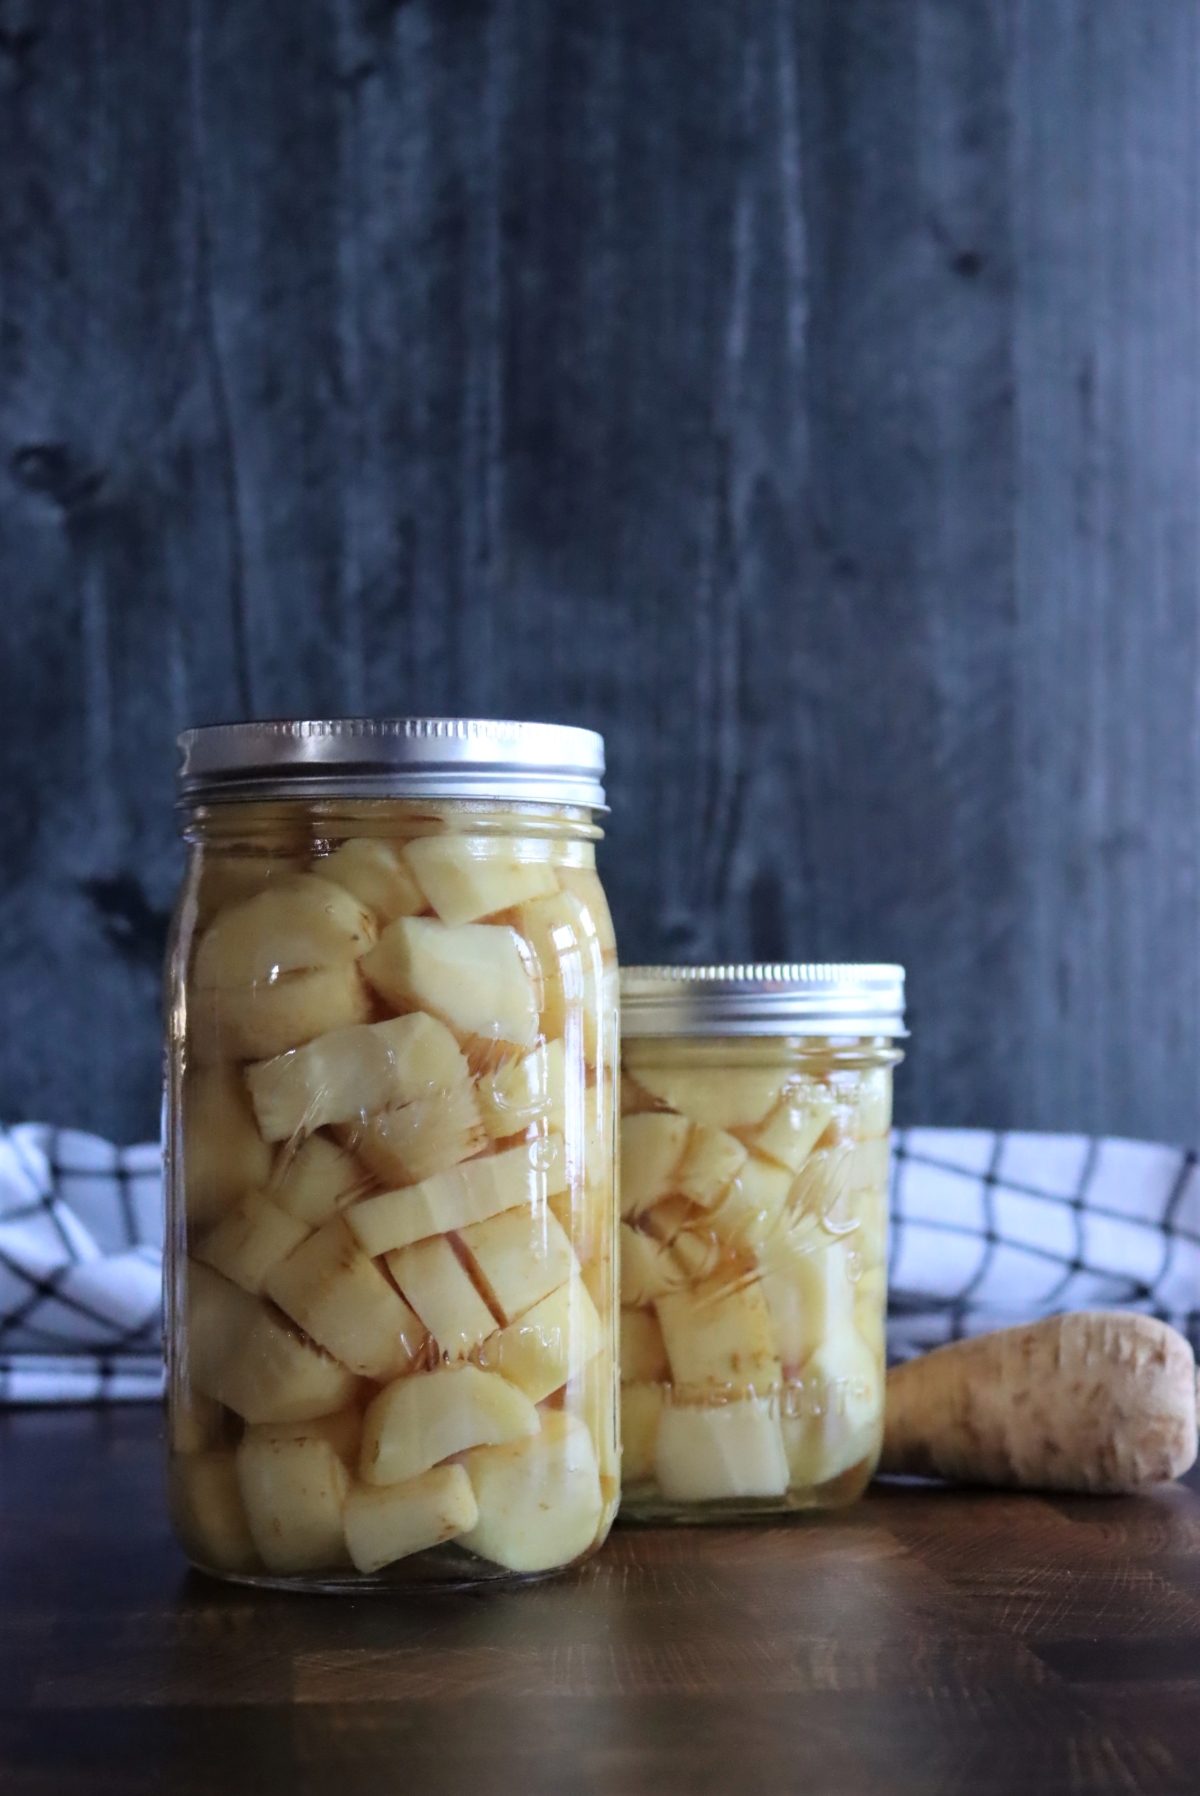
Carefully pack the still-hot parsnips into prepared pint or quart jars, leaving 1 inch headspace. If you’d like to add salt at this point, go with 1/2 teaspoon per pint or 1 teaspoon per quart.
Cover parsnips with boiling cooking liquid, maintaining the same 1-inch headspace as before. Use a clean kitchen towel to wipe the rims and sides of each jar before applying two-piece jar lids until fingertip tight.
Canning parsnips
Note: These instructions for pressure canning parsnips come directly from the University of Michigan state extension service and are meant to be followed exactly as described.
New to pressure canning? Check out my guide to pressure canning for beginners, where you’ll find all my best tips and troubleshooting solutions for common issues that can come up when pressure canning.
Parsnips MUST be pressure canned using either a dial-gauge pressure canner or a weighted-gauge pressure canner; hot water canners can’t reach or sustain the high temperatures needed to process parsnips.
Place the filled jar rack into the pressure canner and cover with 2 inches of water. Secure lid and heat the water in the canner over high heat. Once a constant stream of steam has escaped from the pressure canner for at least 10 minutes, add the weighted gauge or close the petcock to pressurize the canner. Start the timer once the gauge reachers the desired pressure.
To process parsnips using a dial-gauge pressure canner use the following instructions:
- 0-2,000 feet: 11 PSI for 30 minutes (pints) or 35 minutes (quarts)
- 2,001-4,000 feet: 12 PSI for 30 minutes (pints) or 35 minutes (quarts)
- 4,001-6,000 feet: 13 PSI for 30 minutes (pints) or 35 minutes (quarts)
To process parsnips using a weighted-gauge pressure canner use the following instructions:
- 0-1,000 feet: 10 PSI for 30 minutes (pints) or 35 minutes (quarts)
- 1,001 feet: 15 PSI for 30 minutes (pints) or 35 minutes (quarts)
When the timer goes off, remove pressure canner from the heat and air cool until depressurized. Working slowly, remove the weighted gauge or open the petcock. Give the canner another 2 minutes and then unfasten the lid.
Use a jar lifter, carefully remove the jars from the canner, setting them on a clean surface lined with a kitchen towel and allowing for at least an inch of space between each jar.
Let the canned parsnips come to room temperature, allowing anywhere from 12 to 24 hours for the jars to cool down.
Remove screw bands from each lid and check the seal—the contents of unsealed jars MUST BE REHEATED AND REPROCESSED.
Sealed jars should be stored in a cool, dry place away from direct light and are best enjoyed within a year.
Ways to Use Canned Parsnips
Having canned parsnips in the pantry means that we’re more likely to use them in pot pie and shepherd’s pie recipes. Soups and stews are another delicious vehicle for canned parsnips, as are stir fries and winter salads.
We also like to mash canned parsnips, either as the star ingredient or as part of a collective mash with celeriac, turnip, and creamy white beans. Perhaps my favorite way to use these canned parsnips is to cover them with a simple glaze made with maple syrup, butter or olive oil, and a pinch of salt.
Ways to Preserve Parsnips
Need a few more ways to preserve parsnips?
Canning Parsnips
Make this basic recipe for canned parsnips using a pressure canner!
Ingredients
- Parsnips (16-18 lbs. for 7-quart canner load; 10-12 lbs. for 9-pint canner load)
- Salt (optional)
Instructions
- Peel and trim parsnips. Cut parsnips into chunks that are roughly the same size.
- Bring a large pot of water to boil. Add the chopped parsnips to the boiling water (either all at once or in batches, depending on the size of the pot) and blanche for 5 minutes.
- Pack prepared jars with blanched parsnips. Leave 1-inch headspace.
- If you want to include salt, do it at this stage. Add 1/2 tsp. per pint or 1 tsp. per quart. Cover the parsnips with the still-hot blanching liquid, making sure to maintain 1 inch of headspace.
- Apply two-piece canning lids until fingertip tight.
- Load jars into prepared pressure canner and process using the times/PSI listed in the notes below.
- When the timer goes off, allow the canner to depressurize before carefully removing the jars.
- Set the jars on a clean surface lined with a kitchen towel, leaving at least 1 inch of space between each jar. Let the jars come to room temperature (12-24 hours) and then check the seal of each lid. Any jars with unsealed lids must be reprocessed.
- Label sealed jars and store in a cool, dry location away from direct light. Canned parsnips are best when enjoyed within 1 year, but are still good up to 18 months.
Notes
To process parsnips using a dial-gauge pressure canner use the following instructions:
- 0-2,000 feet: 11 PSI for 30 minutes (pints) or 35 minutes (quarts)
- 2,001-4,000 feet: 12 PSI for 30 minutes (pints) or 35 minutes (quarts)
- 4,001-6,000 feet: 13 PSI for 30 minutes (pints) or 35 minutes (quarts)
To process parsnips using a weighted-gauge pressure canner use the following instructions:
- 0-1,000 feet: 10 PSI for 30 minutes (pints) or 35 minutes (quarts)
- 1,001 feet: 15 PSI for 30 minutes (pints) or 35 minutes (quarts)
Root Vegetable Canning Recipes
Putting up more than just parsnips?
Pressure Canning Recipes
Fill your pressure canner again with these simple pressure canning recipes:
Leave a Reply