This post may contain affiliate links. Please see our disclosure policy.
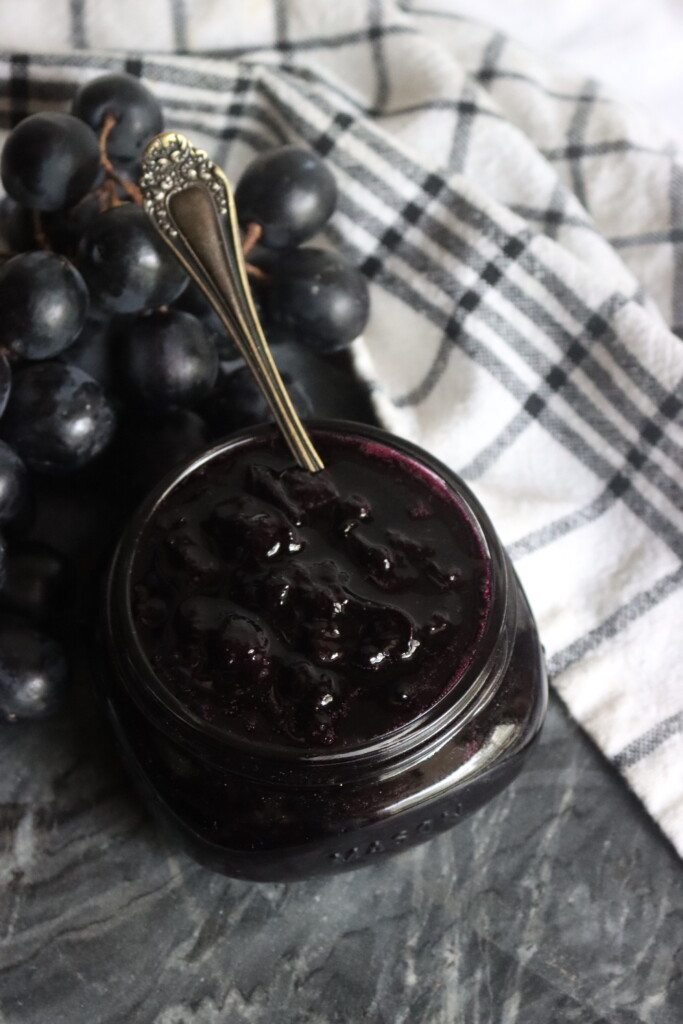
Grape jam is one of those old-fashioned preserves that deserves a place back in the pantry. It’s richer and more textured than grape jelly, with the bold, nostalgic flavor of real fruit. Whether you’re working with classic Concord grapes, old fashioned seeded grapes or simpler store-bought seedless, this homemade jam is simple, satisfying, and absolutely delicious.
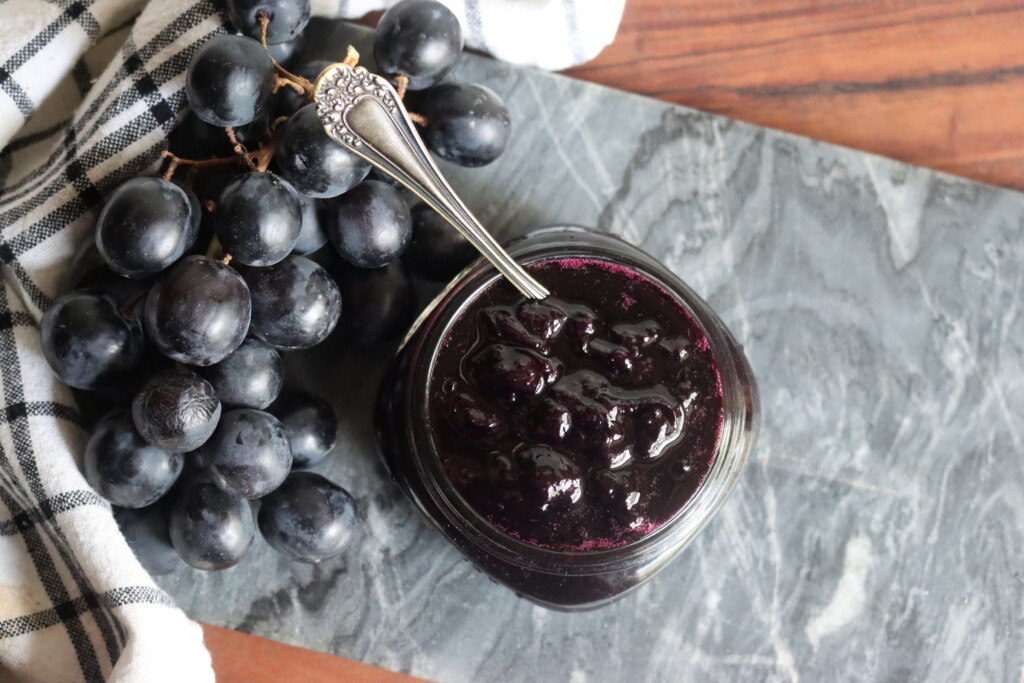
Everyone knows grape jelly—it’s the classic childhood favorite, right up there with peanut butter and sliced bread. But grape jam? That’s something you don’t see much anymore. It’s one of those old-school recipes that quietly faded into the background, and honestly, it’s long overdue for a comeback.
There’s a reason grape jam fell out of favor. It used to be a real chore to make, especially back when most grapes had big seeds you had to remove by hand. That’s a lot of extra work, and by the time seedless grapes came along in the 1980s, grape jelly had already become the default. But now that seedless grapes are easy to find—and we have better strainers and kitchen tools—there’s no reason not to bring grape jam back to the table. It’s sweet, textured, and a lot more flavorful than the store-bought stuff.
This old fashioned grape jam recipe is adapted from the traditional recipe published in So Easy to Preserve by the University of Georgia Extension. (They also suggest using a similar recipe for Muscadine Jam, too.)
Is Grape Jam Worth the Effort?
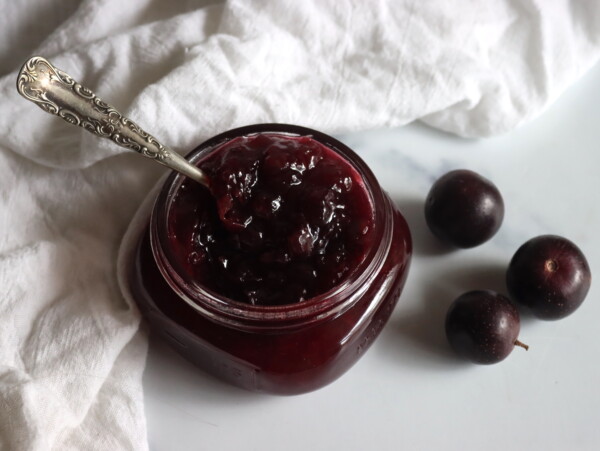
Grape jam has texture. It has character. And it tastes like real fruit, not the flavoring you’d find in a squeeze bottle. It’s a little rustic and a little nostalgic, and it’s one of my favorite ways to spend a slow afternoon in the kitchen. The bonus? My kids love it, and they’re way more likely to eat something they helped make.
Whether you’re drowning in backyard grapes or just picked up a few bags on sale, give grape jam a try. It’s simpler than you think, and way more rewarding than buying another jar of jelly off the shelf.
Choosing Grapes for Grape Jam
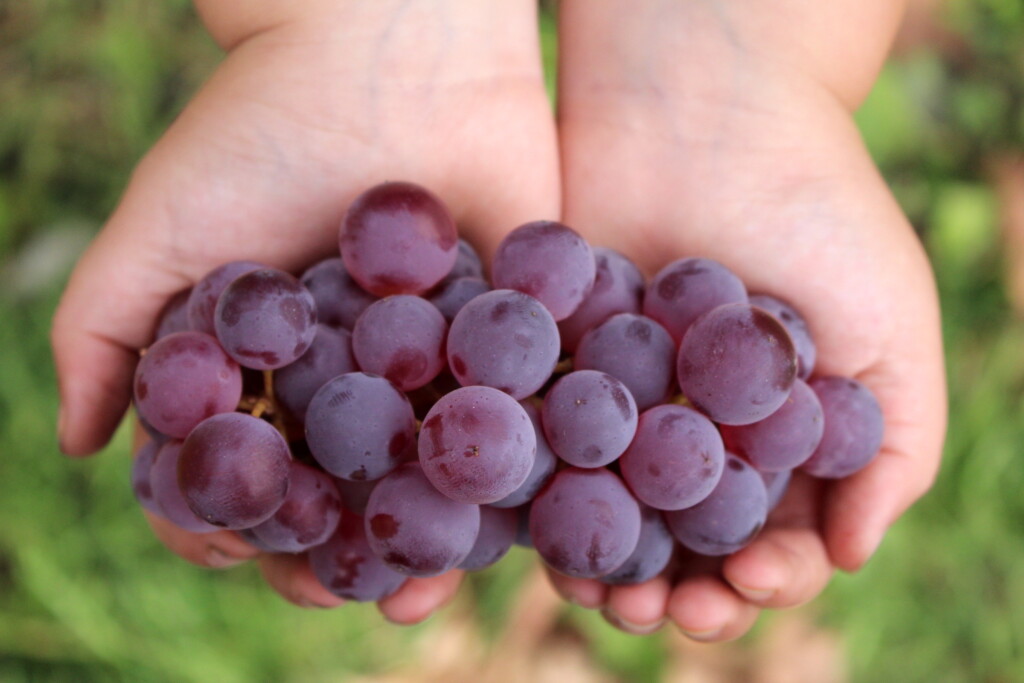
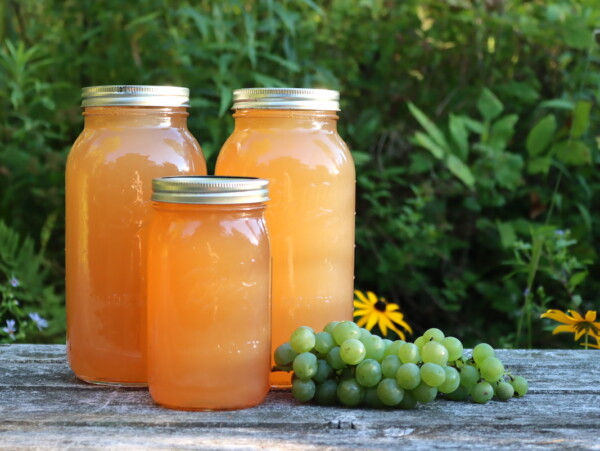
Most recipes you’ll find call for Concord grapes, and that’s what gives grape jelly its signature flavor. But unless you grow them yourself or find a local source, Concords can be hard to come by. In grocery stores, it’s usually just green or red table grapes. That’s totally fine. I’ve made grape jam with wine grapes, wild grapes, and plain old supermarket grapes, and they’ve all been great in their own way.
Up here in Vermont, we grow cold-hardy wine grapes since Concords won’t survive our winters. They’re not seedless, so we do have to deal with removing the seeds—but the flavor is incredible. If you’ve got access to Concords, Muscadines, or Scuppernongs, go for it.
But don’t stress if all you’ve got is a bag of seedless grapes from the store. You can make a darn good jam with whatever you’ve got.
Removing the Seeds (If You Need To)
If you’re using seedless grapes, you can skip this step—but even the “seedless” ones usually have tiny seeds inside that can mess with the texture. With seeded grapes, you’ll definitely want to remove them.
The method might sound tedious, but it’s surprisingly meditative—and it’s something my kids love to help with. We’ll sit at the table, and they help pop the grape pulp into one bowl and the peels into another. It keeps their little hands busy and gives them a sense of ownership over the food they’re going to eat. They might lose interest by the time we’re at the stove, but the prep work is a perfect toddler-level task.
Prepping the Grapes
Once you’ve separated the pulp and skins, set the skins aside and start cooking down the pulp. You don’t need to add any water—just simmer gently until the grapes start to break down. Use a spoon to mash them a bit, then run the pulp through a fine mesh strainer or food mill to remove the seeds.
Now combine the pulp and skins back together in your jam pot. At this point, the grape flavor is already intense and beautiful. Add your sugar—usually about six cups for a batch made from two quarts of grapes—and stir it in well.
How to Make Grape Jam
Bring everything to a steady boil and cook, stirring regularly, for about 10 to 15 minutes. As the mixture thickens, the bubbles will get slower and glossier, and the jam will start to coat the spoon differently. You’ll recognize the change if you’ve made jam before.
You can test for doneness by dropping a bit on a chilled plate—if it wrinkles when you push it, it’s ready. Or just use a thermometer and cook until it hits 220°F. It comes together fast compared to other no-pectin jams, which is one of the things I love about this recipe.
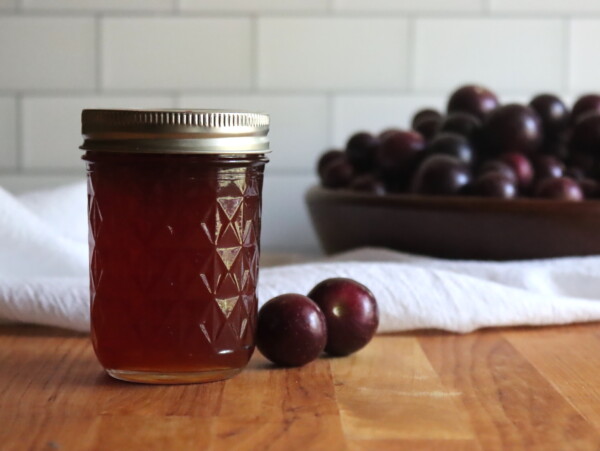
Once the jam is ready, ladle it into hot, sterilized jars, leaving ¼ inch headspace. Wipe the rims, apply your lids and rings, and process in a boiling water bath canner. For grape jam, that’s 10 minutes if you’re below 6,000 feet in elevation, or 15 minutes if you’re above.
Let the jars cool undisturbed for 12 to 24 hours, then check the seals. It can take a day or two for the jam to fully set, so don’t panic if it seems a little loose at first. If you need to re-cook it later to adjust the consistency, you absolutely can—just return it to the pot, simmer again, and reprocess.
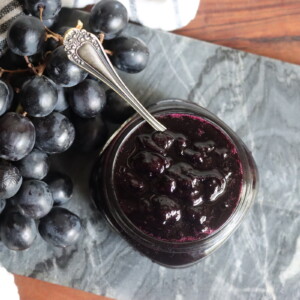
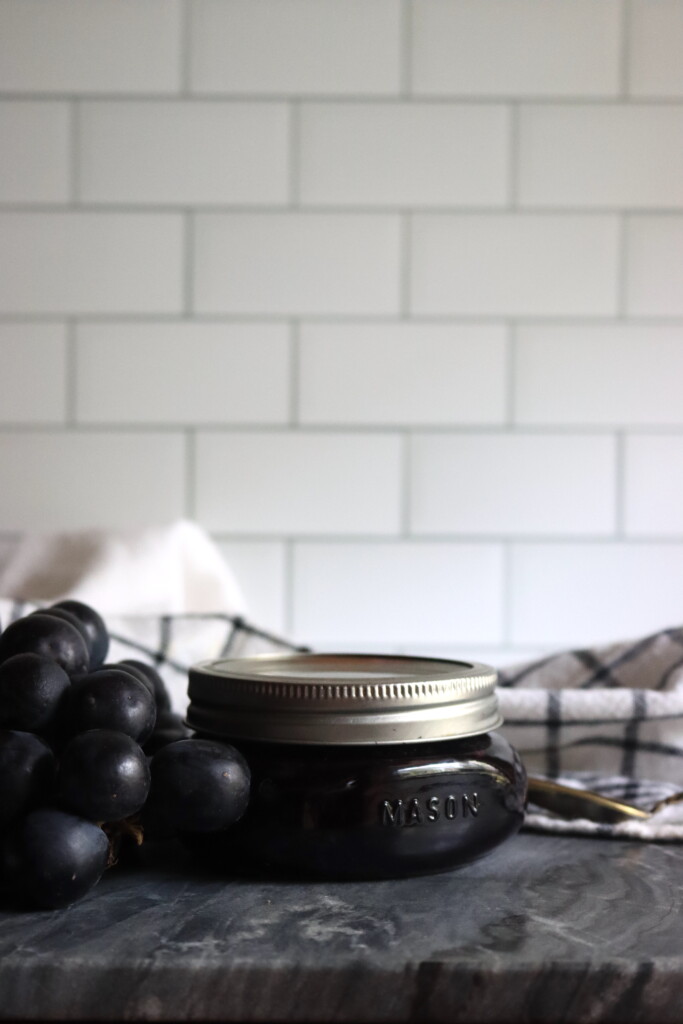
Grape Jam
Equipment
Ingredients
- 2 quarts Concord grapes, stemmed, about 4 pounds
- 6 cups sugar
- ½ cup water, for cooking skins
Instructions
- Begin by sterilizing your jars and preparing a boiling water bath canner. Rinse the grapes thoroughly and remove the stems. Separate the skins from the pulp by squeezing each grape—set the skins in one bowl and the pulp in another. If desired, chop the skins using a food processor or knife for a finer texture.
- Place the grape skins in a saucepan with about ½ cup of water and cook gently for 15 to 20 minutes, just until softened. In a separate pot, cook the grape pulp without any added water until it softens and begins to break apart. Once soft, press the pulp through a fine mesh sieve or food mill to remove the seeds.
- Combine the strained pulp, cooked skins, and sugar in a large, heavy-bottomed jam pot. Stir well and bring the mixture to a boil. Continue boiling the jam for about 10 minutes, stirring frequently as it thickens to prevent sticking or scorching. Use the chilled plate test or a thermometer to check for gel stage (220°F at sea level).
- Ladle the hot jam into hot, sterilized jars, leaving ¼ inch headspace. Wipe the rims with a clean, damp cloth and apply two-piece canning lids. Process in a boiling water bath canner for 10 minutes at elevations up to 6,000 feet or 15 minutes above 6,000 feet. Let jars cool undisturbed for 12 to 24 hours before checking seals.
Notes
Nutrition
Nutrition information is automatically calculated, so should only be used as an approximation.
Frequently Asked Questions
Yes, you can use seedless grapes, but keep in mind that most still contain small, undeveloped seeds. Even with “seedless” varieties, it’s a good idea to cook and strain the pulp before combining it with the skins. This improves the texture and prevents any grit in the final jam.
If you’re using Concord grapes or other seeded varieties, separating the skins from the pulp is important—it allows you to remove the seeds while still keeping the flavorful skins in the final jam. For seedless grapes, this step is optional, but I still prefer it for better consistency.
Grapes naturally contain a good amount of pectin, especially in their skins. With enough cooking and the right sugar-to-acid ratio, they’ll set beautifully without any added boxed pectin. This results in a more traditional jam with a softer, more natural texture.
You can test for doneness with a candy thermometer—the gel point is 220°F at sea level. If you don’t have a thermometer, use the plate test: place a spoonful of jam on a chilled plate, wait 30 seconds, and push it with your finger. If it wrinkles slightly and holds its shape, it’s ready.
You can reduce the sugar, but keep in mind that the jam will take longer to reach gel stage and will have a lower yield. Without added pectin, sugar is important for both texture and preservation. If you want to go significantly lower in sugar, consider using a low-sugar pectin instead.
Properly processed and sealed jars of grape jam will keep for 12 to 18 months in a cool, dark place. Once opened, store in the refrigerator and use within 3 to 4 weeks.
USDA has changed. You no longer need to sterilize jars as long as you’re processing for at least ten minutes. This is a great time saver for me 😀
I am so bummed! This just did not turn out for me. I did everything as written.. It was not reaching the gel stage at all so I ended up just canning it as is after boiling for 25 minutes… I could’ve kept boiling but it felt like it would never reach it! I would love to retry it though! As I just prefer jam over jelly any day. Anyone have any ideas? Is there a way I can just add pectin? If yes, how would it be modified? Also- for anyone debating on trying it, squeezing the grapes to separate skin and flesh was really not bad at all!