This post may contain affiliate links. Read full disclosure here.
Cherry pie filling is one of the best ways to preserve cherries in a jar, and it’s easy to make at home.
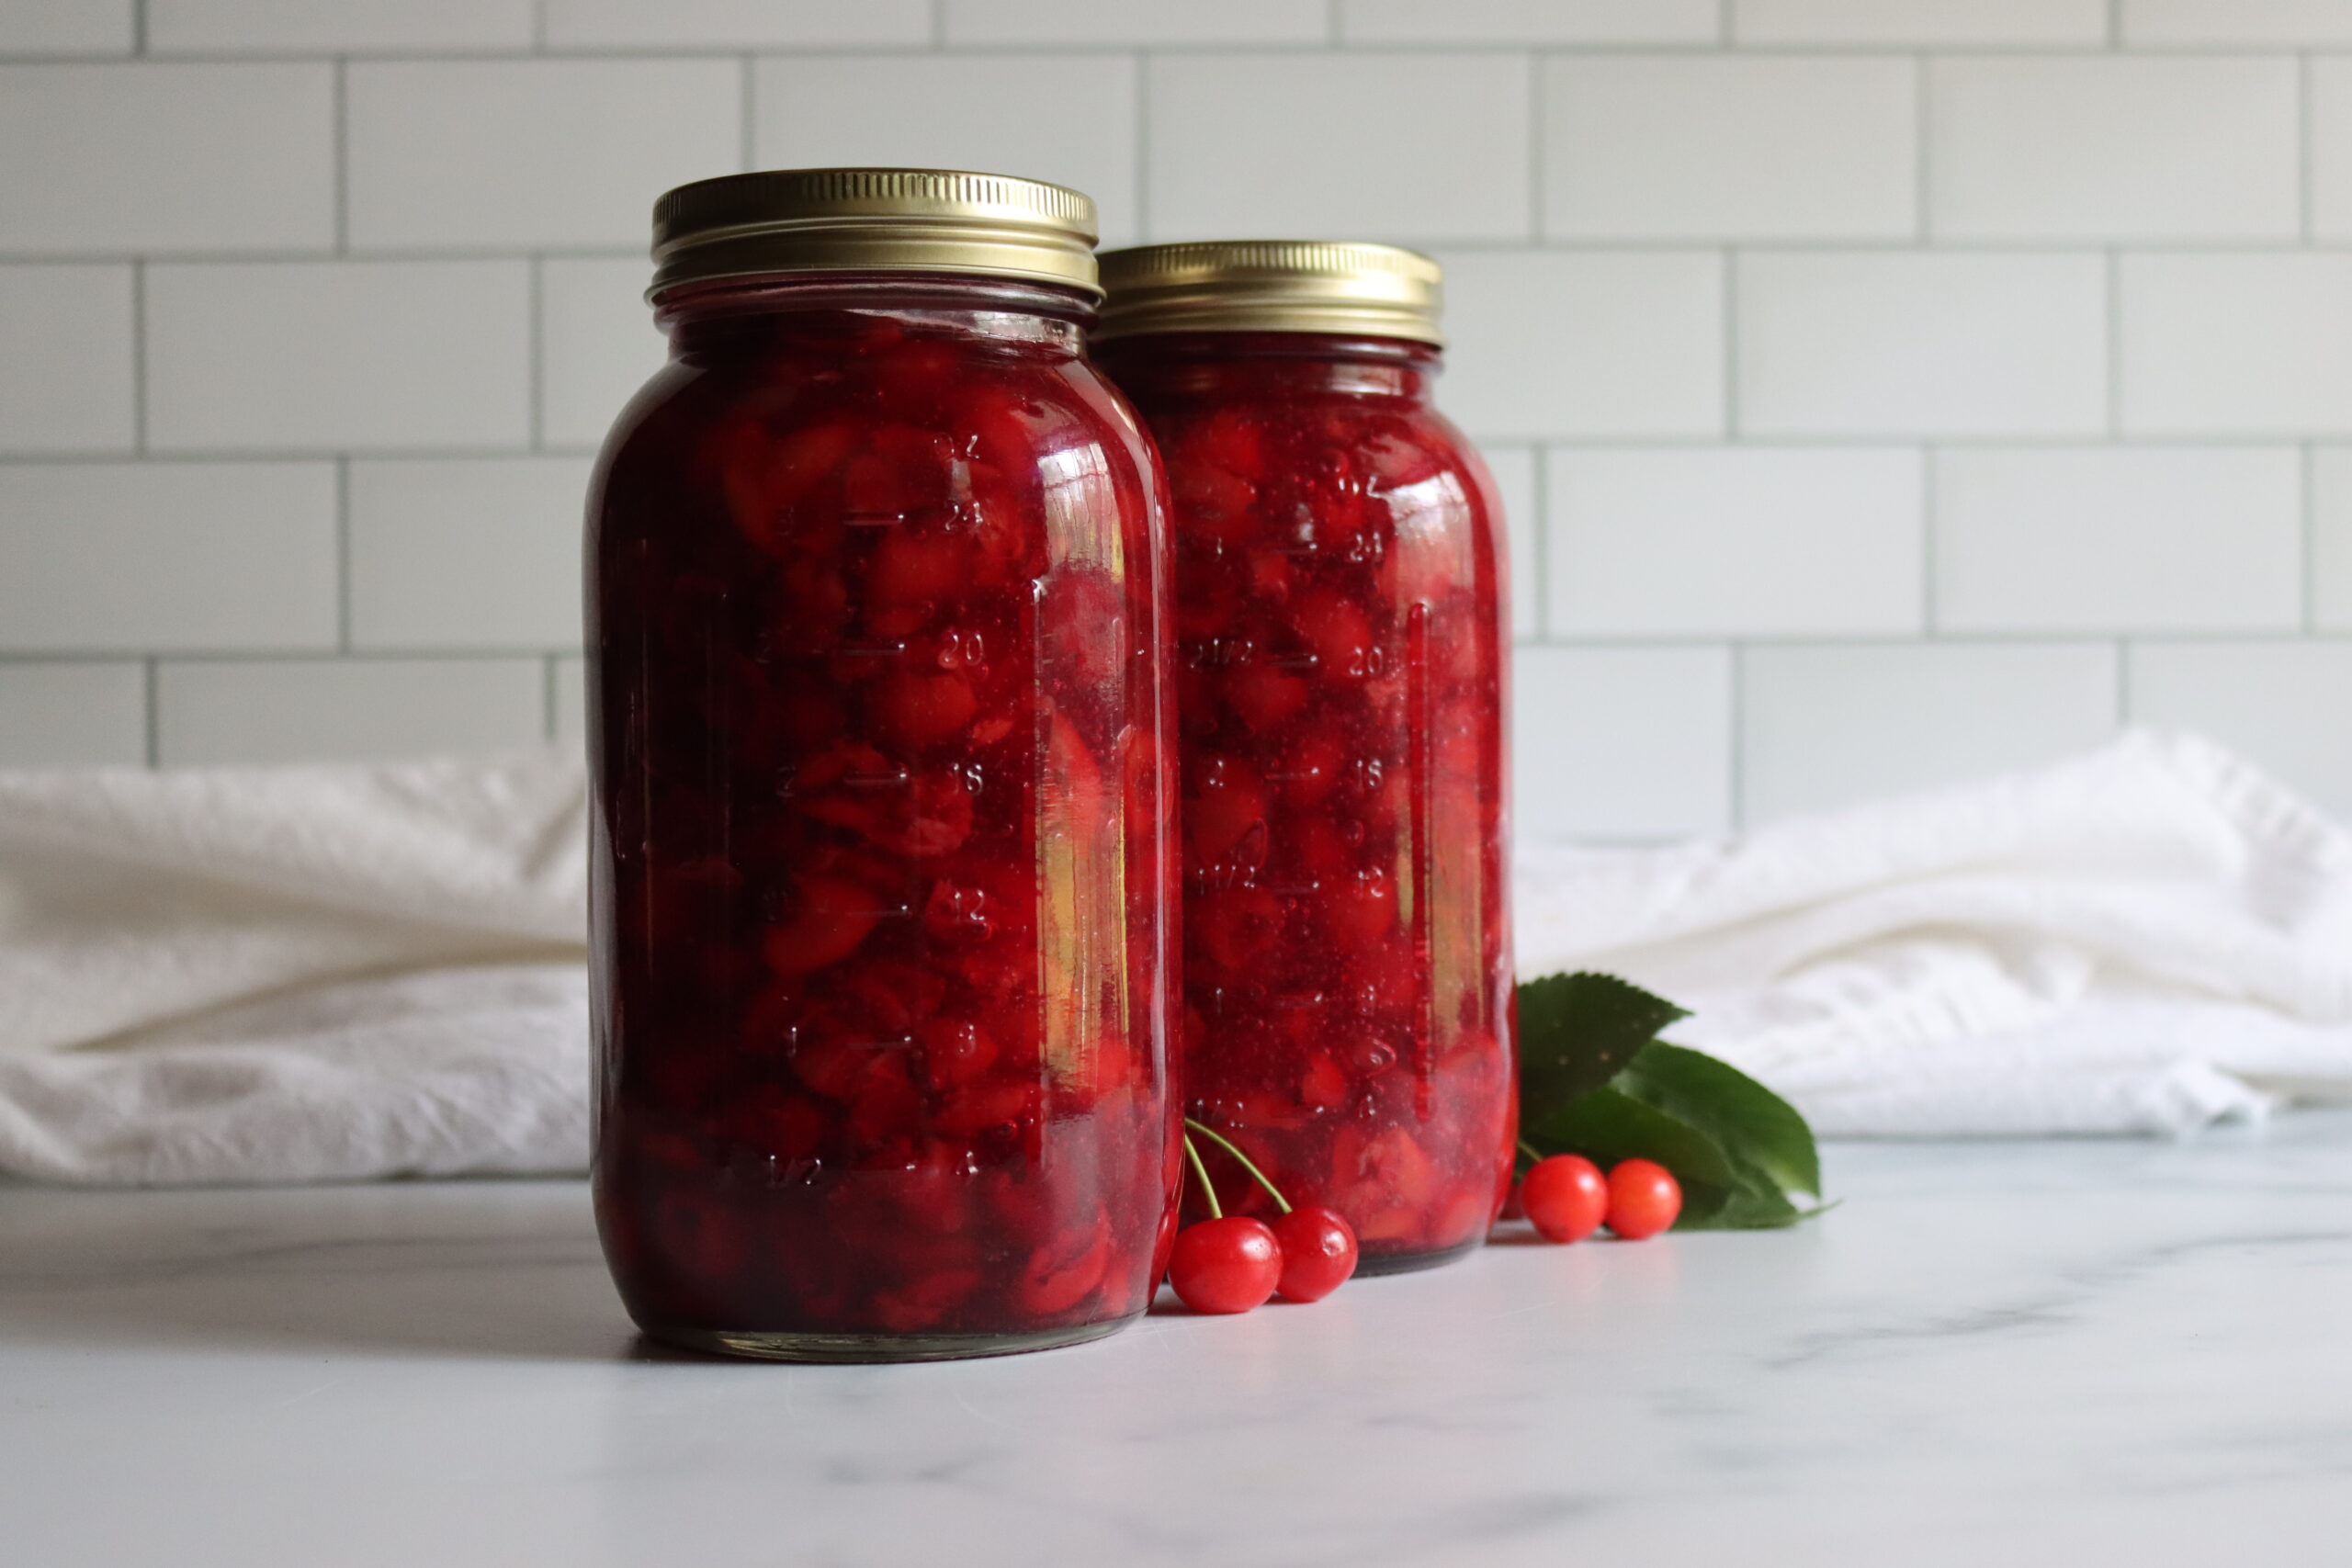
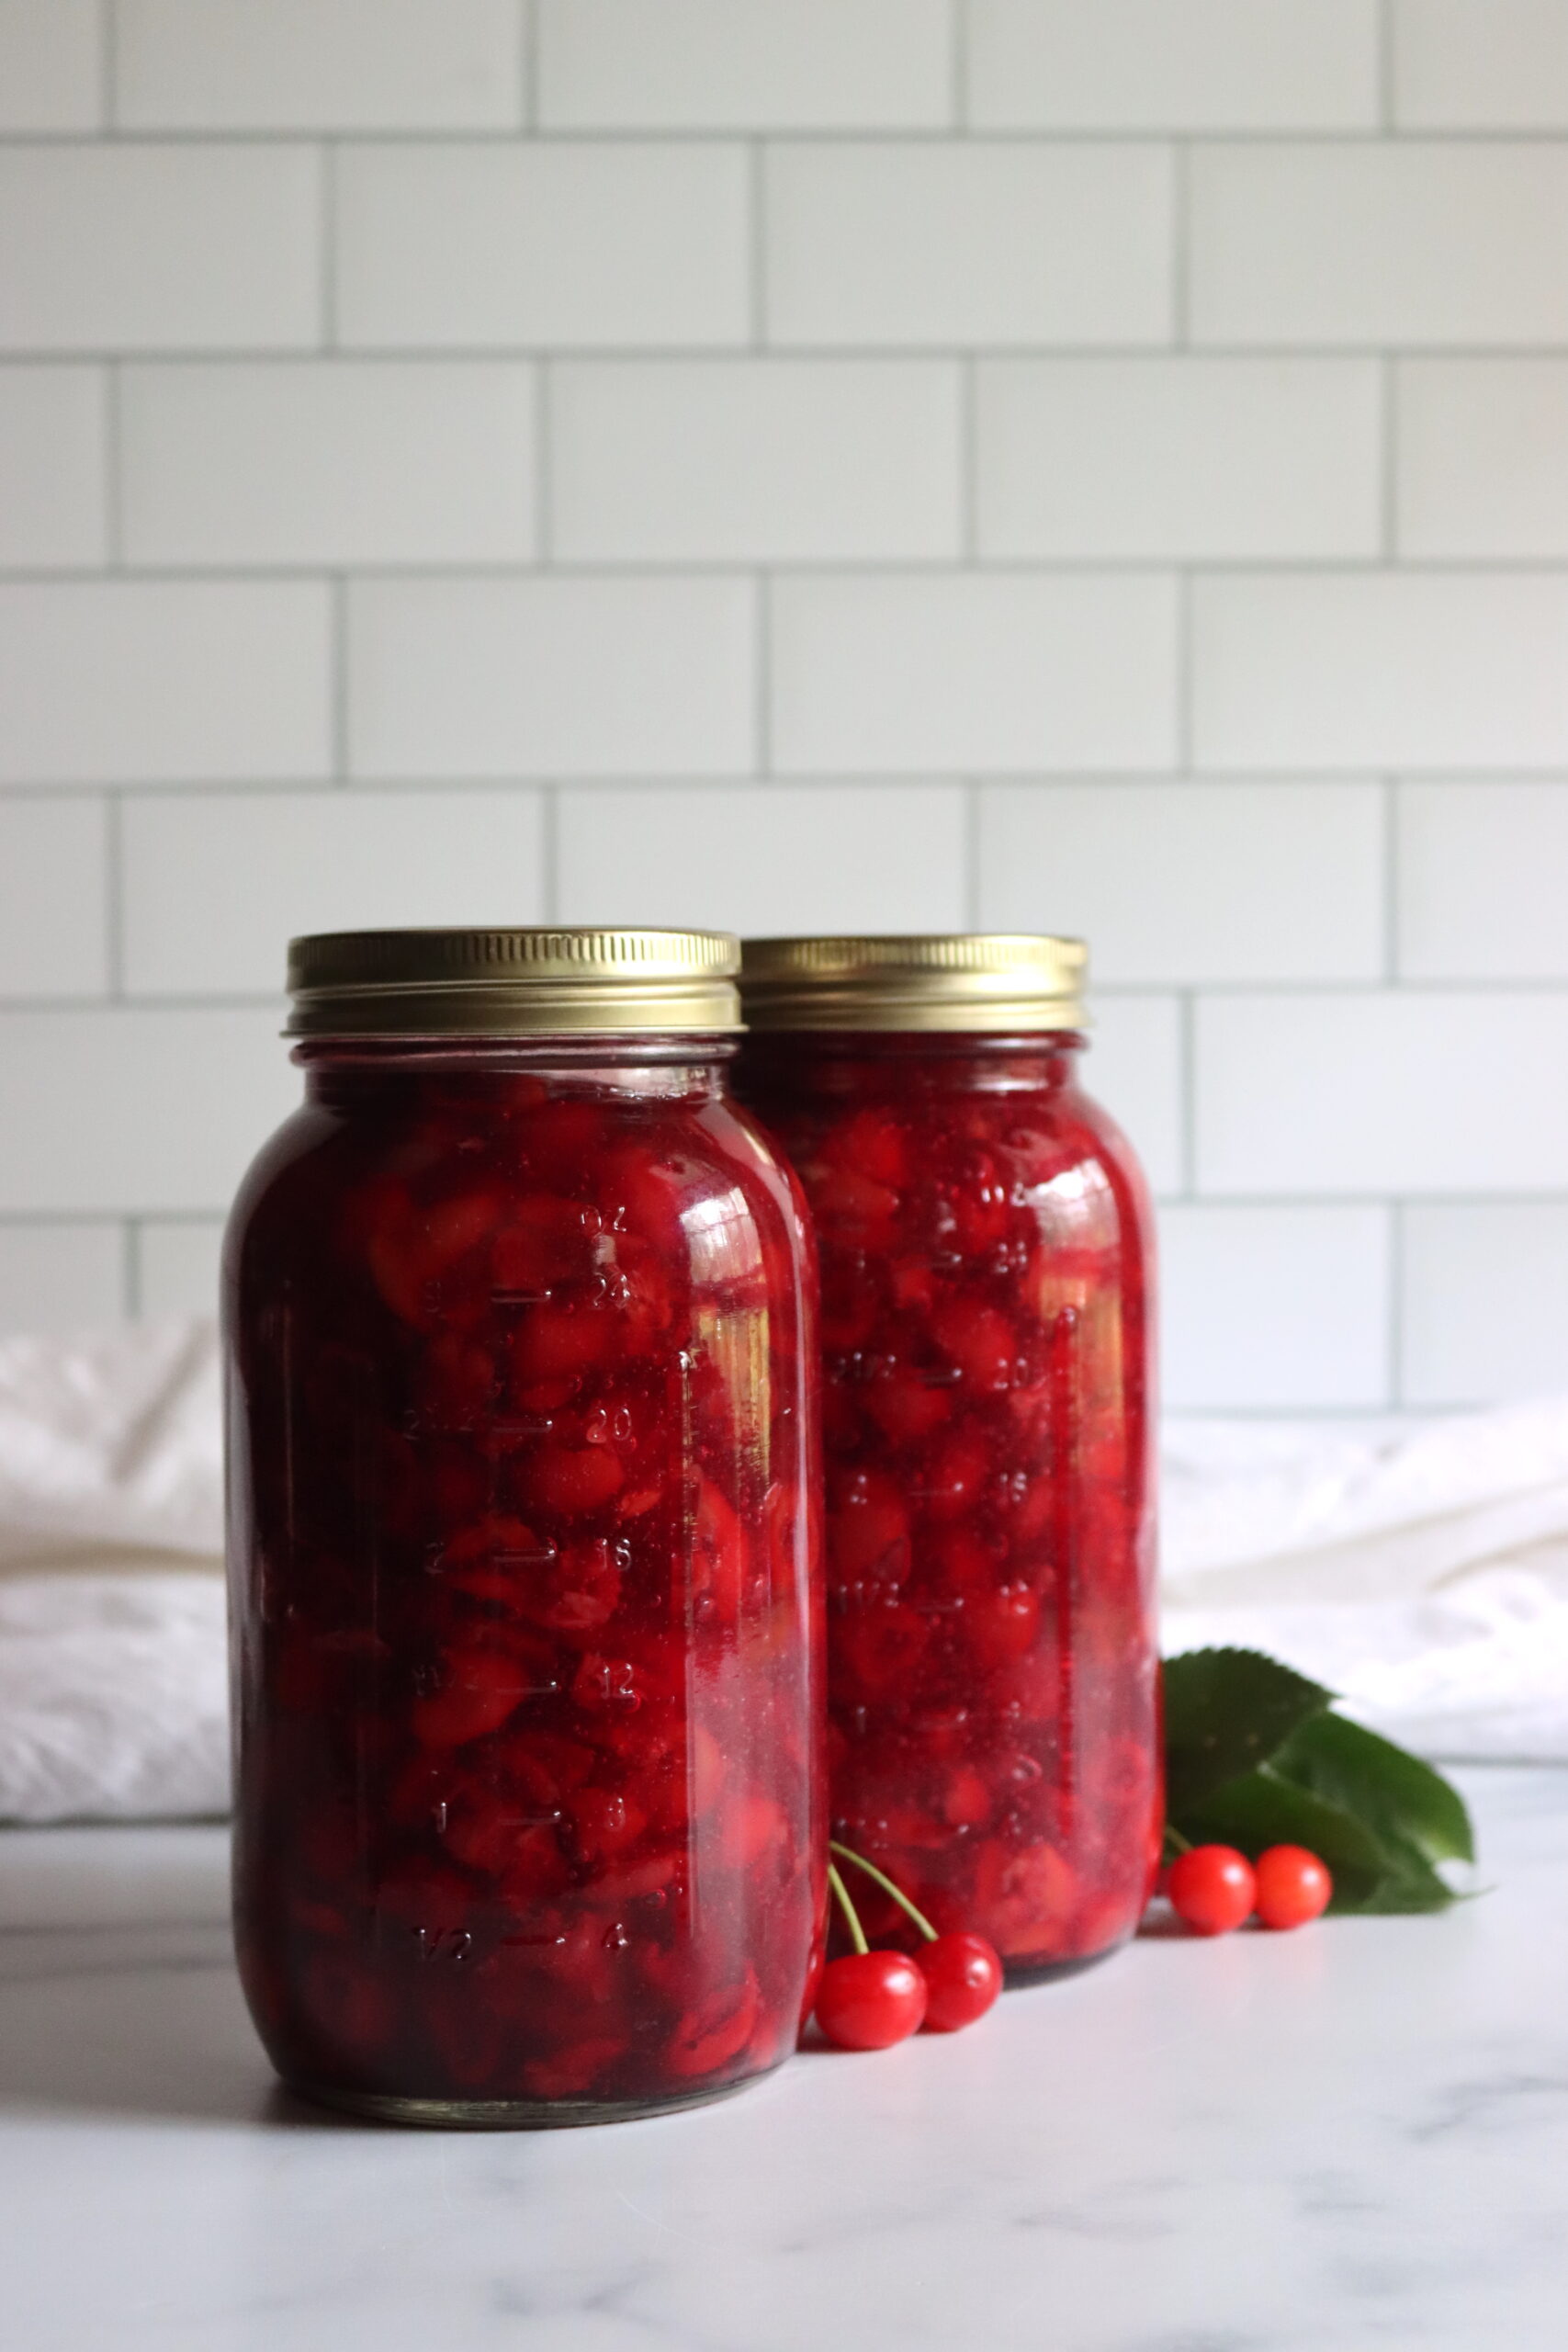
Cherry pie is one of my husband’s favorites, and we put plenty of home canned cherry pie filling each year. Here in the North, we grow pie cherries (also called sour cherries), and their intense cherry flavor is amazing in home-canned pie filling.
They’re a bit tricky to pit, and have a softer flesh, but it’s well worth it.
Best Cherries for Pie Filling
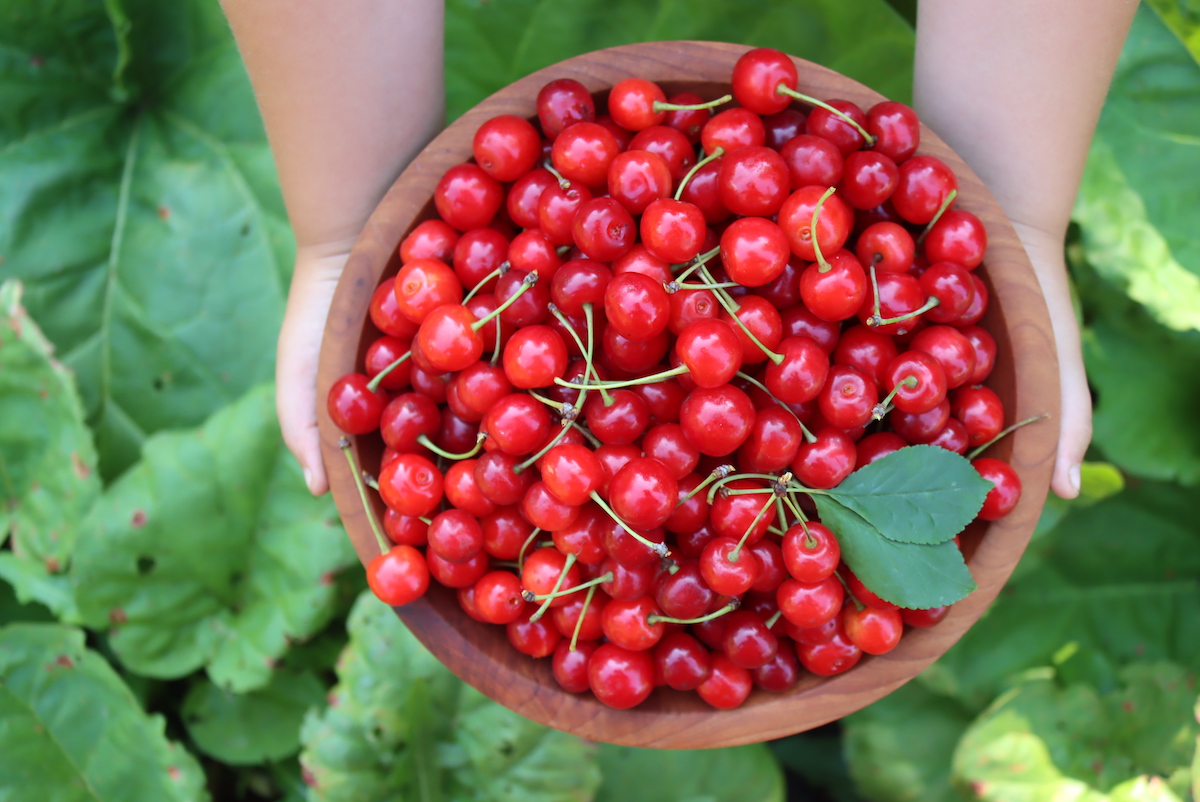
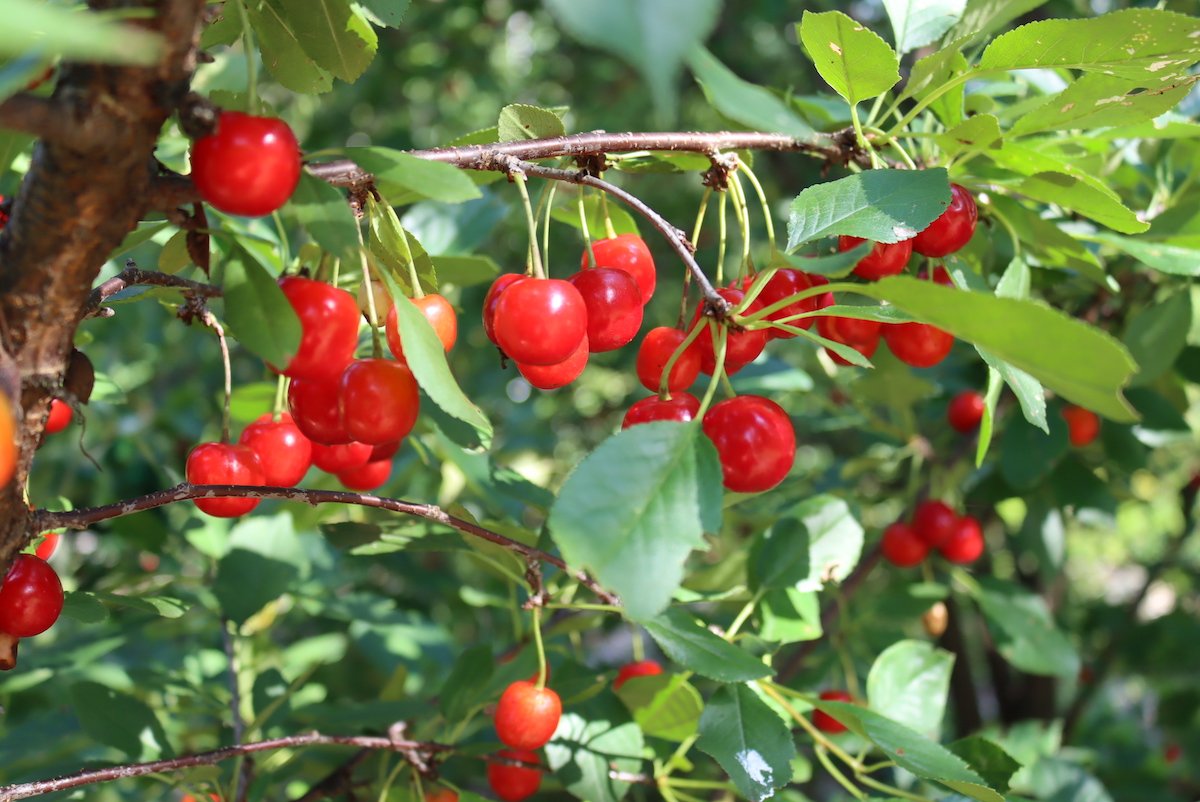
Cherries are usually subdivided into two categories: sour and sweet. Sweet cherries are most often in season from May to July, and include black sweet cherries (like Bing) and Raineer cherries. Sour cherries, also known as pie cherries, are in season from June to August, and are usually grown in the north where cold winters don’t allow for sweet cherries.
Those tart cherries though, make some of the best home canned pie filling. They have an intense cherry flavor and bright red color, and their sour flavor melts away when you add sugar for pie filling.
All three make spectacular cherry wine and wonderful jams, be it sour cherry jam, Black Cherry Jam, or a golden-colored Rainier cherry jam, but if you want the best home canned cherry pie filling, you’re going to have to find tart cherries.
Ingredients for Canning Cherry Pie Filling
Select cherries that are firm and ripe. Frozen cherries may also be used – if sugar has been added to the fruit, wash off while the fruit is still frozen.
No other starches may be substituted for Clear Jel. Additionally, Clear Jel regular type is needed which is activated when heated. Instant Clear Jel cannot be substituted. Bottled lemon juice is heavily recommended to meet the acidity requirements for canning safety.
For every quart jar of cherry pie filling, you will need:
- 3 ⅓ cups sour cherries, fresh or thawed
- 1 cup granulated sugar
- ¼ cup plus 1 tablespoon Clear Jel
- 1 ⅓ cups cold water
- 1 tablespoon plus 1 teaspoon bottled lemon juice
- ⅛ teaspoon cinnamon (optional)
- ¼ teaspoon almond extract (optional)
For a 7-quart canner batch, the amounts are as follows:
- 6 quarts sour cherries, fresh or thawed
- 7 cups granulated sugar
- 1 ¾ cups Clear Jel
- 9 ⅓ cups cold water
- ½ cup bottled lemon juice
- 1 teaspoon cinnamon (optional)
- 2 teaspoons almond extract (optional)
Altering the Canning Recipe for Cherry Pie Filling
Some small alterations can be made to this recipe without affecting canning safety. The sugar and spices can be adjusted to meet individual tastes – a few other measurements are firm. The amount of lemon juice cannot be decreased beyond that given in the recipe. You can increase lemon juice if desired though for a more tart, less sweet pie filling.
Additionally, you cannot increase the amount of Clear Jel used in this recipe, you can however decrease it for a looser set, less dense pie filling. To do this, try decreasing the Clear Jel to ¾ what is given in the recipe (about 3 to 4 tablespoons per quart).
No starches other than Clear Jel are officially approved for canning safety. Other starches like cornstarch or tapioca starch will break down over time and may interfere with how heat penetrates the jar during canning, affecting the safety of your home-canned goods.
How to Can Cherry Pie Filling
Prepare jars, lids, and a water bath canner. If you’re not terribly familiar with water bath canning, you should take a look at this beginner’s guide to water bath canning before starting.
If using frozen fruit, set out to thaw. If the fruit is sweetened, rinse the sugar from the fruit while it is still frozen. Place frozen cherries in a colander to thaw, with a bowl placed below to collect the liquid as they thaw – you can measure this juice and replace a portion of the water in this recipe with it.
Rinse cherries, remove stems and pit.
If you wish to prevent stem end browning, submerge the pitted cherries in a mixture of 1 teaspoon of ascorbic acid crystals or six 500-mg vitamin C tablets mixed into a gallon of water. This step is cosmetic and completely optional.
For fresh cherries, you’ll need to blanch. Bring some water to boil and cook cherries in batches for one minute, drain, and place in a covered bowl or pot to keep warm. Set fruit aside.
Next, mix the Clear Jel and sugar in a large pot, then add the cold water (or juice) and any desired spices, stirring or whisking until the Clear Jel is completely dissolved. You want the Clear Jel to be well-mixed otherwise it will clump when heated.
Once entirely dissolved, set heat to medium-high and stir the mixture as it thickens and warms. When bubbling, add the lemon juice and boil for one more minute, stirring all the while.
Remove from heat, fold in drained cherries, and ladle into prepared canning jars leaving 1 inch headspace (be sure to remove air bubbles or de-bubble as well).
If using frozen fruit, add them to the mixture and return to boil before removing the mixture from heat and ladling it into jars.
Wipe the rims of any residue to ensure a clean and tight seal, then apply 2-part canning lids, twisting until fingertight. Immediately process in a water bath canner for 30 minutes, increasing time if needed for altitude.
Once processing time is complete, turn off your water bath canner and allow the jars to linger in the water for another 10 minutes. This will reduce the chances of siphoning.
Remove and place on a towel-covered surface, out of the way of other kitchen activities.
Check seals after 12 to 24 hours. Any unsealed jars should be moved to the refrigerator to be used in a short time. Jars of cherry pie filling which are properly sealed and stored will keep at peak quality for 1 year.
Store jars in a cool, dry location, away from heat and out of sunlight. Refrigerate after opening.
Altitude Adjustments for Canning Cherry Pie Filling
Altitude adjustments are as follows:
- 0 to 1,000 Feet in Elevation: 30 minutes
- 1,001 to 3,000 Feet in Elevation: 35 minutes
- 3,001 to 6,000 Feet in Elevation: 40 minutes
- Above 6,000 Feet in Elevation: 45 minutes
Juice or Water for Canning Liquid?
You may wish to substitute some of the water in this recipe with cherry juice to lend the utmost flavor to your pie filling. If using frozen fruit, you can collect the thawing liquid by placing a bowl beneath a colander and substitute this for some of the water added to your pie filling.
You can also extract juice from fresh or frozen cherries if you have more on hand. To do so, follow the steps outlined in the first part of this cherry jelly recipe.
You’ll simmer the fruit (pitted or unpitted are both fine) in a small amount of water for 15 minutes or until the cherries begin to fall apart. Mash the cherries to aid the process. Strain the mixture through cheesecloth or with the help of a jelly bag. Do this ahead of time before beginning your pie filling.
A countertop juicer may be used as well to extract the juice (be sure to pit the cherries first), as well as adding the juice of another fruit if you have one readily available. Do know, using another fruit juice will alter the taste of your pie filling. For pure cherry flavor, opt for cherry juice for about ¼ to ½ of the water in this recipe.
Using Cherry Pie Filling
Yes, there’s cherry pie, but there are so many other options as well! A jar of cherry pie filling can be spooned over slices of pound cake, chocolate desserts, or used as a filling. Slather over chilled cheesecake or spoon into picturesque cheesecake cups.
Still not satisfied? Mix into a glazed coffee cake or bake into cherry bars. Cherry danishes and turnovers are a lovely baked option as well as stuffing crepes or topping baked puddings.
Feeling frosty? You can use cherry pie filling to make a no-churn cherry ice cream or chilled, pink cherry fluff.
If that all sounds too complicated, cherry pie filling sundaes topped with granola and nuts are excellent as well. Vanilla ice cream and a spoon are the only other required ingredients!
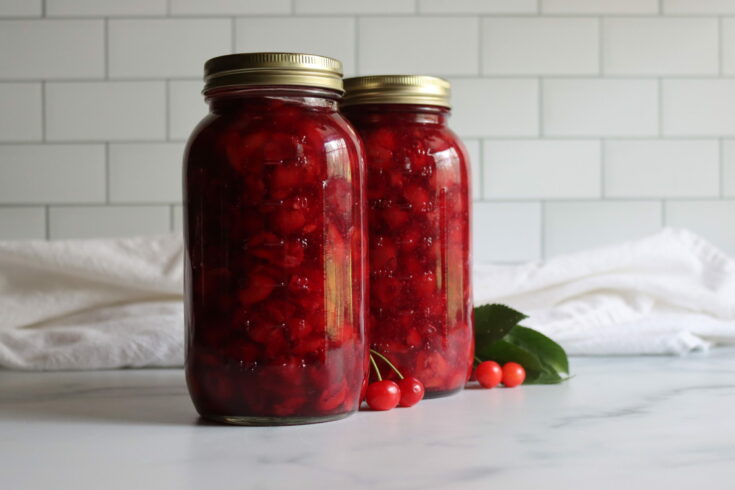
Canning Cherry Pie Filling
Home-canning cherry pie filling is a classic way to ensure sweet cherry desserts are a year-long occurrence. Pull out a jar to spoon over cheesecakes and ice cream, or bake into a variety of pies and treats.
Ingredients
For a Single Quart:
- 3 ⅓ cups sour cherries, fresh or thawed
- 1 cup granulated sugar
- ¼ cup plus 1 tablespoon Clear Jel
- 1 ⅓ cups cold water
- 1 tablespoon plus 1 teaspoon bottled lemon juice
- ⅛ teaspoon cinnamon (optional)
- ¼ teaspoon almond extract (optional)
For a 7 Quart Canner Batch:
- 6 quarts sour cherries, fresh or thawed
- 7 cups granulated sugar
- 1 ¾ cups Clear Jel
- 9 ⅓ cups cold water
- ½ cup bottled lemon juice
- 1 teaspoon cinnamon (optional)
- 2 teaspoons almond extract (optional)
Instructions
- Begin by preparing jars, lids, and a water bath canner.
- Fresh fruit should first be washed and pitted with (stems removed as well). Frozen cherries should be thawed beforehand, being set in a colander with a bowl placed below to collect the thawing juice (this juice can be measured and substituted for some of the water used later).
- Bring some water to a boil to blanch fresh fruit. Once boiling, cook cherries for one minute after the water has returned to boil. Drain or remove with a slotted spoon and place in a covered bowl or pot to keep warm.
- In a large pot, combine sugar and Clear Jel, adding in cold water (or juice) and any spices or extracts as desired. Which or stir well until the Clear Jel dissolves entirely.
- Once well mixed, set to medium-high heat and stir the mixture as it warms and thickens.
- When bubbling, add the lemon juice. Boil for 1 minute, stirring continually throughout the process.
- If using blanched fruit, remove from heat, fold in warm cherries, and immediately ladle into prepared canning jars. If using frozen fruit, add them to the mixture and return to boil before removing from heat and ladling into jars.
- Wipe rims of any lingering residue, apply 2-part canning lids, and immediately process in a water bath canner for 30 minutes, adjusting time for altitude.
- After processing time is complete, turn off the water bath canner and allow jars to rest for another 10 minutes before removing them to prevent siphoning. Remove with a jar lifter and place on a towel-covered surface.
- Check seals after 12 to 24 hours. Any unsealed jars should be moved to the refrigerator and consumed shortly. Jars that are properly sealed and stored will be of peak quality for one year. Refrigerate after opening.
Notes
The ingredient measurements have been provided for both a full 7 quart canning batch and a single quart bath. For any quantity in between, simply multiply the single quart recipe to meet your desired amount.
Be sure to keep jars and fruit warm throughout this process. Jars should be sterilized right before beginning this recipe and kept warm until filled. The hot jars of pie filling should be immediately processed in a water bath canner.
Altitude adjustments for pints and quarts are as follows:
- 0 to 1,000 Feet in Elevation: 30 minutes
- 1,001 to 3,000 Feet in Elevation: 35 minutes
- 3,001 to 6,000 Feet in Elevation: 40 minutes
- Above 6,000 Feet in Elevation: 45 minutes
Once processing time is complete, turn off your water bath canner and allow jars to rest for another 10 minutes before removing. This will reduce the chances of siphoning. Place hot, processed jars on a towel to rest – placing jars directly on cold countertops can cause thermal shock, resulting in cracked jars.
Home Canned Pie Fillings
Looking for more recipes for canning pie filling at home?
- Canning Apple Pie Filling
- Canning Blackberry Pie Filling
- Canning Peach Pie Filling
- Canning Cherry Pie Filling
Fruit Canning Recipes
Plenty more fruit canning recipes await you and your pantry shelves!
Leave a Reply