This post may contain affiliate links. Read full disclosure here.
Canning fish is a great way to preserve fish for long-term storage. It creates a safe, quality product that doesn’t require refrigeration. Learn to can a variety of fish at home, including trout, tuna, mackerel, clams, and more.
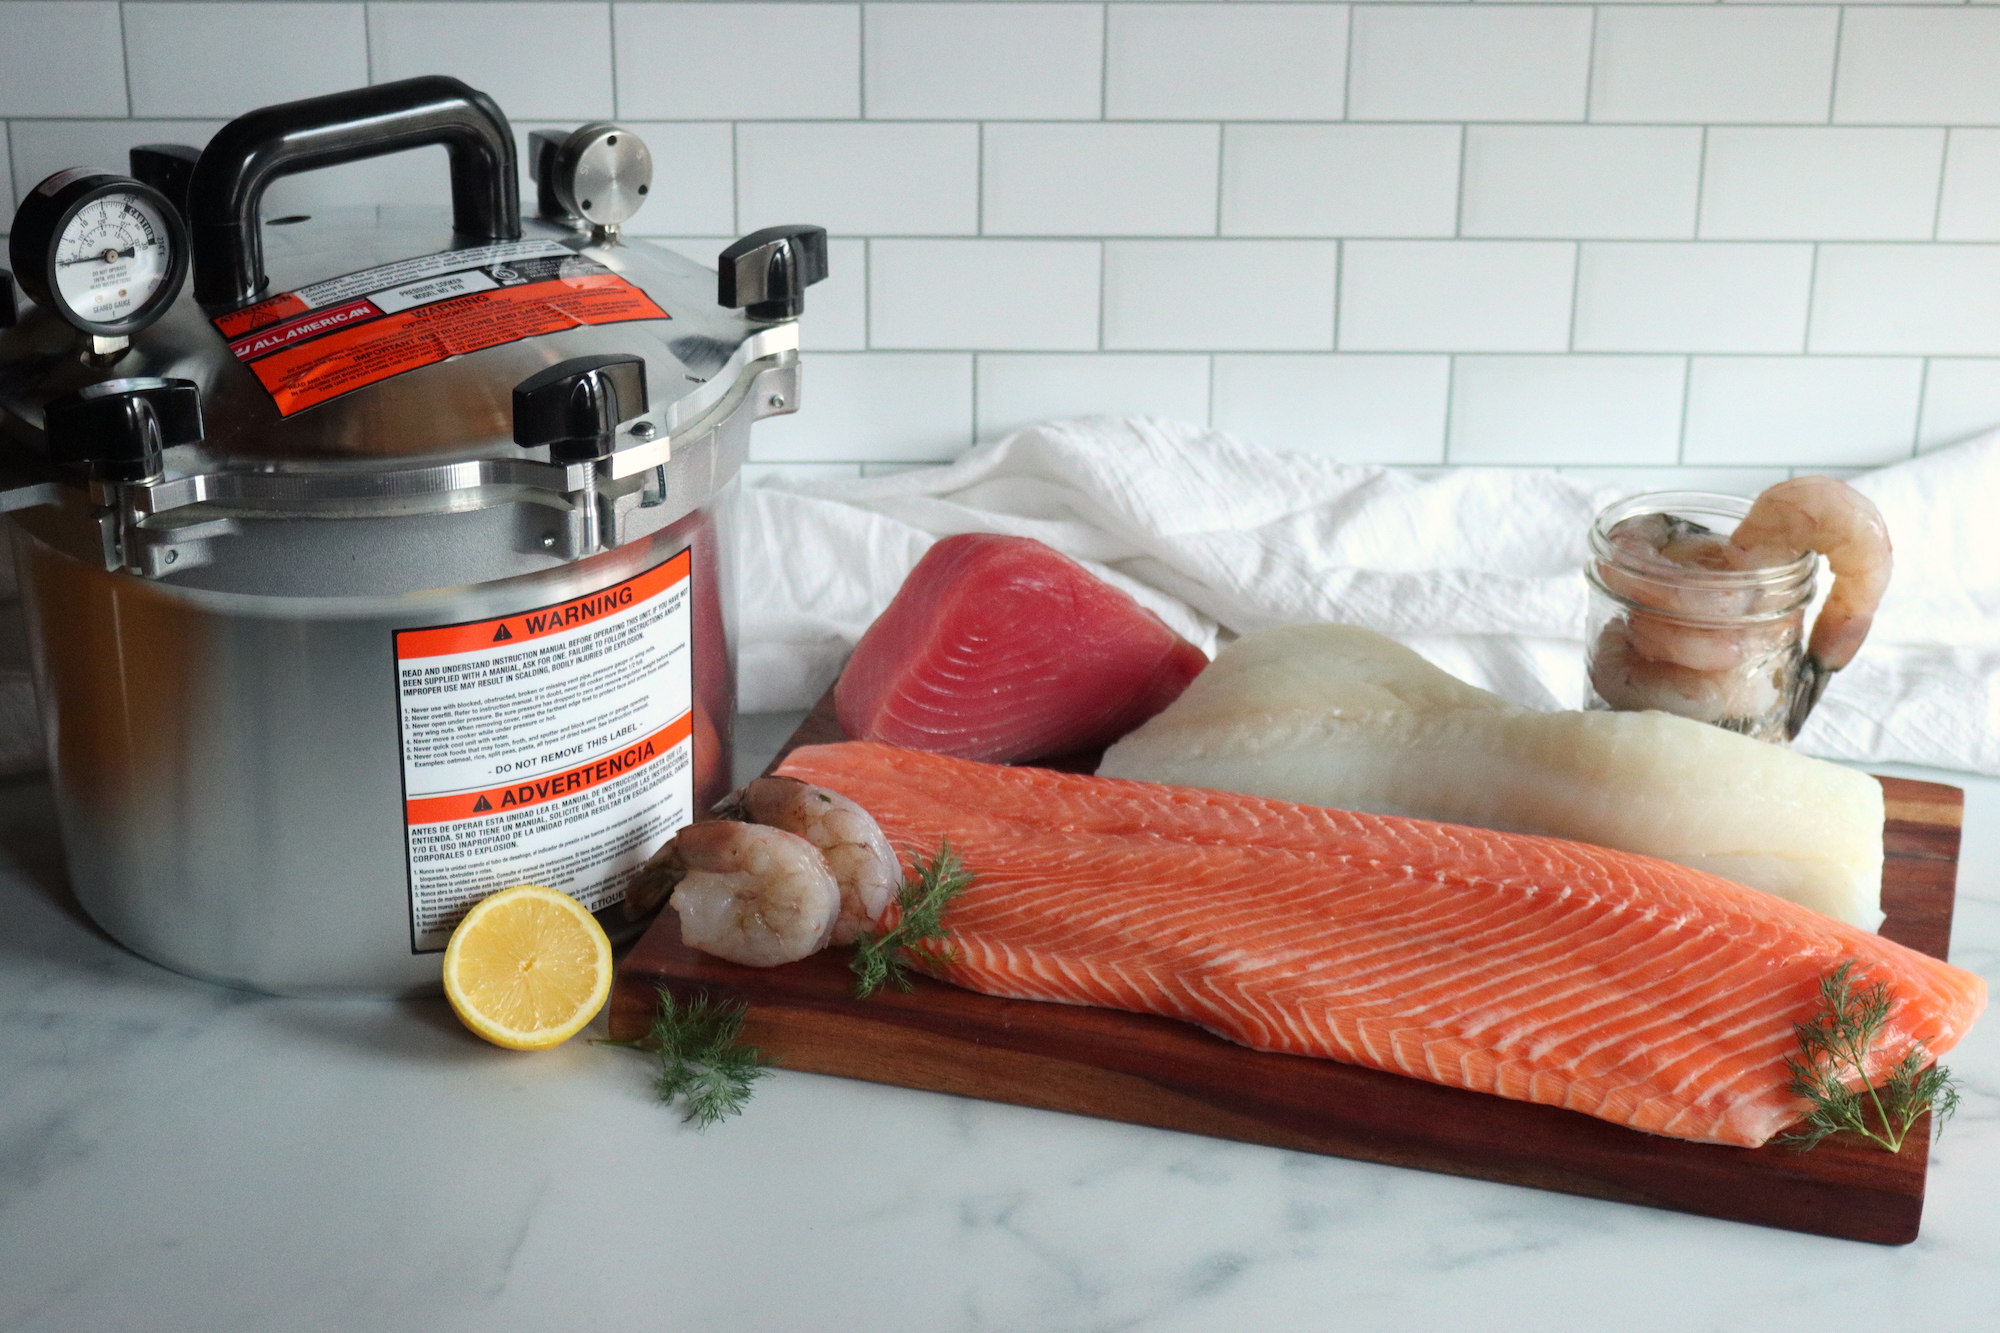
When most people think about canning, they think about canning extra garden produce like green beans, corn, and tomatoes, or fun condiments like pickles and jam. Fewer folks know how to can their own meat or fish, which is a shame.
Canning fish provides you with a great, shelf-stable, ready-to-use product. It’s great for putting quick, protein-rich meals on the table.
Our lakes, rivers, and oceans provide plenty of rich, nourishing food. Learning to can your big catch is a great way to preserve the excess without risking any spoilage. Shelf-stable food preservation methods are great because you don’t need to worry about freezer space or what will happen during a power outage.
What Type of Fish is Suitable for Canning?
Most fish are safe for canning. You can use freshwater fish like trout, salmon, smelt, catfish, or northern pike. You can also process ocean fish like tuna, mackerel, and sardines. Additionally, pressure canning works well for other seafood like crab, shrimp, clams, and oysters. There are even instructions for canning smoked fish!
You can also take things a step further and can approved fish recipes that make great ready-to-go meals. I love canning fish chowders, soups, and meal-in-a-jar recipes to keep on hand for those nights when I don’t feel like cooking much. Served with some crackers or rolls, they make a delicious, filling meal.
Many people use pressure canning to preserve their fresh catch, whether they’ve been fishing for trout along a cold mountain stream or digging clams along a muddy coastline. You can also pressure can fish you’ve purchased whether your local shop has a great deal or you just want more control over what’s in your food. You can even can frozen seafood as long as you allow it to fully thaw first.
Be sure to check each section’s specific instructions below as canning instructions vary somewhat depending on the type of seafood and product you are canning.
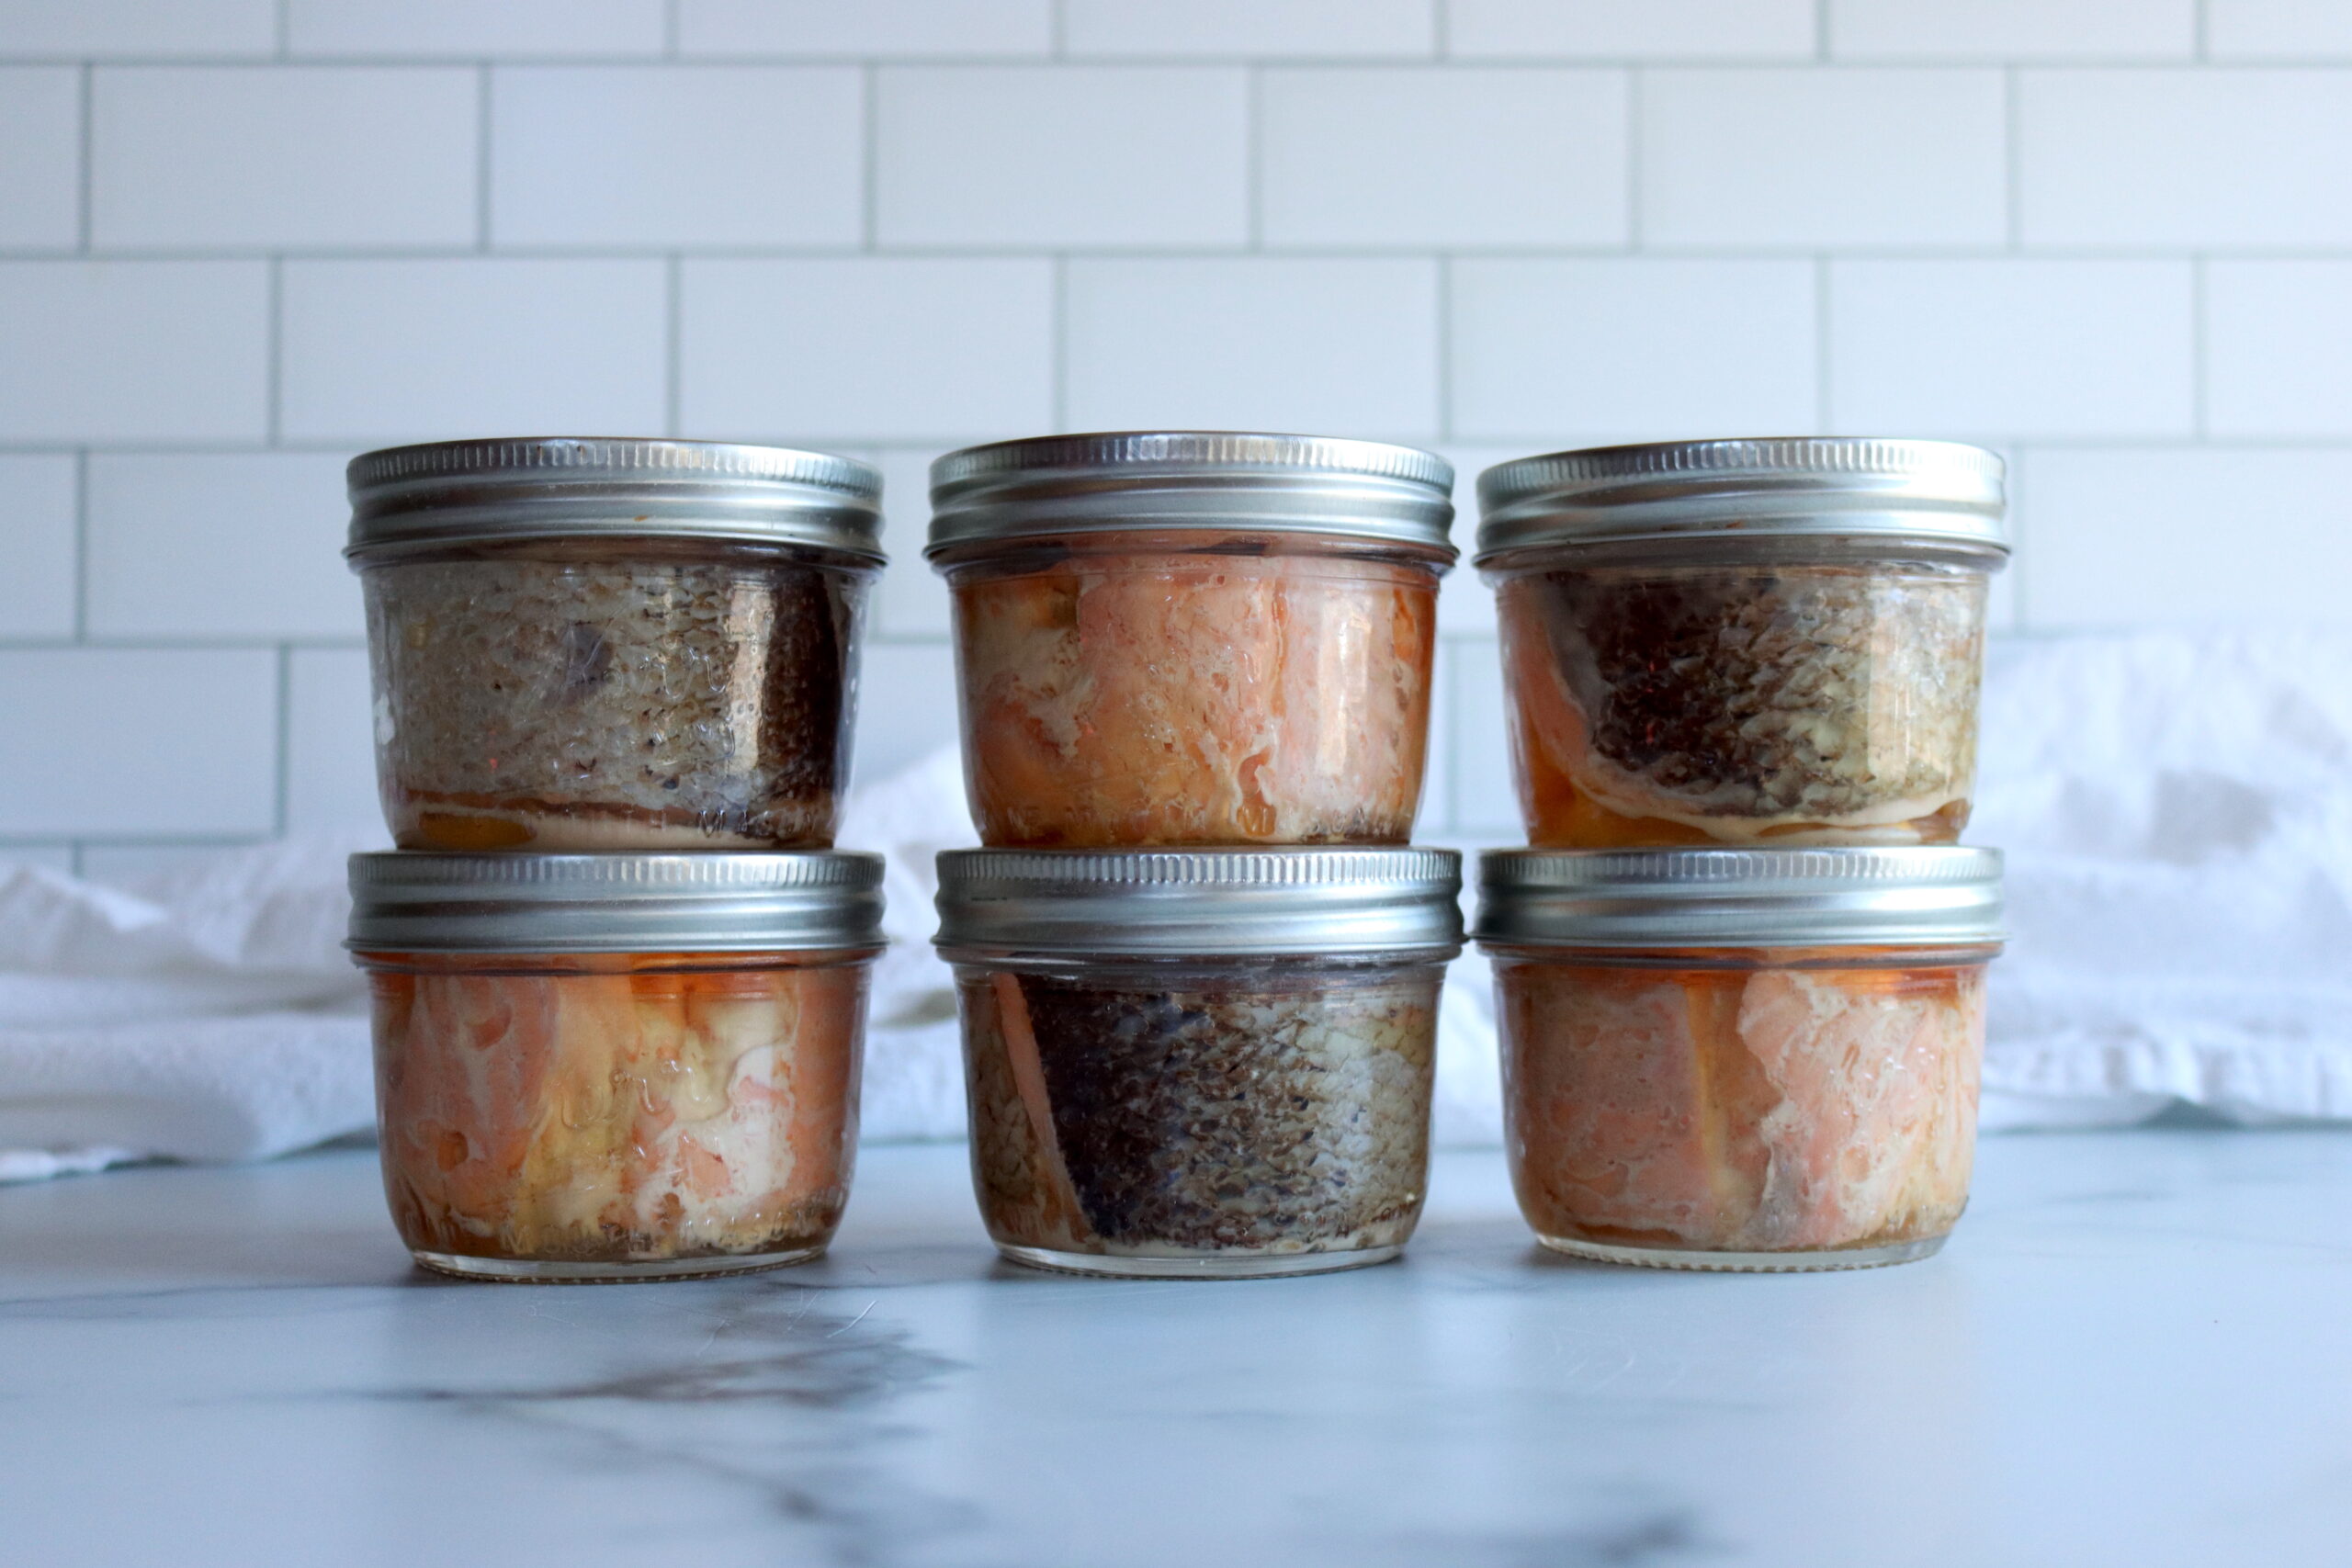
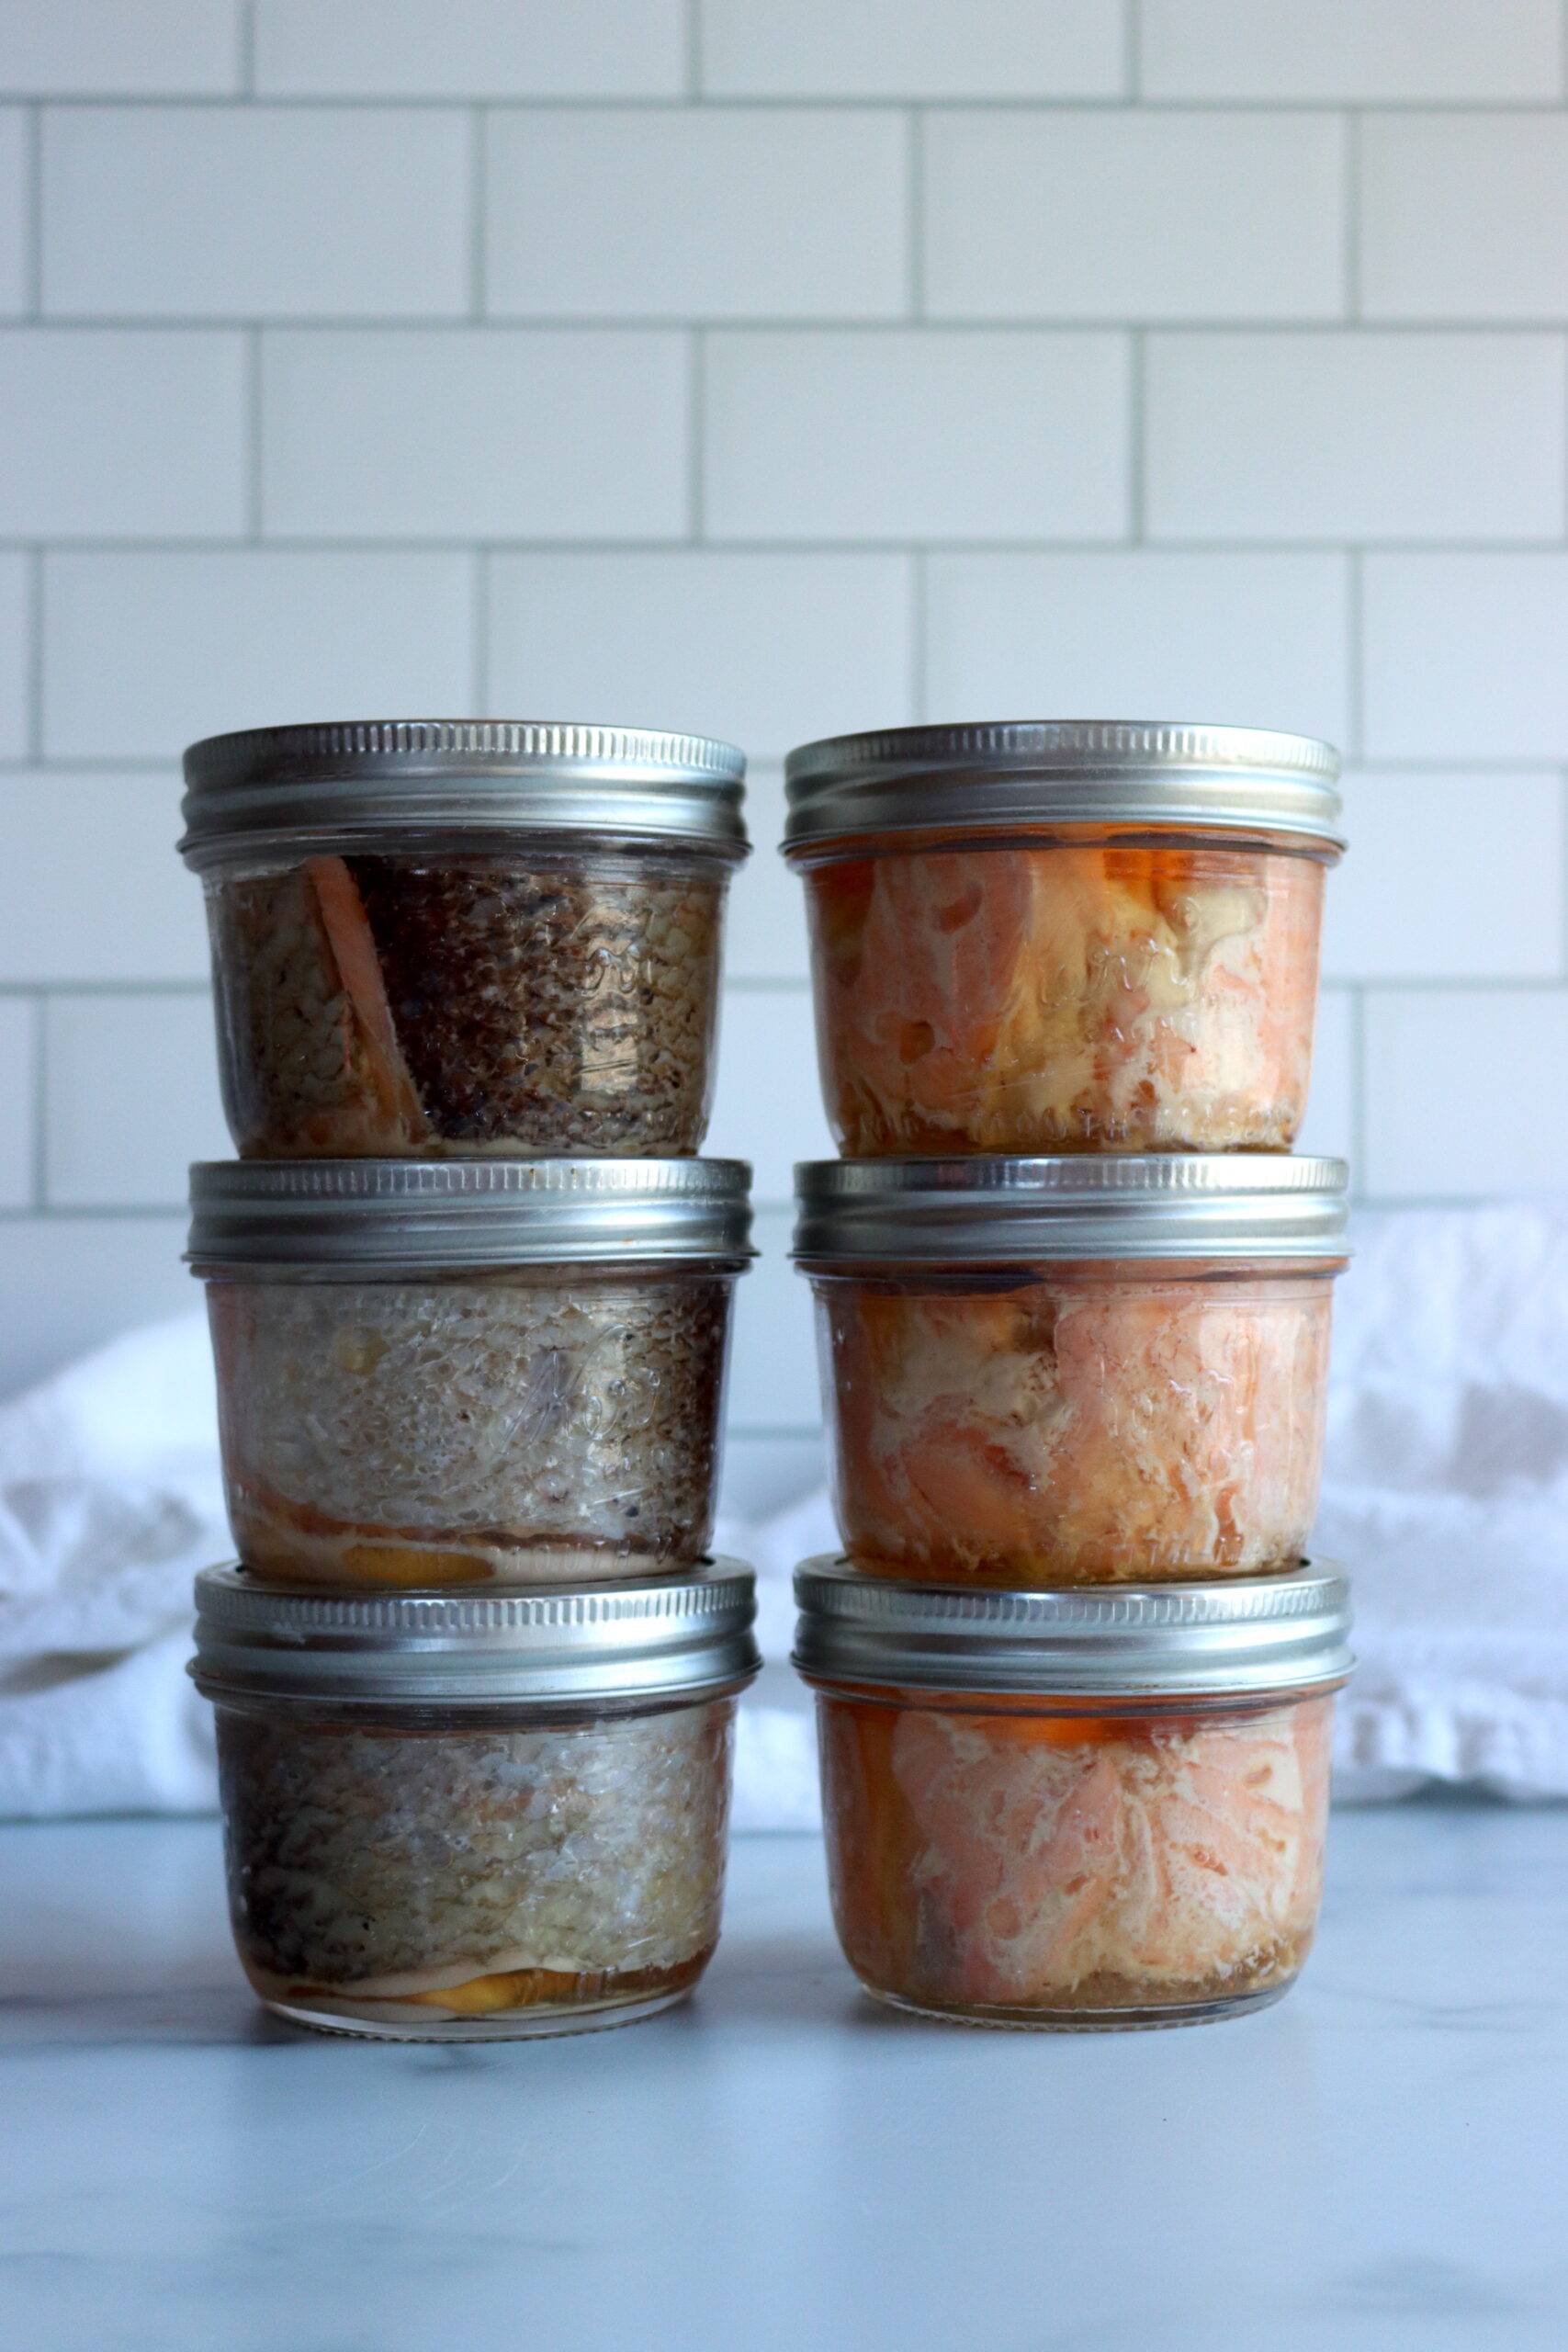
Home canned salmon, with or without skin.
Is fish safe for canning?
It’s perfectly safe to can fish as long as you follow some basic guidelines. To create this post, I used safe recommendations from reputable sources like the Pacific Northwest Extension Publication and the National Center for Home Food Preservation. When canning, it’s critical that you do your research and only use safe, tested recipes and guidelines.
If you’re new to canning, the first thing you need to know about canning fish is that it must be pressure canned. There are two types of canning; water bath canning and pressure canning.
The first method most beginners use is water bath canning. This method is only safe for high acid foods like jam, jelly, pickles, and fruit. All you need is a large water bath canning stock pot because you’re just processing your jars of food in boiling water.
You may spot a few recipes for pickled fish, but these are designed to be kept in the refrigerator. Pickled fish like Italian antipasto is not safe for water bath canning.
The second method, pressure canning, is essential for safe processing of low-acid foods including vegetables, meat, and fish.This method requires a pressure canner (not the same as a pressure cooker). It’s a little trickier to use, but brings the jars of food to a much higher temperature, ensuring that any bacteria is destroyed so your food will keep properly.
While they’re are some great recipes for seafood soups and chowders that are safe for canning, it’s important to recognize certain foods like dairy products aren’t safe for pressure canning.
If you’re completely new to pressure canning, please review my beginner’s guide to pressure canning before getting started. This guide includes an outline of what ingredients you can safely use in a pressure canning recipe.
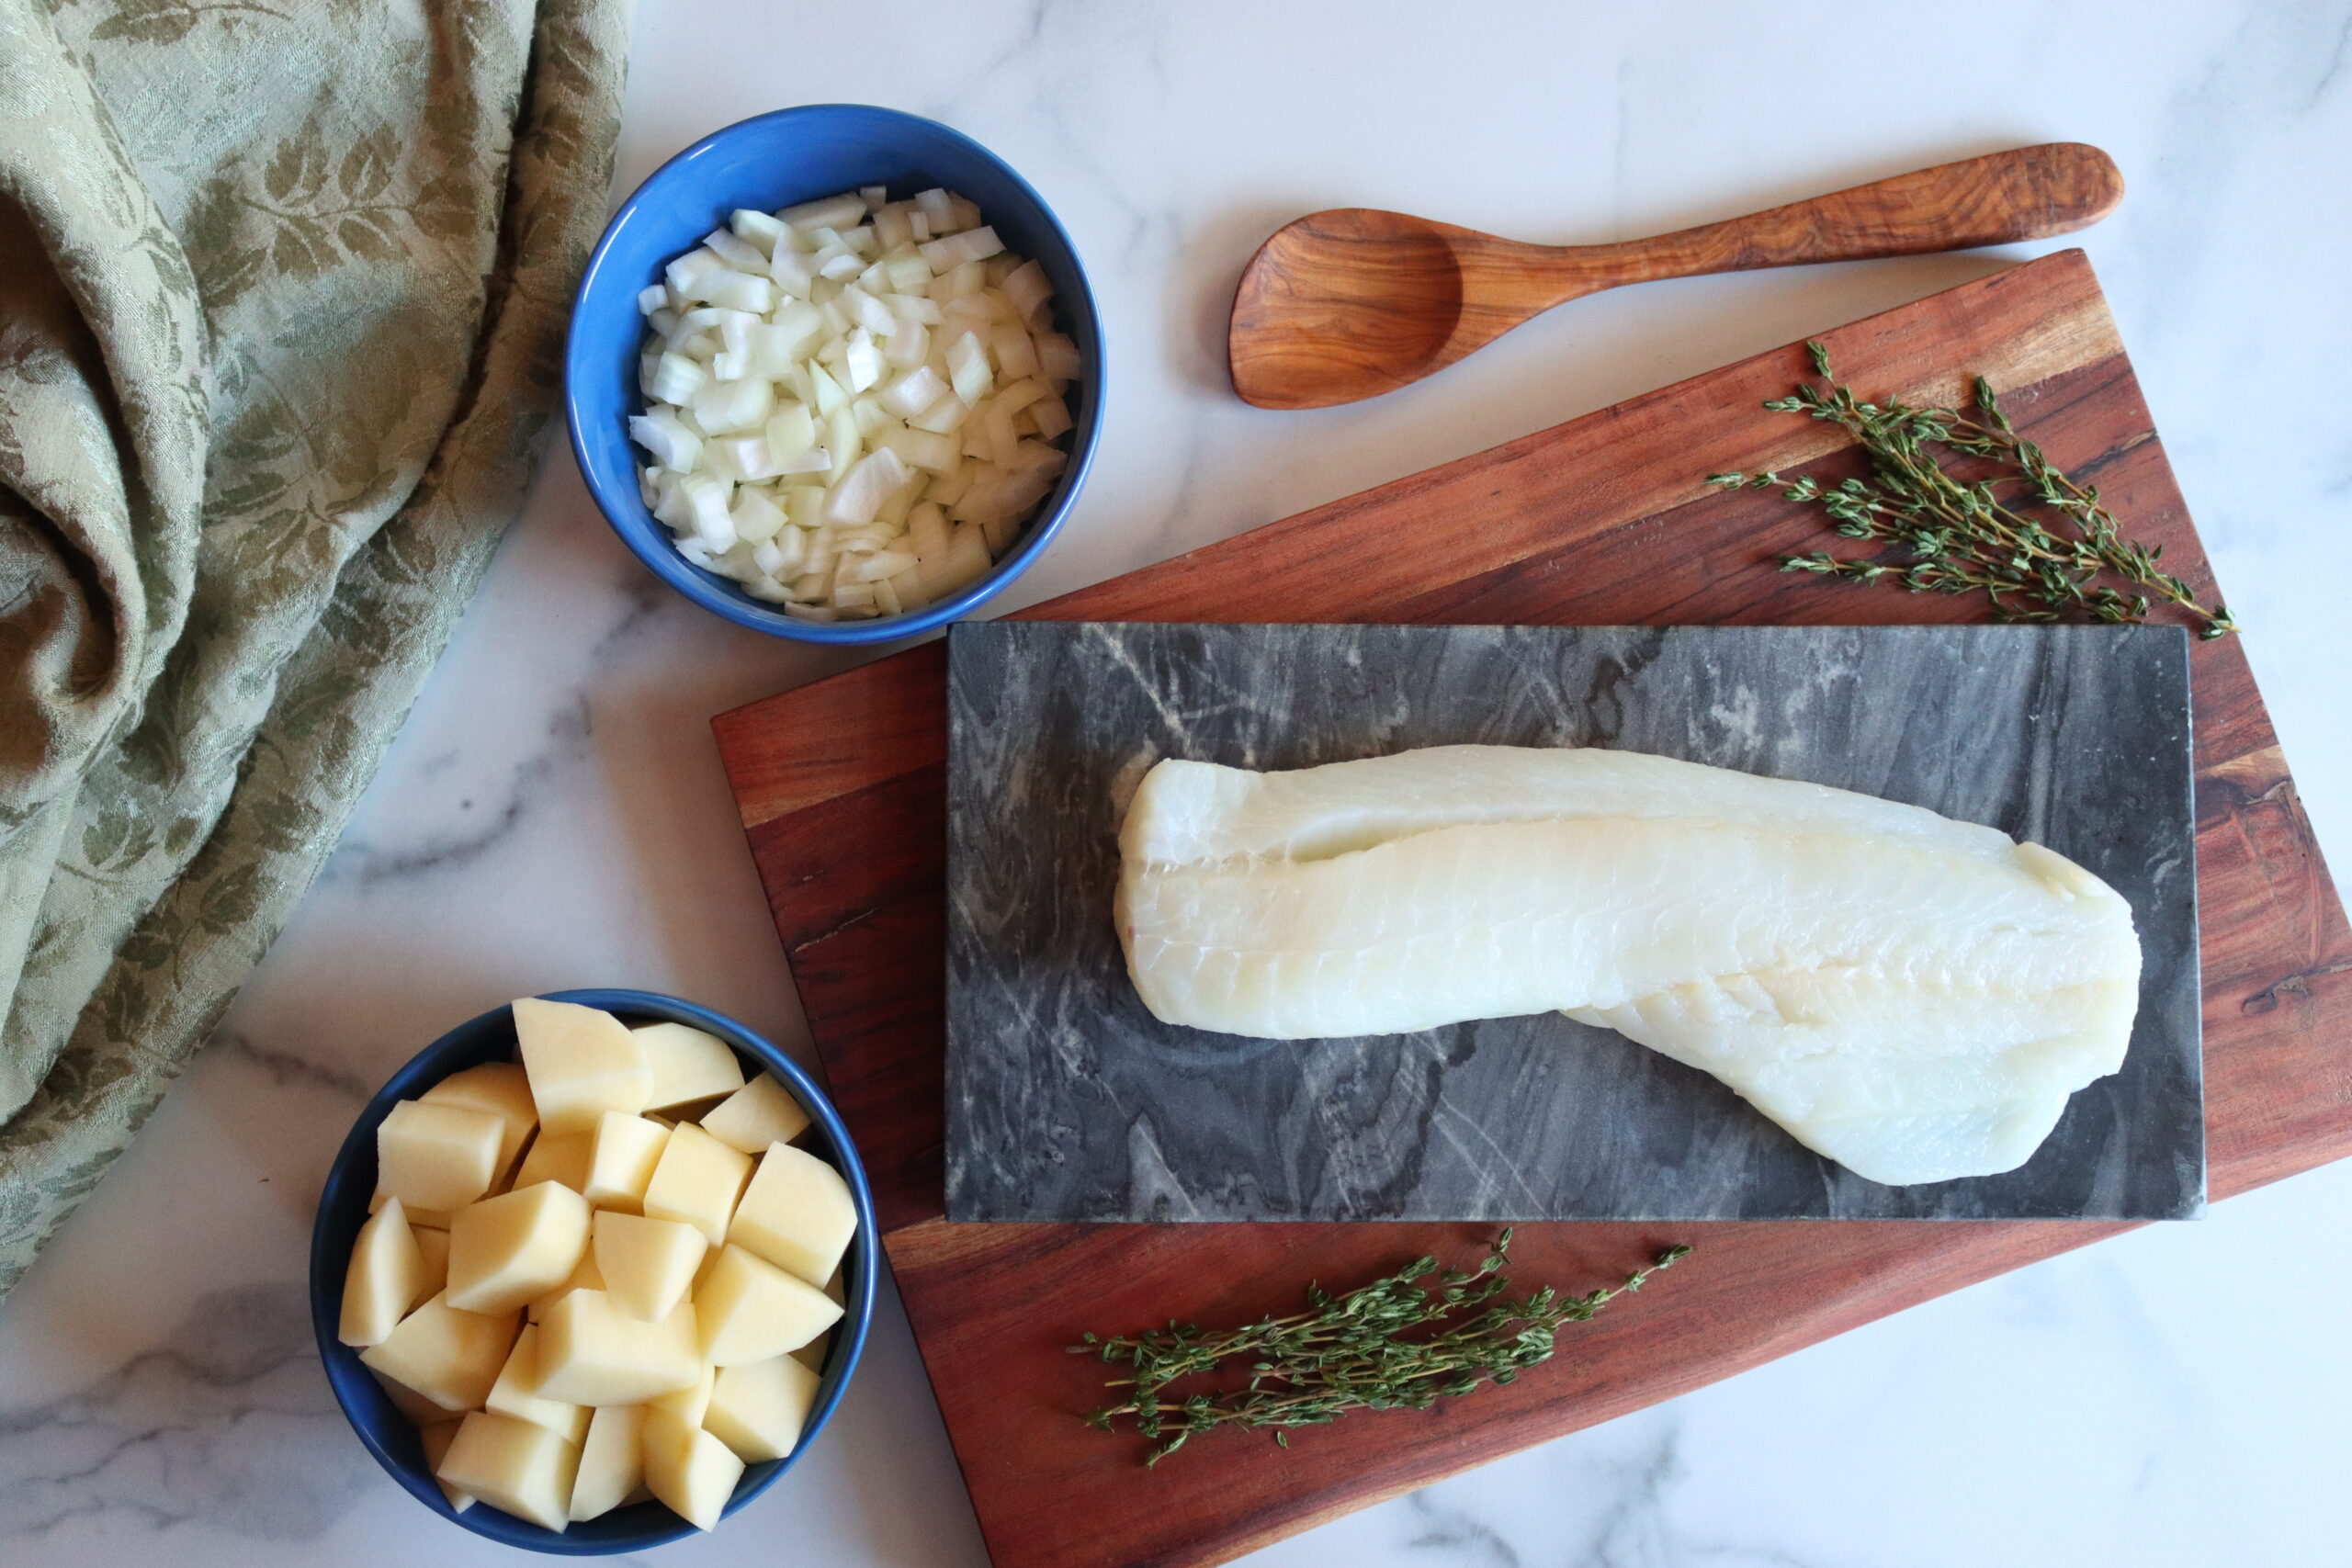
Ingredients for canning fish chowder. Just the veggies, fish and seasoning (cream and thickeners are added at serving).
Pressure canners are a bit of an investment compared to water bath canners, but they’re absolutely worth it. I use mine to can meat from hunting and our family homestead, vegetables from the garden, and some of our favorite soups and stews. Presto offers a more affordable pressure canner if you’re just getting started. Personally, I love the All-American pressure canner and it’s a tough piece of equipment that I’m sure I’ll be able to pass on some day, but there are a couple points to consider when making your decision.
- All-American Pressure Canners – These weighted gauge pressure canners are easy to use and incredibly durable. They’re designed to last a lifetime, which is why I chose one. They’re high-capacity and don’t have any gaskets or seals that you need to maintain or replace.
- Presto Pressure Canners – These pressure canners are easy to find and inexpensive. I think they’re an excellent choice for beginners, especially if you’re unsure whether you will stick with pressure canning. However, they have a dial gauge which can be trickier to use. You’ll need to adjust your stove constantly to maintain proper pressure. They also have rubber gaskets which need to be replaced regularly.
If you already own a pressure canner, make sure it’s in good working order before canning fish. Replace your gasket if necessary. If your pressure canner has a dial gauge, have it tested once per year and replace it if it is more than 2 pounds off (your local Extension office can tell you where you can have the gauge tested.)
In general, when canning it’s important to use fresh high-quality food. This is critical with fish. Only use fish and other seafood that is top quality and fresh and process it as soon as possible.
Until canning, store your fish on ice or in your refrigerator so that it stays below 40°F. Store your live shellfish (clams, oysters, mussels) in the fridge in a bowl covered with a moist towel and keep live crabs on ice.
If you won’t be able to process your catch soon after harvest, wrap and freeze it.
It’s safe to pressure can good quality frozen seafood, though you need to allow it to fully thaw first. Allow your fish or seafood to thaw in the refrigerator, then rinse it in cold water. There should be no ice crystals remaining. Don’t use the microwave to thaw seafood or fish.
When working with seafood, avoid handling it roughly or stacking it. Rough handling and stacking can bruise seafood and lead to faster spoilage. Raw seafood can also contain dangerous microorganisms, so wash any hands, surfaces, and utensils that come into contact with it. Don’t let raw and cooked seafood come into contact.
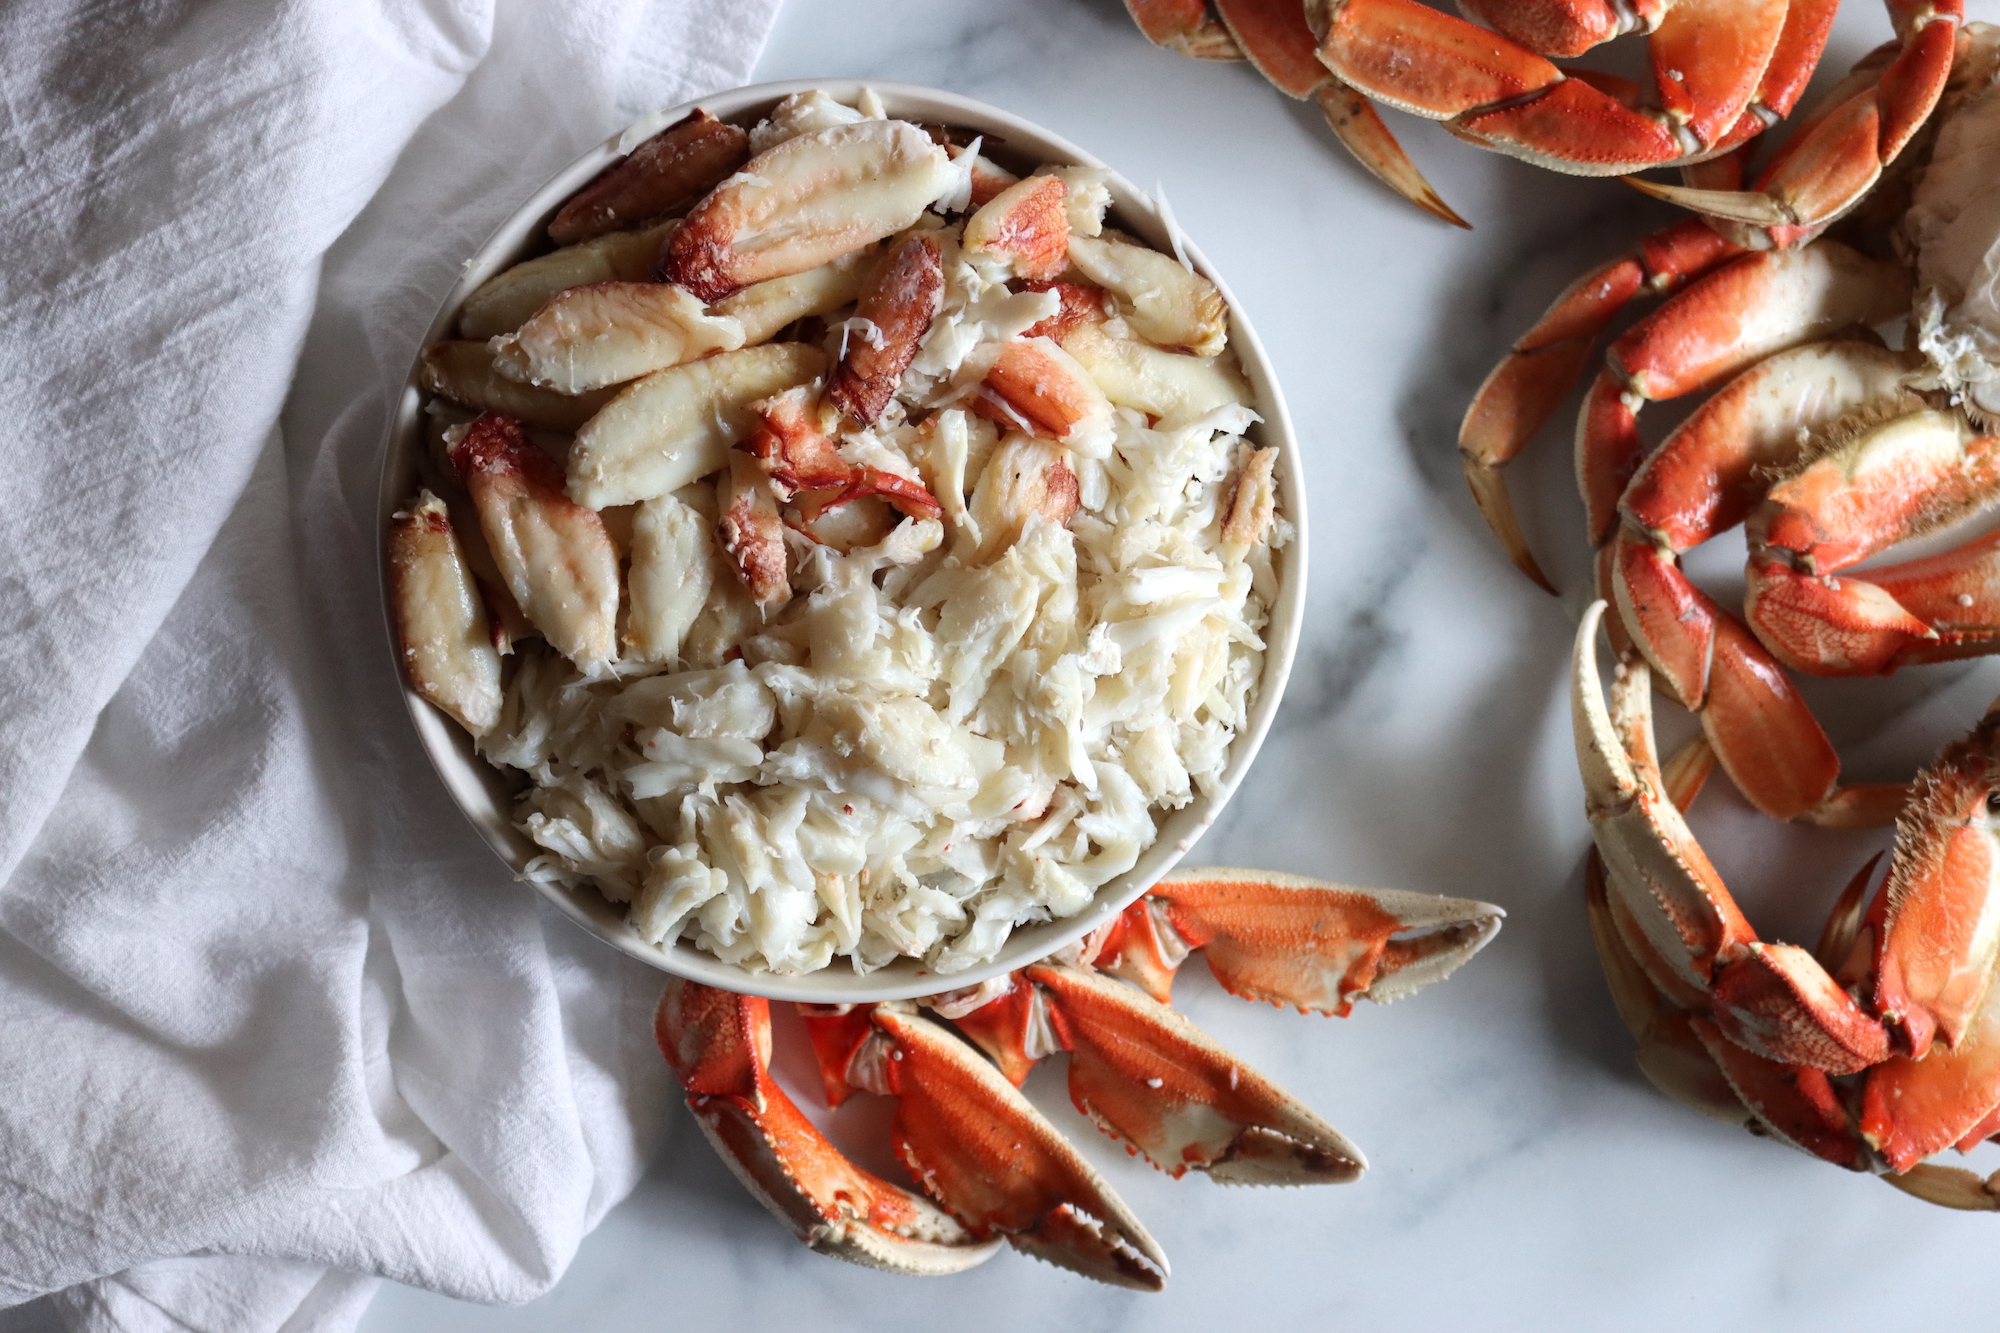
Crab Meat cleaned for canning
Instructions for Canning Fish
Preparation and instructions for canning fish vary by fish, but there are some basic steps to take. First, it’s a good idea to use non-porous equipment like acrylic or glass cutting boards, especially when working with fatty fish like salmon and tuna. You may also want to cover your work surfaces with plastic wrap or wax paper and use paper towels or be ready to do a hot wash load of cloth towels separately.
Pack your raw fish and seafood into hot pint, half-pint, or quarter pint jars. When processing quarter-pint jars, use the processing time for half-pint jars.
Getting a good seal on the jars is essential. Wipe the rims with a clean cloth or paper towel before placing the lids. If you’re working with fatty fish like salmon, dipping your paper towel into vinegar before wiping the rims.
Process your fish and seafood at the proper pressure. At sea level, use 10 pounds pressure for a weighted gauge and 11 pounds for a dial gauge. If you’re canning at high altitudes, increase the pressure as directed.
I’ll cover more specific canning instructions by type of fish and seafood under each heading.
Fish Canning Recipes
I’m often asked whether it’s necessary to cook your fish before canning. It generally isn’t necessary, as your fish will cook as your jars process at high temperatures in a pressure canner. For example, I always raw pack jars of plain trout and they come out cooked wonderfully.
However, there are some reasons you may want to pre-cook your fish. When canning tuna, for example, pre-cooking may remove some of the strongly flavored oils that people find unpleasant.
Pre-cooking may also be necessary when you are preparing certain chowders and soups.
Canning Fish (Salmon, Trout, etc)
Fishing is a great way to put some extra protein in the pantry. If you love fishing your local lakes and rivers, this is a handy method to learn.
When you’re fishing, it’s best to eviscerate your fish within 2 hours of catching them. Then keep you cleaned fish on ice until you’re ready to can.
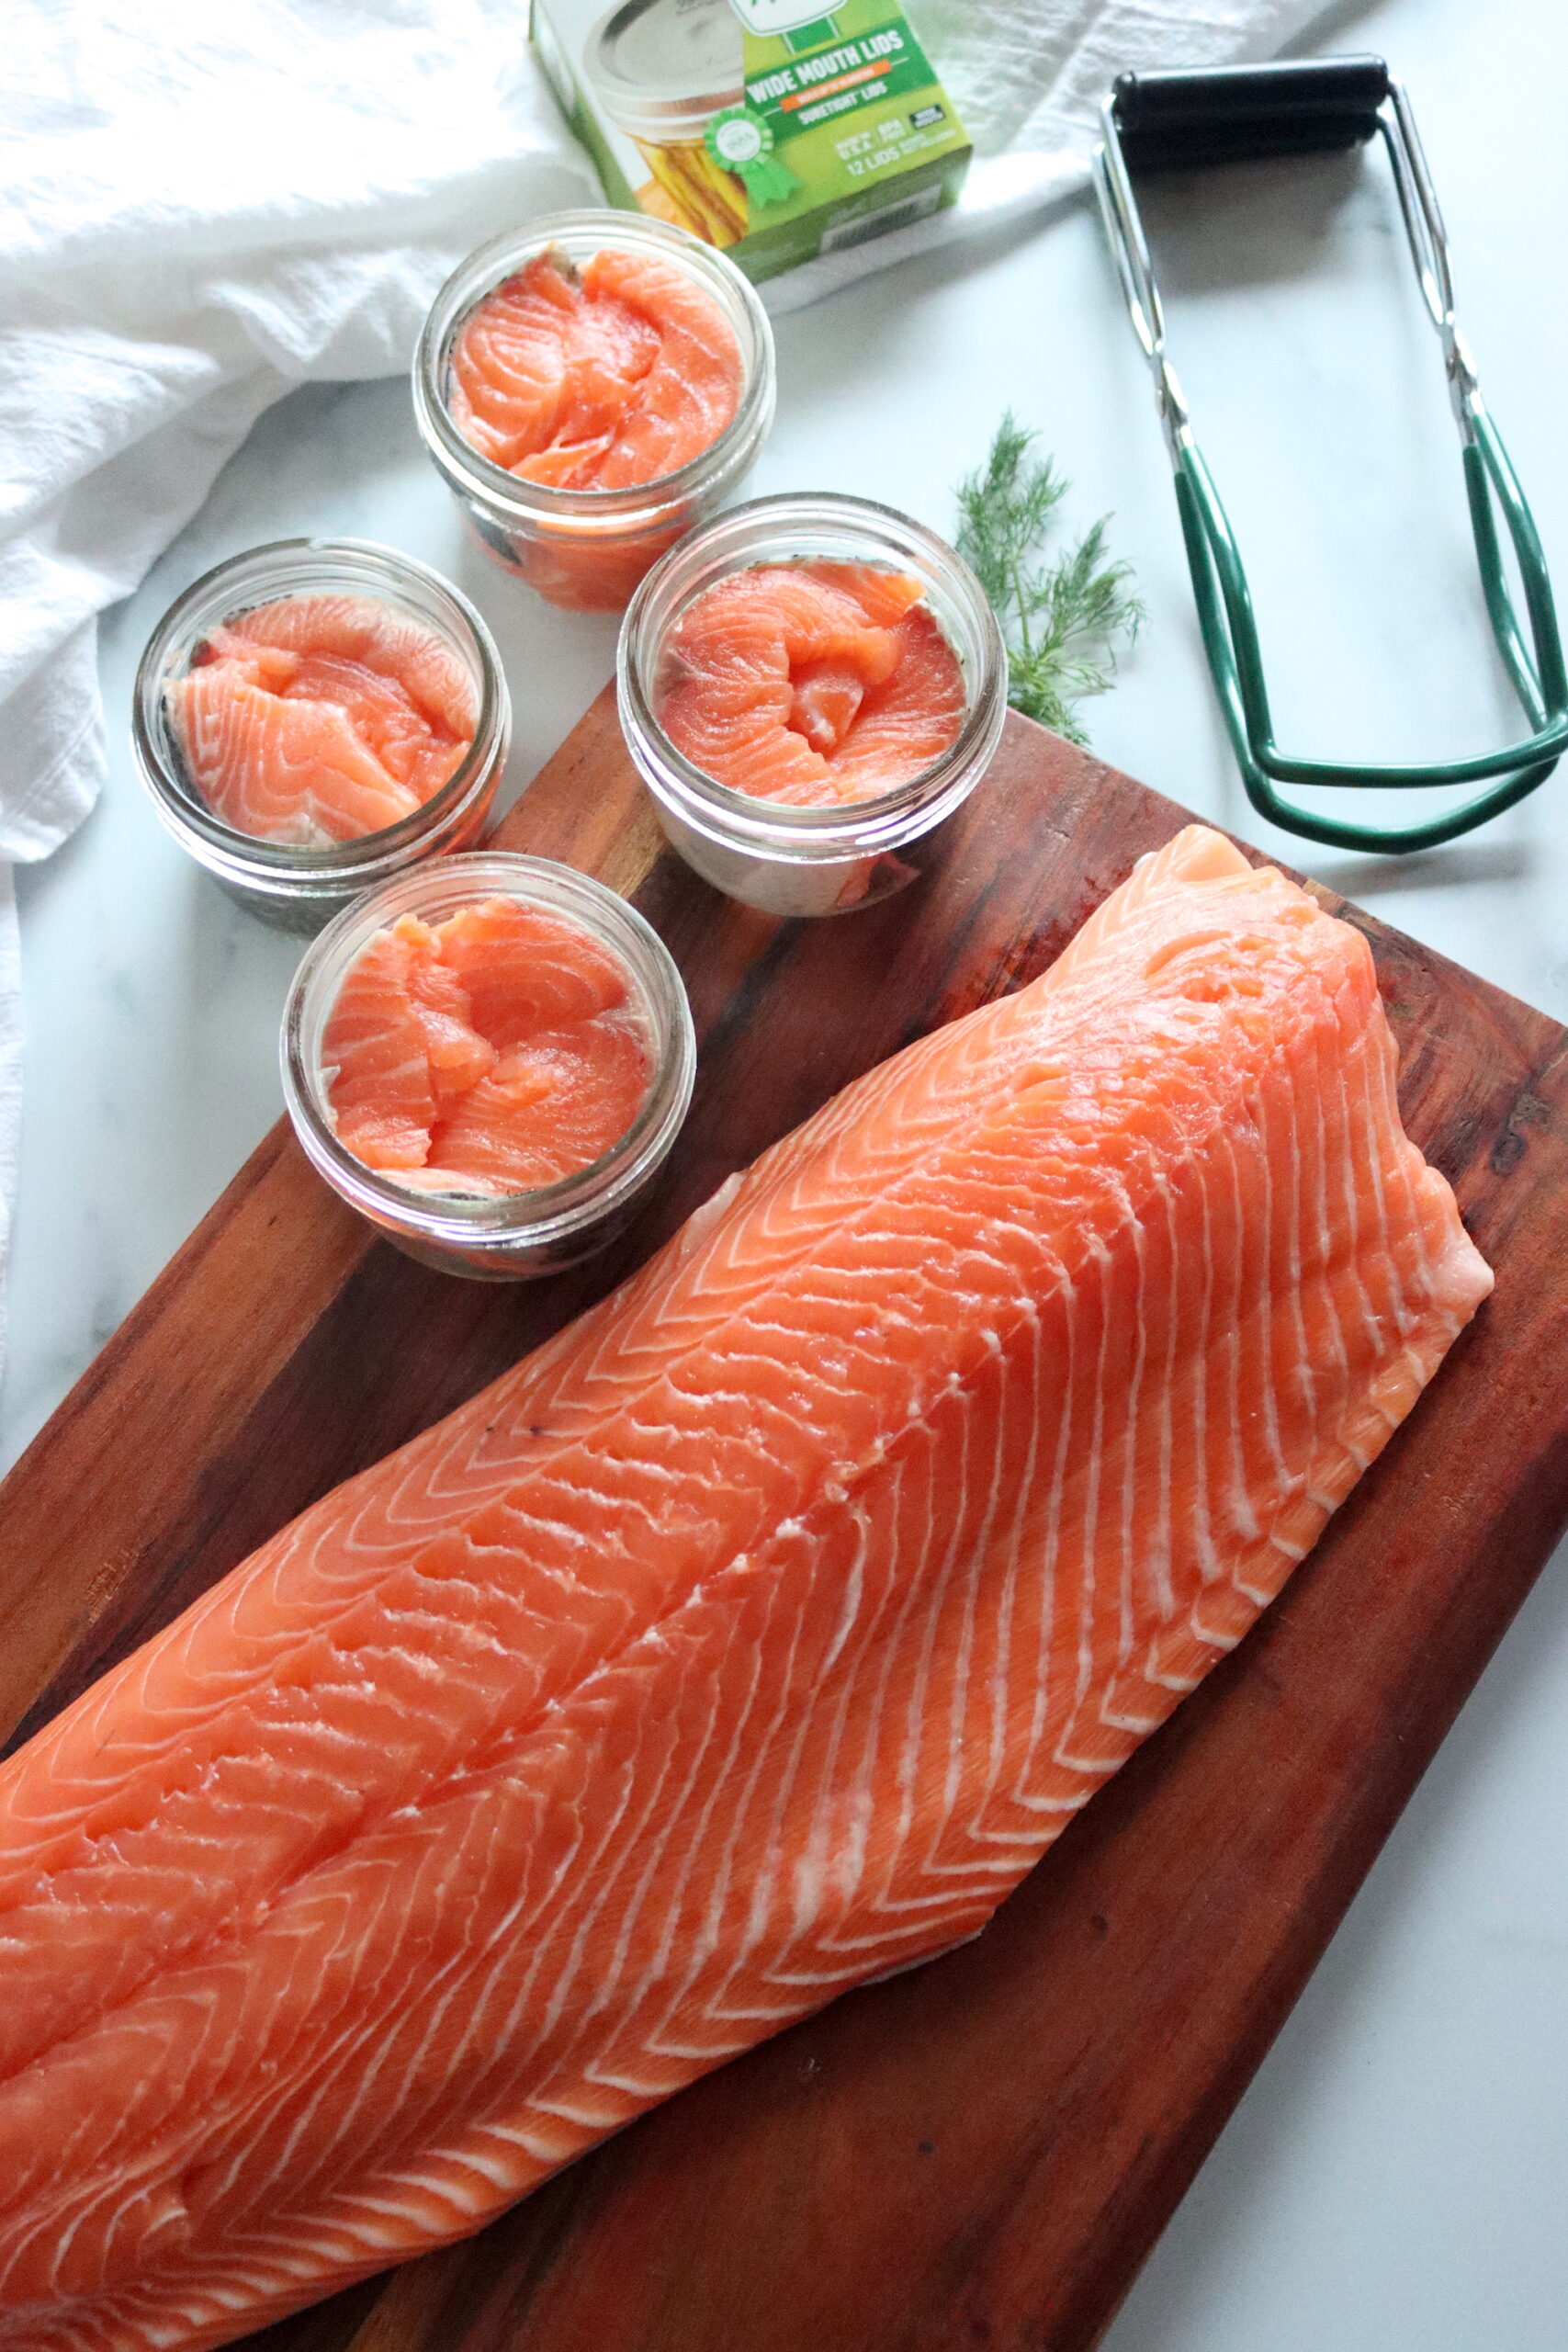
To begin, remove the head, fins, tail, and scales from your fish. Then wash the fish and remove all the blood. So it easily fits into jars, split your fish lengthwise and then cut it into 2 to 3 inch sections.
Fill your hot jars with your raw fish. You should place fish into the jars so that the skin is facing the outside. Leave 1 inch of headspace and add 1 teaspoon of salt per pint to each jar.
Don’t add any liquids. Add your lids and rings and process according to the following recommendations.
Note that you may spot glass-like crystals in your canned salmon. Unfortunately, there’s no way to avoid this with home canning. Thankfully, these magnesium ammonium phosphate crystals are completely normal and harmless. They usually dissolve when you heat the fish and are fine to eat.
The instructions for canning salmon are used for all types of fish, except tuna.
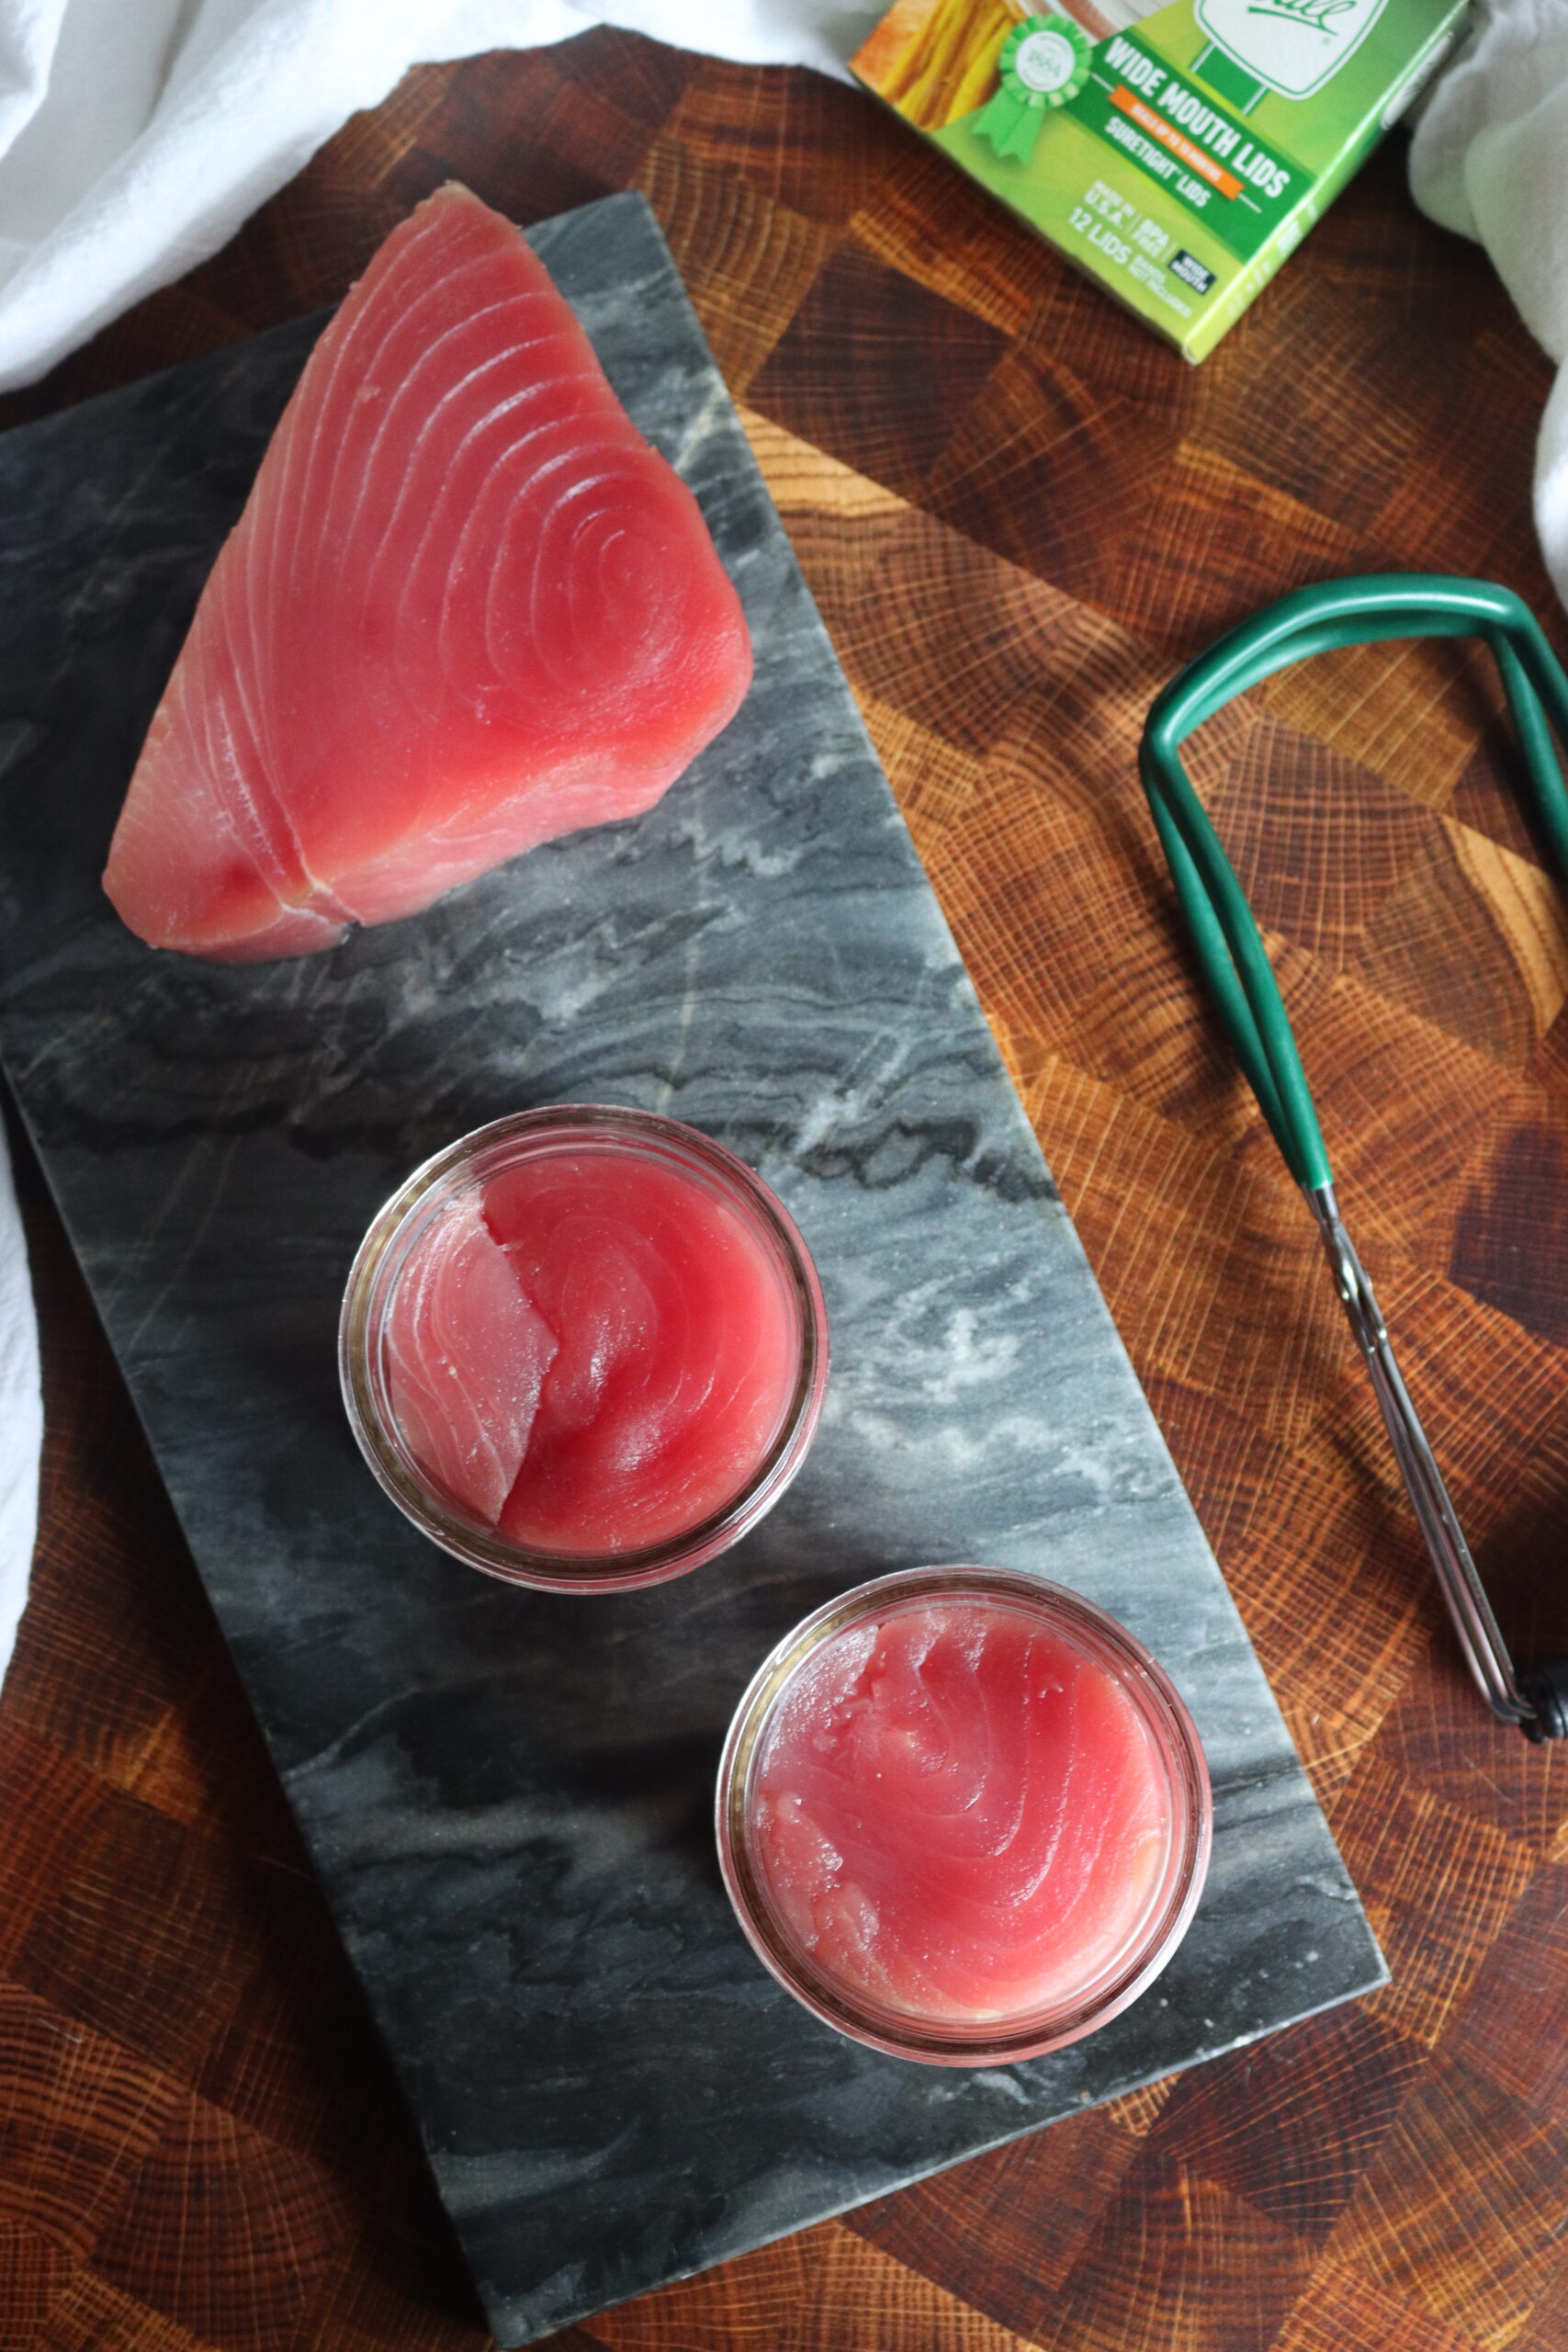
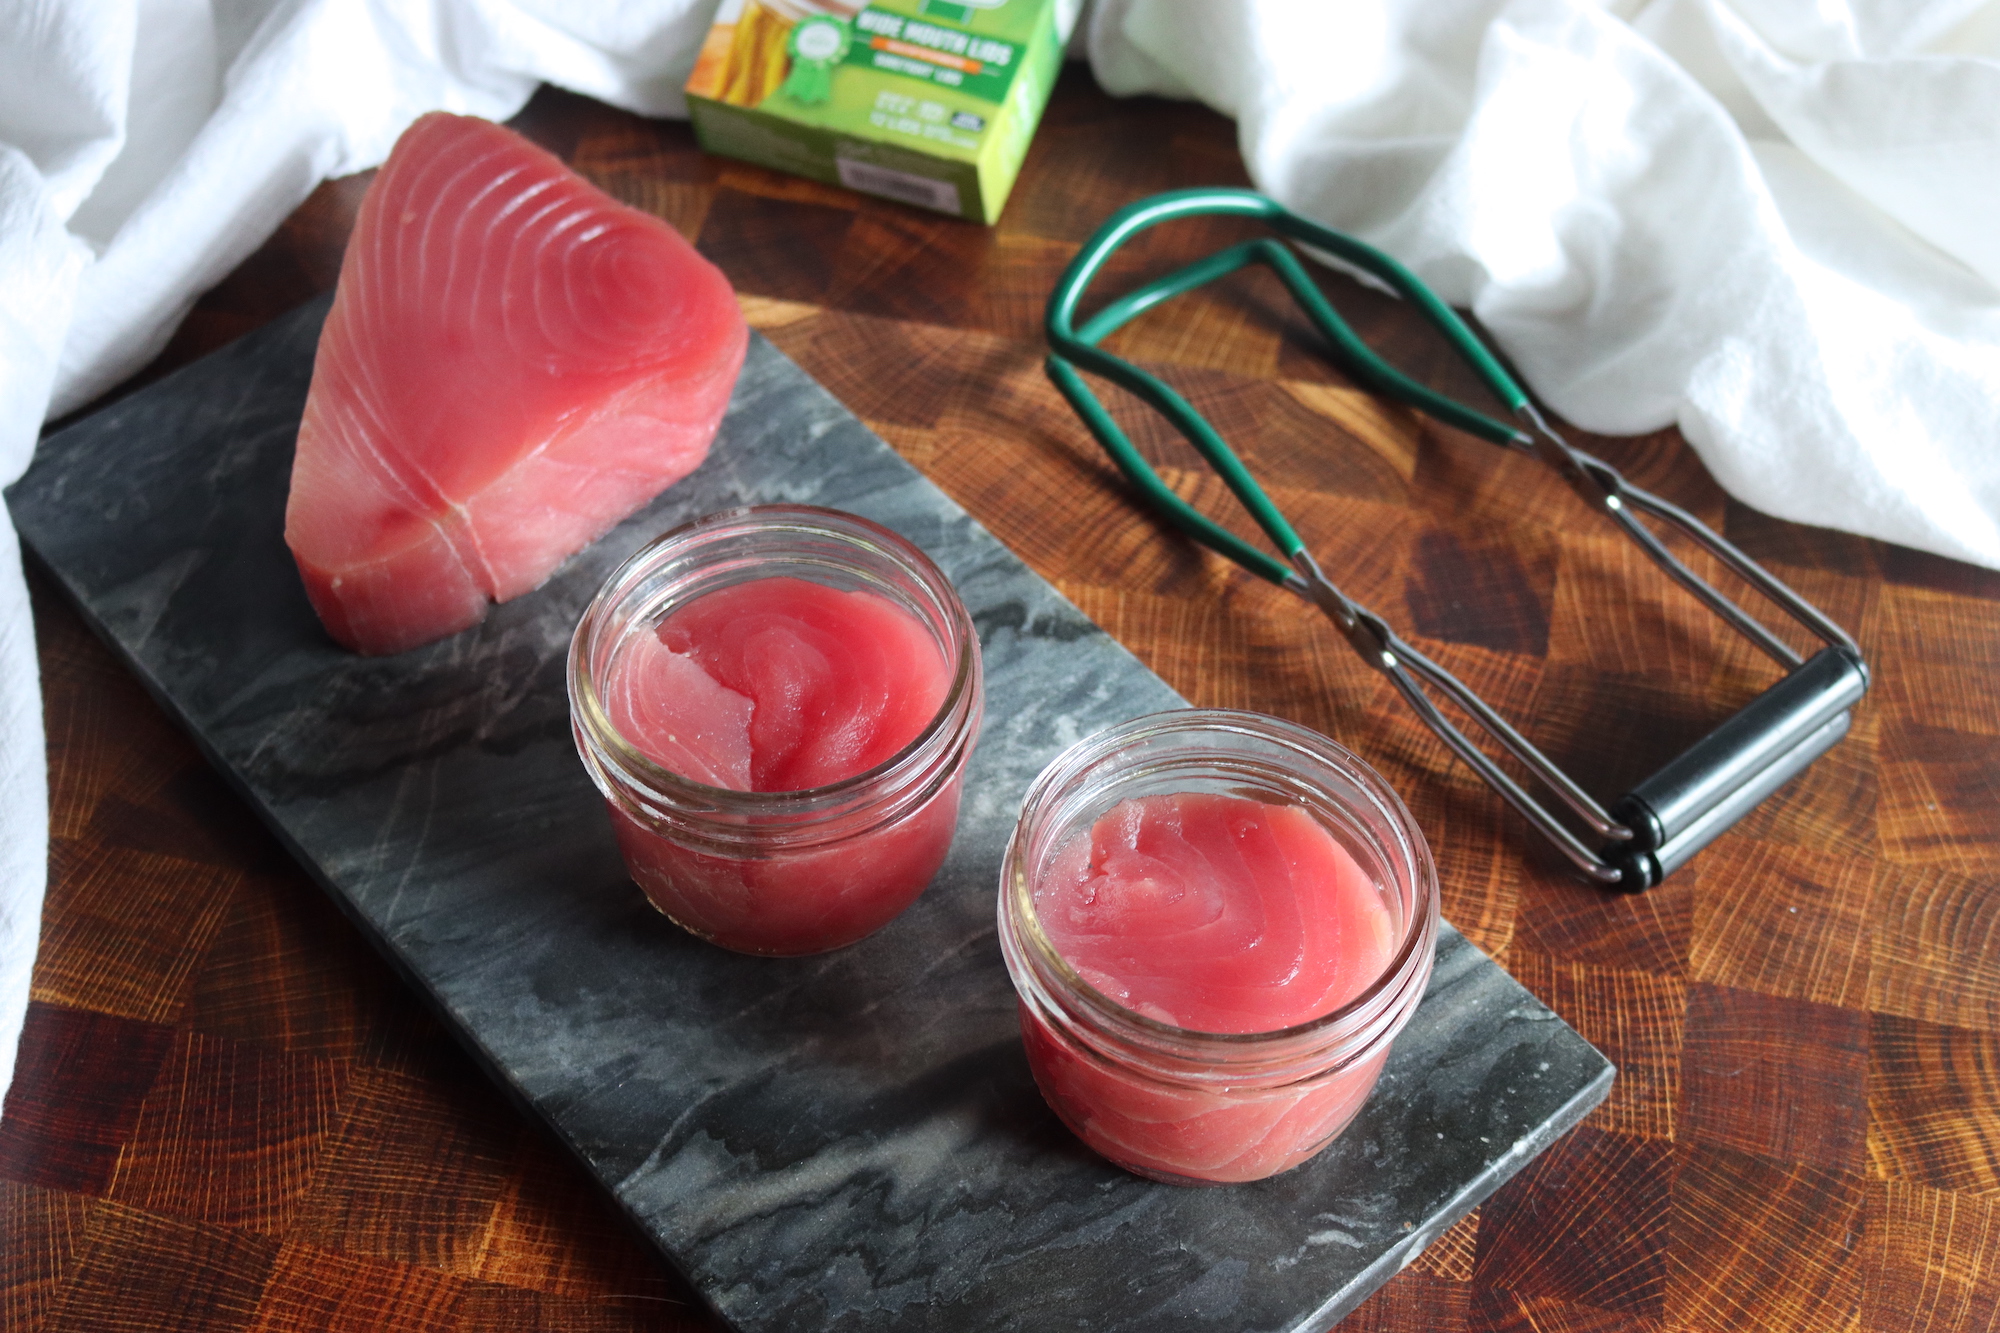
Canning Tuna
Keep your tuna on ice until you’re ready to can. Then you may can your tuna raw or cooked.
To begin, remove the viscera and wash your fish well. Allow all the blood to drain from the stomach cavity.
If you’re going to pre-cook your tuna, place it belly down on a baking tray, cutting it crosswise if necessary. Bake the tuna at 250º F for 2-1/2 to 4 hours or at 350º F for 1 hour. The time will depend on the size of the fish. Using a meat thermometer, check that the internal temperature of the fish reaches 165º to 175º F. Alternatively, you can cook your tuna for 2 to 4 hours in a steamer.
Set your cooked fish in the refrigerator overnight to firm the flesh and make it easier to process.
You need to process your fish, regardless of whether it’s cooked or raw. Generally, this is easiest after it has cooked. Begin by peeling away the skin and any blood vessels and dark-colored flesh with a knife. Then cut away all bones, fin bases, and dark flesh.
Quarter your tuna and then cut it to lengths suitable for packing into pint or half-pint jars. Fill your hot jars, packing the tuna down gently so that it fills the jars well.
Unlike other fish, tuna doesn’t produce a lot of liquid, so you need to add liquid to your canning jars. Tuna may be canned in water or oil. Add the oil or water to each jar, leaving about 1 inch of headspace.
If desired, add 1 teaspoon of salt per pint or ½ teaspoon of salt to each half pint.
Place lids and rings on your jars and process them with the standards provided by the National Center for Home Food Preservation.
Like home-canned salmon, tuna sometimes forms glass-like crystals of magnesium ammonium phosphate during the canning process. Thankfully, these are completely harmless.
See my full instructions for canning tuna.
Canning Crab
If you’re one of the lucky few who lives in an area where you can harvest your own crab, I recommend freezing your harvest if you have the space and power. Canned crab can have a distinct acidic flavor. However, if you’re like me and live on a solar-powered homestead with limited freezer space or live somewhere with frequent power outages, canning is still a good option.
Personally, I don’t mind the flavor of canned crab meat and it still goes well in plenty of dishes. Plus, it stores indefinitely without electricity and is ready to use when we need it.
Fresh is best when it comes to canning, so keep your live crabs on ice until you’re ready to can them. Then, wash your crabs thoroughly in several changes of cold water.
Once they’re clean, simmer the crabs for 20 minutes in a stockpot of water containing ¼ cup of lemon juice or 2 TBS of salt per gallon. You can use up to a cup of salt per gallon if desired.
Cool the crabs in cold water before processing. Then remove the back shell and the meat from the body and claws.
Soak all the crab meat in cold water with 2 cups of lemon juice or 4 cups of white vinegar, and at least 2 tablespoons of salt per gallon. You can use up to 1 cup of salt per gallon of water if desired. Then drain the meat and squeeze out extra water.
A kitchen scale is handy when canning crab. Pack 12 ounces of crab into each pint jar and 6 ounces into each half pint jar.
To each pint jar, add 1 teaspoon of citric acid or 4 tablespoons of lemon juice and to each half-pint jar, add 1/2 teaspoon of citric acid or 2 tablespoons of lemon juice. Fill the rest with hot water, leaving about 1 inch of headspace.
Process using the guidelines from the National Center for Home Food Preservation.
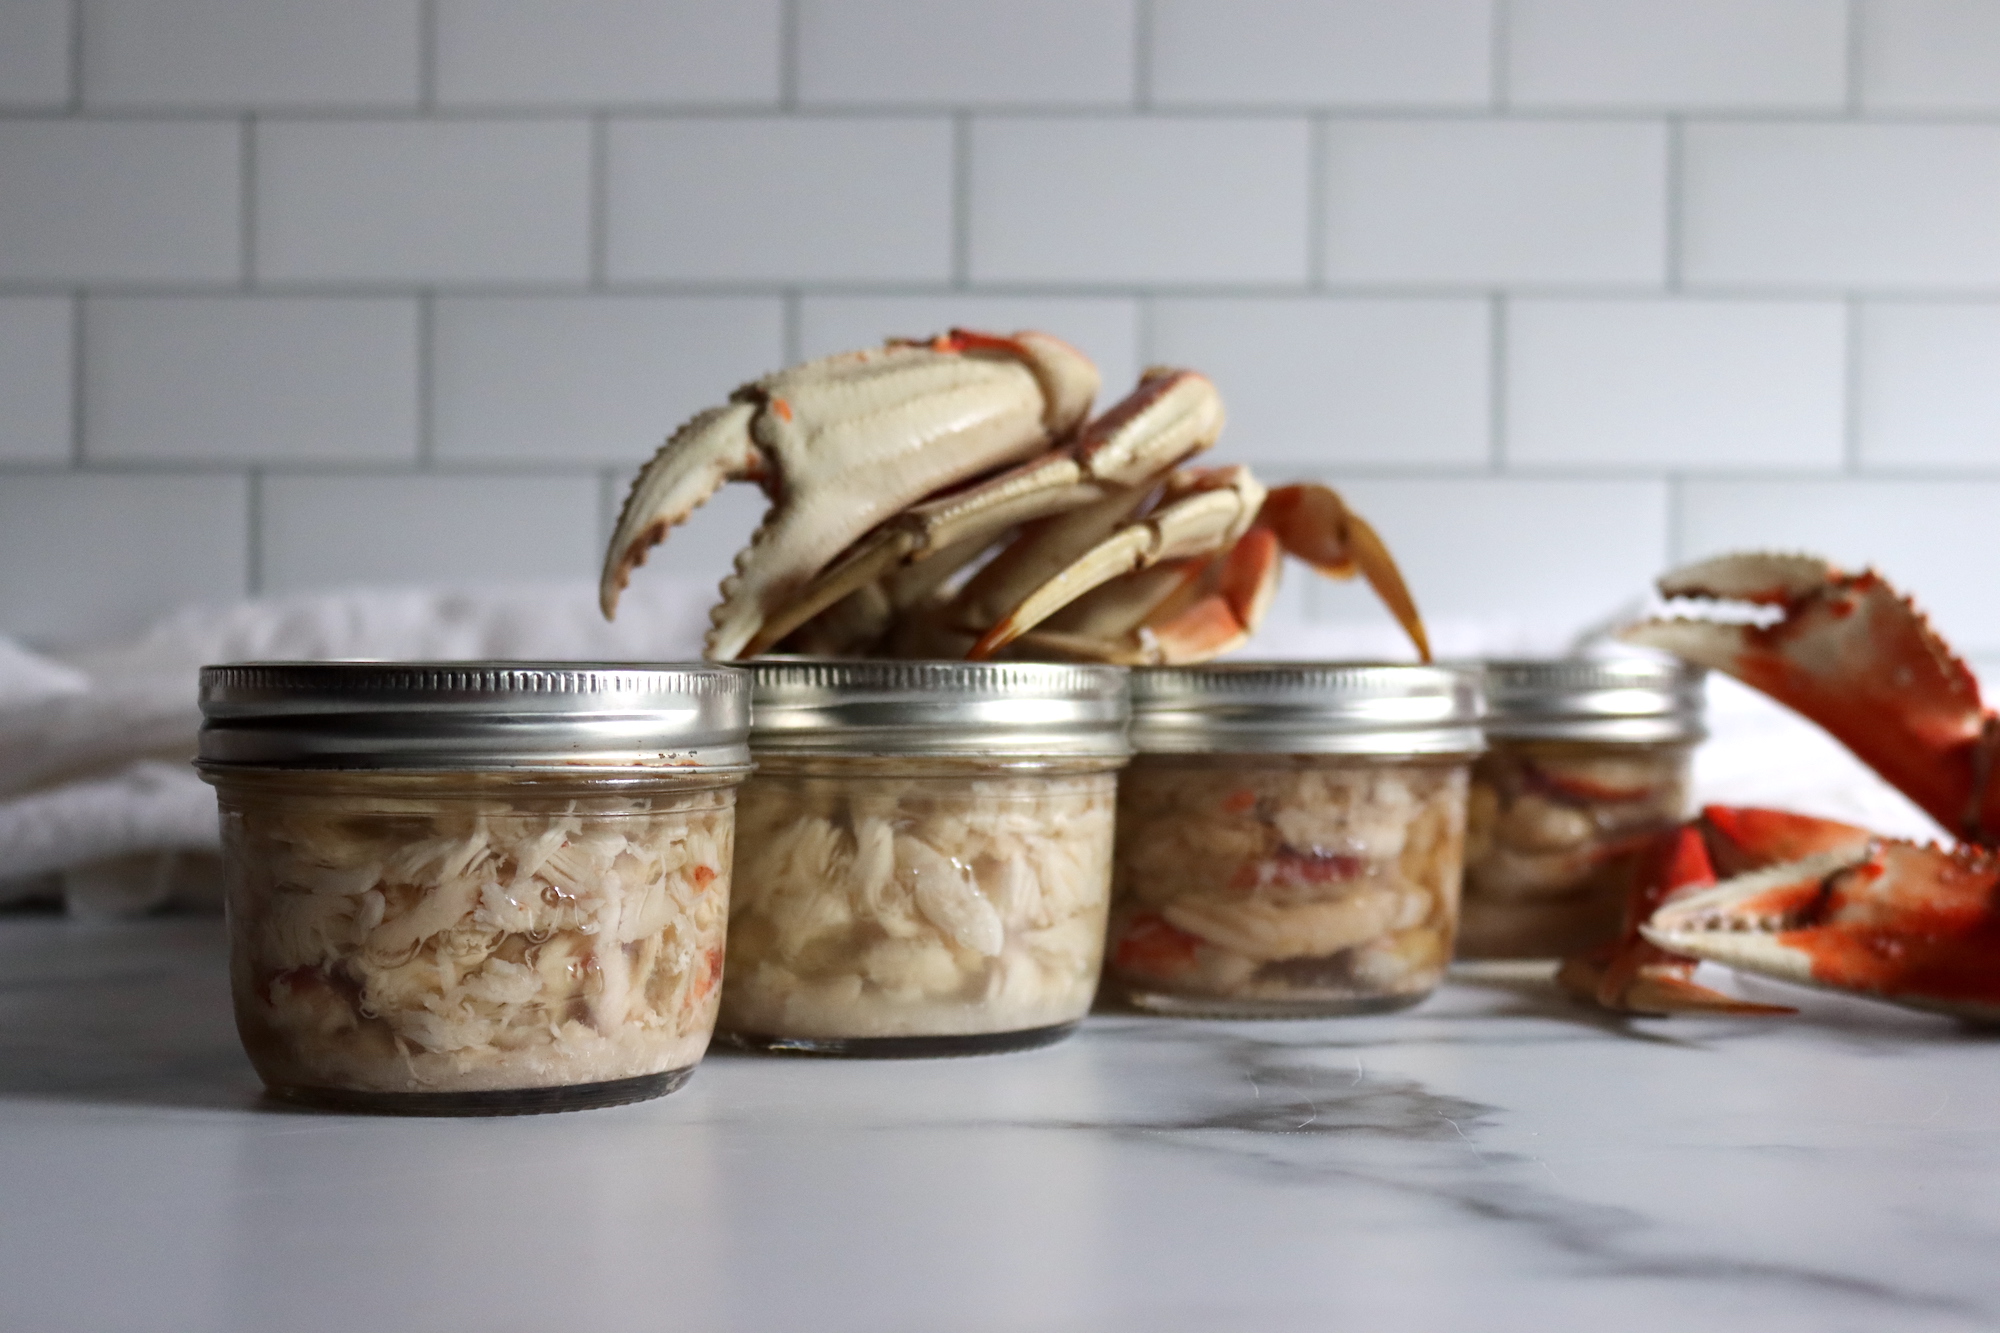
Canning Crab
Canning Shrimp
Having shrimp in the pantry is an easy way to feel rich even when you’re on a tight budget. Canning shrimp is easy, but adds a bit of luxury to home-cooked meals.
As soon as you catch your shrimp, remove the heads. Then keep them chilled until you are ready to can them.
Start by washing and draining your shrimp before cooking them for 8 to 10 minutes in an acidic brine. Use ¼ to 1 cup salt and 1 cup vinegar per gallon of water for the brine. Then, rinse them in cold water and drain them.
Finally, peel your shrimp and pack them into hot half pint or pint jars.
While you’re packing jars, create a salt brine to fill the jars with 1 to 3 tablespoons of salt per gallon of water. Bring your brine to a boil.
Cover the shrimp with the boiling salt brine, leaving 1 inch of headspace.
Clean the jar rims and place lids and bands before processing with my full processing instructions for canning shrimp.
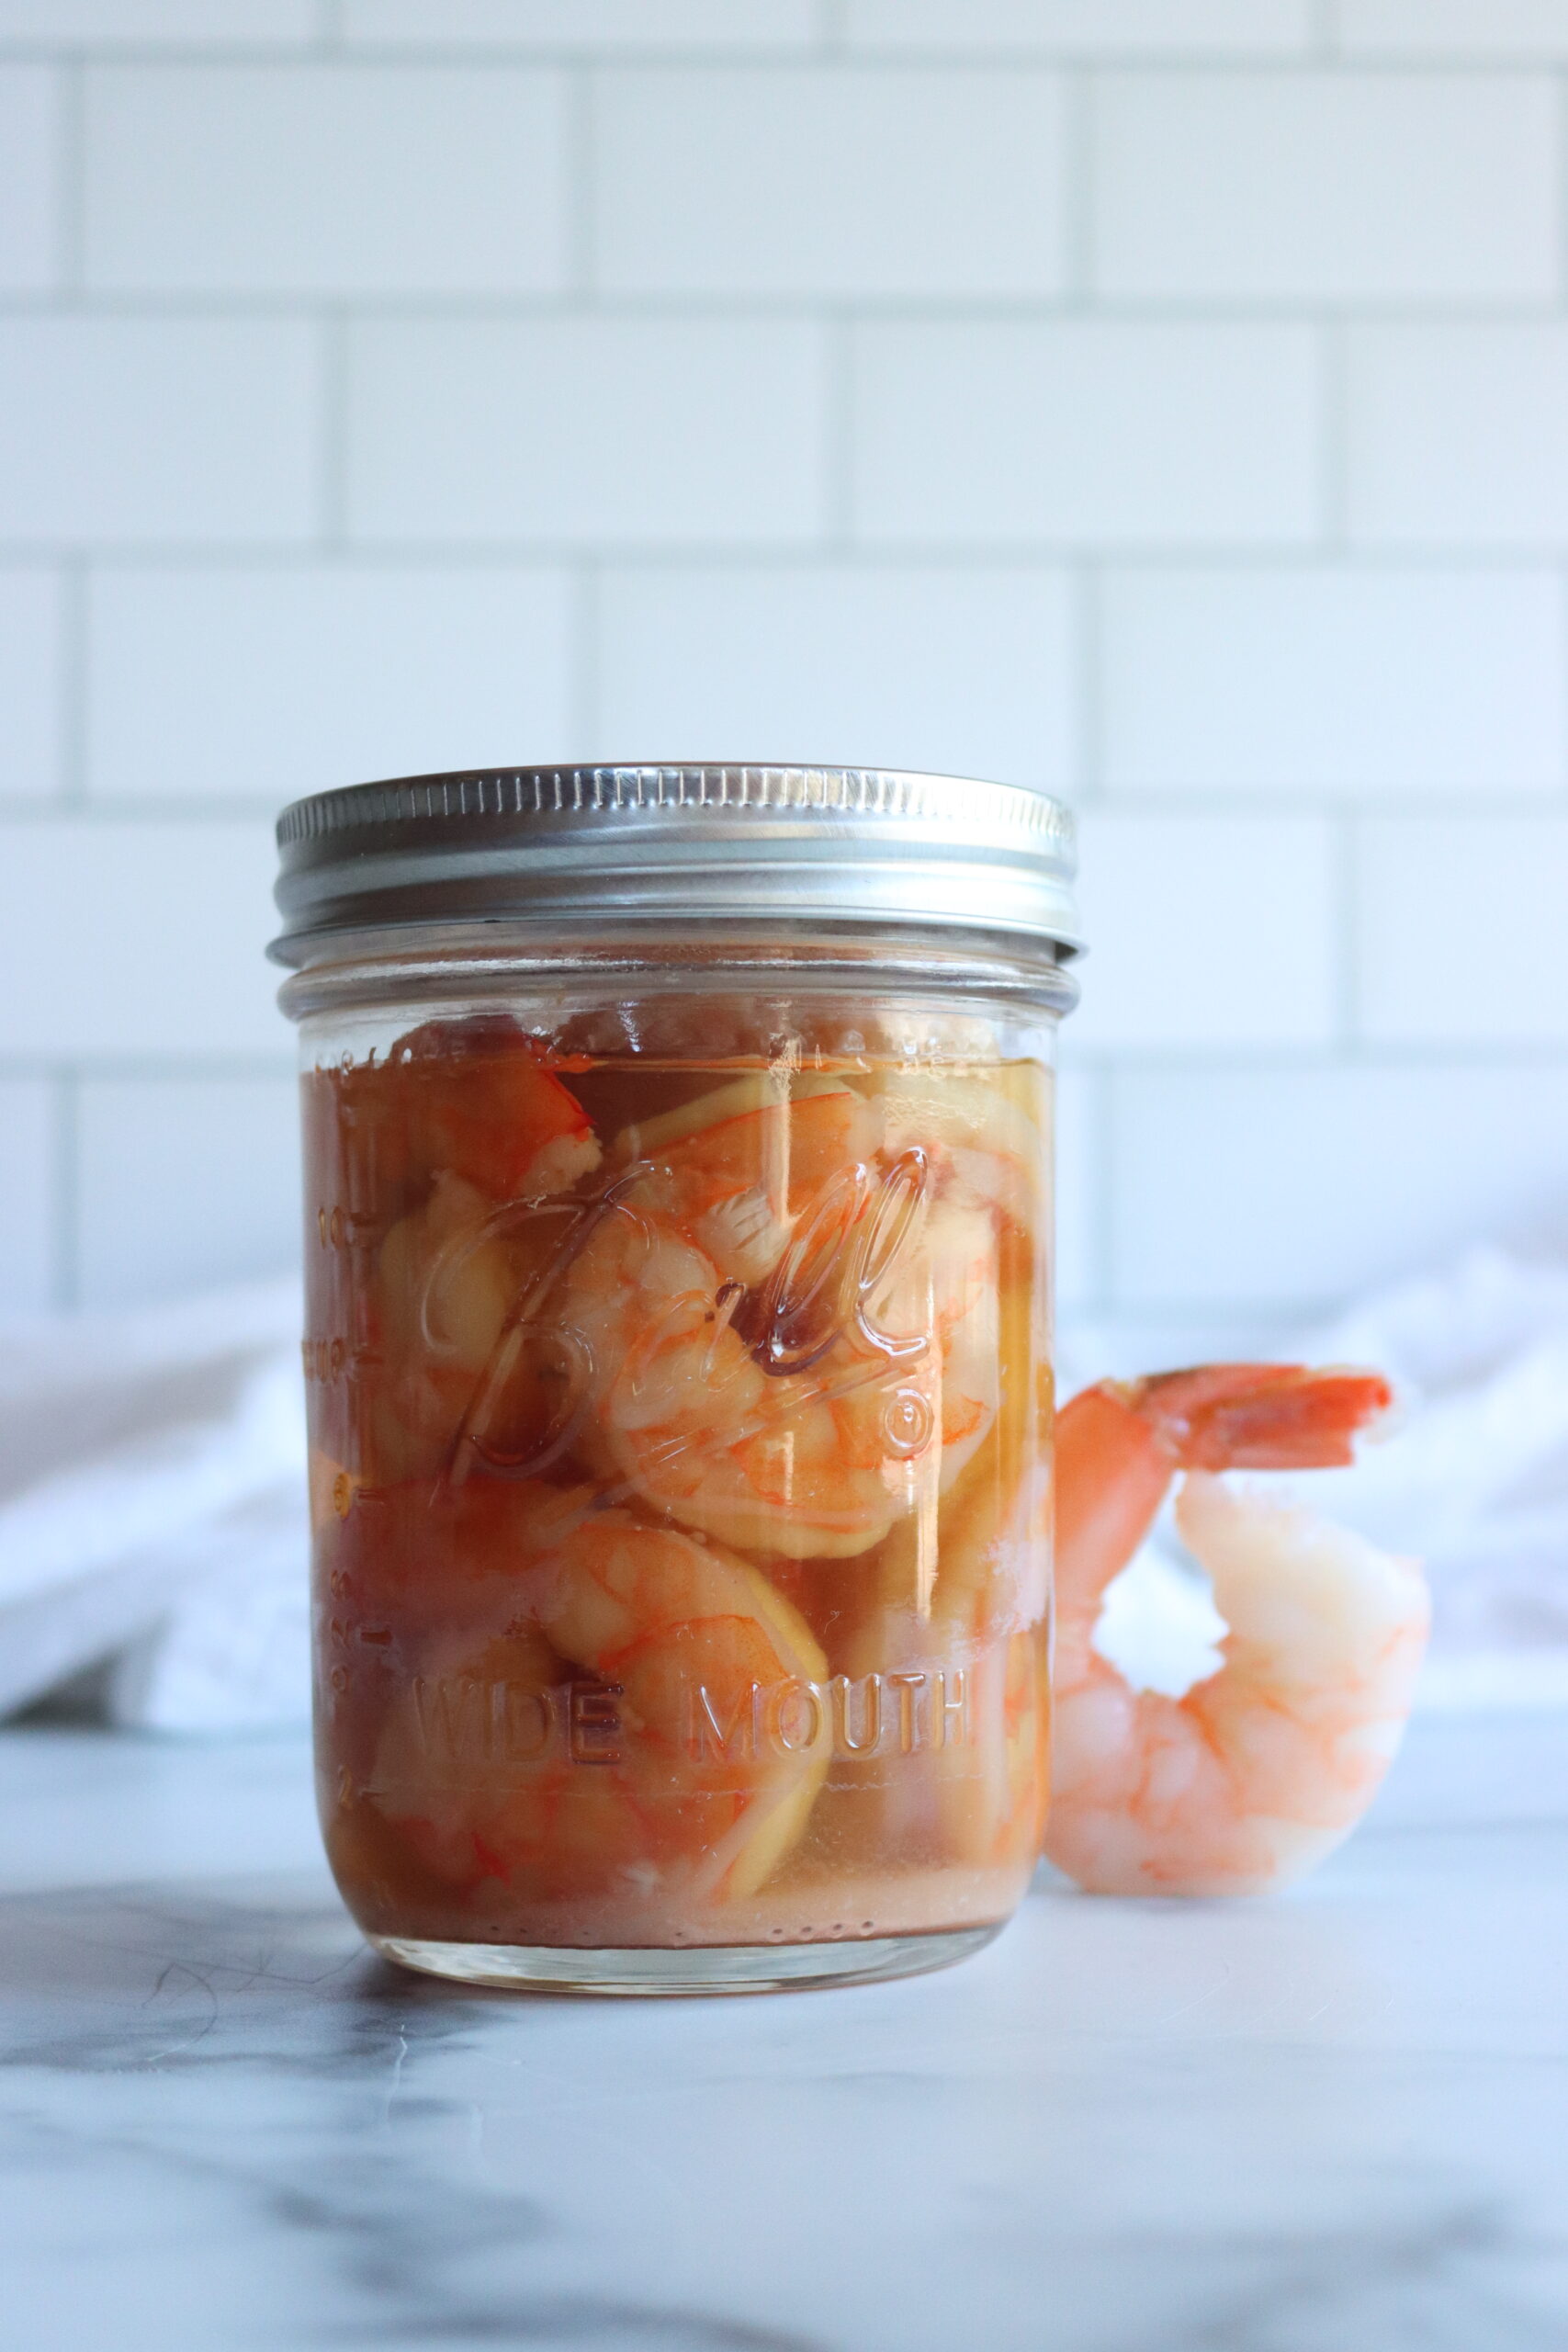
Canning Shrimp
Canning Clams
Clams are great for canning as they retain their flavor and texture well. They’re great to keep in the pantry for pasta, chowder, and clam dip. You can pressure can clam whole or minced. The first steps are the same, no matter which you choose.
Keep your live clams cold or on ice until you’re ready to process them.
When you’re ready to can, scrub the clam shells and steam them for five minutes. Then open the shells, remove the meat, and save the juice and set it to the side in a small stockpot.
Make a weak salt brine with 1½ to 3 tablespoons salt per gallon of water. Wash the meat in this brine.
Then boil the meat for 2 minutes in water containing 2 tablespoons of lemon juice or ½ teaspoon of citric acid per gallon. Heat the clam juice you set aside earlier to a boil.
For whole clams, drain the meat and pack it loosely into hot jars.
For minced clam, drain the meat and grind it using a blender or food processor before packing it into hot jars. Use 4 ounces of minced crab meat for half-pint jars and 7 ounces for pint jars.
Then pour your boiling clam juice over the meat, leaving 1 inch of headspace. If there isn’t enough juice, use boiling water to fill the jars to the appropriate level.
Clean the jar rims and place lids and bands before processing it with these recommendations from the Pacific Northwest Extension.
Canning Oysters
I think oysters are great straight from the can. I love them as an appetizer on crackers, especially with cream cheese and a bit of hot pepper jelly. They’re also great for tossing into quick pasta dishes, soups, and chowders.
Keep live oysters cold or on ice until you’re ready to pressure can them. Then preheat an oven to 400°F and wash the shells thoroughly. Steam them to open for 5 to 7 minutes in the hot oven.
Plunge your steamed oyster briefly into ice water to cool them for handling and remove the meat.
Wash the meat in a mixture of water with ½ cup salt per gallon.
Then, drain the meat well and pack it into hot jars. If desired, Add ¼ teaspoon per half-pint or ½ teaspoon per pint.
Fill your jars with boiling water, leaving 1 inch of headspace.
Remove any bubbles and clean the rims before placing lids and bands.
Then process jars with these recommendations from the Pacific Northwest Extension.
Fish Soup and Chowder Canning Recipes
If you love fishing, pressure canning soup is a great way to turn your catch into nutritious, ready to go meals. Fish combined with vegetables, broth, and seasonings creates tons of flavor that’s on the shelf whenever you need it.
One of my favorite ways to can fish is creating a fish soup based on the safe canning rules from The National Center for Food Preservation and the University of Alaska Extension’s “create your own soup” canning recipe. It allows you to mix and match ingredients safely, including fish.
I’m currently working with this method to develop more specific fish soup recipes that are tasty and safe for canning.
Fish or seafood chowder is also one of my favorites for rich winter meals. Unfortunately, most chowders contain dairy products like cream, milk, or cheese which aren’t safe to can. However, I find that these are easy enough to add when I’m ready to heat and use the chowder. They’re so easy and tasty I can several chowder bases to keep on hand for quick meals. They’re excellent with crackers, rolls, or biscuits.
You can also can fish stock. It’s a great way to use leftover fish and create a wonderful base for future recipes.
When canning these recipes, it’s important to use fresh, high-quality ingredients. Generally, I cut all of my ingredients into bite-sized chunks or smaller. While it’s unnecessary to cook these soups and chowders for hours, as they will get heated further during the pressure canning process, you will need to combine all the ingredients and bring them to a boil for a few minutes to pre-heat them before adding them to hot jars.
The exact cooking instructions and pressure canning processing guidelines vary somewhat with the type of fish or seafood and the recipe. Only use recipes from safe, reputable sources.
- Clam Chowder Base
- Create Your Own Soup Recipe
- Fish Chowder Base
- Fish Stew
- Nordic Salmon Soup
- Salmon Chowder Base
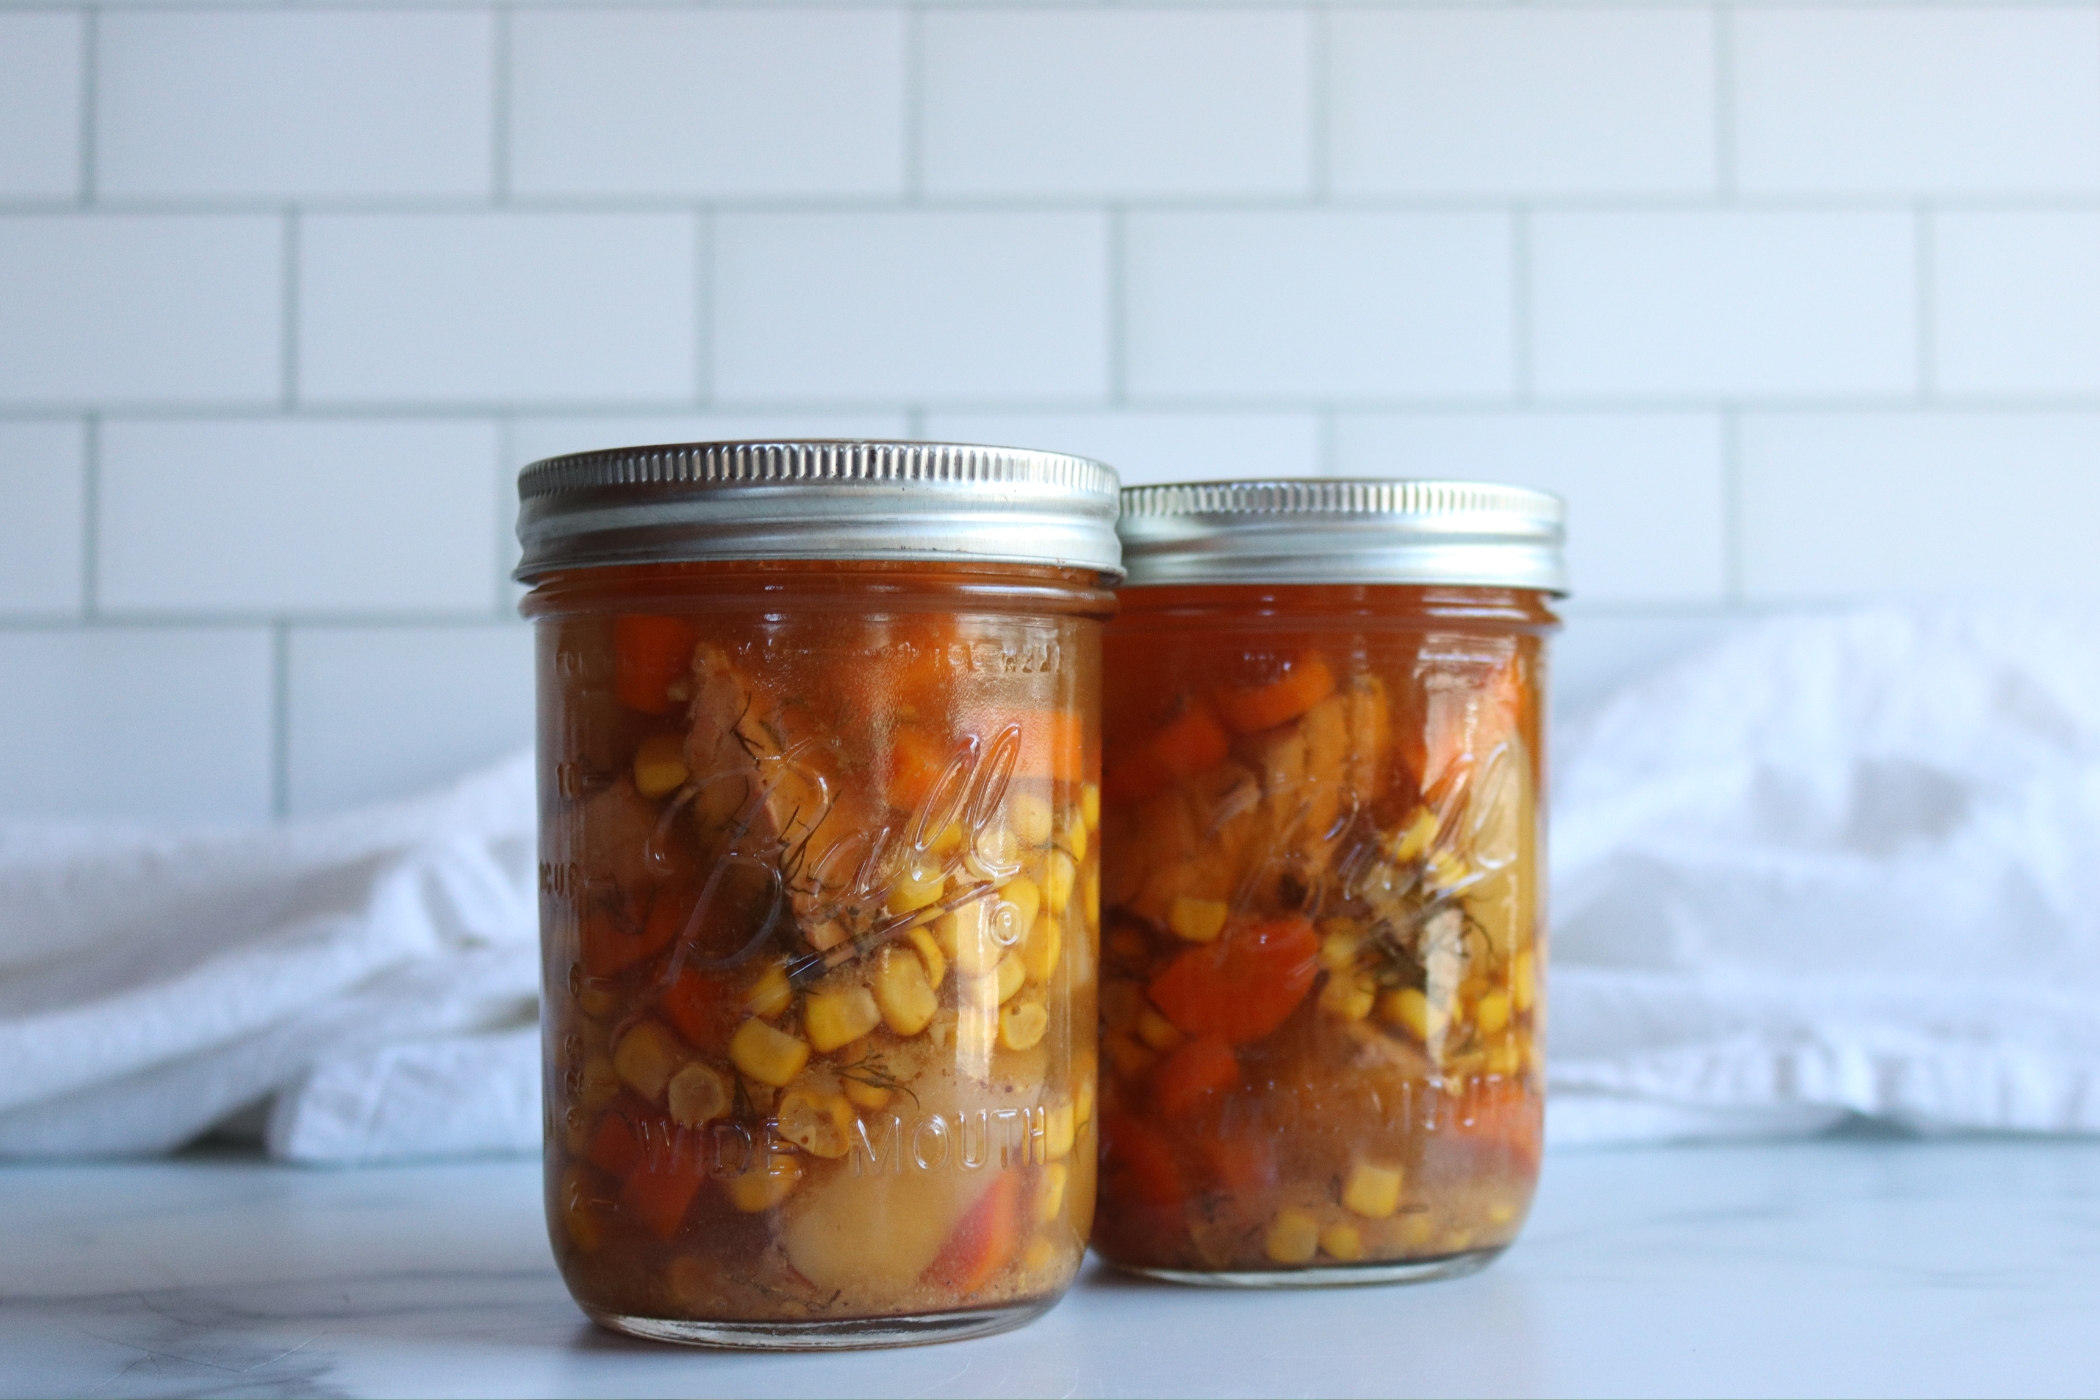
Home Canned Salmon Chowder Base
Fish Meal in a Jar Recipes
While I’ve found plenty of safe, tested recipe for canning meat-based meal in a jar, those for fish are tough to find. Many of the ones I’ve seen online contain ingredients that aren’t safe for canning. I’m hoping to be able to update Creative Canning in the future with recipes for more gumbos and other “meal-in-jar” type recipes.
In addition to soups, stews and chowders, smoked fish is a tested way to create a ready-to-eat snack or meal with your harvest. It’s safe to pressure can various smoked fish including salmon, cod, and rockfish. Your canned, smoked fish will be great for tossing on salads, toast, or even baked potatoes.
Sadly, there’s just nothing on the internet…yet.
Smoked Fish Canning Recipes
Regular meal in a jar recipes aren’t really available, but smoked fish does pretty well as a “meal” on toast right out of the jar.
There are a few recipes for canning smoked fish, and I’ll share those with you:
- Smoked Salmon, rockfish and flatfish (sole, cod, flounder) and other fish
- Seasoned Smoked Rainbow Trout
Leave a Reply