This post may contain affiliate links. Read full disclosure here.
Corn cob jelly is a tasty way to use leftover corn cobs, and it results in a sweet spreadable jelly with incredible corn flavor. Get one more use out of your corn cob discards before they make their way to the compost or chicken coop.
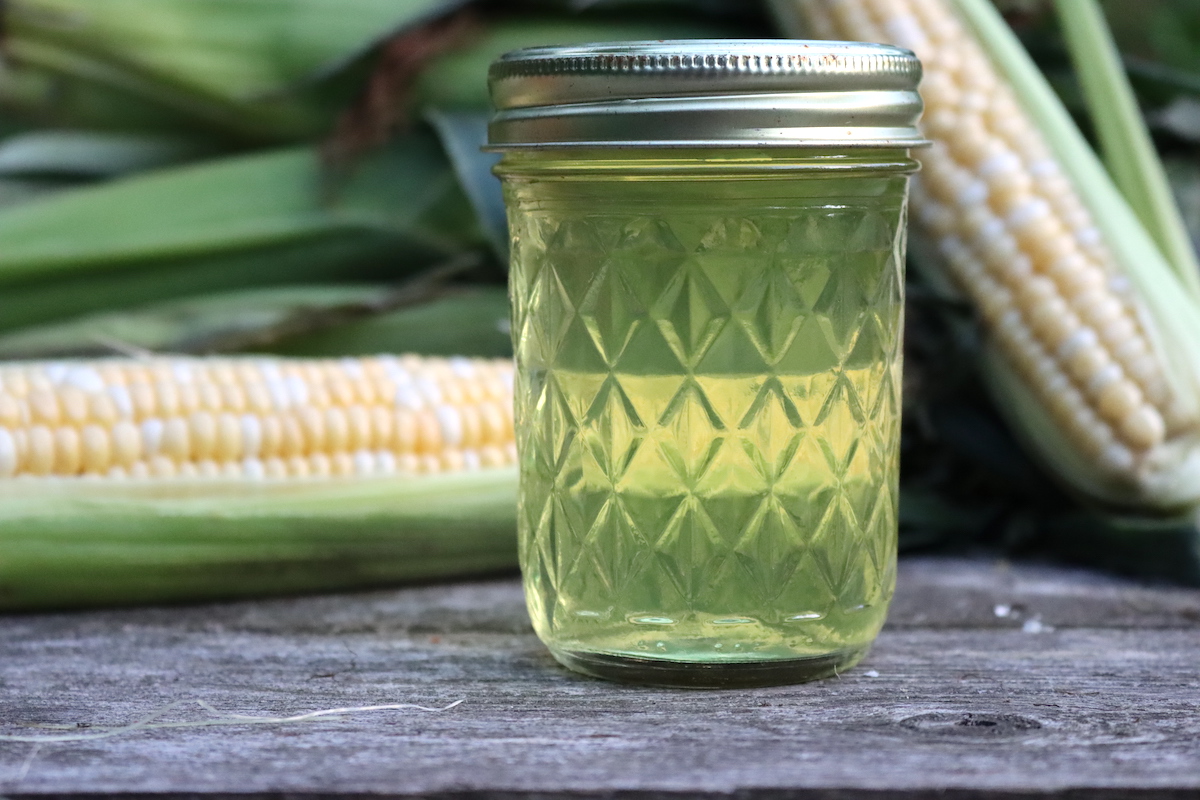
If you’re anything like me, you love to find ways of using edible odds and ends — such as corn cobs — one more time before they go to the compost (or chicken feeder).
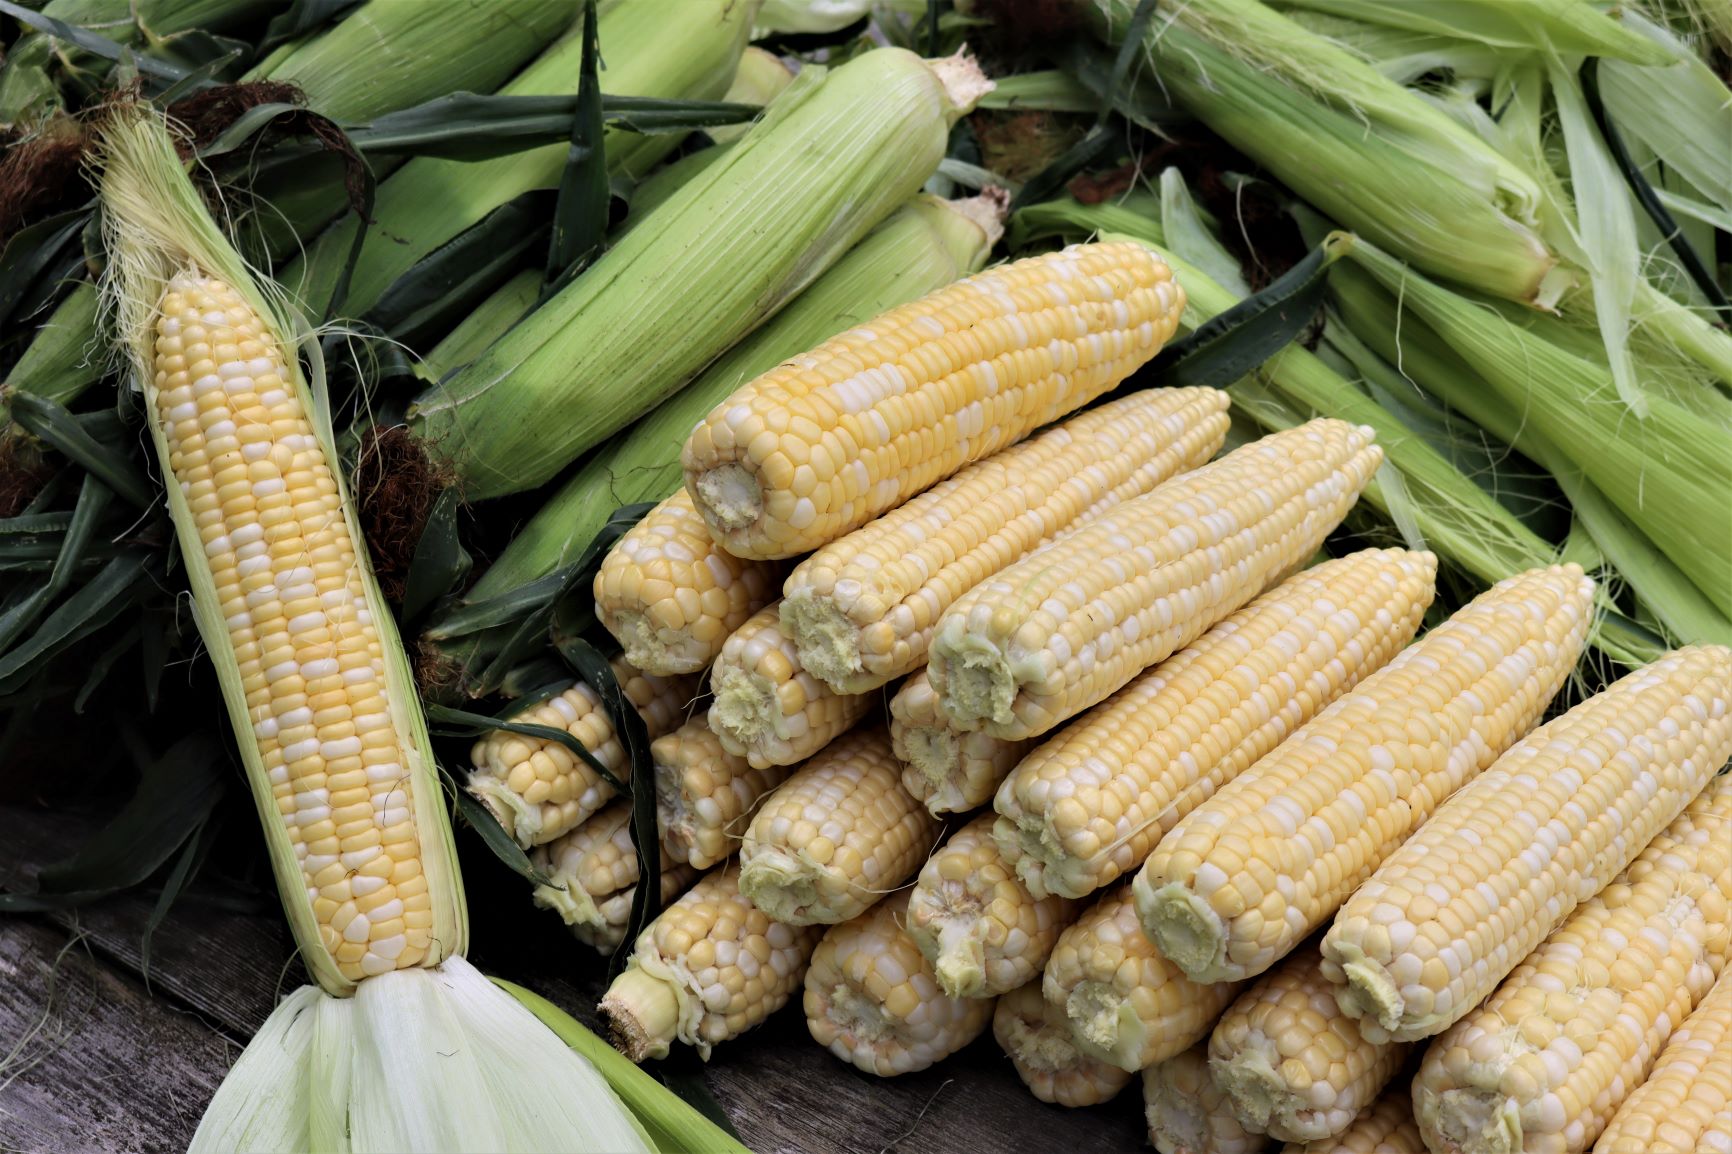
Besides just pressure canning plain corn (and freezing corn when we have the space), we also make corn relish and corn salsa for canning. Add in all the fresh corn we eat from the garden in season and you’ve got a lot of corn cobs!
Corn cob jelly is by far my favorite way to use up all those extra corn cobs. By making a simple corn stock out of fresh leftover corn cobs, I make a light and perfectly sweet jelly that’s perfect for spreading on fresh cornbread with a generous schemer of butter.
I’ll be giving you instructions for canning as well as storing the jelly in the fridge or freezer, the choice is up to you!
How to Remove Corn the Cob
Removing corn from the cob is a fairly straightforward, if not also messy, task. If you have the option to work outside, I’d highly recommend doing so — when you’re outdoors, flying corn kernels are less of an issue.
For this recipe, I’ll be using 12 medium-sized corn cobs to make the corn “juice” for the jelly.
Peel the corn husks back, but don’t remove them from the cob completely (they’ll serve as a sort of handle as you’re removing the corn with a knife.) To remove the silk, place the corn cobs under cool water and gently scrub with a clean toothpaste or a kitchen brush. The operative word is “gently,” since too much pressure can turn the kernels brown.
Unless you’re going to use the kernels immediately after removing the husk, I suggest blanching the corn (while still attached to the husk) in a big pot of boiling water for 3 minutes and then plunging into cold water to stop the cooking process. Blanching stops the sugar in the corn from turning to starch and keeps the kernels a vibrant yellow.
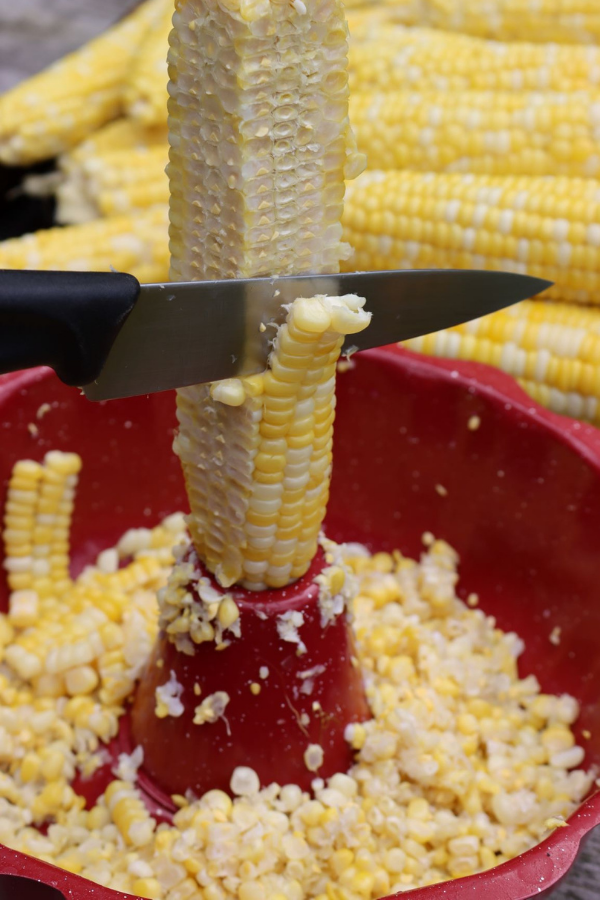
Regardless of what you plan on doing with the corn kernels, what we really need for this recipe is the cobs. The easiest way to remove the corn from the cob, in my opinion, is by using a bundt pan and a sharp knife.
To do this, simply place the cob of corn upright in the center of the bundt pan and slice the kernels directly off the cob. I recommend placing the bundt pan on top of a damp towel to reduce slippage — you can also grip the corn cob with a towel to keep it steady as you cut. All the flavor for this corn cob jelly comes from the cob, so try to get as much of the kernel separated from the cob as possible.
Once you’ve completed this step, it’s time to make the corn juice from the cobs.
How to Make Corn Cob Jelly
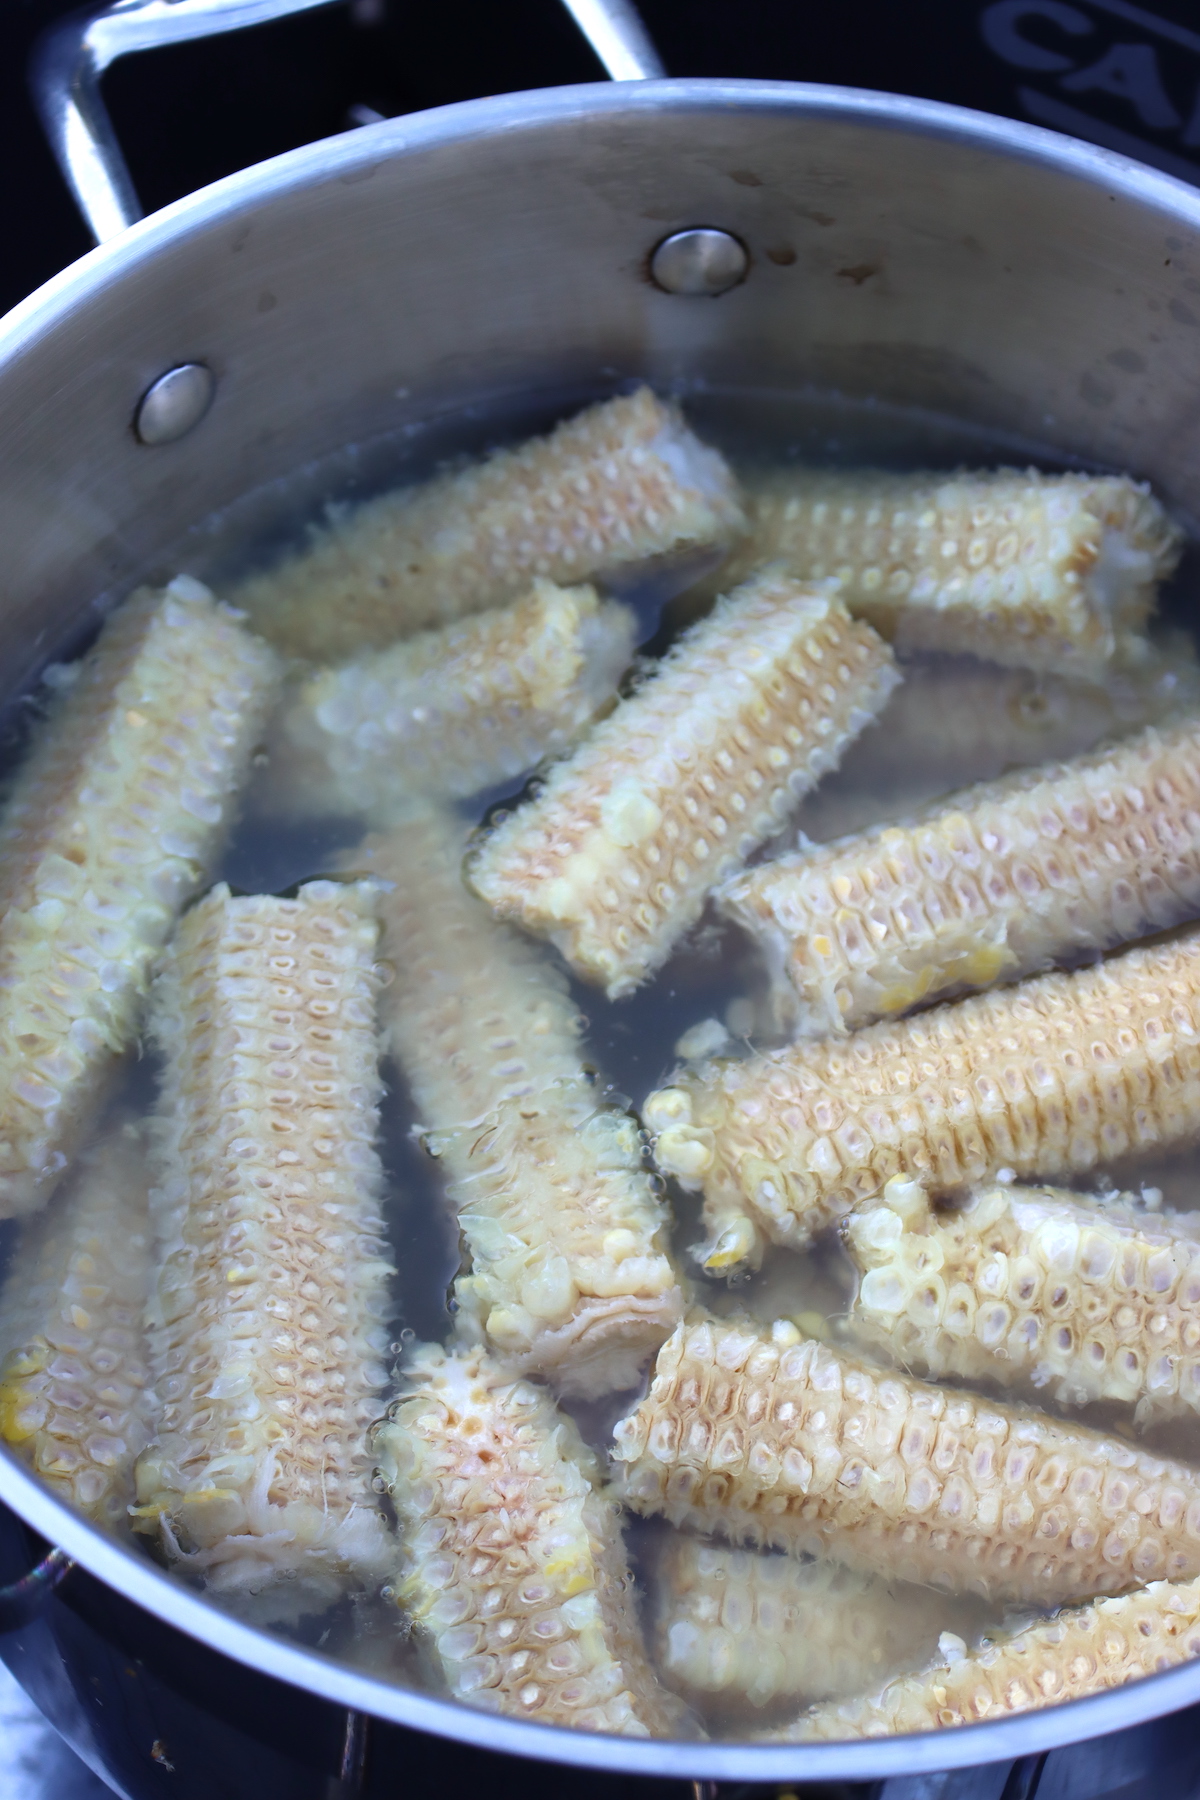
To make corn cob jelly, you’ll need a dozen corn cobs that have had the kernels removed. Cut the corn cobs into 4-inch lengths and place them in a large stock pot, adding roughly 2 quarts of water (or whatever quantity is needed to cover the cobs).
Bring the water to a boil and let the corn cobs simmer for about 35 to 40 minutes. The end result should be a sweet, light stock full of summery corn flavor.
When the corn juice is finished, strain it through a fine-mesh sieve (or a colander lined with a double layer of cheesecloth). Let the juice drip through the sieve and resist the temptation to press down on the corn cobs to force out more liquid.
Simmering corn cobs to make corn cob jelly
Now that you’ve prepared the corn juice, it’s time to make corn cob jelly. The recipe I’m going to use will make a yield of 4 (1/2-pint) jars, which can be stored in the refrigerator for up to a month or processed in a water bath canner for long-term storage.
Add 3 cups of corn juice to a large saucepan along with a packet of pectin and bring to a boil.
Whenever I’m making homemade jelly I use Sure Jell pectin because it contains citric acid. Citric acid not only brightens the flavor, but it also brings the pH of the jelly to a point where the liquid can gel.
If you’re using another type of pectin, such as Pomona’s Universal Pectin, be sure to check the citric acid content — you may need to add extra citric acid or lemon juice to get the jelly to set.
Allow the corn cob juice and pectin to boil for 1 full minute before stirring in the sugar to dissolve. If the sugar is added at the same time as the pectin, the jelly won’t set. The pectin must be allowed to boil for 1 minute before the sugar is added.
Adding the pectin and the sugar at the same time is one of the number one reasons jelly doesn’t set — I always set a timer, just to be on the safe side.
Another useful pectin tip: If you want to make this recipe less sweet, be sure to use a low sugar pectin instead of regular. In order for regular pectin to gel, the liquid and sugar must be added in a 1:1 ratio (in this case, 3 cups of corn cob juice to 3 cups of sugar). If you decide to add less sugar, the final yield will be fewer than if the full 3 cups of sugar were used.
Return the corn cob juice, pectin, and sugar to a boil for 1 minute, stirring to ensure everything is evenly distributed and the sugar is dissolved. Remove the saucepan from the heat and quickly skim off any foam that might be floating on top.
Ladle (or pour, if your saucepan has a spout) the liquid into 4 (1/2-pint) jars, leaving 1/4-inch headspace.
At this point, you can store the finished jars of corn cob jelly in the fridge for up to 1 month or in the freezer for 6 months. If you want to freeze the jelly, use straight-sided jars like these ones to make storage and retrieval super-easy.
If you want to store the jelly for longer than 6 months without taking up valuable freezer space, you can quickly process the jelly in a hot water bath canner.
Canning Corn Cob Jelly
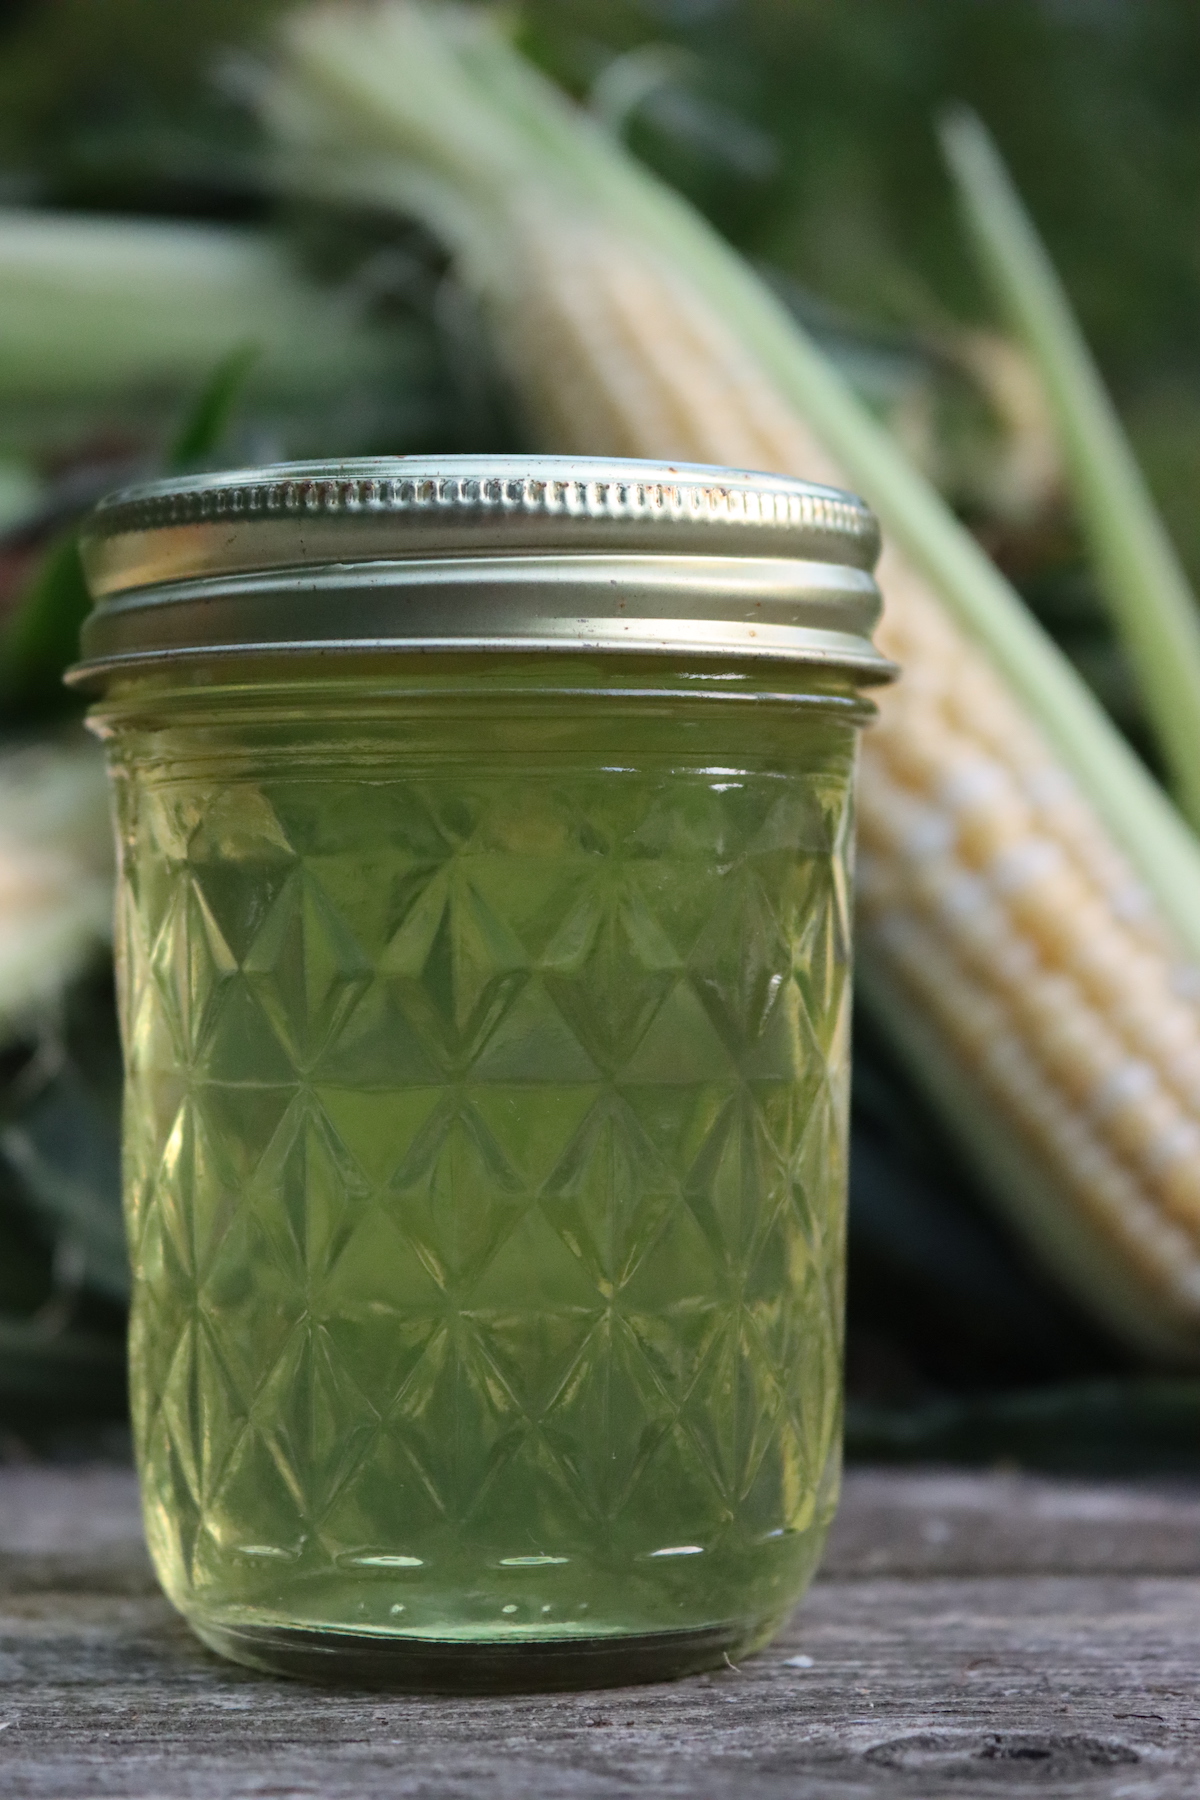
Canning corn cob jelly is a quick endeavor, needing only 5 minutes in a hot water bath canner (or up to 15, adjusted for higher altitudes).
Apply 2-piece canning lids to each 1/2-pint jar until fingertip-tight and wipe down the sides and lid with a clean cloth or paper towel. Load the jars into the canner and process for 5 minutes — adjust the time as needed according to the altitude you live at.
Unload the jars and place them on a clean surface, leaving 1-inch of space between each jar. Let the contents of each jar come to room temperature before inspecting the lids, any jars with improperly sealed lids should be stored in the fridge and eaten within 1 month.
Sealed jars of corn cob jelly can be stored in a cool, dry place away from direct light for 18 months.

Other Ways to Use Corn Cobs
Corn cobs are a surprisingly versatile ingredient, here are just some of the ways they can be used in the kitchen:
- Corn cob wine from The Foxfire Book of Winemaking
- Corn cob vinegar from Homebrewed Vinegar book
- Corn cob stock from Local Kitchen (corn cob stock is also delicious when added to poaching liquid)
Corn Cob Jelly
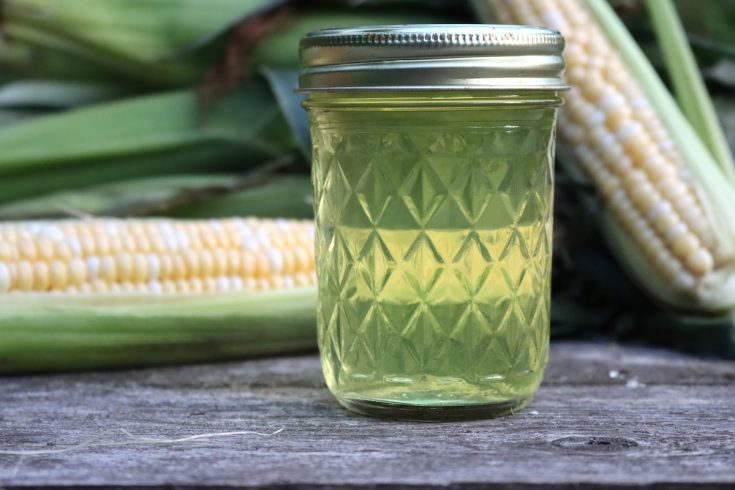
Try this unique and delicious corn cob jelly recipe — a great way to use up fresh corn cobs!
Ingredients
- 12 fresh corn cobs, medium-sized
- 2 quarts water
- 3 cups corn cob juice
- 1 (1 3/4 ounce) packet Sure Jell*
- 3 cups sugar
Instructions
- To make corn cob juice, cut the corn cobs into 4-inch pieces and place them in a medium-sized saucepan. Cover with water and bring to a boil. Reduce the heat and simmer the corn cobs for 35 to 40 minutes.
- Carefully strain the liquid through a fine-mesh sieve that has been lined with two layers of cheesecloth. Without pressing or squeezing the corn cobs, allow the juice to drip naturally — this will help ensure a clear stock.
- To make corn cob jelly, add 3 cups of corn cob juice a saucepan. Stir in the pectin and bring the mixture to a boil. Let the pectin and corn cob juice boil for 1 full minute.
- Stir in the sugar and bring the liquid back to a boil. Boil for 5 minutes. Remove the saucepan from the heat and skim off any foam that might have risen to the surface.
- Pour or ladle the corn cob liquid into 4 (1/2-pint) jars, leaving 1/4-inch headspace. Apply lids and store in the refrigerator for up to 1 month or in the refrigerator or 6 months in the freezer. Or, proceed to canning instructions:
- To can corn cob jelly: Load cans into a prepared hot water bath and process for 5 minutes (or adjust according to altitude**). Remove jars from canner, and allow jars to come to room temperature. Check seals, storing any improperly sealed jars in the fridge. Sealed jars should be stored in a cool, dark place for up to 18 months.
Notes
*This recipe was tested using regular Sure-Jell. If using other types of pectin, I'd suggest adding 1 to 2 Tablespoons of lemon juice to the recipe to ensure the acidity is safe for canning. Sure Jel includes citric acid in the powdered pectin, but other types of pectin may not acidify the mixture while they activate.
**1,001-6,000 feet: process for 10 minutes; 6,001+: process for 15 minutes
Homemade Jelly
Need a few more homemade jelly recipes?
Summer Canning Recipes
Putting up more than preserves this summer?
Pinyon
Is it better to use fresh corn cobs and then freeze the juice until I can get into town to pickup some pectin. Or would it be better to use 2 to 3 day old cobs. Obviously I would not be able to refrigerate the cobs.
Ashley Adamant
I’d recommend making the juice and refrigerating it until you can make the jelly, if it’s only going to be 2-3 days. If longer than that, yes, freeze it until you can get the pectin. That would be better than keeping the cobs on hand until you’re ready.